Thursday, November 29, 2012

Caramel Pretzel Chocolate Chip Cookies


Salty sweet, salty sweet, how can you ever decide which is better?! I cant, I'm the biggest flip flopper ever. One thing I do know is that when I have a craving for both, I make these beauties and I am "A-ok" satisfied! The caramel chunks in these cookies mixed with the salty crunch of the pretzel is a killer combo!

Caramel Pretzel Chocolate Chip Cookies

Ingredients:
3 2/3 cups flour
1 1/4 tsp baking soda
1 1/2 tsp  baking powder
1 1/2 tsp course salt
1 1/4 cups unsalted butter
1 1/4 cups brown sugar
1 cup plus 2 Tbl sugar
2 large eggs
2 tsp vanilla extract
20 ounces semi-sweet chocolate chips
1 1/2 cups broken salted pretzels
1 1/2 cups chopped caramels

Directions:
Sift together the dry ingredients; set aside. Combine butter and sugars, mixing until light and fluffy in texture, about 5 minutes. Mix in the eggs, one at at time. Add vanilla. Reduce speed to low and add the dry ingredients. Mix just until the ingredients are incorporated. Stir in the chocolate chips, pretzels and caramels. 
Place dough, covered, in refrigerator for 30 minutes. While dough is chilling preheat oven to 350 degrees. Line baking sheets with parchment paper or silpat mats. Place rounded golfball size mounds of cookie dough onto baking sheet and bake for 11 -15 minutes or until edges are golden. Let rest on baking sheet for a minimum of 5 minutes before transferring to a rack to cool further.
Untitled_zpsf419afba

Wednesday, November 28, 2012

Breadcrumb Crusted Smashed Potatoes

When my husband and I were first married Ben told me there were four things that he could eat every single night and never get sick of: chicken, rice, broccoli and potatoes. Well being the smart wifey I am I knew that two weeks of that menu repeated on the daily would have driven us both to starvation rather than to have another repeat meal of chicken, rice, broccoli and potatoes.
 So I have learned to scatter them out intermittently and combine them with different foods and flavors as to keep them interesting and continually tasty. Which leads me to my newest potato creation. It's a cross between mashed potatoes and a potato gratin and it is to die for. There is so much flavor oooozing out of the breadcrumb mixture that you will find yourself using it to top everything in your refrigerator just like we do!!
Breadcrumb Crusted Smashed Potatoes

Ingredients:
potatoes
olive oil to drizzle
2 1/2-3 cups croutons
1/2 cup fresh basil leaves
1/2 cup parmesan cheese
2-3 cloves garlic
salt and pepper
butter

Directions:
Prepare breadcrumb mixture by placing croutons, garlic cloves, basil leaves and Parmesan into a food processor and pulse until mixture is combined and crumbly. Add salt and pepper to taste. Set aside.
Preheat your oven to 400 degree. Wash your potatoes and prick with a knife to facilitate cooking process.  Place potatoes onto a baking pan with at least a half inch lip. Pour enough water into the pan to just fill the bottom. Cover pan with tin foil and place in oven for 40 minutes. Remove pan from oven and pour off any excess water.

Drizzle a tiny bit of olive oil onto each potato and smash with a cup or additional baking pan.

Liberally sprinkle your breadcrumb mixture onto each potato and top with a small pad of butter. Place back into the oven uncovered for between 11-15 minutes until the breadcrumbs are toasty.


Untitled_zpsf419afba

Tuesday, November 27, 2012

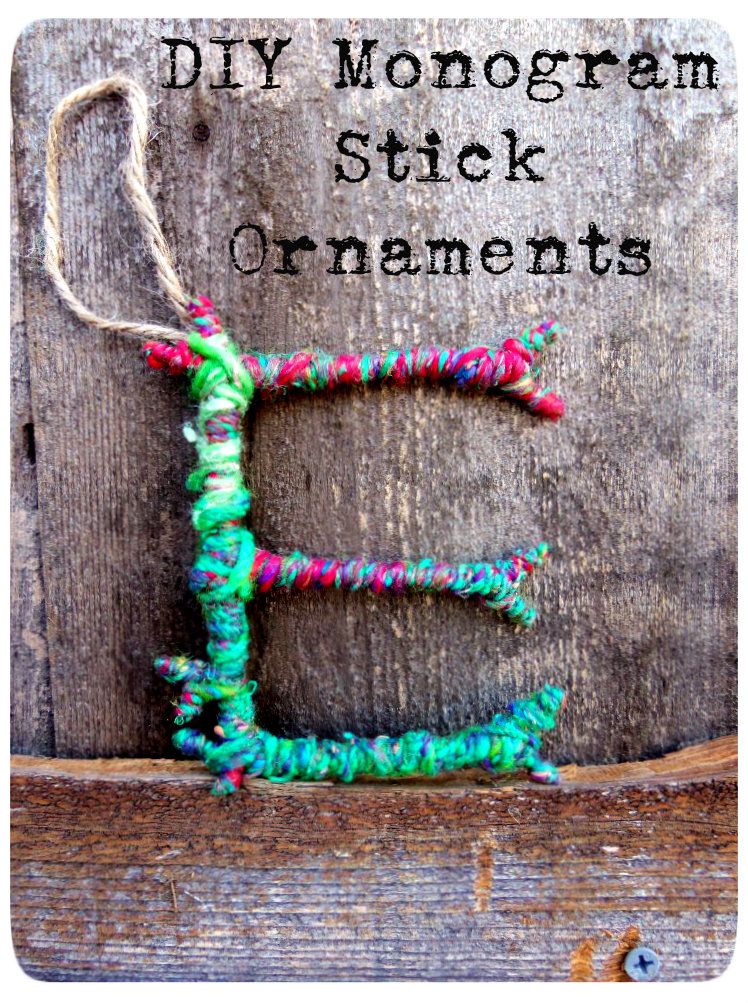
DIY Monogram Stick Ornaments

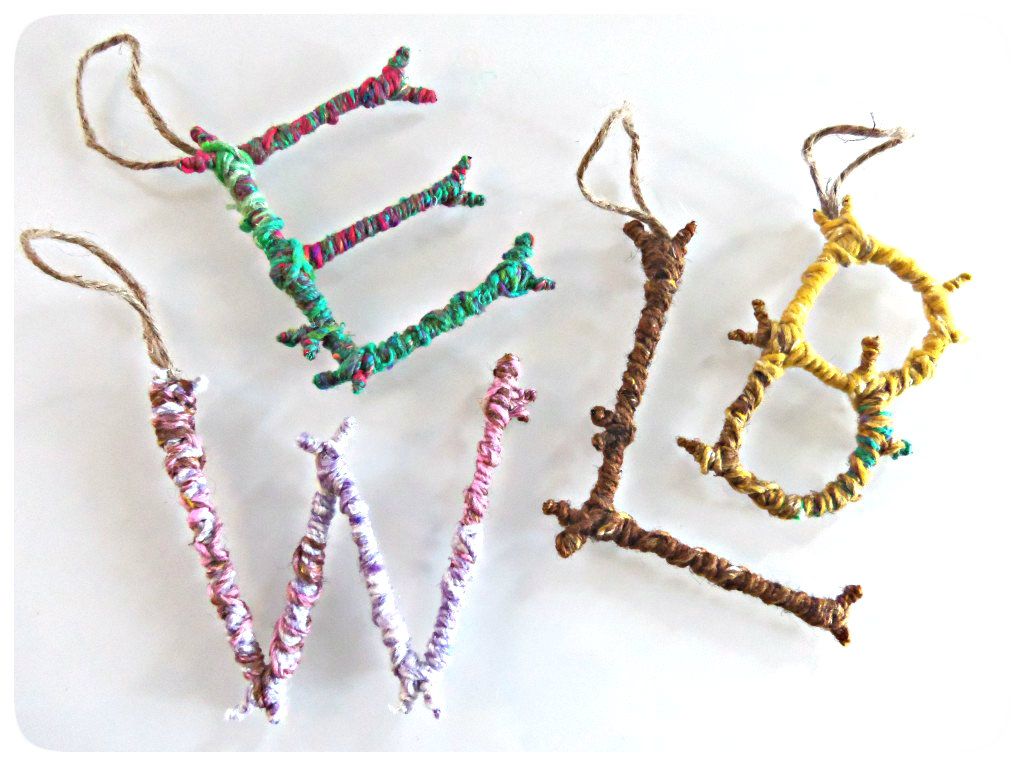
Having an Etsy shop in which you crochet and sell beanies means that you have more yarn laying around the house than you probably want to admit. My husband is starting to think I am going to crochet us into the house!! Most of the time I can be seen with little scraps attached to my sweater or socks and this morning when transferring the clothes from the washing machine to the dryer I even found some remnant yarn that had been washed with the whites. :)
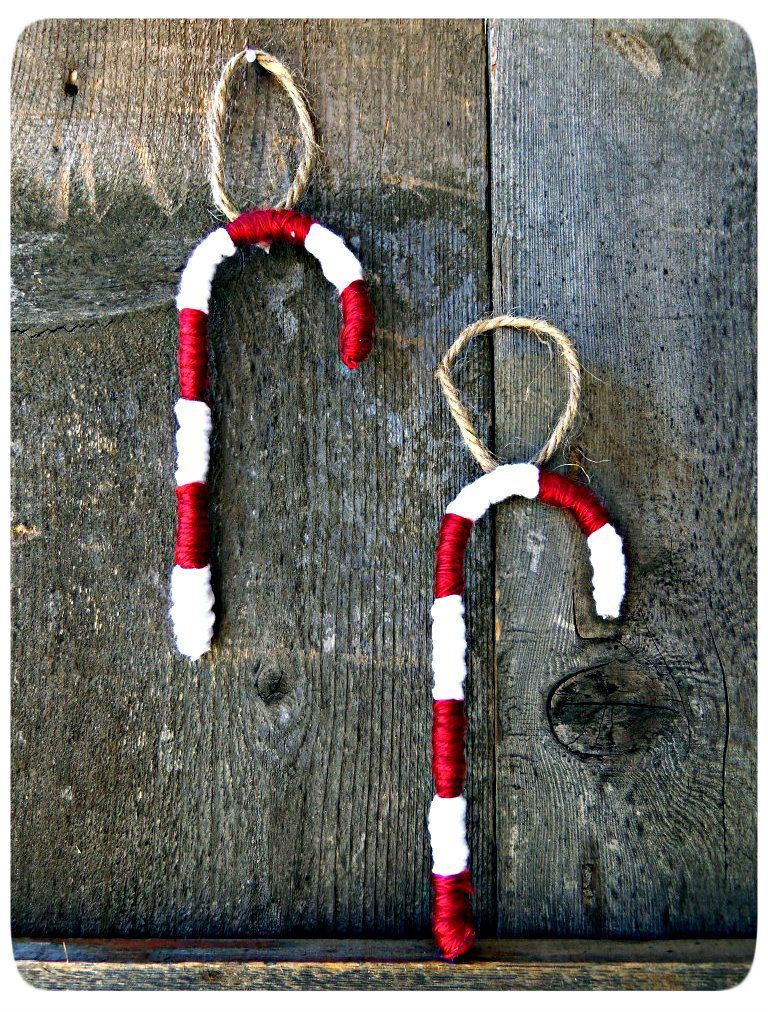
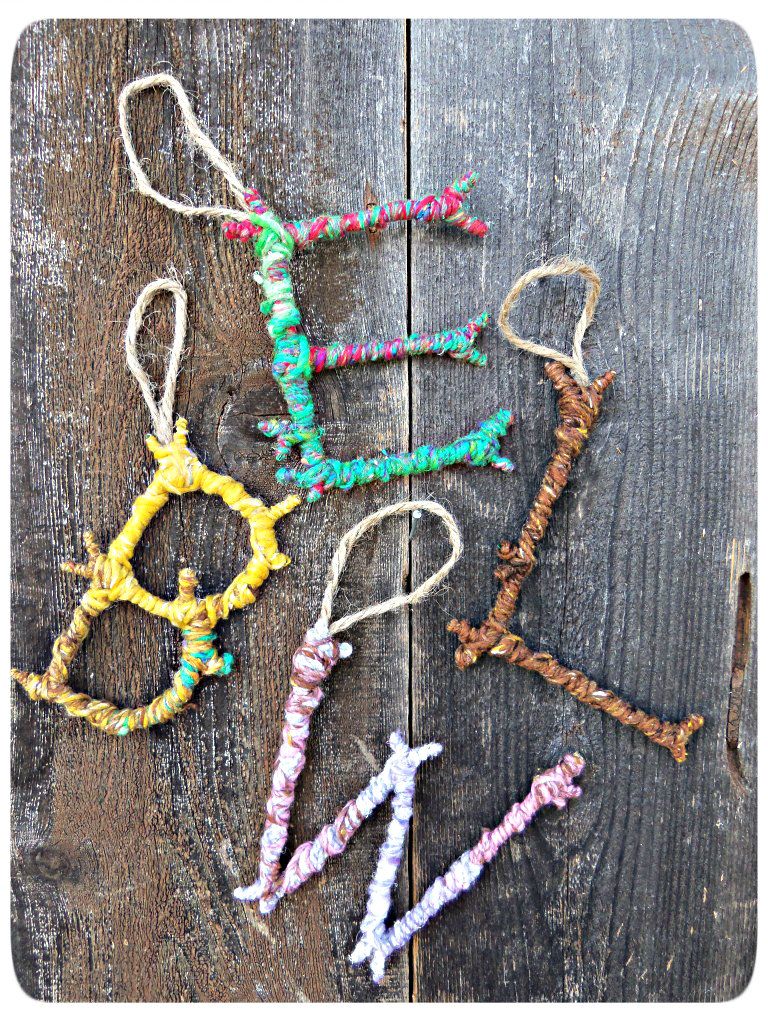
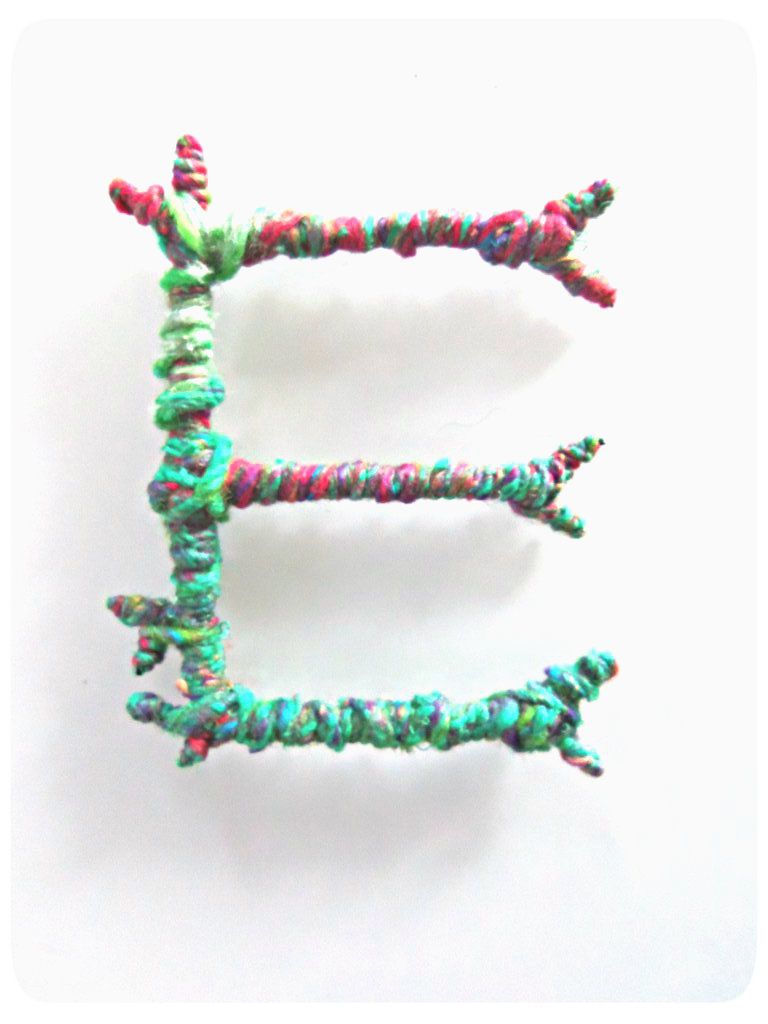
I have started a little collection of scrap spools of yarn that are too small to really do anything with but that I cannot bare to throw away...you know, just in case that one day comes around that I can use it. Today is that day!! I used my scrap yarn to make adorable stick monogram ornaments and candy canes. These couldn't be easier and would be a great Christmas craft project for you and the kiddos to do or to make and give as a gift or attach to a Christmas present.

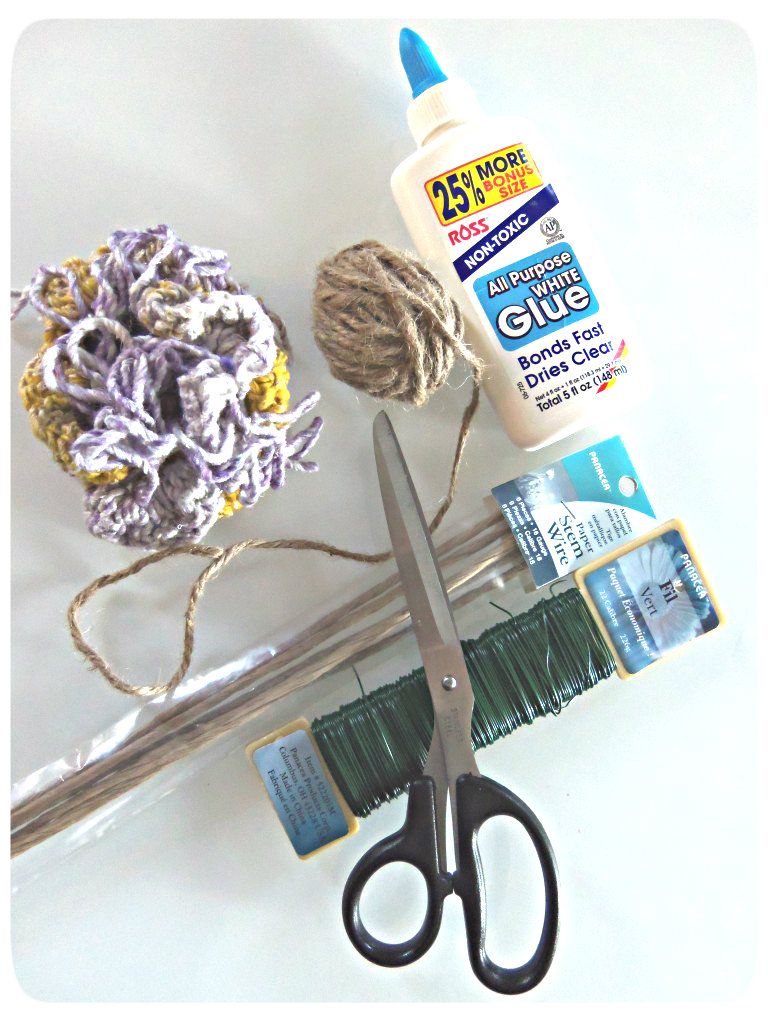
Materials you will need:
  • Glue
  • yarn
  • scissors
  • wire

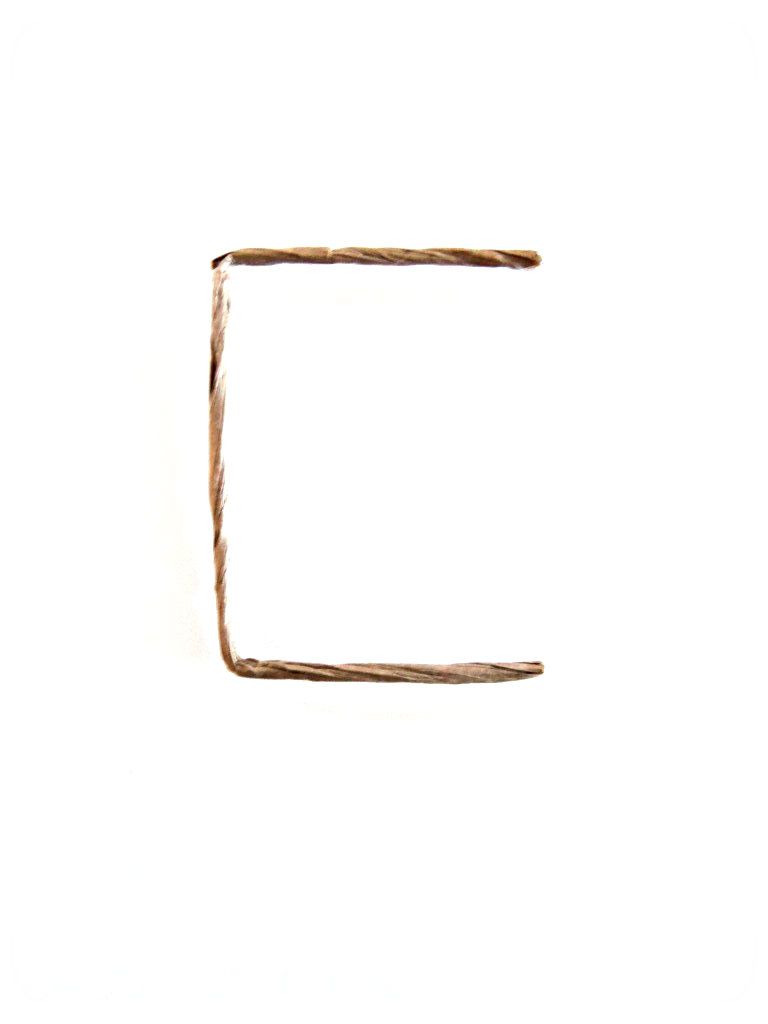
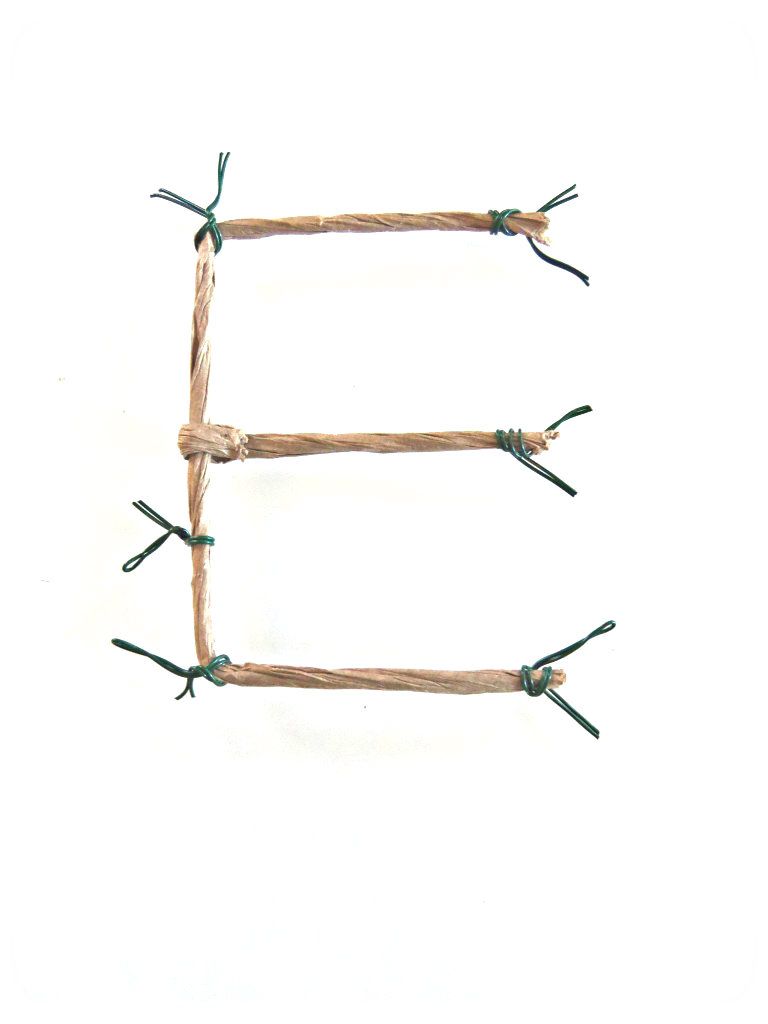
Start by bending your wire into the shape of the letter you are making.
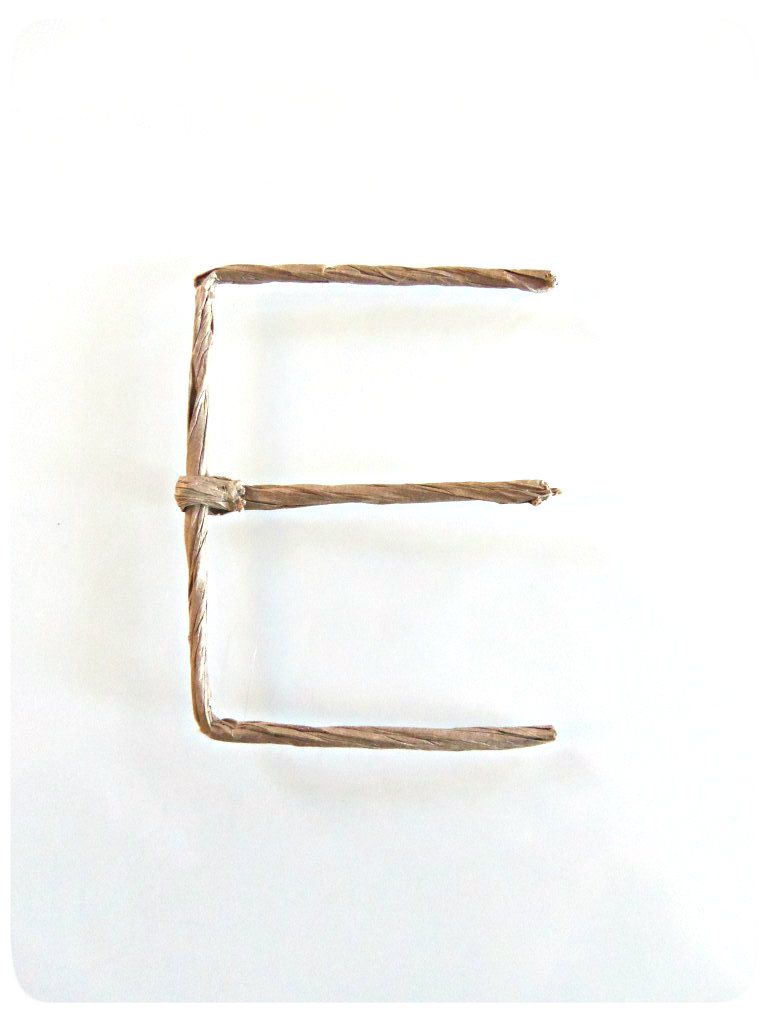
Continue by adding on wire to complete the letter
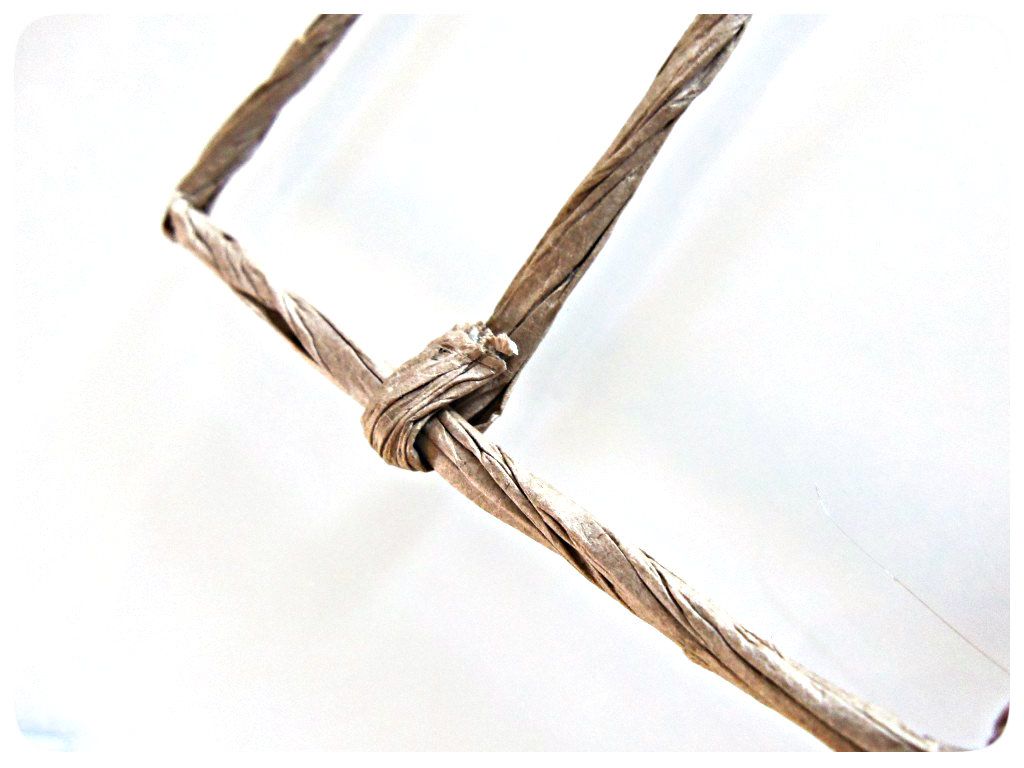
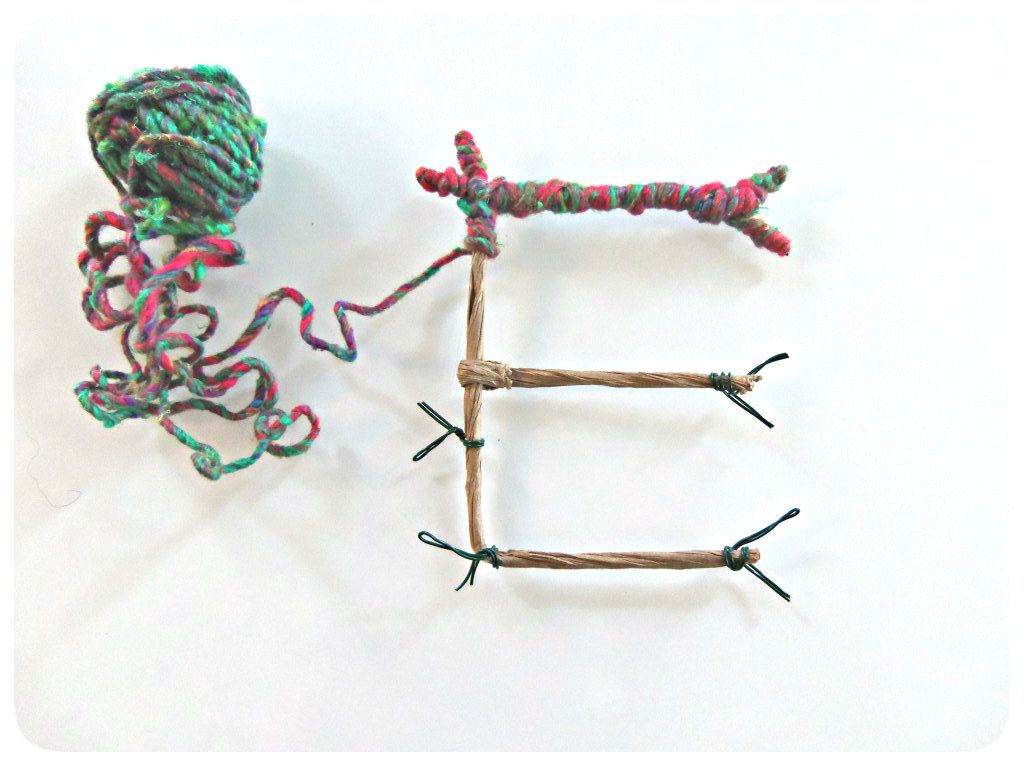
Then to make your letters appear to be stick-like add on more wire, I used a thinner gauge, to the corners and ends of your letter.
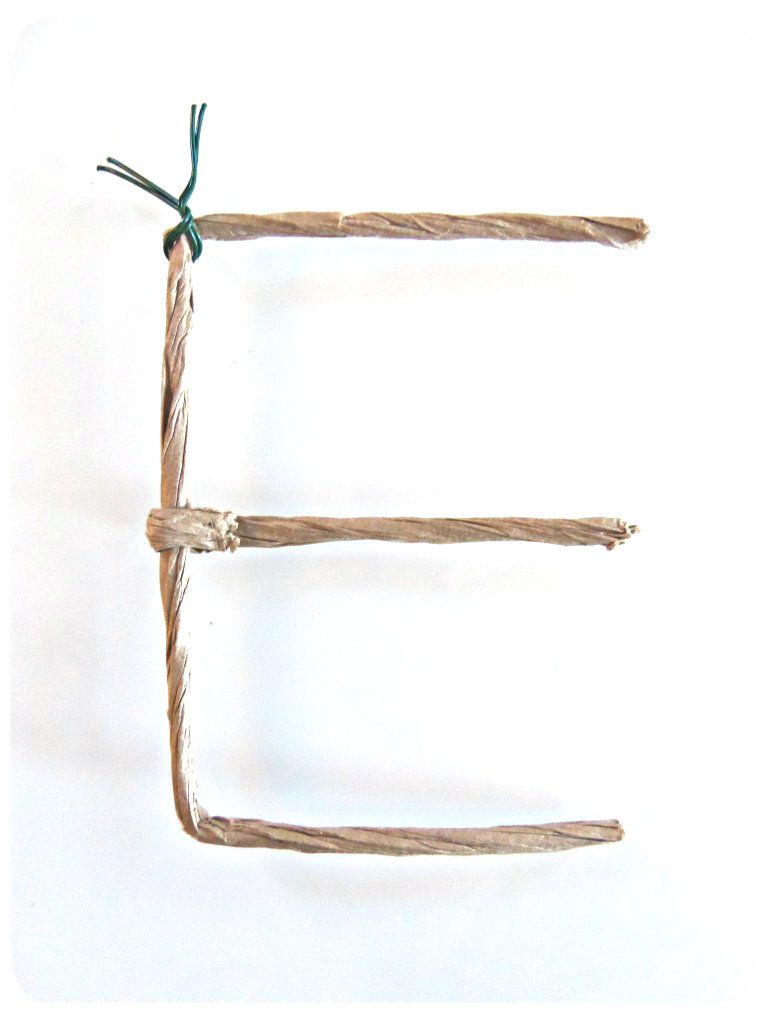
Once you have added all of the wires and are happy with the look, start to wind your yarn around the wire. You can secure the yarn with a dab of glue at the beginning and to secure it at the end. The great thing about this project is that it doesn't have to be or look perfect. It is simulating sticks and sticks have bends and bulges and imperfections.
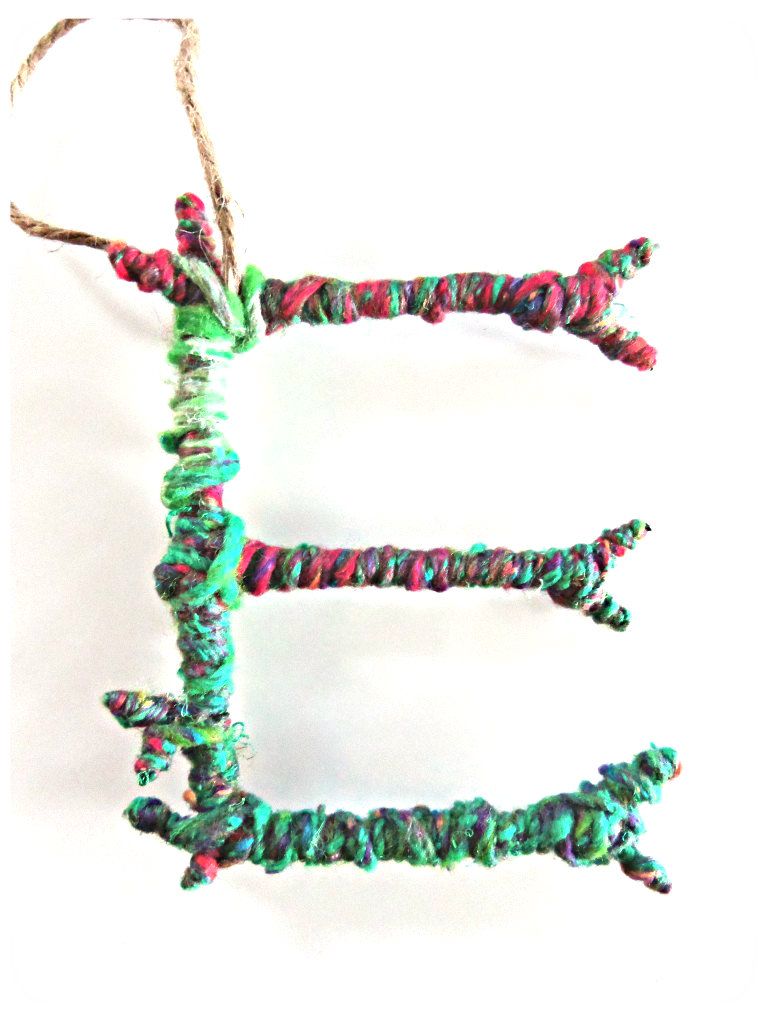
I added a little bit of twine in the corner to serve as my hook to hang my ornament onto the Christmas tree.

For the candy canes I simply bent the wire into a upside down "J" and wrapped it intermittently with red and white yarn, in the same manner as the monogrammed ornaments.
Untitled_zpsf419afba

Monday, November 26, 2012

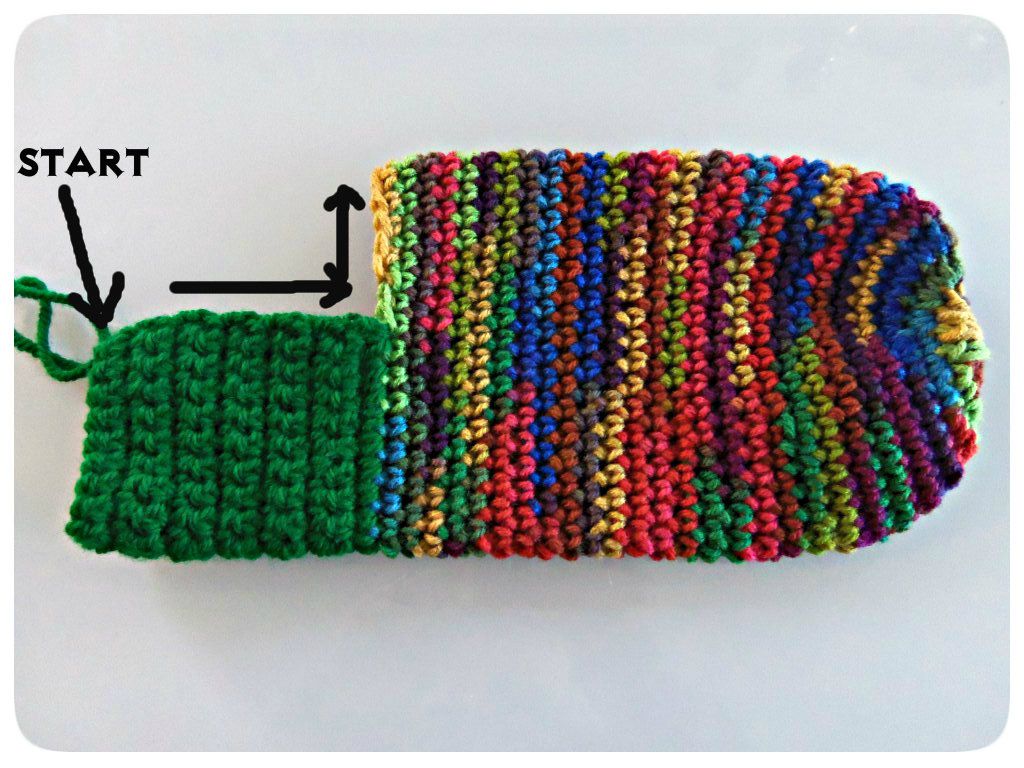
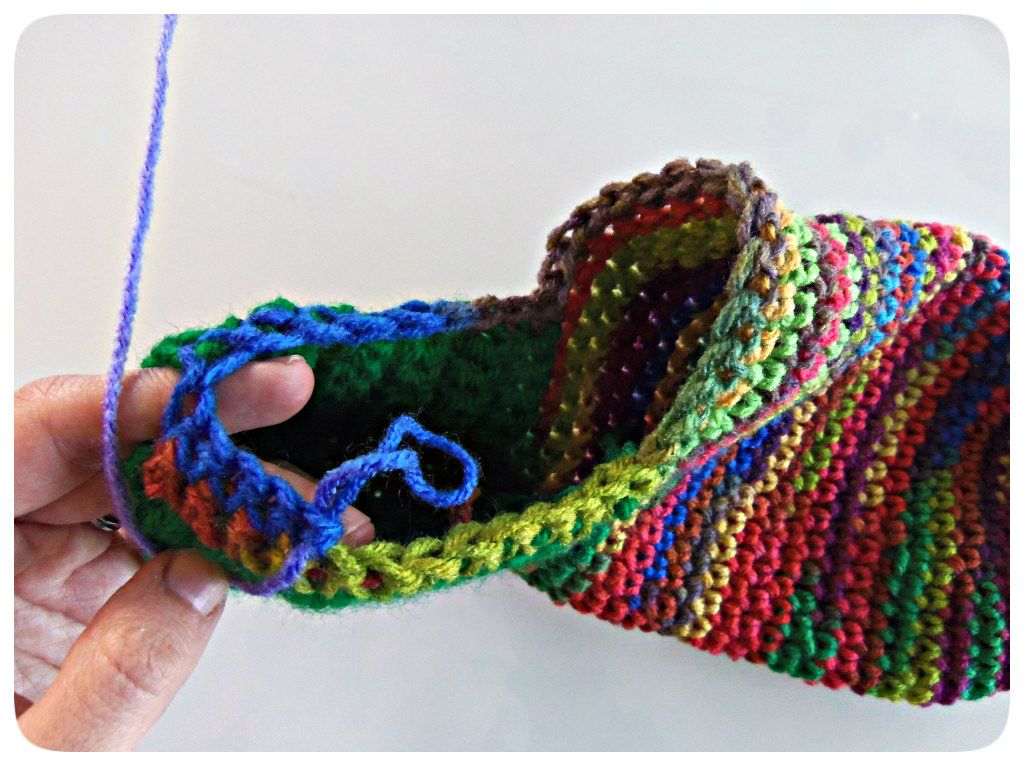
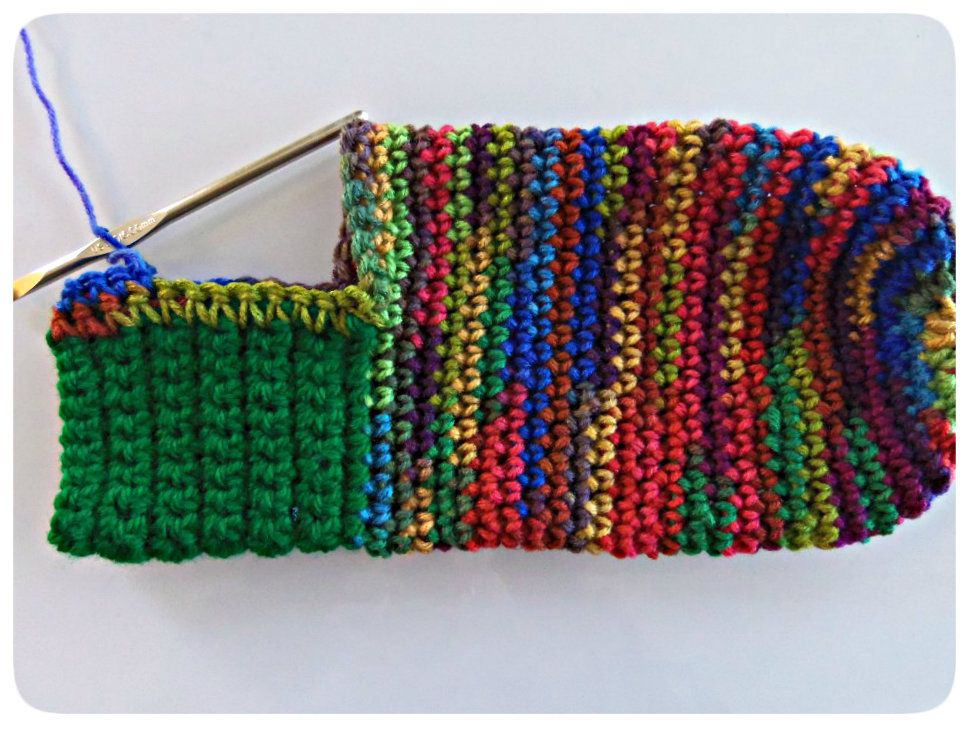
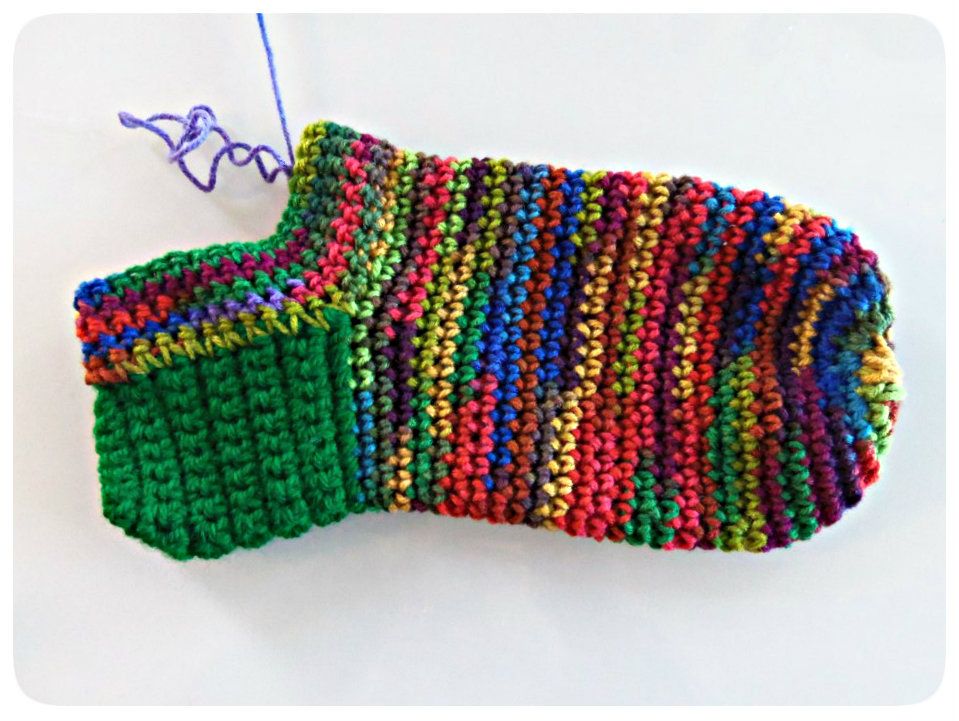
Crochet Christmas Stockings

My husband and I have been married almost 8 years and though we both love Christmas we have never really taken the time to decorate the house for the season.  Last year my son was just 6 months old when Christmas rolled around and pretty much slept the month of December away so I didn't really feel guilty not spreading the Christmas joy by decking the halls with berries or stringing popcorn garland around the house. 
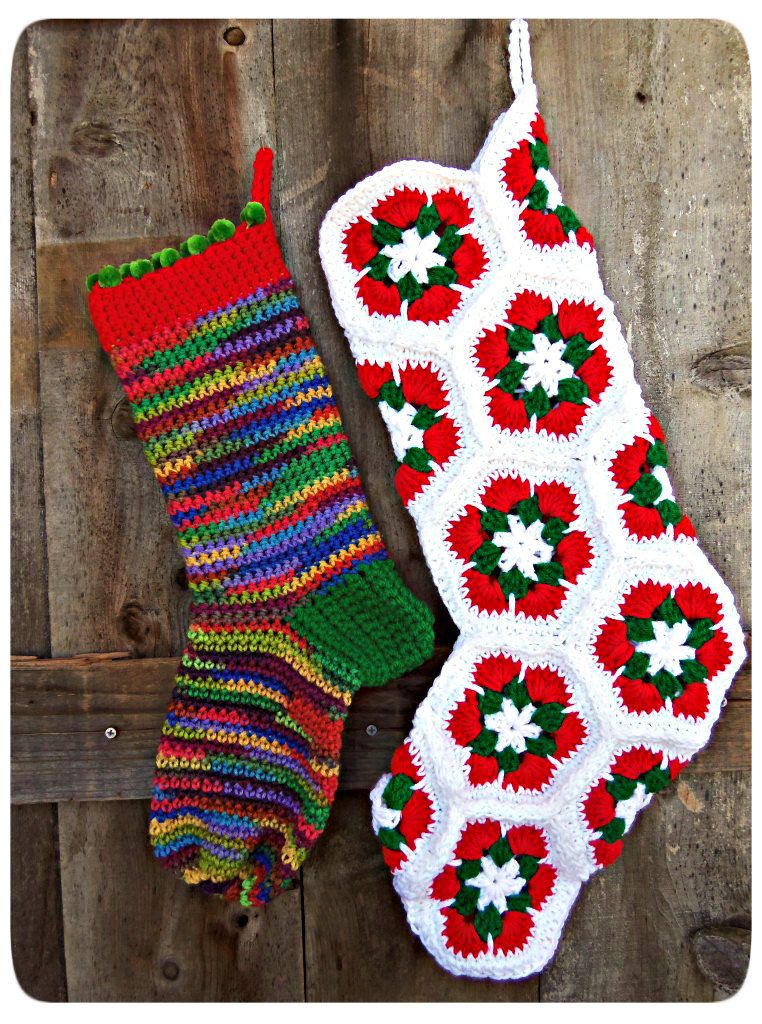
This year however I have realized that my son being 1 year and a half would probably get a real kick out of all of the Christmas decorations and tree and we are trying to make a better effort. That being said, I waiting a wee bit too long to start my 5 page list of Christmas decoration projects I had in mind! However I have made time to finish our three stockings to hang on the mantle! 
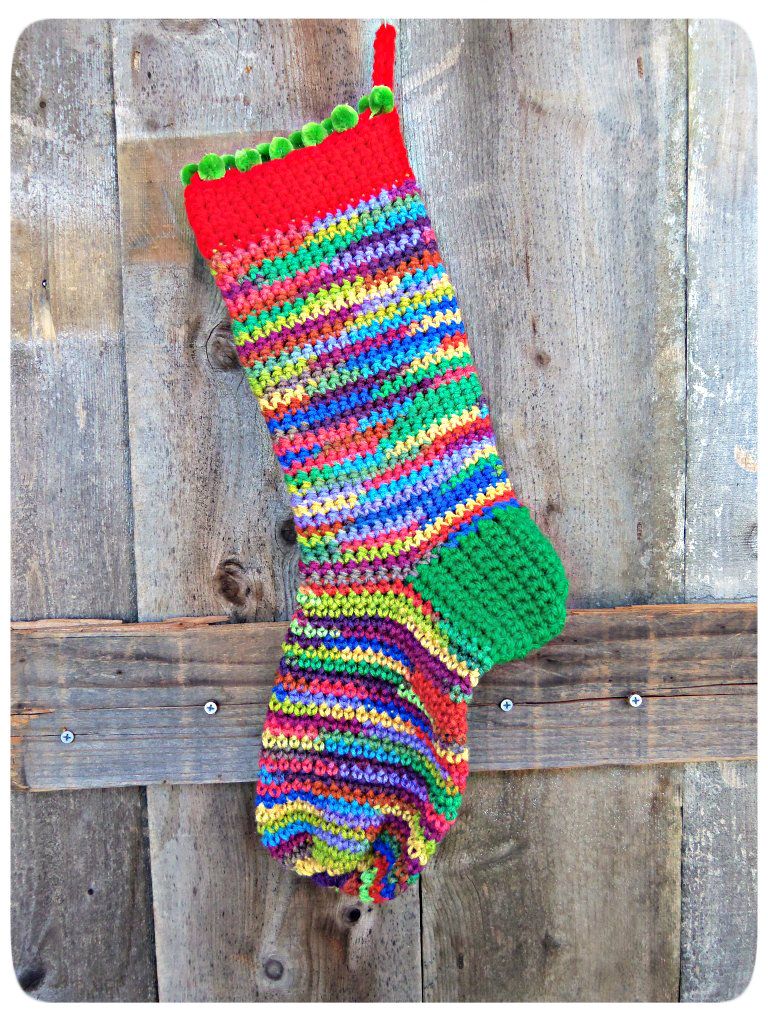
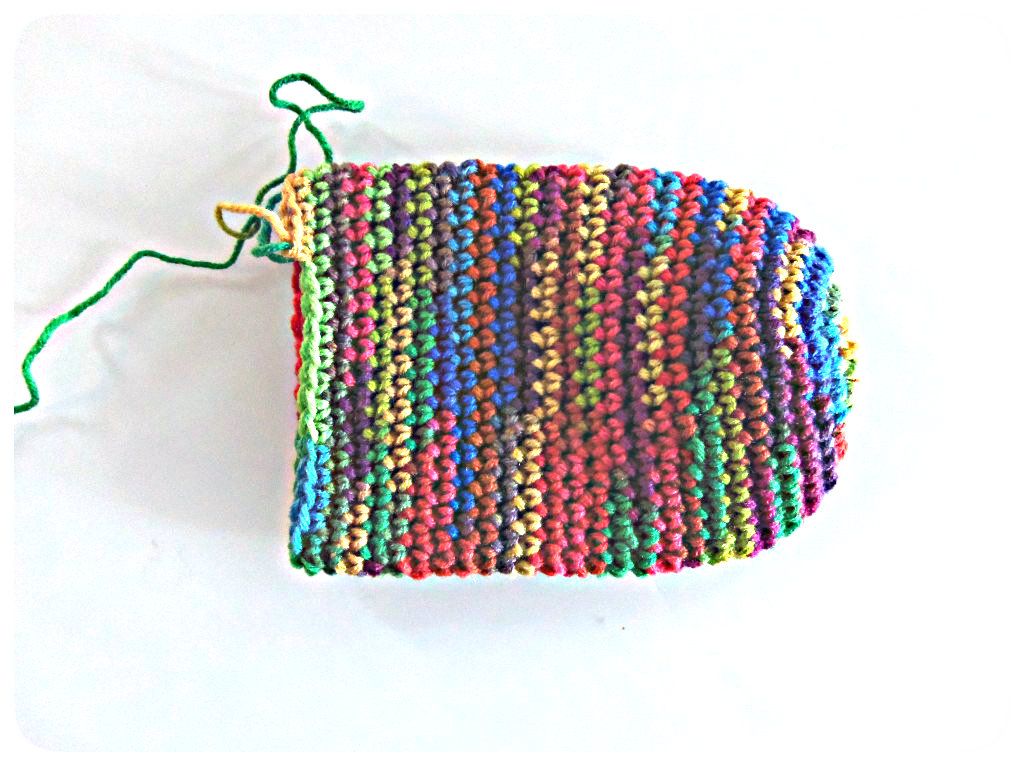
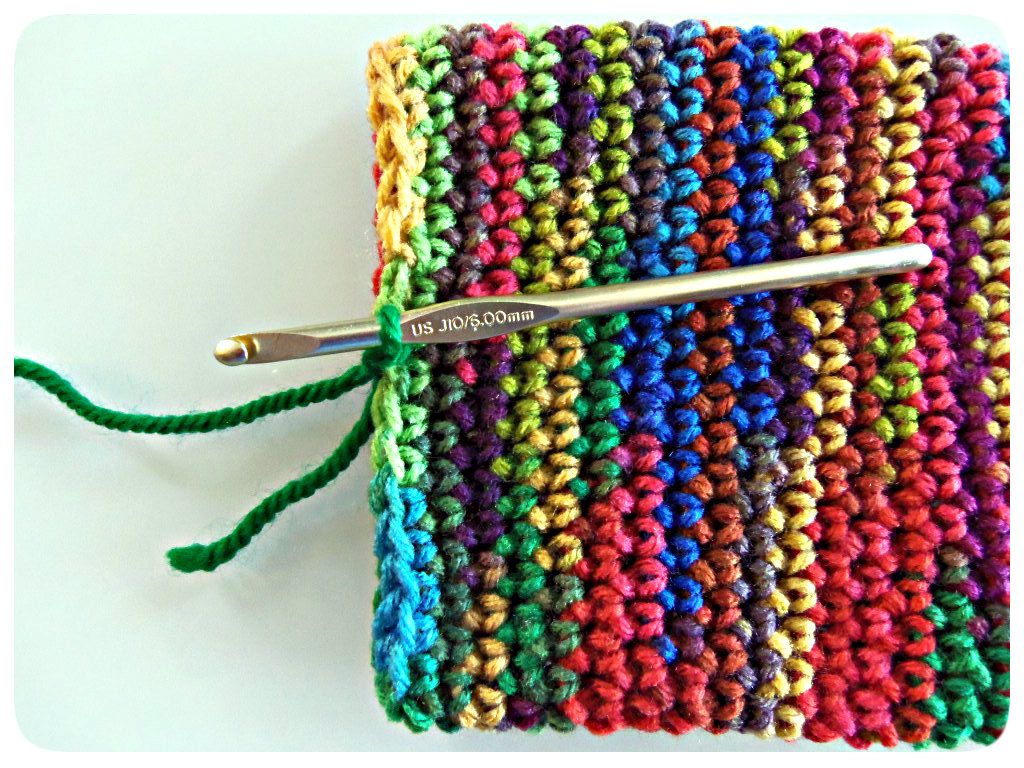
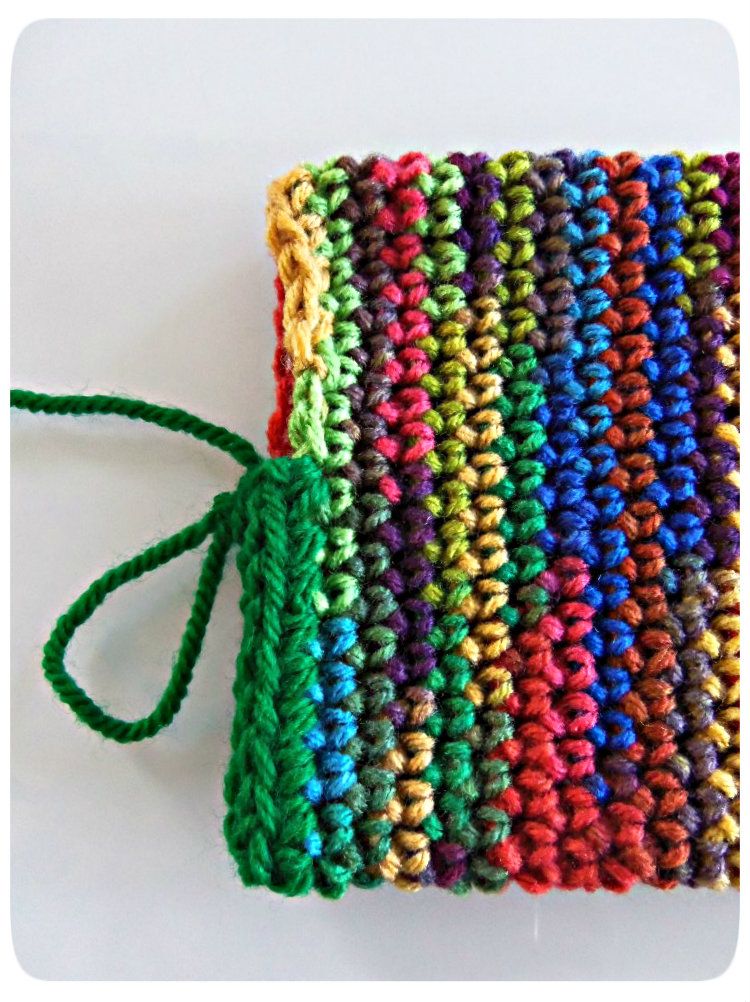
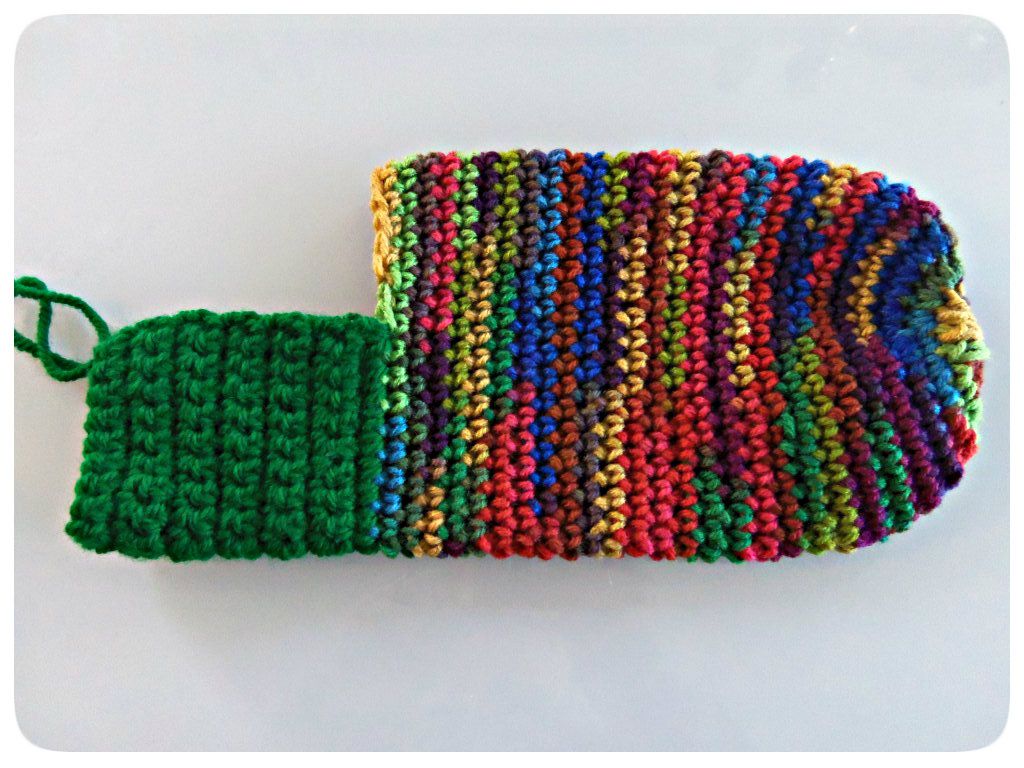
The first stocking is crazy simple. I used a single crochet throughout the entire project. (you can make a larger or smaller stocking by simply adding or subtracting single crochets in step two then adding or subtracting accordingly in each following step) 
I started by:
  • Chain 3 and slip stitch with the first chain to form small circle. 
  • (13) Single crochet into circle.
  • (2) single crochet in each chain=28 single crochet
  • (1) single crochet in next stitch, then (2) single crochet is next stitch, continuing in that pattern, 8 more times.
  • single crochet in each stitch until you have desired length of sock before starting the heel


  • Chain in middle stitch of sock and single crochet around to opposite center of sock
  • chain one, turn
  • single crochet to opposite end, chain one and turn, repeating until desired width of heel is achieved.

  • Starting at the corner of the heel, single crochet across heel and up around foot down the other side, across other side of heel and continue to single crochet by attaching into the first single crochet at corner of heel.

  • Single crochet until you have reached desired height of your sock.
  • Finally simply sew together your open heel to fully enclose your stocking.
  • I added some pom pom ribbon to the top of my sock for a little extra something interesting.


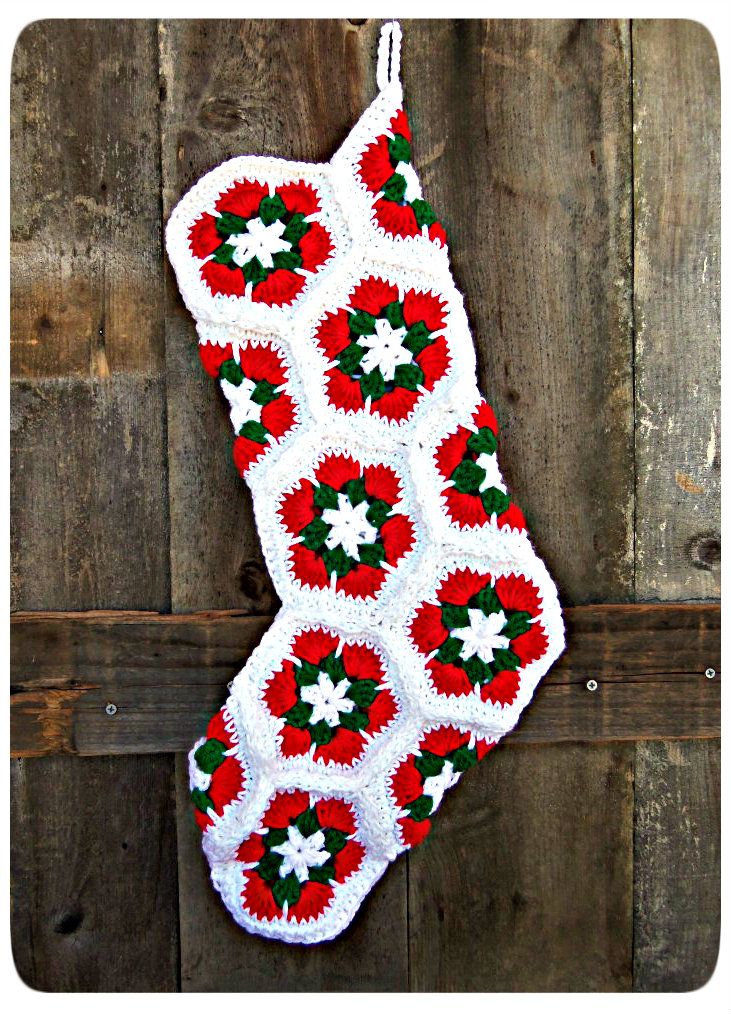
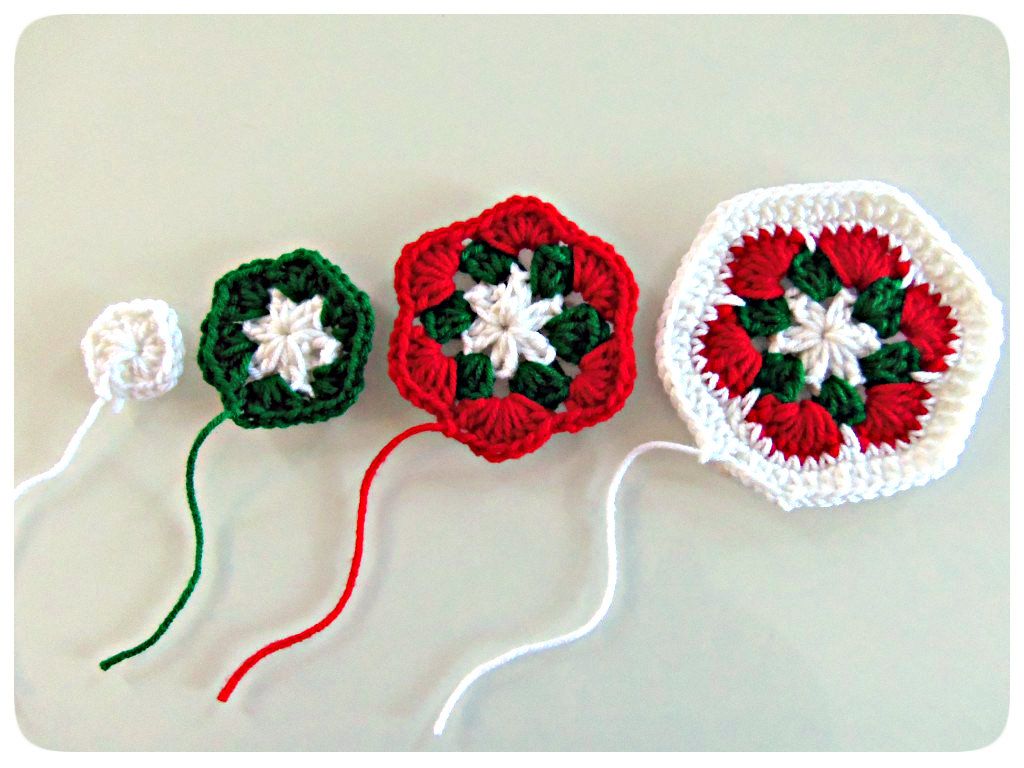
For the second stocking I followed the pattern found here. It is four easy steps for each hexagon and then simply sewing each hexagon together to make your stocking. I just loved how it turned out. I'm thinking I love it so much that next year I will make each of us one with this pattern but using different colors for the flower. 
Untitled_zpsf419afba

Sunday, November 25, 2012

Cardboard Christmas Tree

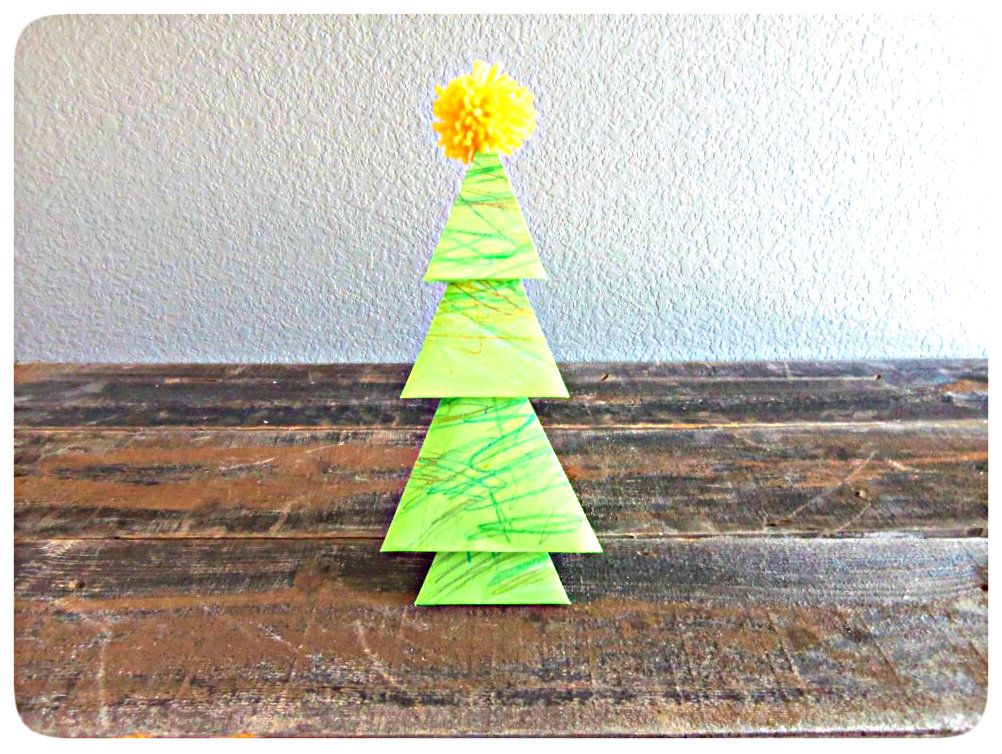
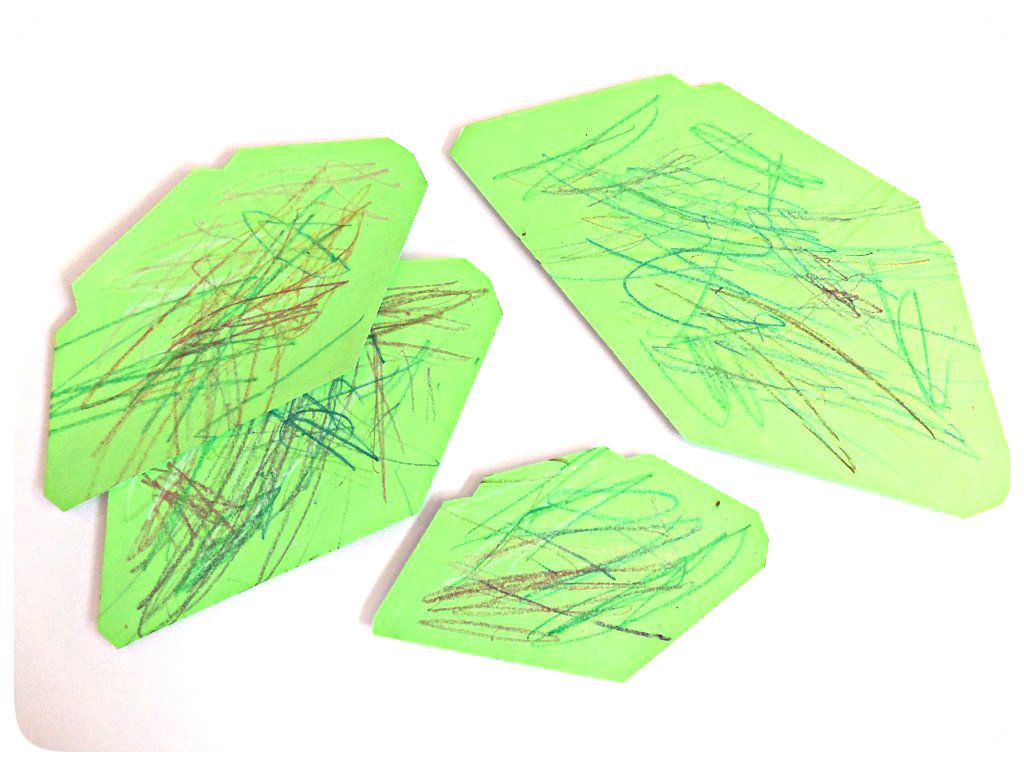
I just love Christmas and I am excited that this will be the first Christmas that our little Easton will be old enough to enjoy and get excited about. I have been trying to think of some fun crafts that I can do with him but he is still just a bit too young to do most. There is one however that I was able to involve him in, and that is our card stock/cardboard Christmas tree that we made together one afternoon.
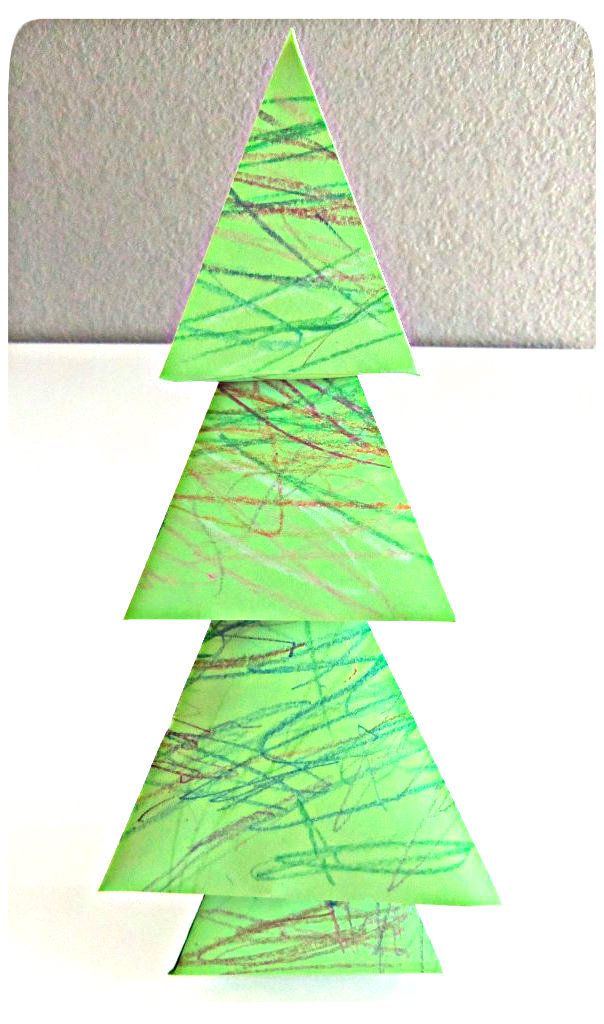
I am telling you, he is soooo proud of this tree he helped make with me! Every time he sees it he points to it proudly, smiles real big and babbles off a few words of excitement. It is so precious! I had so much fun making this with E and it was super simple and something that kids can personalize with crayons, markers, paints, stickers, etc. 

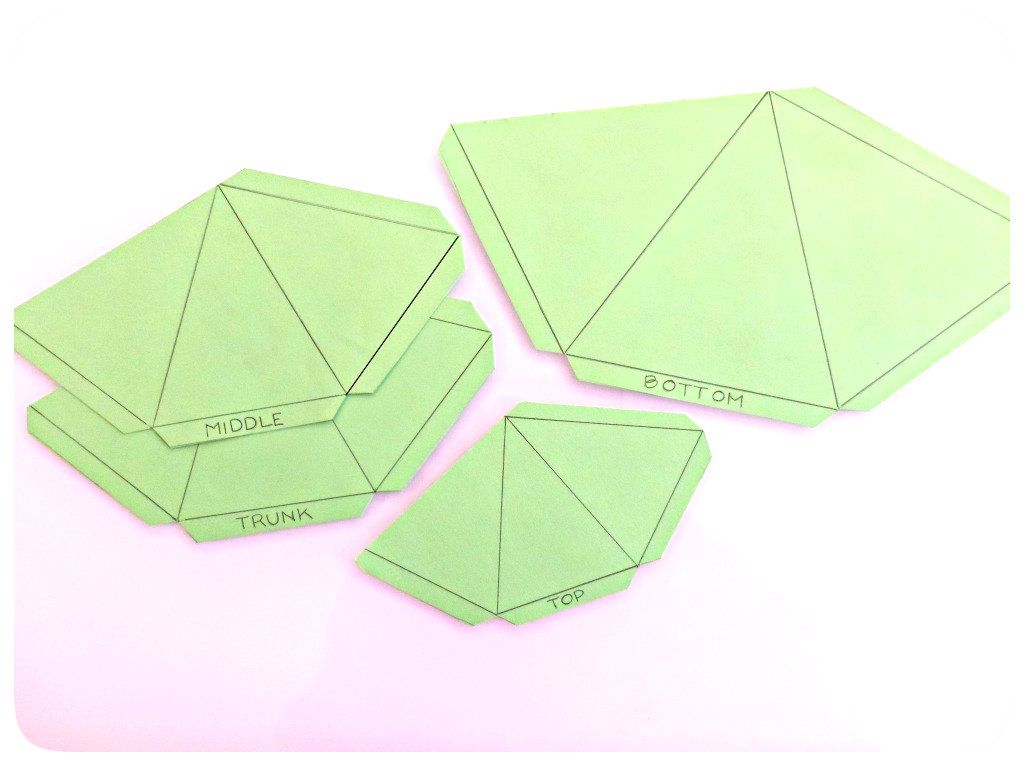
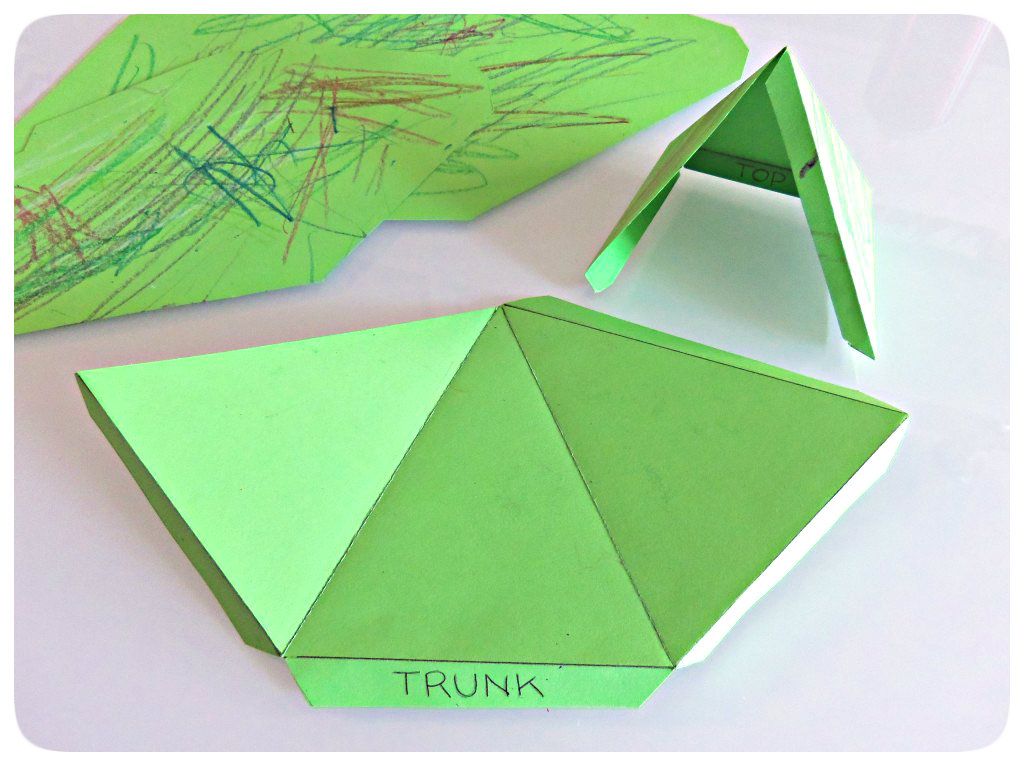
All I did was take some old card stock we had lying around, you can also use cereal boxes or some cardboard you have handy as well, and made four 3-dimensional triangles for our tree. Each cutout has a triangle flanked by a triangle, flanked by another triangle. Each triangle also has a small flap on the bottom and one triangle has an extra flap on its side, see picture below. I made one small cutout, two medium ones and one large one.
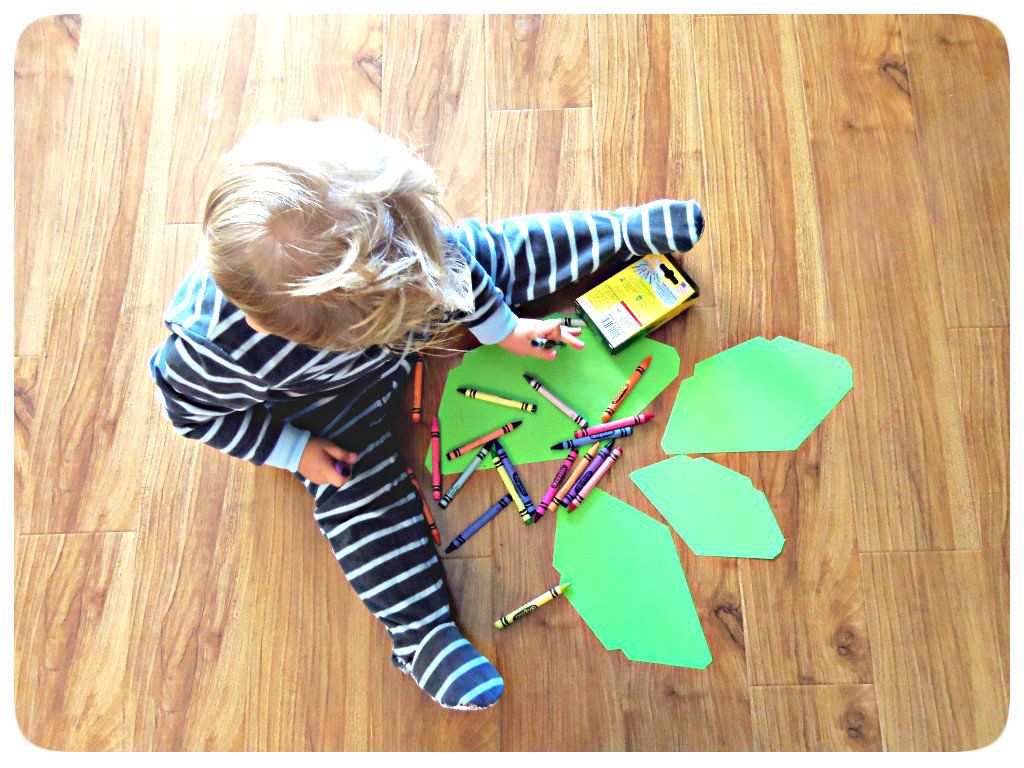
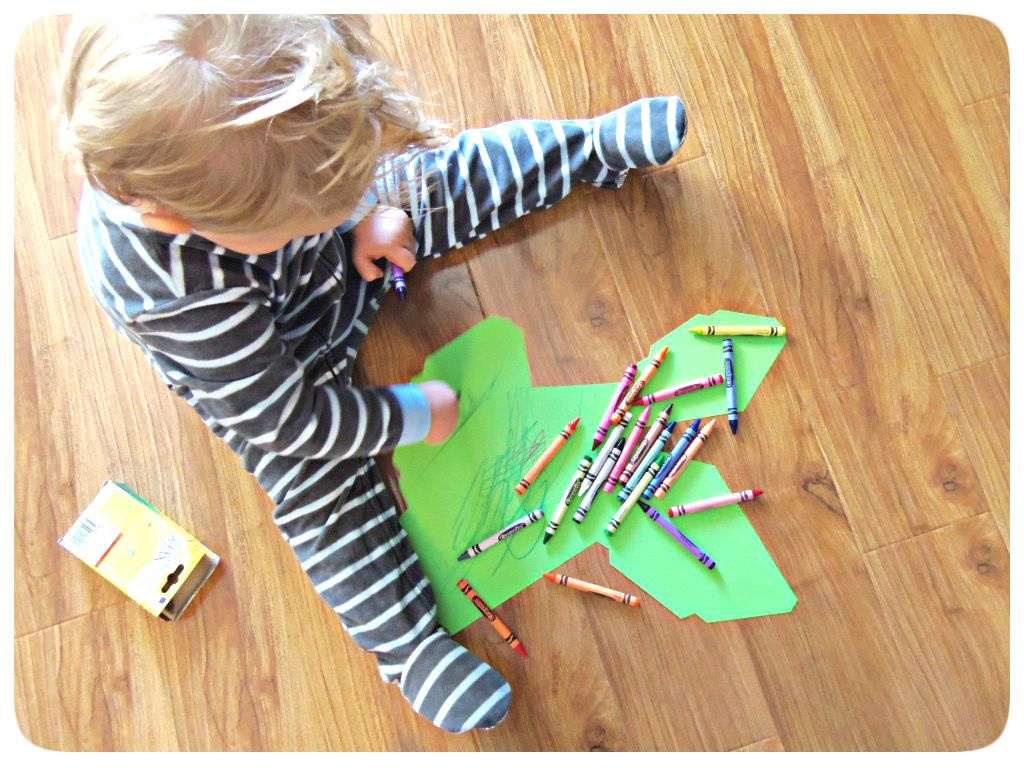
After I had traced and cut my pieces out I let Easton color till his hearts content! This was obviously his favorite part and his most interactive for this project.
Easton's masterpiece!

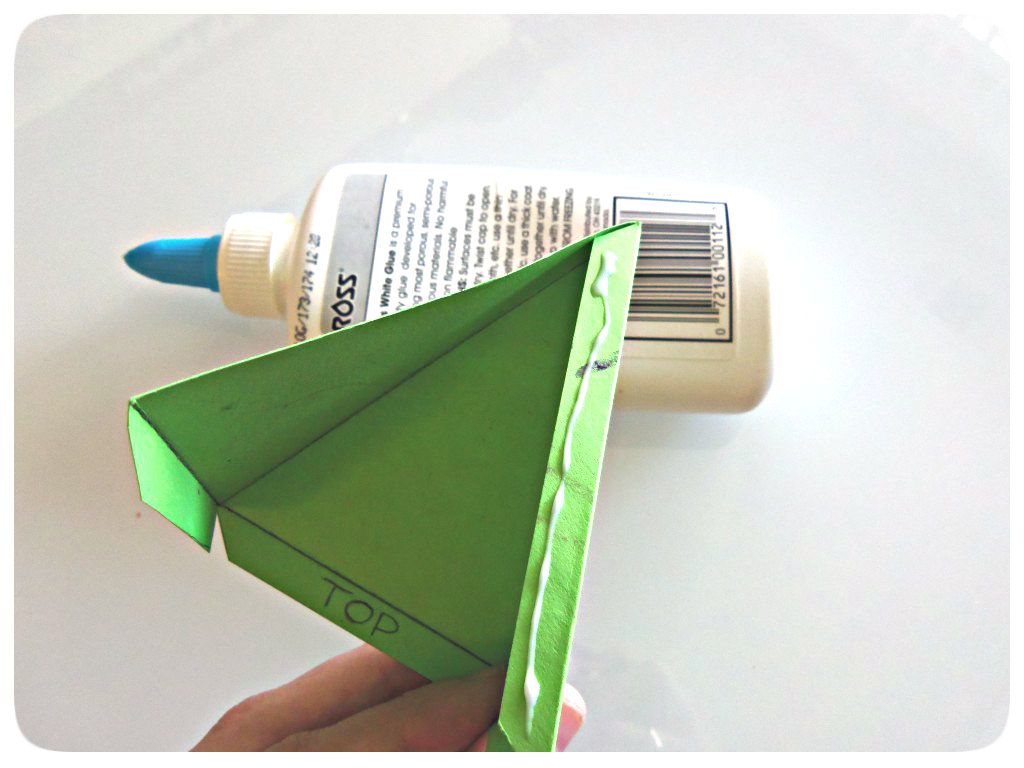
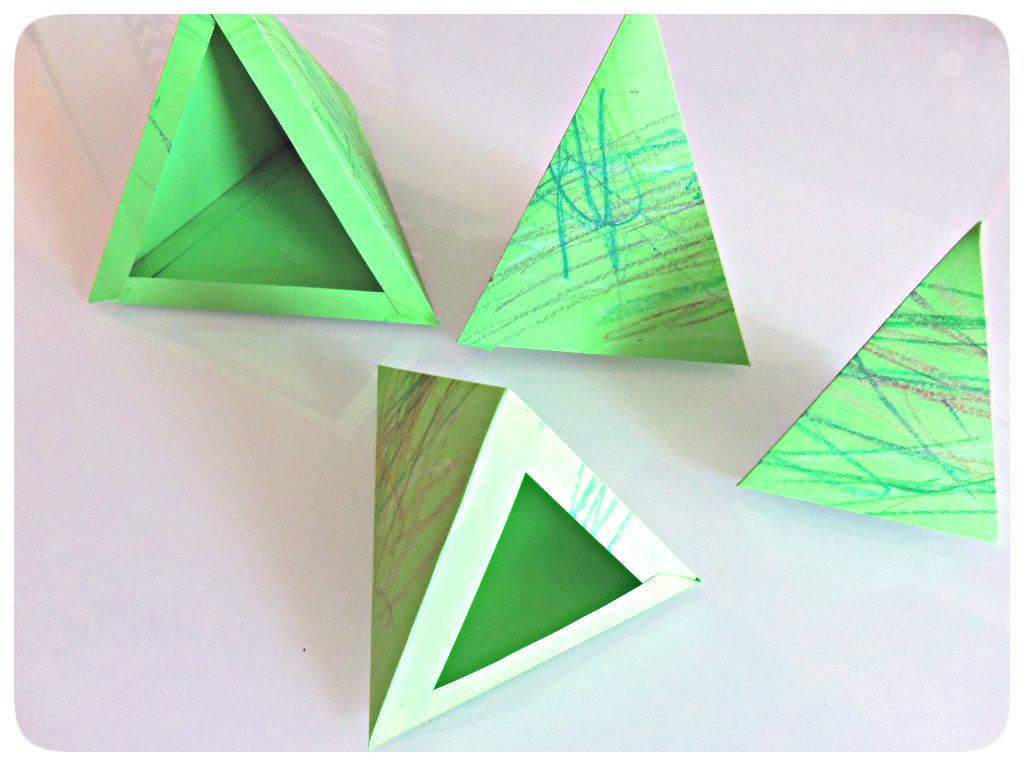
Next I simply folded along each of my triangle and flap lines. I folded my 3-dimmensional triangle with the coloring facing the outside and glued the side flap to the opposite triangle and glued my bottom flaps over each other.
Then I used one of my medium triangles for my base, then stacked my largest triangle, then my second medium triangle, followed by my smallest. 
And for a little extra pizzazz I added a yellow pom pom for our bright shining star!
You gotta try this one, it so cute so easy and so cheap cheap!!
Untitled_zpsf419afba
Blogging tips