blankhomeaboutthe fammy faithwhats cookinget crafty
Showing posts with label Fruit. Show all posts

Wednesday, June 4, 2014

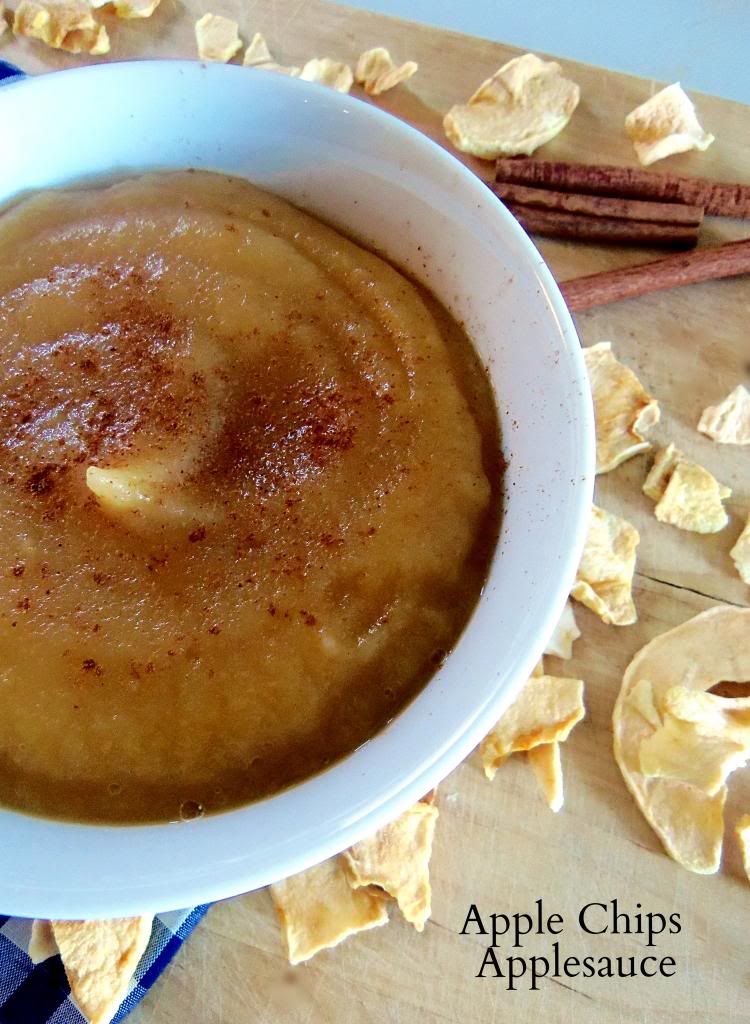
Homemade Applesauce from Re-Hydrated Apple Chips

Being a first time mommy has been full of learning experiences for me. One of the hardest things I have found is saying no to my son. On the one hand, I DO NOT want to create a little spoiled monster who grows up getting anything and everything he wants. On the other hand he is so dang cute and sweet and when he flashes me that adorable smile, tilts his head and says "peeese mommy", how can I possible be expected to stand my ground! Luckily at this point his major demands only include little hot wheel cars and specific addictions to specific foods. E needs at least 2 more hands to carry all of his favorite little cars. He tries so hard to balance as many as he can in his little hands and prop them against his chest and tummy. I'm convinced he is going to have arthritis by the age of 5 from contorting his little finger to manage holding 5 cars in one hand for hours at a time.
Some of the troops lined up for battle
And his second major demand is his love for food. He is such a ball of energy that I can understand a growing boy needing lots of yummy, healthy foods to fuel his body...but!...sometimes his need for certain food borderlines addiction. Seriously! No joke! I am convinced that if I gave him as many of these squeezable applesauces as he wanted that his stomach would pop before he decided to stop eating them. So consequently I have had to start limiting his consumption, and it has been hard for me to say no to my sweet little boy who loves his apple sauce so much! Plus, after doing a few calculations of how much money we actually spend on these little gems, which by the way are not cheap, I definitely knew it was time to scale back.
That is when a tender little mercy appeared! After 8 years of stocking up on food storage in case of an emergency of any shape or size I thought it time to open the boxes and take an inventory of exactly what we had, how much longer it would last, and how I could start incorporating it into our meals. I was shocked to say the least at how much we actually had. But I was so thrilled when I saw how many #10 cans of dried apple chips there were! I new immediately what I was going to do with them! Rehydrate them and make my own applesauce, for a fraction of the price, for my little apple-saucier!
It couldn't have been more simple or quick to make. And it tasted even better, I might add, than any of the store bought options. Apple chips are sold almost everywhere now if you want to give it a whirl. Or in case you stocked up on too many during your last shopping trip or you have a hoard of them in your food storage like we do, give this recipe a try! Plus making your own applesauce allows you to add any flavors you want or nothing at all.  Needless to say it will be a long time before I purchase store bought applesauce and I fear that Costco might go out of business when they start to realize the sales they are going to loose, from our family alone, when we stop buying their Go Go squeeze applesauce :)

Apple Chips Applesauce

Ingredients:
6 cups apple chips
6 cups boiling water
Cinnamon to taste, if desired

Directions:
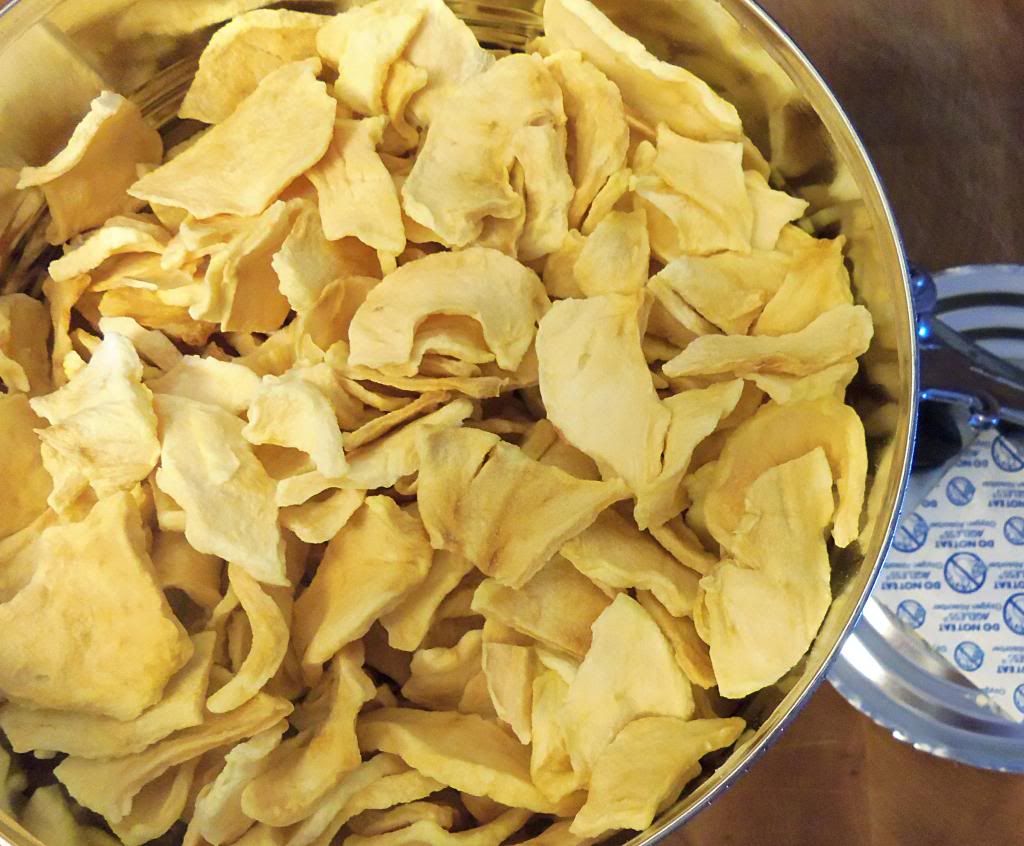
Place the dried apple chips in a large bowl and fill with 6 cups of boiling water. 
Pre boiling water
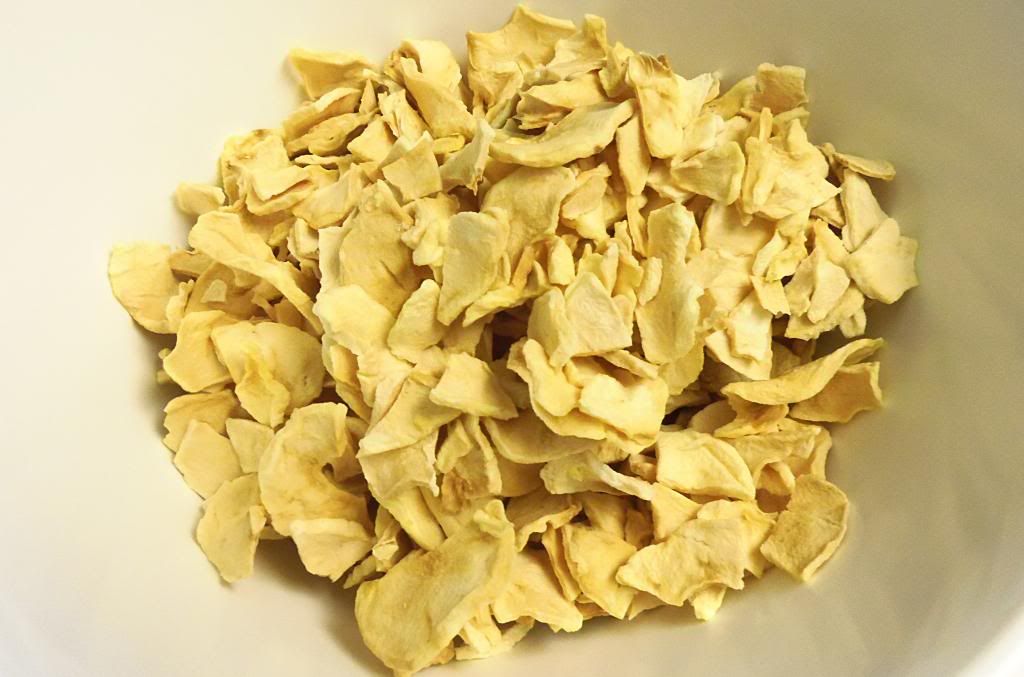
Let sit for a minimum of 5 minutes to rehydrate.
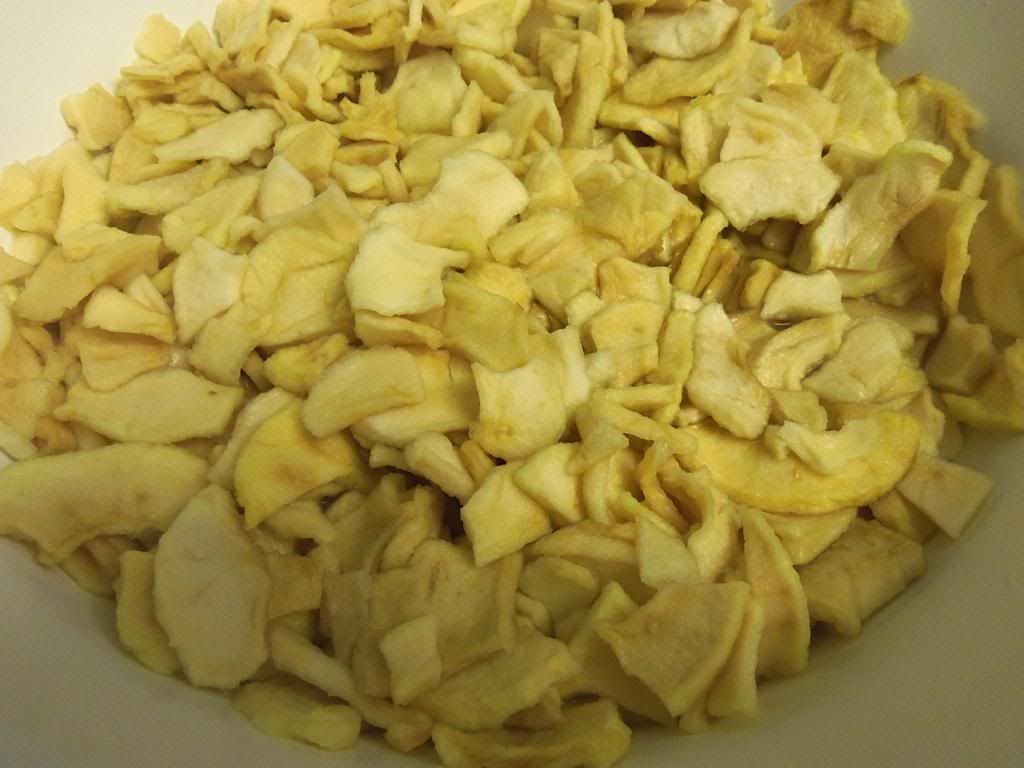
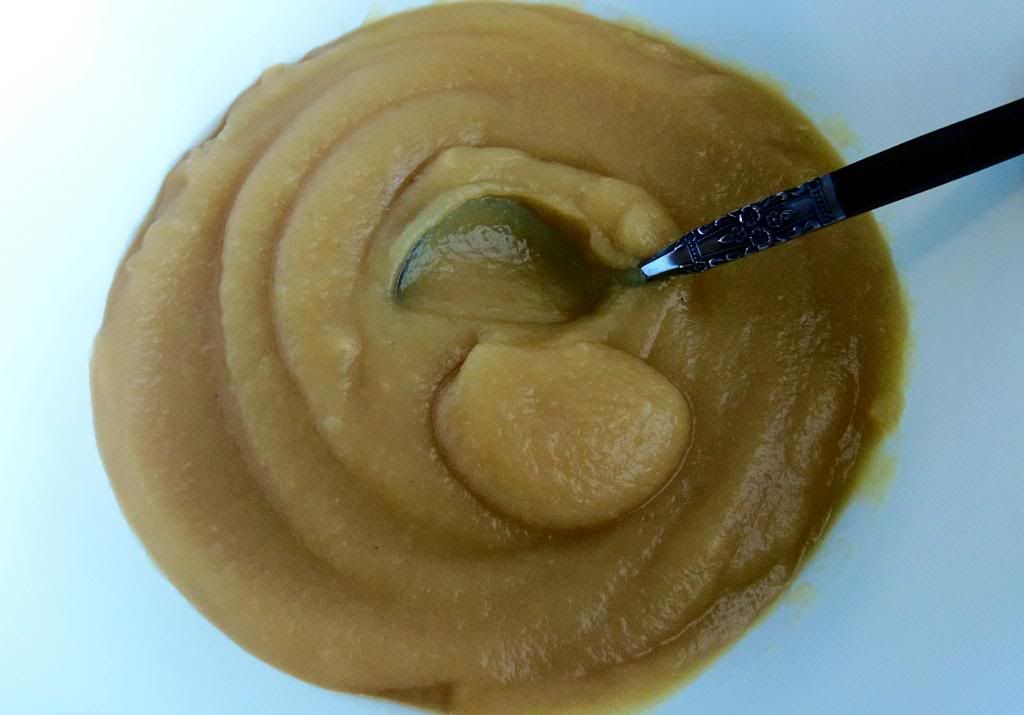
Post boiling water
 Transfer apples, including any remaining liquid in bowl, and cinnamon if you are using, into a blender and puree until smooth. 

Let the mixture cool before storing in an airtight container in your refrigerator. 
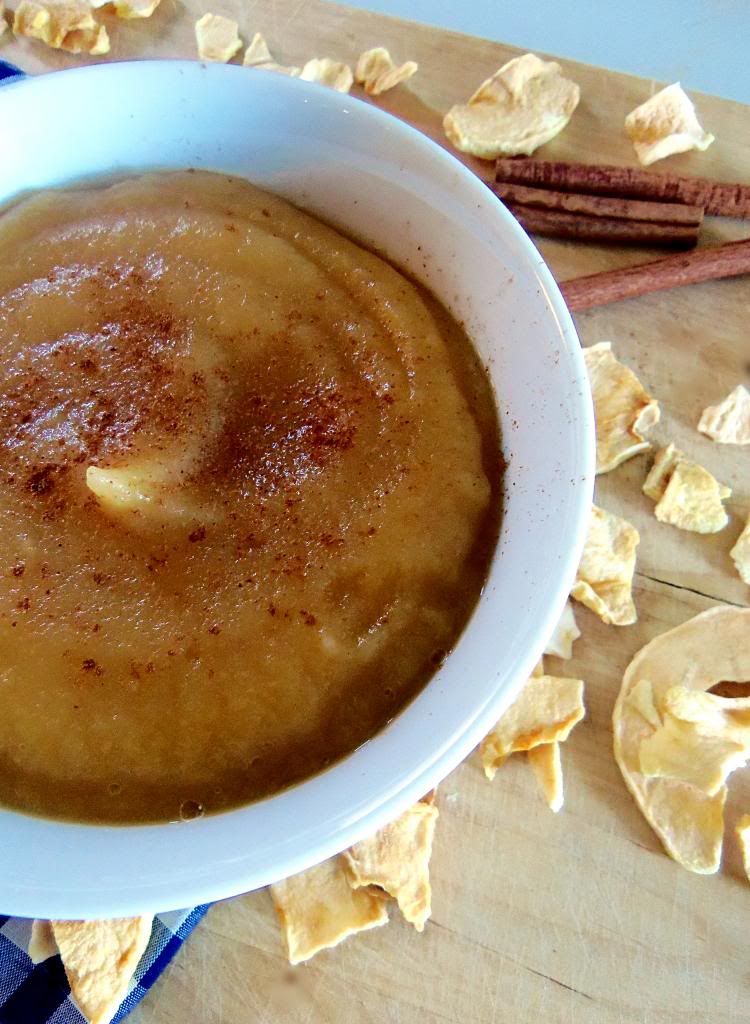
Enjoy!

Wednesday, February 19, 2014

Fig, Prosciutto & Kale Grilled Cheese

I was looking through my cabinets the other day for a snack for my son and found an economy size bag of dried figs that I had purchased from Costco months early and hadn't even used a 1/16 of. I wasn't sure E was going to go for the texture of the dried figs but I decided to try anyways. Turns out he has found another obsession aside from applesauce, bananas and watermelon. He has mowed through this bag with no trouble at all! In fact I have had to start regulating his fig intake so that his bowls don't spontaneously combust on me! As the bag was dwindling down I realized that if I wanted to use figs for anything I had better make my move before E finished them off. That was when my fig, proscuitto and kale grilled cheese made its appearance.


This grilled cheese combines flavors that you might not ordinarily think of using together, but they work soooooo perfectly! Its both sweet with the dried figs and salty with the cured prosciutto. A perfect combination! And of course I had to throw a little healthy into the mix and what better way than to use some vitamin packed kale. My husband gave it a definite two thumbs up while licking his fingers. This recipe will definitely be making a debut on our monthly rotation for sure!


Fig, Proscuitto and Kale Grilled Cheese

Ingredients:
sandwich bread, I used sourdough
butter
dried figs, 5 per sandwich
proscuitto, 3-4 thin slices per sandwich
kale, ribs removed
grated mozzarella cheese

Directions:
Reserve about 5 figs per sandwich, depending on how large the bread is that you are using. Slice each of your figs into at least 4 thin slices; set aside. Prepare your bread by lightly spreading butter on the outside pieces. Place a layer of mozzarella cheese down on one of the un-buttered sides of your bread. Place your cut figs fairly close together on top of the cheese. You want to make sure that you get a piece of fig with every bite. Layer your proscuitto down next. Place a layer of kale down over the proscuitto and top with an additional layer of grated mozzarella. Place your remaining piece of bread over the cheese with the buttered side up. Heat a large pan over medium heat and cook your sandwich until a gold crust forms on the bread. Turn and repeat on the other side. Serve and enjoy!

Wednesday, July 10, 2013

Watermelon Lemonade

Last summer my son was barely 1 years old and though he had an affinity for fruit he was still very much trying new flavors and deciding what he liked and what he liked even more. So now that summer has rolled around again and he is a big 2 year old he definitely has opinions on what he wants. These days most often what he wants is watermelon. Would I call my son a watermelon addict? Well according Merrium Webster's Online Dictionary, the definition of an addict is:

Definition of ADDICT

1
: to devote or surrender (oneself) to something habitually or obsessively 

Most of the time we think of addicts as those obsessively devoted to gambling, shopping, drugs, etc, but I would like to add an additional category. One who is habitually and obsessively devoted to watermelon; namely my son E. He eats a minimum of one watermelon a day. I bet you never knew that eating enough watermelon would turn your poop completely red like beets? Or that eating an entire watermelon a day would equal an entire package of diapers in urine?
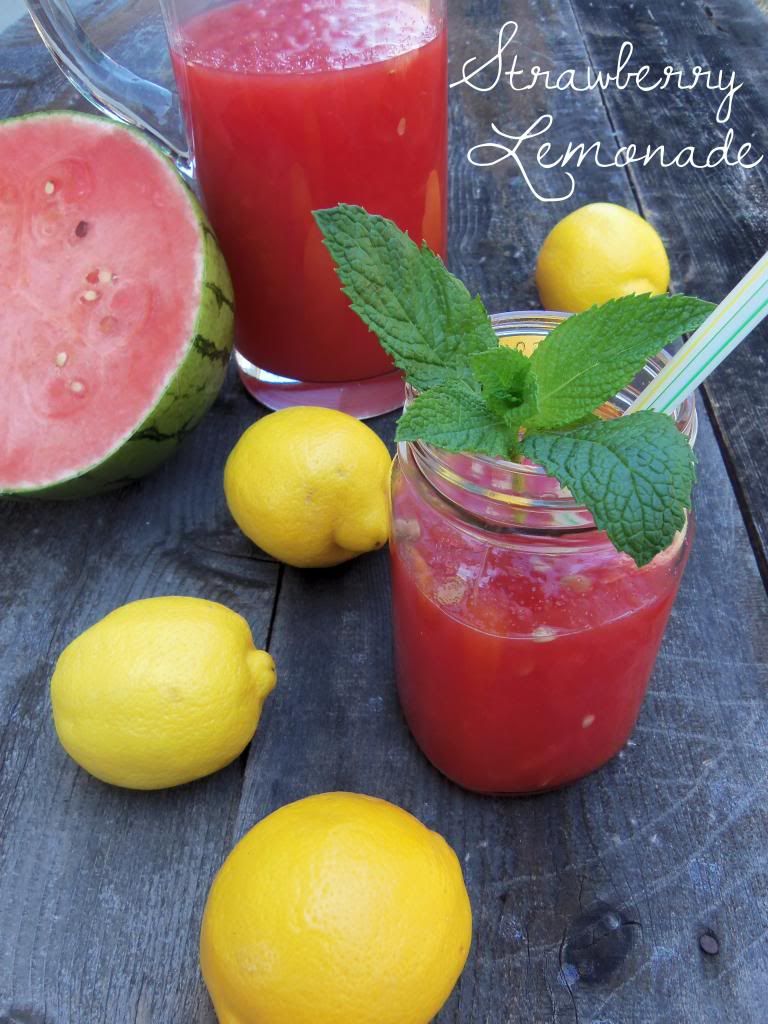
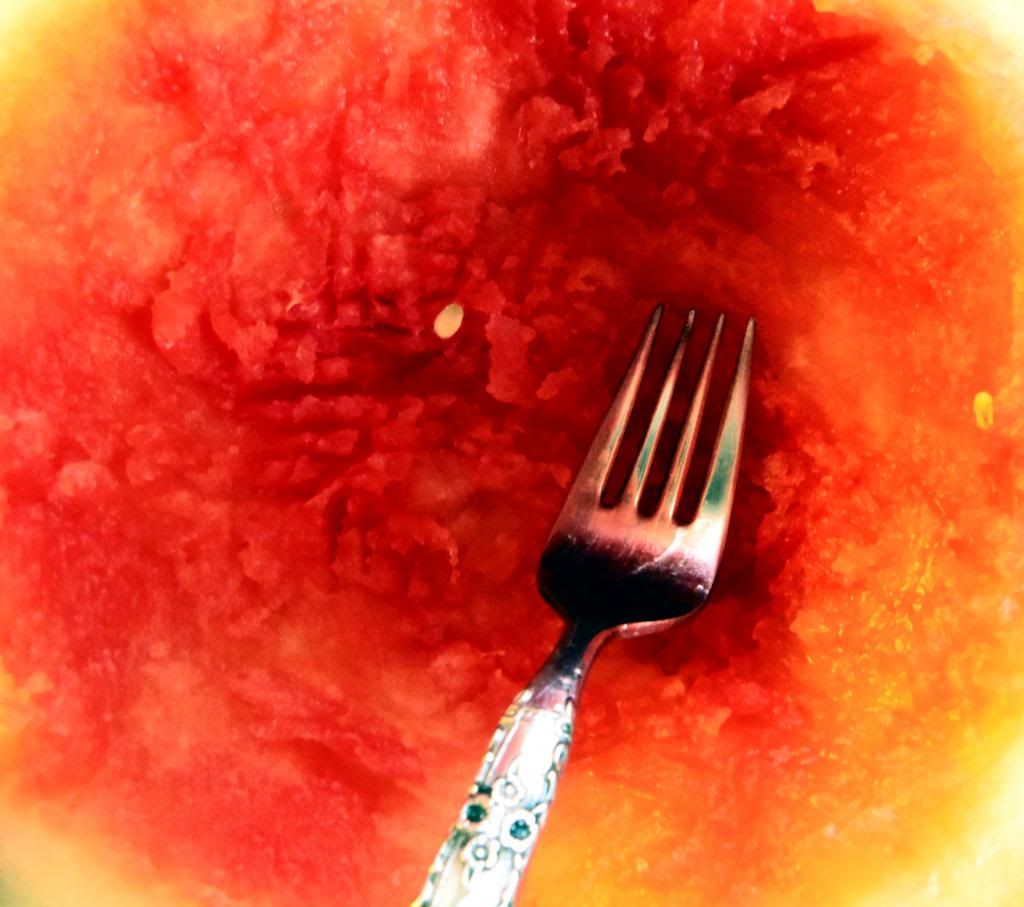
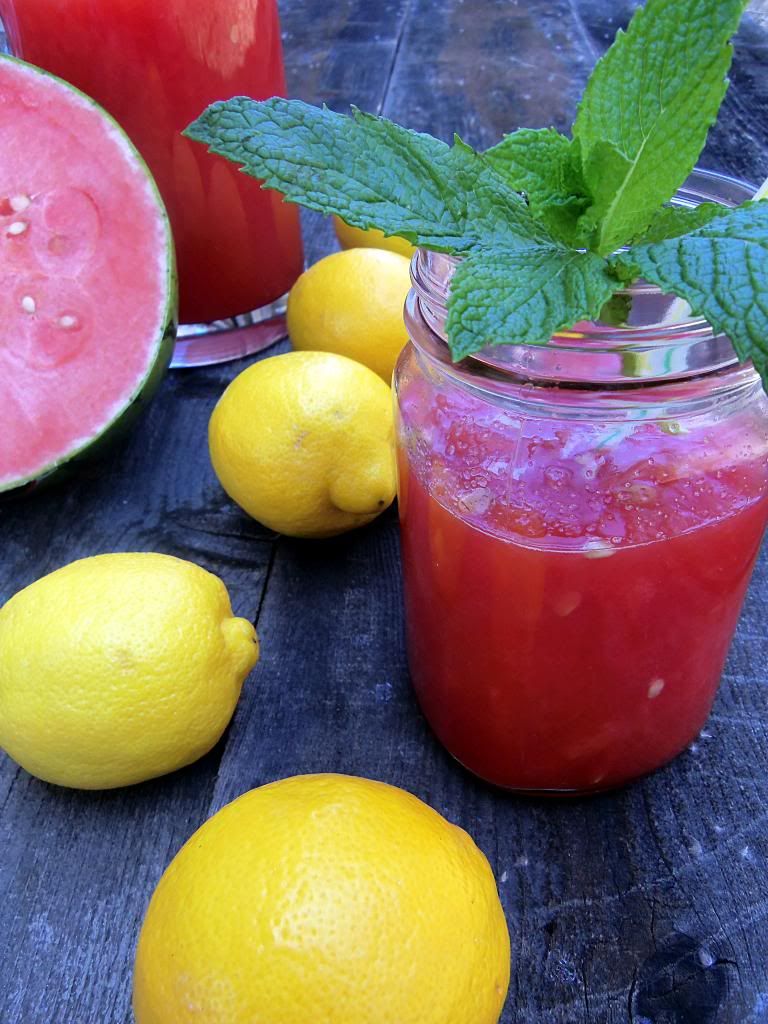
He eats so much of it that I have gone to great lengths to buy shopping carts full of watermelons so that I do not have to frequent the grocery store every other day just to buy more. My last trip to the store I might have gone overboard and found myself with an entire counter full of watermelon. Wondering if E was going to be able to eat it all before it spoiled I was forced to take alternative measures to use it. And since it is smokin hot here and I also had plenty of lemons on hand I decided to make watermelon lemonade. I really love a tart lemonade and I really love a ripe watermelon...so why not combine the two! I knew it would more than likely turn out good but I didn't know it would be really good! By scraping out the watermelon into the drink instead of pureeing it in a blender you get a very unexpected texture to this lemonade. It's not a smoothy, but it's not straight liquid. Its perfect, and a little bit of watermelon dissolves into your mouth with each sip. Chill this lemonade and add to a glass of ice and you have my friends, a perfect refreshing summer drink to sip slowly pool side or to pretend you are sipping slowly poolside :)
Watermelon Lemonade

Ingredients:
1 cup lemon juice (about 7 lemons)
3/4 cup sugar
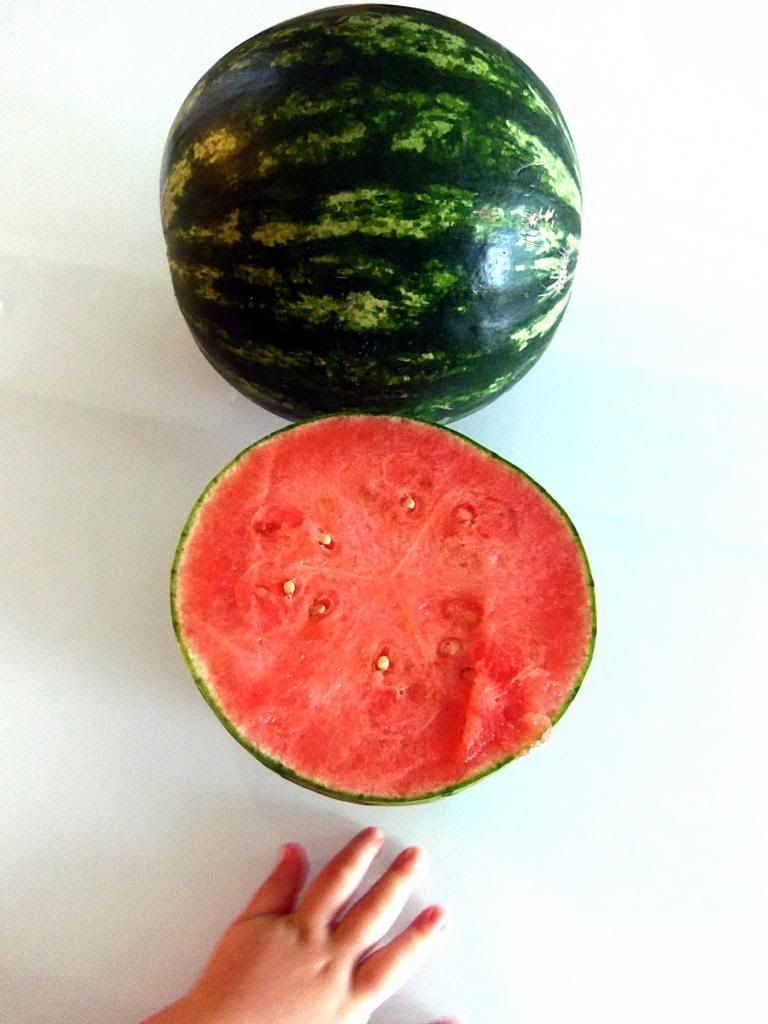
1 medium size personal seedless watermelon (about  cups with juice and pulp)

Directions:
Squeeze your lemons into a large pitcher and add sugar. Stir until sugar is dissolved. Cut your watermelon in half and starting with one half take a fork and grate out the watermelon flesh into a large bowl that will catch the juice and pulp.

Continue with the other half of the watermelon. Once finished, remove any black seeds that happen to be in your watermelon. There is no need to remove any of the yellow white ones but if you want to you can also remove them. Add the watermelon juice/pulp to your lemon mixture and stir to combine. Chill in refrigerator for at least 30 minutes. Serve chilled with ice and a sprig of fresh mint.

Thursday, June 27, 2013

Cinnamon Sugar Tortilla Ice Cream Bowls

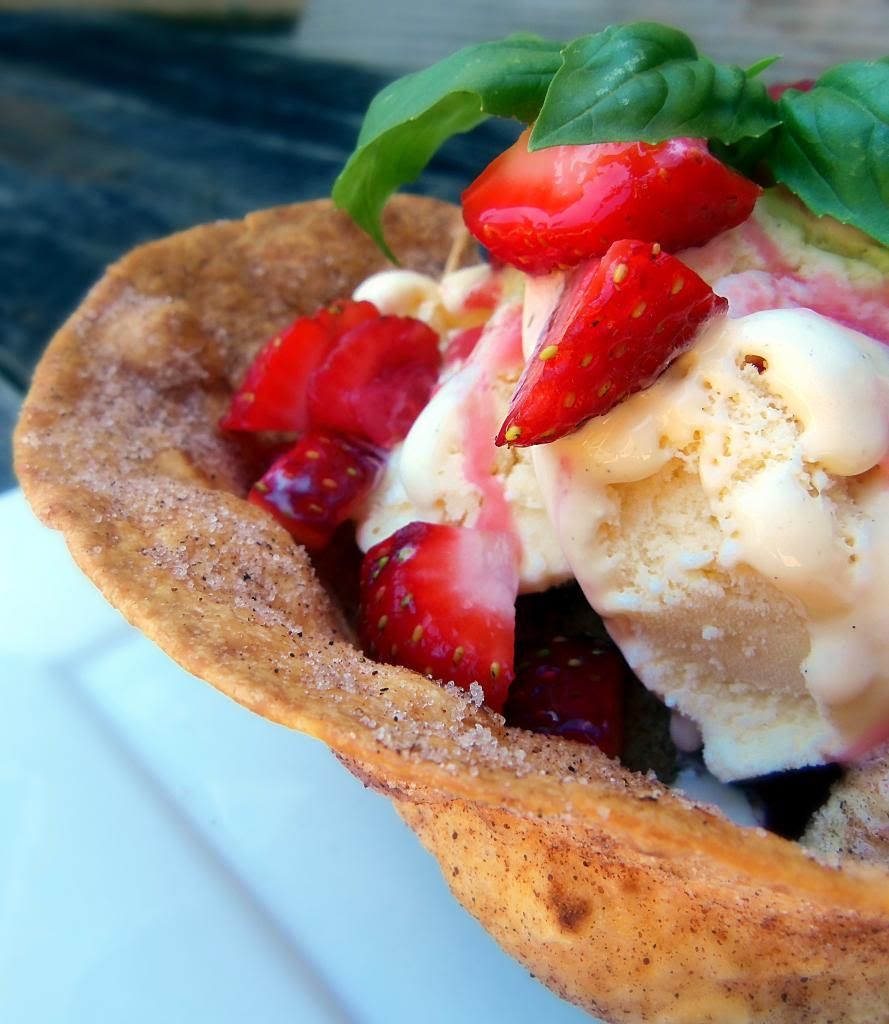
Looking for a fun alternative way to add a little excitement to your ordinary bowl of ice cream and impress your family and/or guests?! How bout making a delicious edible ice cream bowl! This is such a simple idea but yet so flavorful and presentationaly impressive. The cinnamon sugar bowl is so delicious that you don't even need to serve it with any fancy ice cream; vanilla will do just fine! We love to top ours with some fresh berries and a sprig of basil.
This is an easy dessert idea that can be made well in advance. So when its dessert time you can relax and simply scoop your ice cream into your cinnamon sugar bowl, collect all of the compliments and watch as your family or guests devour it. Plus, kids and adults alike will love the idea of getting to eat their very own bowl!

Cinnamon Sugar Tortilla Ice Cream Bowls

Ingredients:
6 tortillas
1 1/2 tablespoons cinnamon
1/4 cup plus 2 tablespoons sugar
butter, melted

Directions:
Preheat your oven to 350 degrees. Prepare oven safe containers, at least 1 1/2 inches in depth, by spraying with non stick cooking spray. Do not skip this part. If you do not use a non stick cooking spray on your containers the sugar will stick to the bowls and you will be unable to remove them without breaking them. I placed my bowls onto a cookie sheet for added stability and easy one step transferring in and out of the oven.

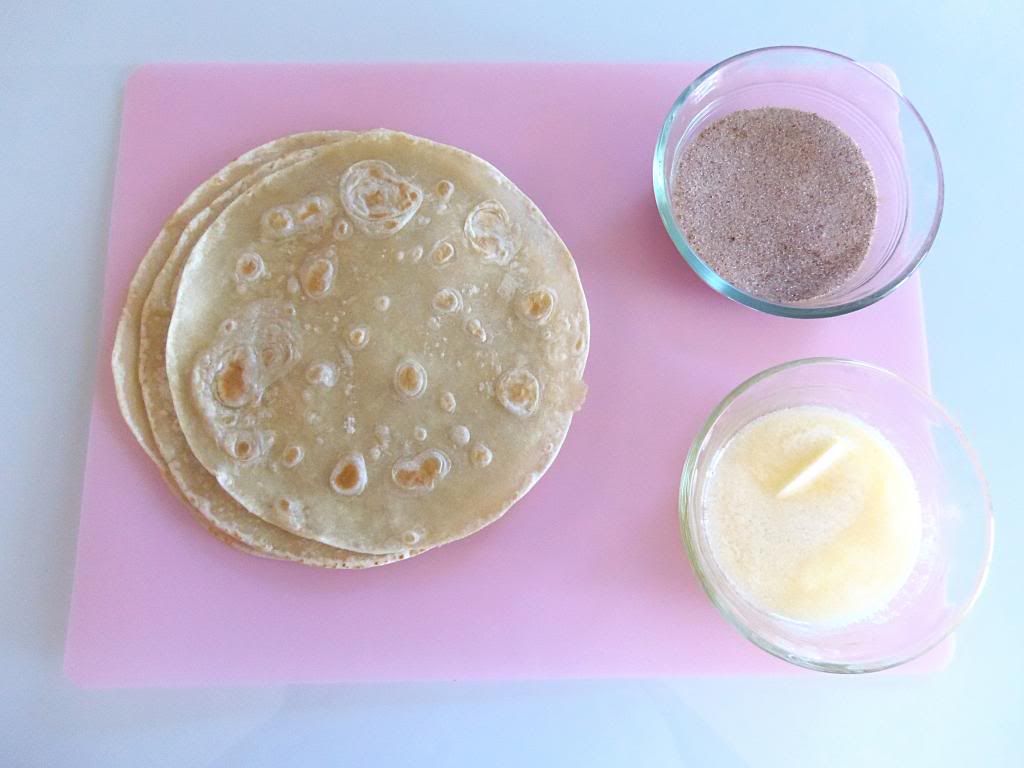
Combine your sugar and cinnamon in a small bowl. Place your  melted butter, cinnamon sugar mixture and and tortillas all next to each other on a work surface.
Spread a very thin layer of melted butter on both sides of your tortilla, so that they do not become soggy while cooking, and sprinkle with the cinnamon sugar mixture. Continue until you have completed all of your tortillas. Place your prepared tortillas into your oven safe containers being sure to push each down into the bottom and fold them where needed so that the middle remains open as it cooks.
Cook tortillas between 17-20 minutes keeping an eye on them in the last few minutes to make sure that they do not burn. Once cooked and crisp remove them from the bowls immediately and place on a cooling wrack. Once finished cooling they are ready to use, or if you are making them in advance, store them in an air tight container until ready to use.

Wednesday, June 26, 2013

Pineapple, Banana & Coconut Popsicles

I don't know about where you reside but where I'm living its forecasted to be 100 degrees or above all week...deep sigh. For a pregnant mommy, the heat is one of my worst nightmares. Sweating and swelling are not a good combo on me. Which unfortunately means for my little guy that we are spending a limited amount of time outside these days. But when we are outside I try and keep him cool and hydrated with the hose, his water bottle and lots of yummy fruit with high water content. Some days though I like to let him indulge just a bit...or at least let him think he is indulging. 
Thats why I started making homemade popsicles. That way I can give E a little something sweet that I can feel good about. Fresh ingredients and no sugar added...you cant beat or feel guilty about eating or serving that! Using ripe pineapple and bananas will offer the popsicles the perfect amount of sweet without your family knowing that you didn't load them up with added sugars. 
These popsicles are super yummy and crazy easy to make. I had them whipped up and in the freezer in under 5 minutes. I used coconut milk to thin out my pureed fruit and then added shredded coconut for a little texture. They took no time to freeze up and no time to eat!! 

Pineapple, Banana & Coconut Popsicles

Ingredients:
2 Cups fresh pineapple
1 ripe banana
3 tablespoons shredded coconut
3 tablespoons coconut milk

Directions:
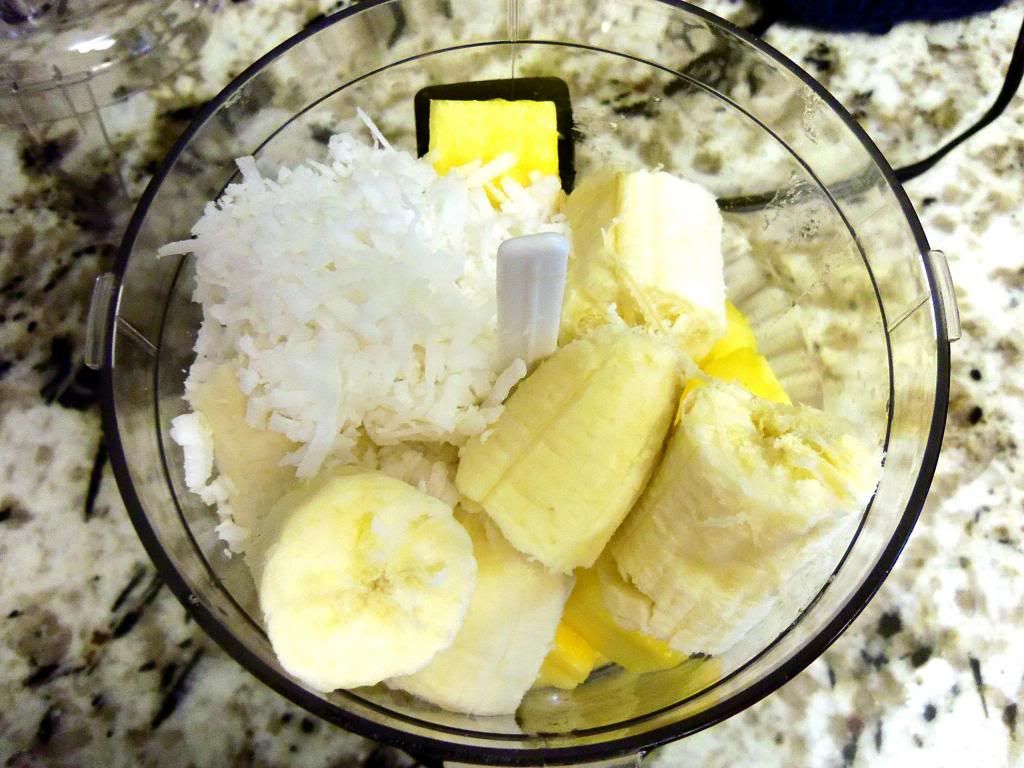
Place all ingredients into a blender and mix until everything is well incorporated. 


Transfer mixture into popsicle molds and let freeze. Enjoy!

Wednesday, June 19, 2013

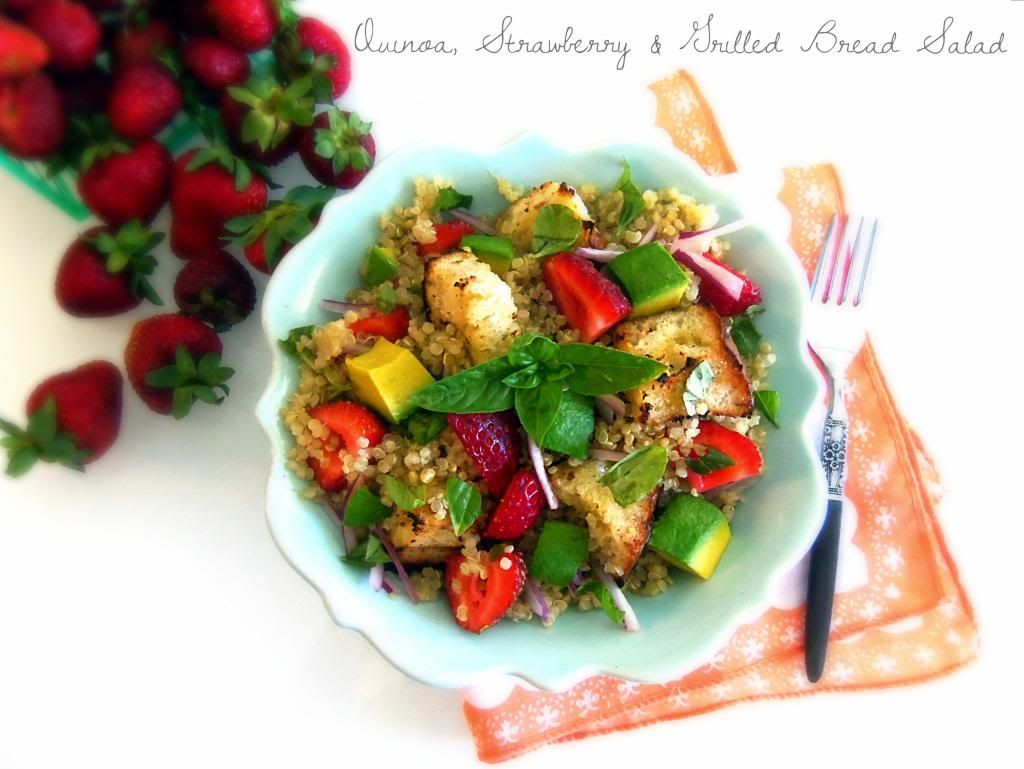
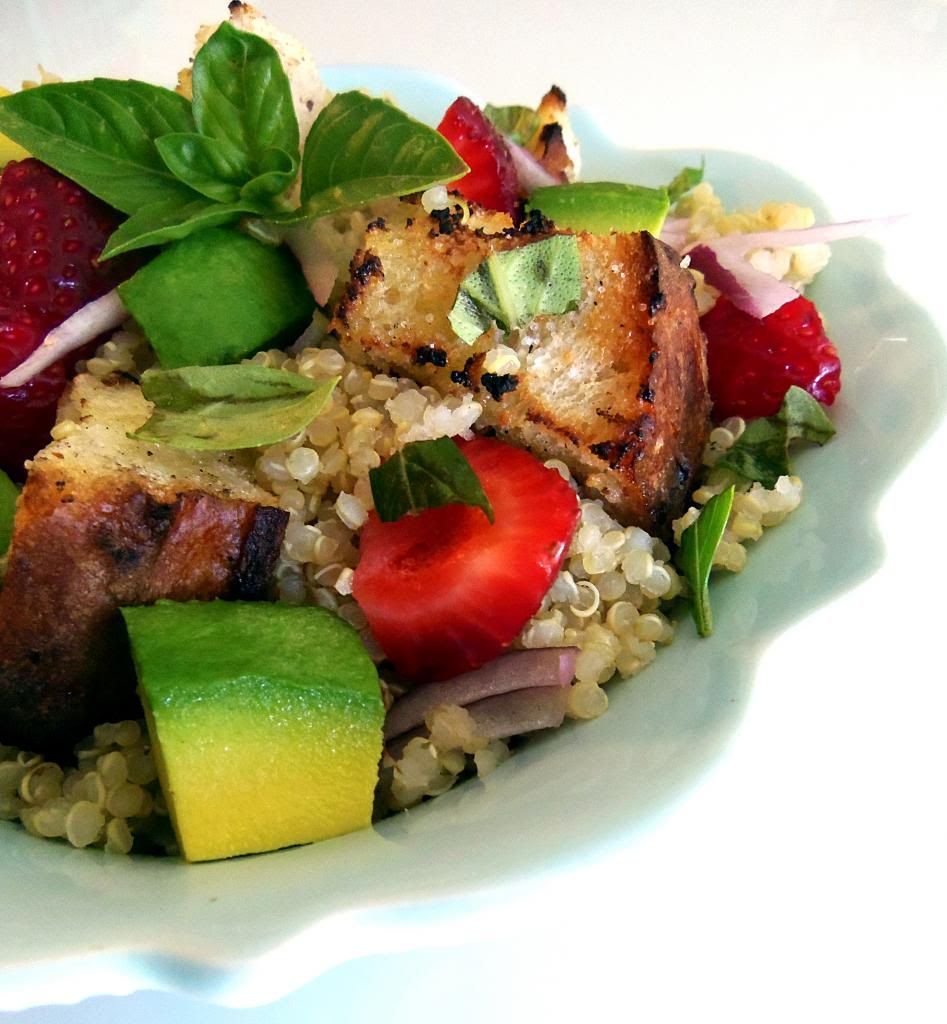
Quinoa, Strawberry & Grilled Bread Salad


Ok, it's officially summer in California and it's officially hot!!! I'm pregnant and Im roasting here people! And because it is so hot Ben prefers that we do as much cooking as possible outside on the grill. Some nights that makes things a bit tricky since BBQ-ing casseroles or desserts on a grill might prove a bit unconventional, not to mention unsafe :) But I do what I can to make most of our meals grill-able and functional enough to use the side burner attached to the BBQ.
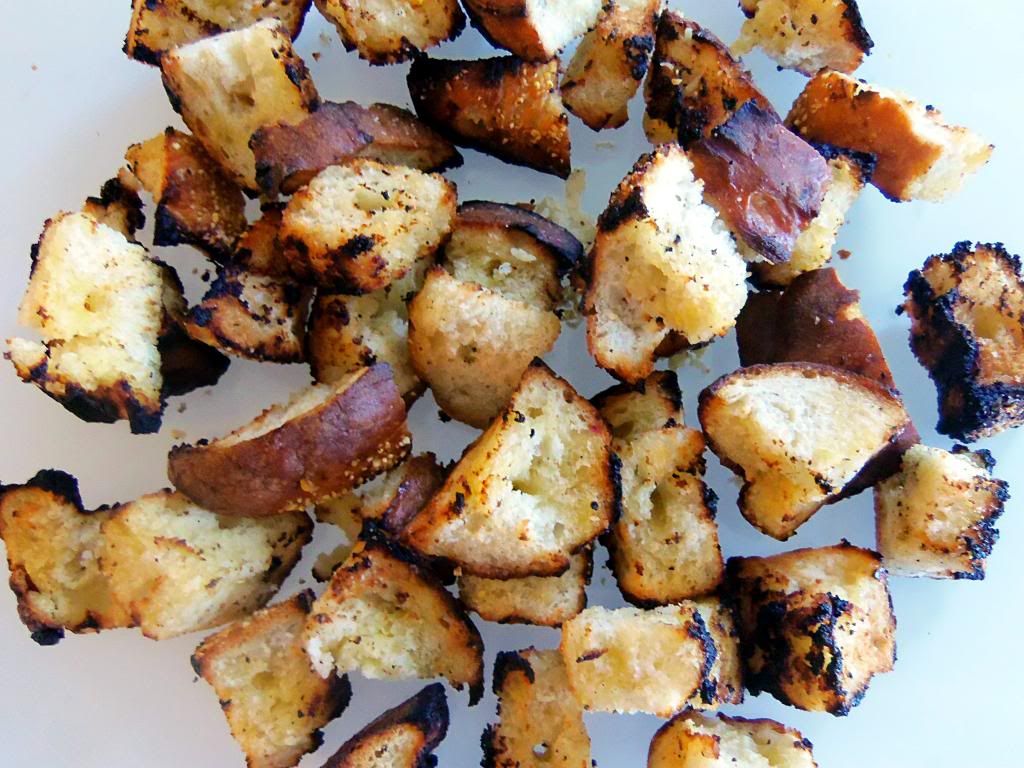
And the best kind of summer meal in my opinion aside from grilled meats/fish is a fresh summer salad! This salad ranks number one in our house. In fact, it basically trumps all other salads for my husband. And one of the greatest flavor additions is the grilled marinated bread. Nothing, let me repeat, nothing, beats the addition of the grilled bread cubes that have been lightly marinated in olive oil and lemon juice. In fact a few skewers of bread have been known to disappear from the BBQ to the house, so I always make a couple extra.
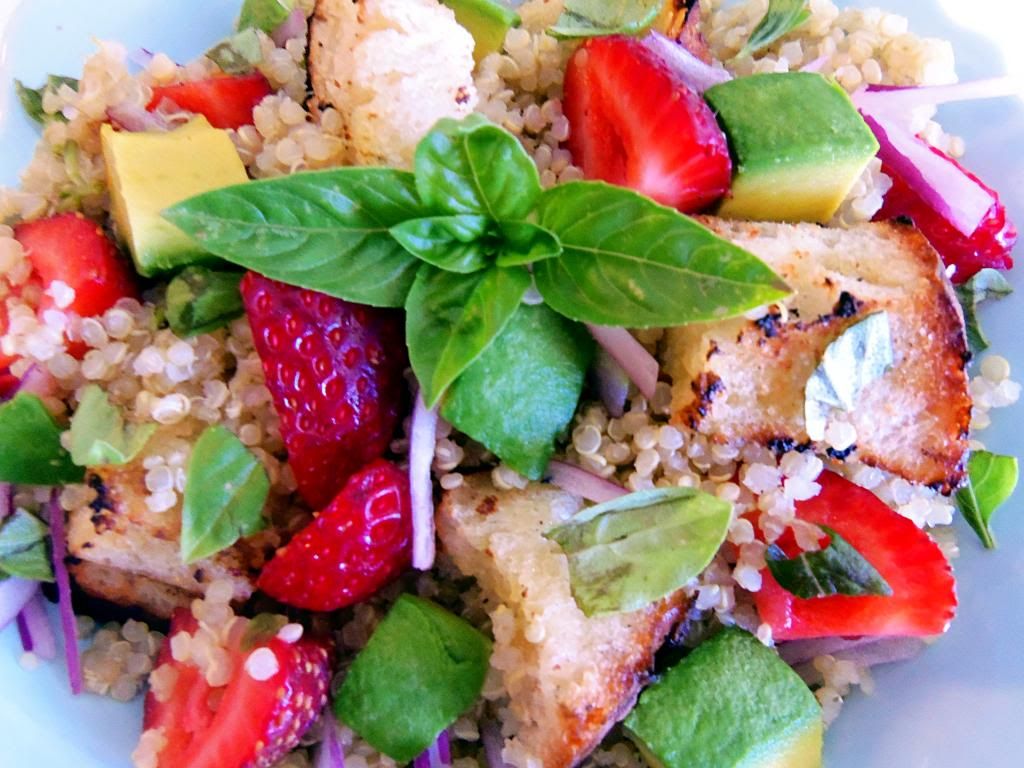
All of the ingredients meld perfectly and are cool and refreshing. From the ripe farm fresh strawberries to the creamy avocados and basil this salad is easy, crazy delicious and can be made without heating up your house on a hot summer day!

Quinoa, Strawberry & Grilled Bread Salad

Ingredients:

Dressing-
1/2 cup balsamic vinegar 
1/4 cup olive oil
2 garlic cloves, crushed
2 tablespoons honey
salt and pepper to taste

Salad-
2 1/2 cups bread, cubed and grilled
juice of 2 large lemons 
olive oil for drizzling
1 1/2 cups quinoa, prepared according to package instructions
1 1/4 cups fresh strawberries, cut in half
1/2 cup onions, very thinly sliced
1-2 avocados, diced
1/2 cup loosely packed basil, chopped


Directions:
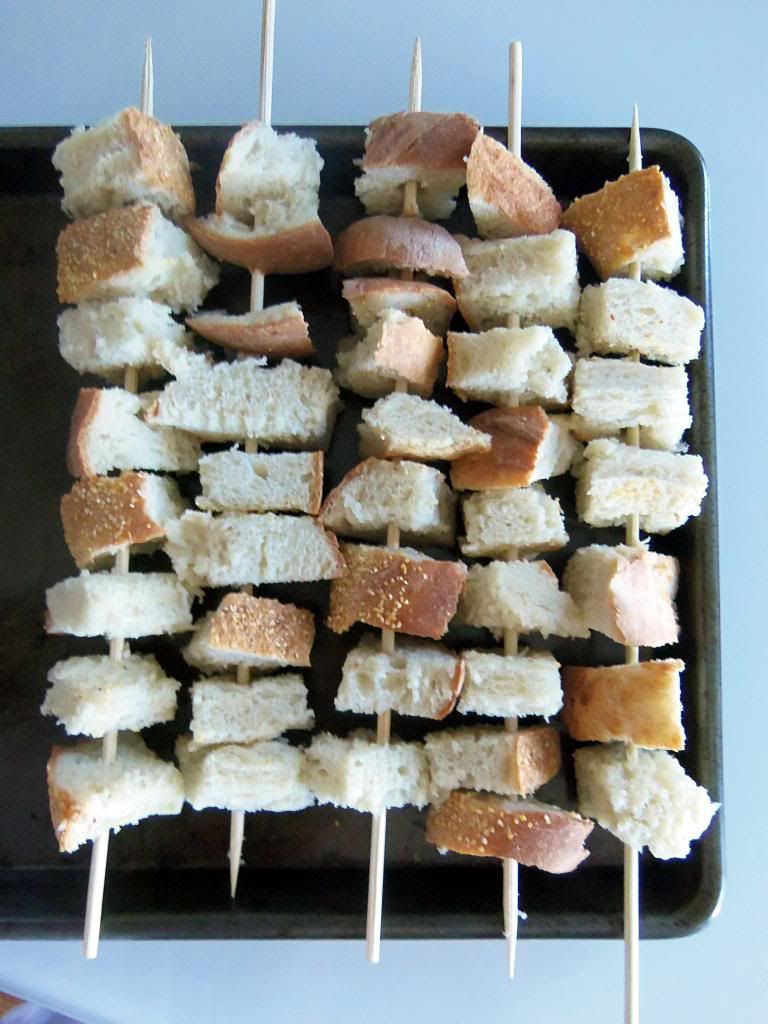
To make dressing, combine balsamic vinegar, honey, crushed garlic cloves, olive oil, salt and pepper and stir to combine. Set aside to let garlic permeate the ingredients. Prepare the bread by cutting it into 1-inch cubes . Skewer the bread cubes onto wooden skewers and drizzle with olive oil, then lemon juice, on both sides. 

Salt and pepper the bread and place onto the grill until they are browned on all sides. We like ours nice and crispy on the outside, but feel free to pull your bread off of the grill when it is perfect for you and your family.
Meanwhile cook your quinoa according to package directions. Once bread is grilled and quinoa is cooked you can arrange your salad. Place, quinoa, cubed bread, strawberries, onions, basil and avocados into a large salad bowl and stir to combine. Only when you are ready to serve should you add your dressing so the bread doesn't sit to long and become soggy.


Blogging tips