


blankhomeaboutthe fammy faithwhats cookinget crafty
Showing posts with label Family. Show all posts

Wednesday, March 12, 2014

Easy Crochet Baby Sweater

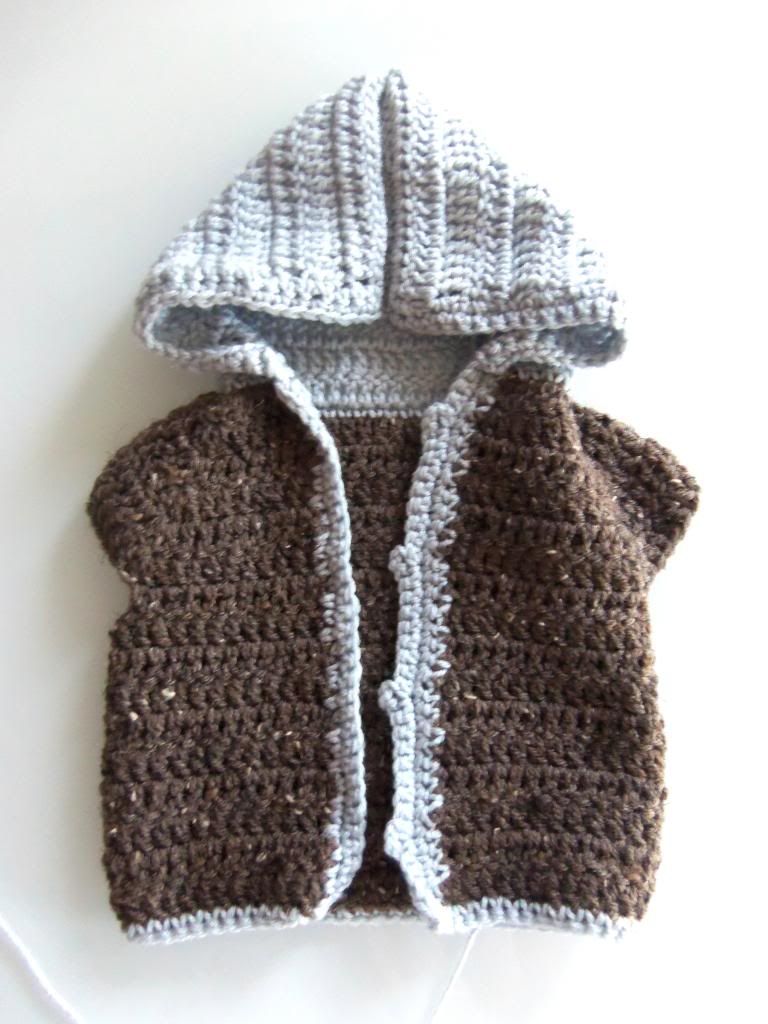
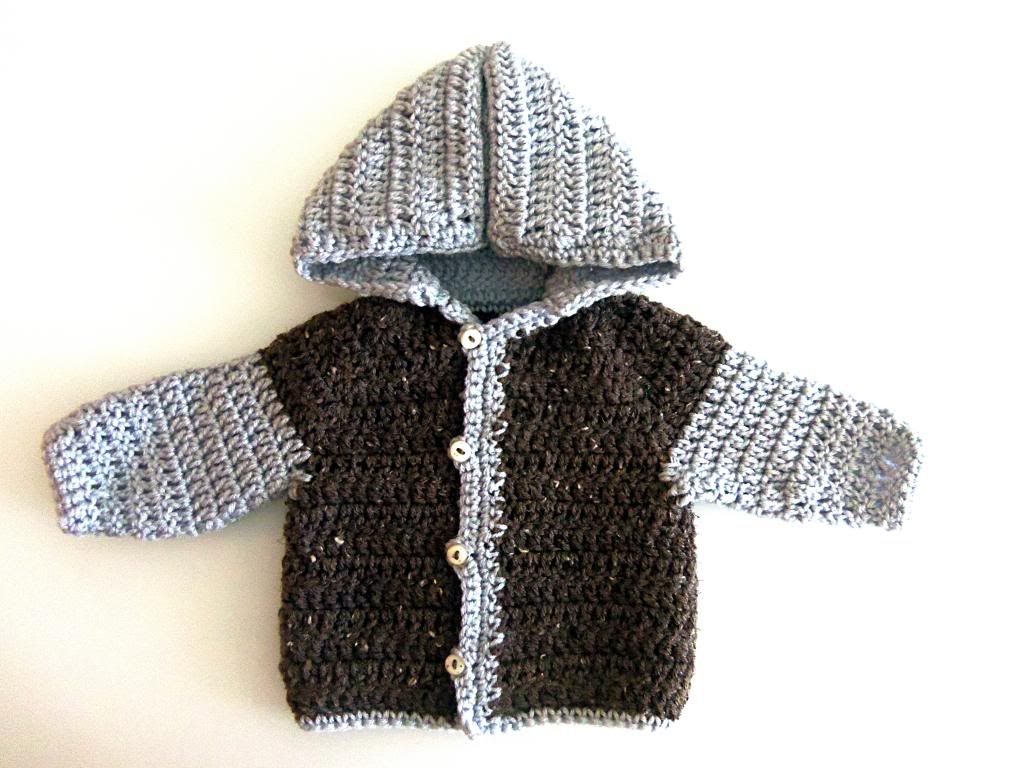
If you know me you know that I have a bit of a crochet obsession. I own way to much yarn for my own good! I find that it is a very relaxing hobby for me and I have loved creating all kinds of crocheted items. With a new baby on board now I of course had to outfit him with some crocheted sweaters for the cold winter months. This time I am sharing this easy tutorial with you so that you can make your little one a sweater as well!
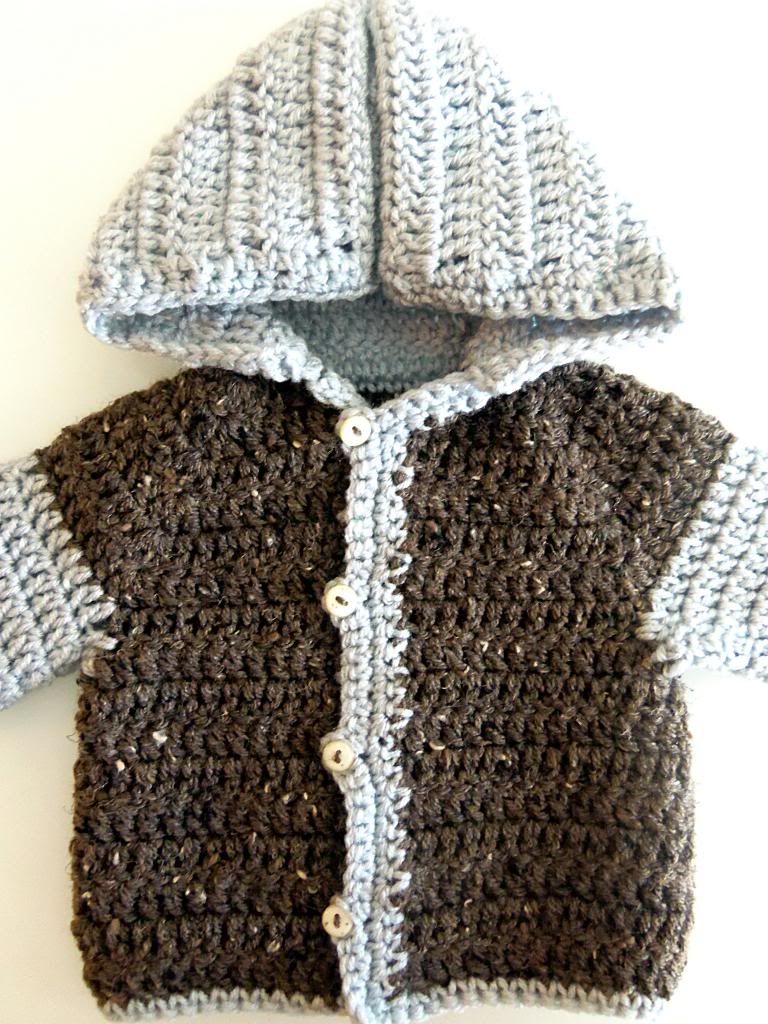
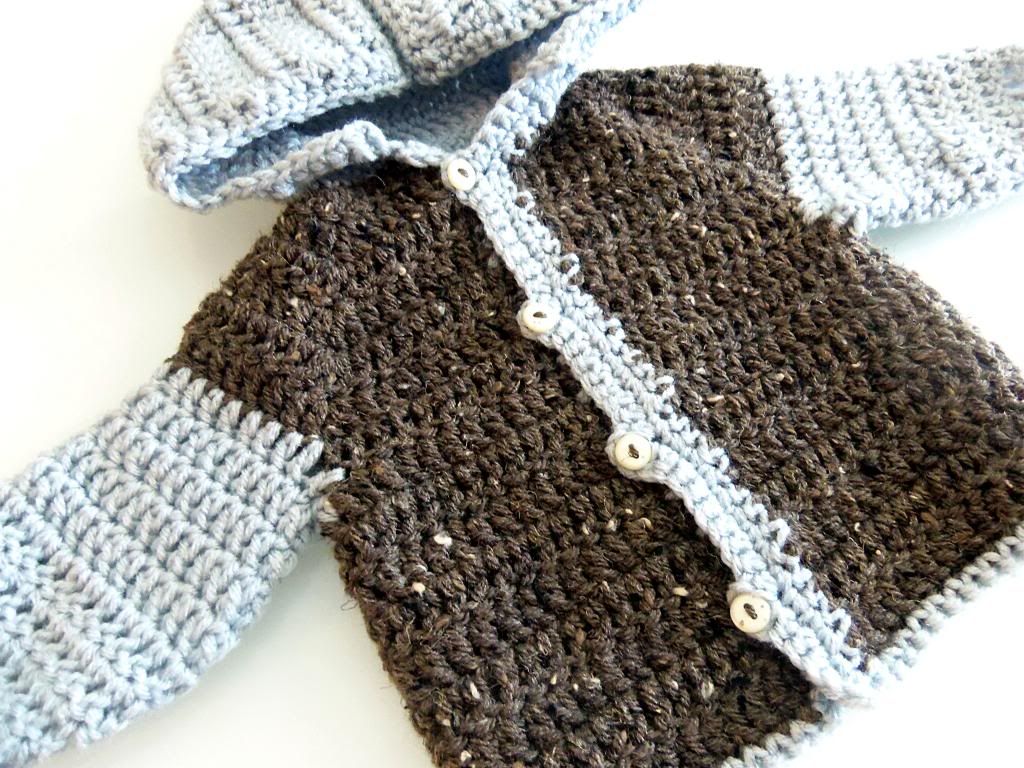
In fact I went a little crazy and now my baby boy has an entire winters worth of sweaters to wear! And if crocheting isn't your thing, you can always purchase any one of these beauties in my Etsy shop!
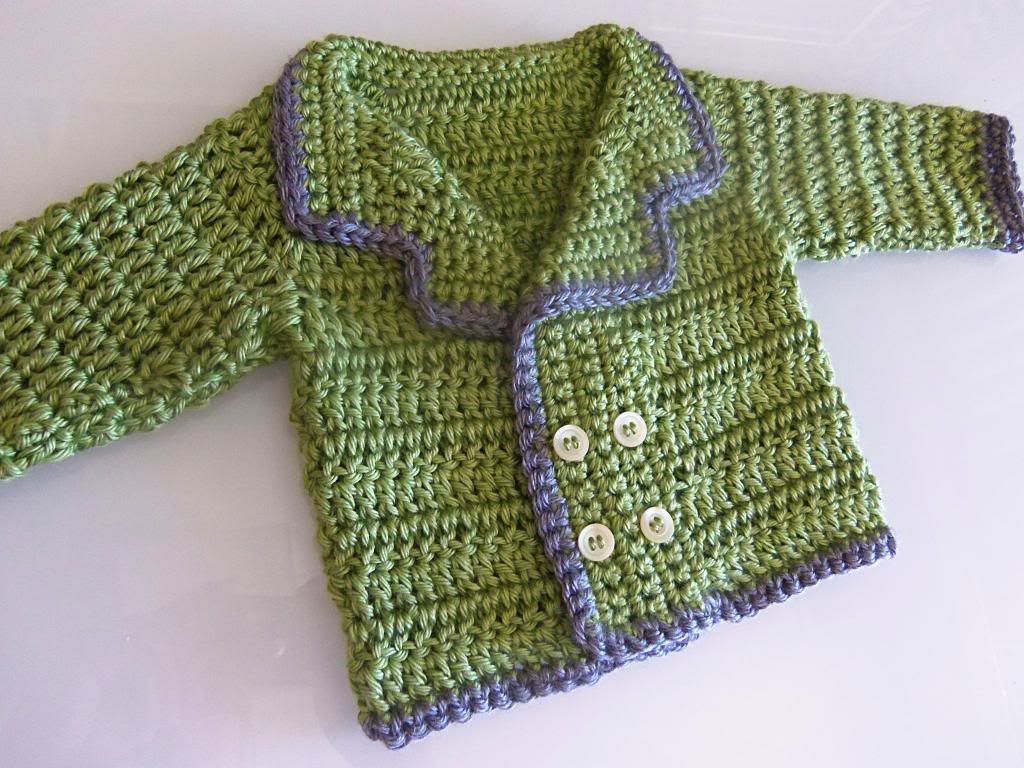
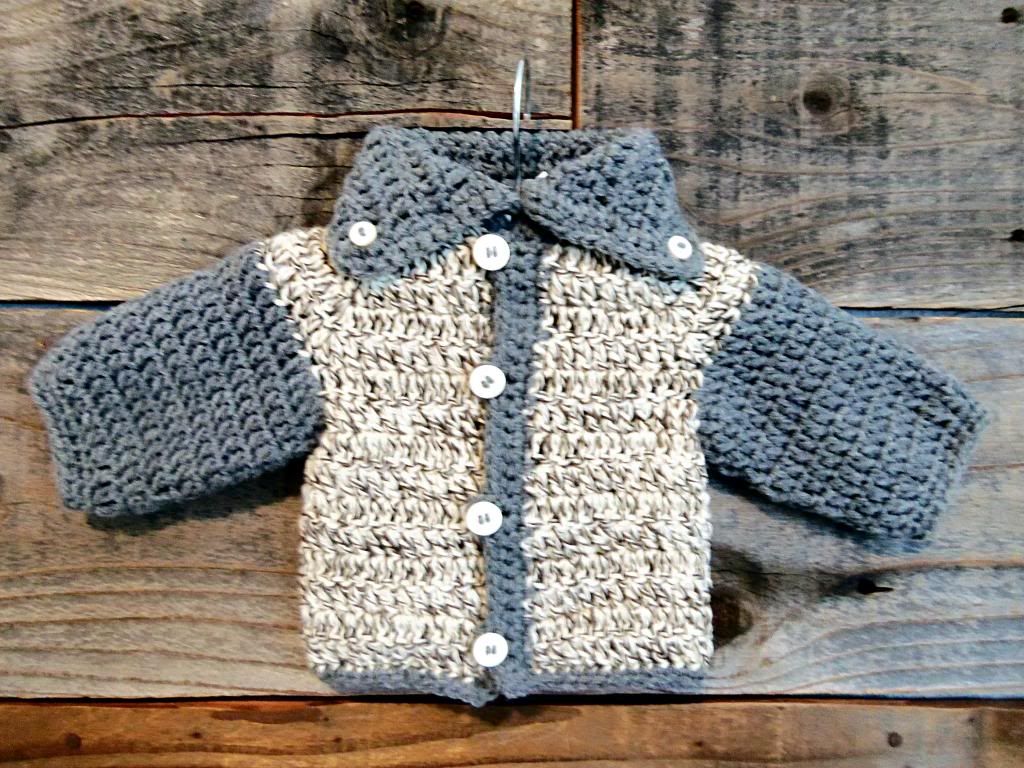
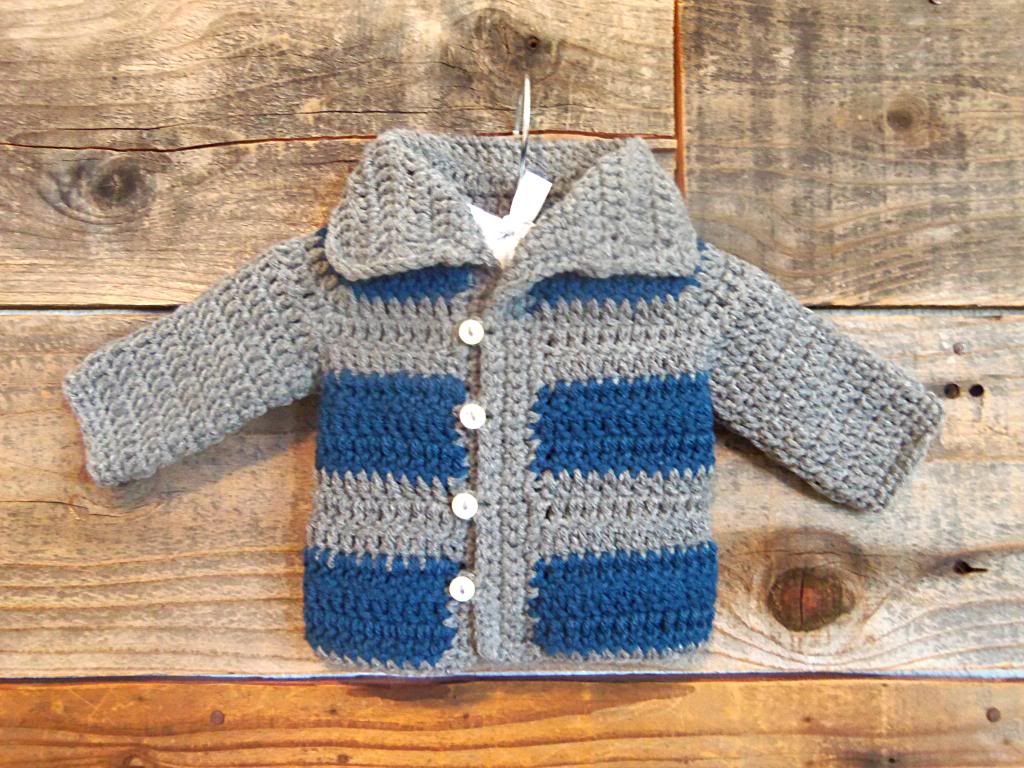


Here are the measurements for sizes newborn to 9 months old:
0-3 months: 16 in / 40.5 cm
3-6 months: 17 in/  43cm
6-9 months: 18 in/ 45.5 cm

You will want to use a different size hook for each of the sizes. I would use an H hook for the newborn-3 month size and then just use a size larger hook for each of the larger sizes.


Key:
ch= chain
dc= double crochet
sc= single crochet

Start by chaining 36
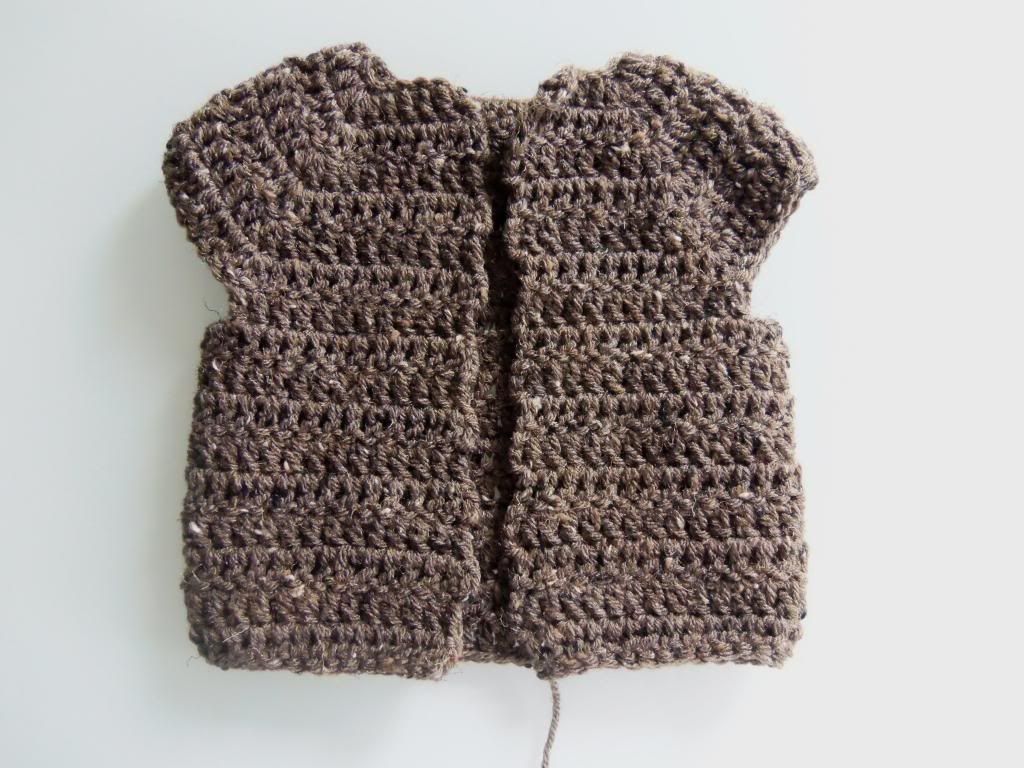
Row 1: 1 dc in fourth chain from hook, and in next 3 chs, 3 dc in next ch, 1 dc in next 5 chs, 3 dc in next ch, 1 dc in next 10 chs, 3 dc in next ch, 1 dc in next 5 ch, 3 dc in next ch, 1 dc in last 5 ch, ch 3 and turn work over.
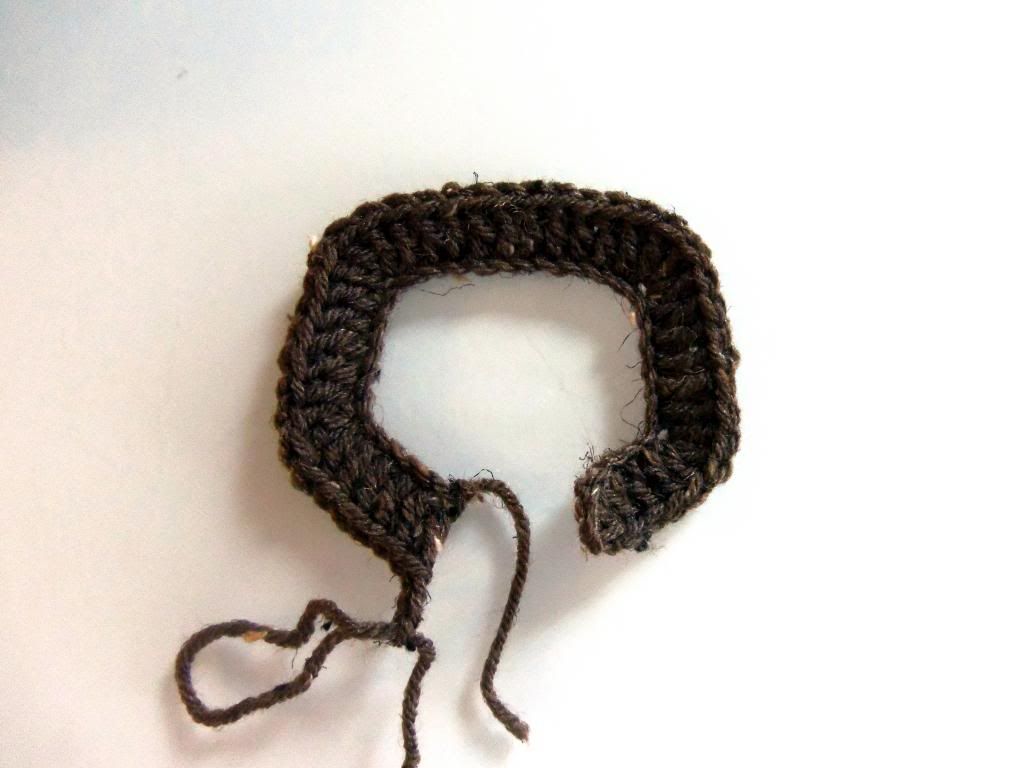
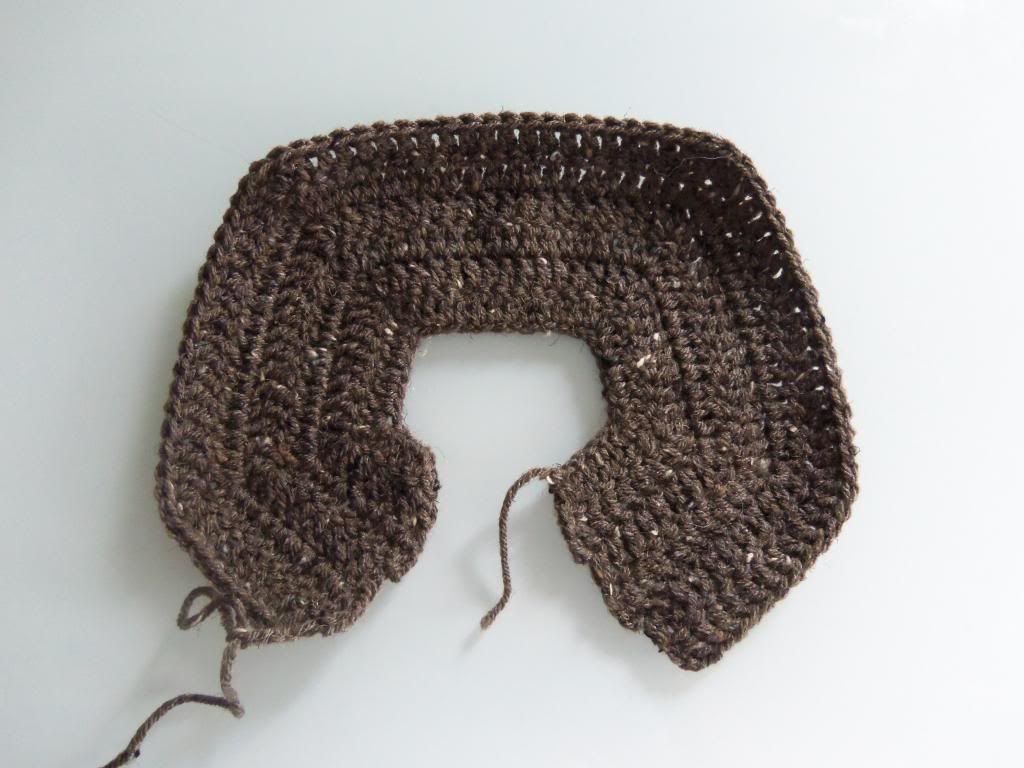
Row 2-5: .Dc in the very first chain and continue until you reach the middle dc of the 3 dc grouping where you will do 3 dc. Repeat, remembering to put your 3 dc into the middle dc of each of the previous 3 dc groupings.
Row 6: Shaping the arm holes. Ch 3, 1 dc in the very first chain and in each chain until you get to the middle dc of the 3 dc grouping, Ch 4, skip to the next middle of the dc of the 3 dc grouping and 1 dc in the middle of the 3 dc grouping. Dc in each chain until you get to the middle dc of the next 3 dc grouping, ch 4, skip to the next middle of the dc of the 3 dc grouping and 1 dc in the middle of the 3 dc grouping. Dc in each of the next chains until you get to the end of that row.

Row 7-15: Ch 3, 1 dc in each chain across row, starting with the very first chain, until you reach row 15, remembering to chain 3 at the end of each row before turning to work on your next row.
Trim: to do a trim around the vertical opening of the sweater edge, ch 1, 1 sc in the ridge, 1 sc in the post, repeat this for the entire row. When you reach the corner ch 1, turn and repeat steps until you reach the bottom corner. 3 sc in corner, ch 1 and 1 sc in each ch around bottom of sweater until you reach opposite corner, 3 sc in corner, ch 1,  1 sc in the next ridge, 1 sc in the next post all the way until you reach the corner of that row, ch 1, turn and 1 sc in each chain until you reach the first sc of the 3 sc grouping in the bottom corner.
Button Holes: Ch 1, turn, sc in each of the next chs until you reach your determined button hole spot and ch 3 and sc in the same chain, 1 sc in the next chs until you reach your next button hole spot and ch 3, sc in the same ch and continue until you have added all of your button holes and have reached the top corner of your sweater. 3 sc in corner ch, ch 1 and 1 sc in each chain around the neck.

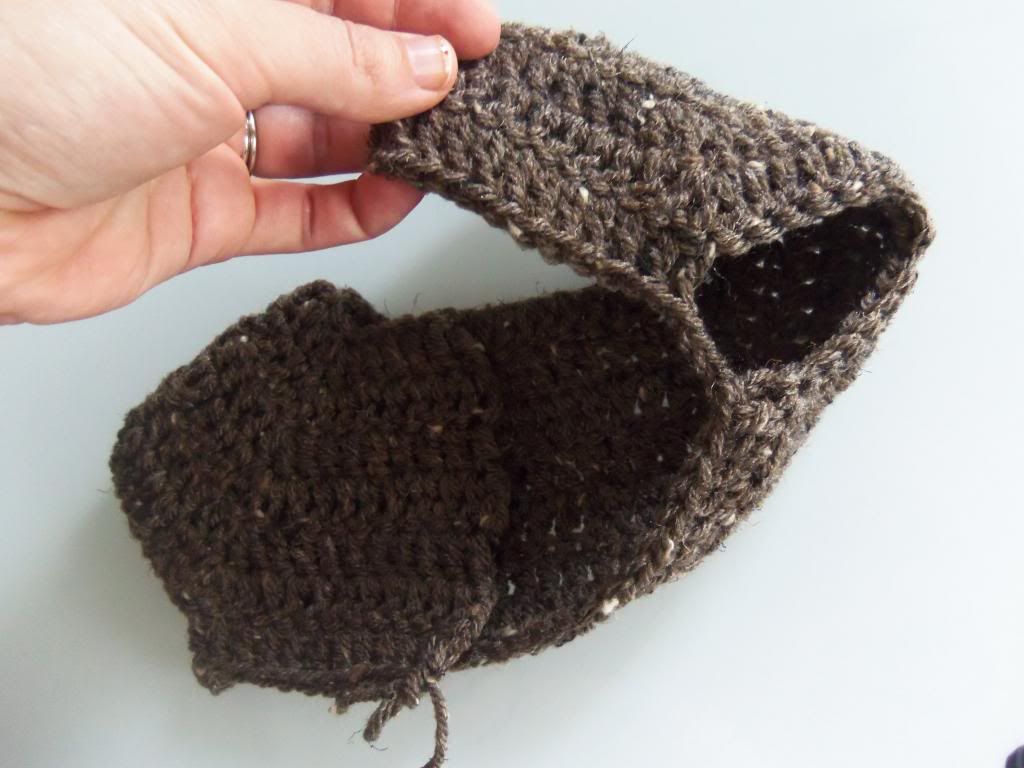
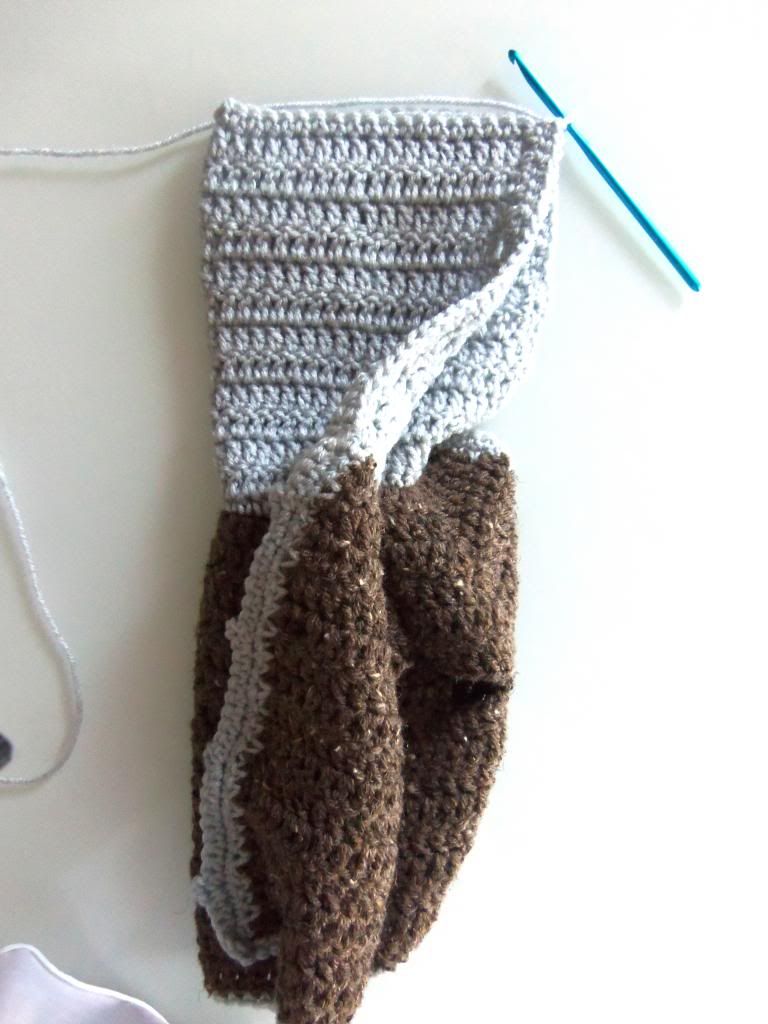
Hood: Attach yarn at corner of neck with slip stitch, ch 3, 1 dc in each ch across, ch 3, turn, 1 dc in each chain for 12 more rows. If you would prefer to do a collar instead of a hood you will stop at row 4 and just fold down the collar
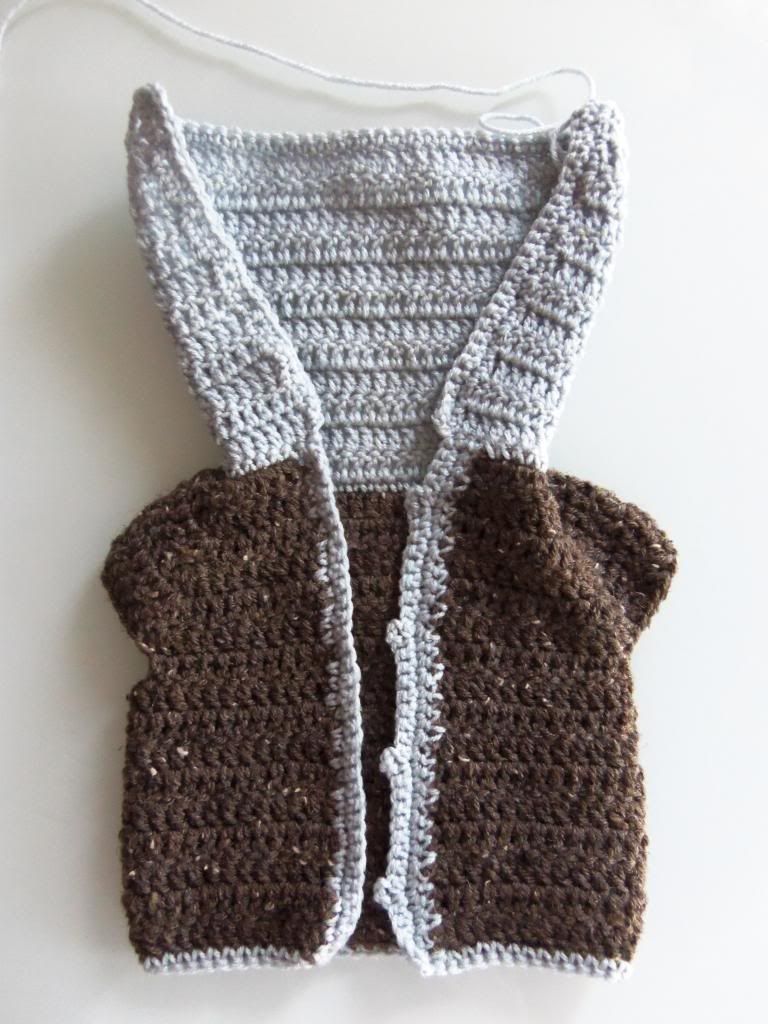
Turn sweater inside out and fold sweater over and line up your hood rectangle. Slip stitch each matching chain until you reach the end, ch 1, tie off and sew in your tail.

Arms:
Row 1-9: Start in the middle bottom of the arm opening. Attach your yarn to one of the chains and ch 3, 1 dc in each ch (In the corners where the posts are you will 1 dc into ridge, 1 dc in post, 1 dc in ridge). Continue with one dc into each chain. Write down the number of dc's you made in the first round of your first sleeve so that when you move to the next sleeve you will be sure to have the same amount so that one sleeve is not larger or smaller than the other. When you have a dc in every chain in the first row, slip stitch into the 3rd ch that you started with, ch 3 to go up to your next round and continue to do 1 dc in each chain around and slip stitching into the first ch 3 and repeat for 8 more rounds followed by 2 rows of sc.

Wednesday, January 15, 2014

Baby Onesie Bouquet


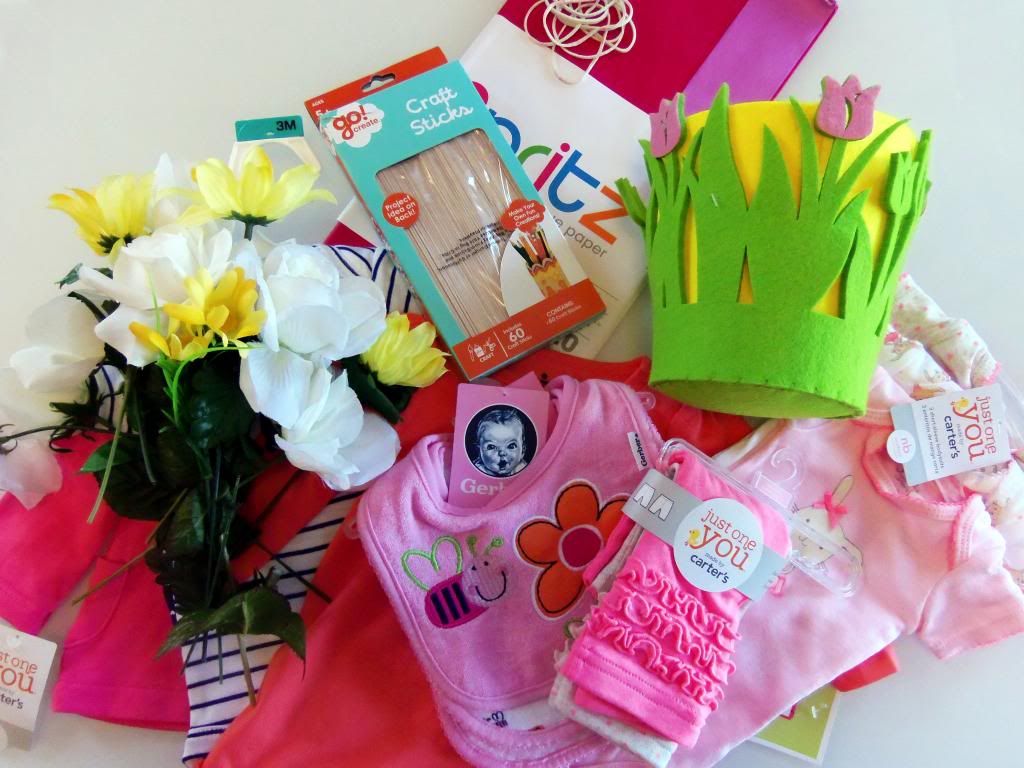
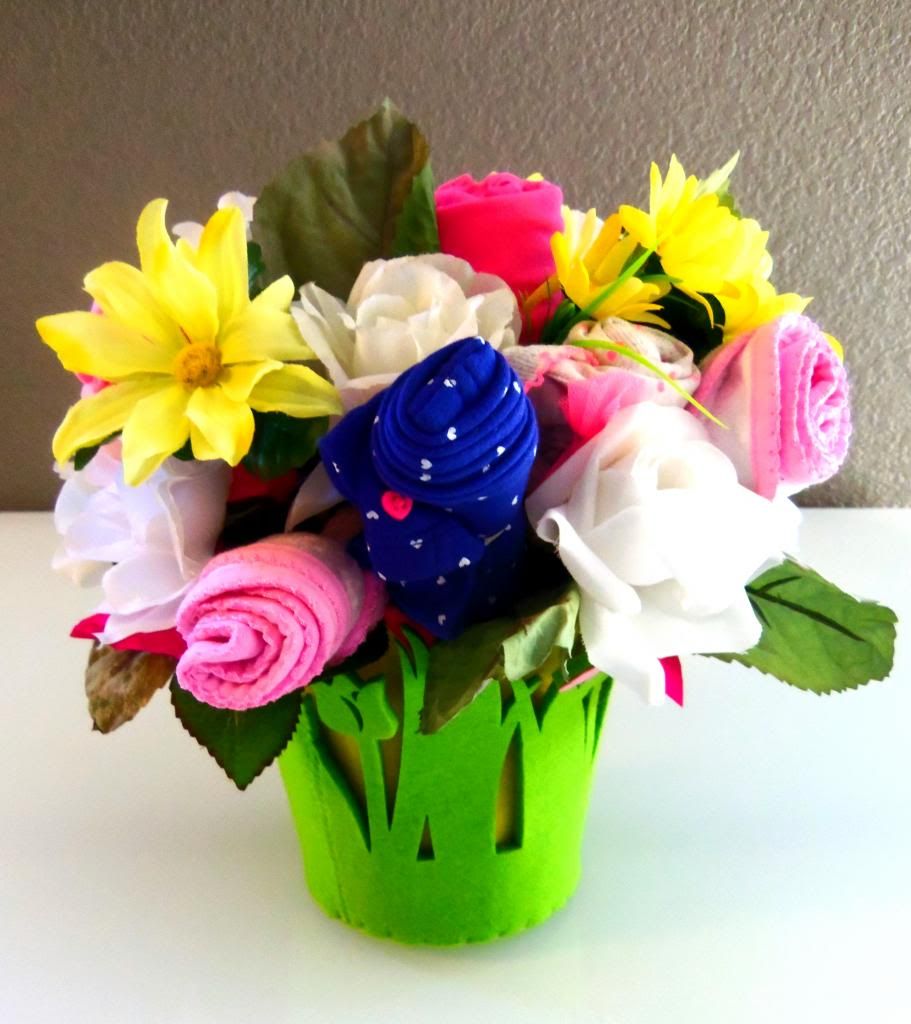
Babies babies babies; it seems everyone I know is having babies this year! Its fantastic and so exciting! A recent baby shower I was invited to had slipped my mind and I found myself the day before rushing to the store to pick up something quick and easy to give. I opted on a few cute summer/fall outfits for the little girl to be but was unsatisfied with the idea of simple wrapping the clothes in a garment box and presenting them to the soon to be mother. I wanted a more creative way to present the gift.  Thats when I remembered a gift I give to all of my nieces and nephews on their 5th birthdays. I make them candy and toy bouquets. I attach their favorite candy and fun toys to wooden BBQ skews, wrap the skewers in green floral tape, stick the skewers into styrofoam that is placed in a heavy vase or pot and stuff in tissue and flowers to fill in the gaps. It really is a sight to be seen and almost a heartbreak to watch disassembled. 

For this occasion I decided to use the same technique just simply replace the candy and toys with the baby clothes and make a baby onesie bouquet. It is really really quite simple to be honest and took way less time than you would think. And the presentation and the expression on the mother to be's face is way worth any anxiety you may have of making this. 

Here are things that I used to make my bouquet:

  • container
  • popcycle sticks (they were sturdier to use with the clothes than the BBQ skewers I normally use
  • rubberbands
  • filler flowers
  • tissue paper
  • styrofoam to secure popsicle sticks and flowers in place inside of basket
  • baby clothes, bibs, socks, beanies, etc.

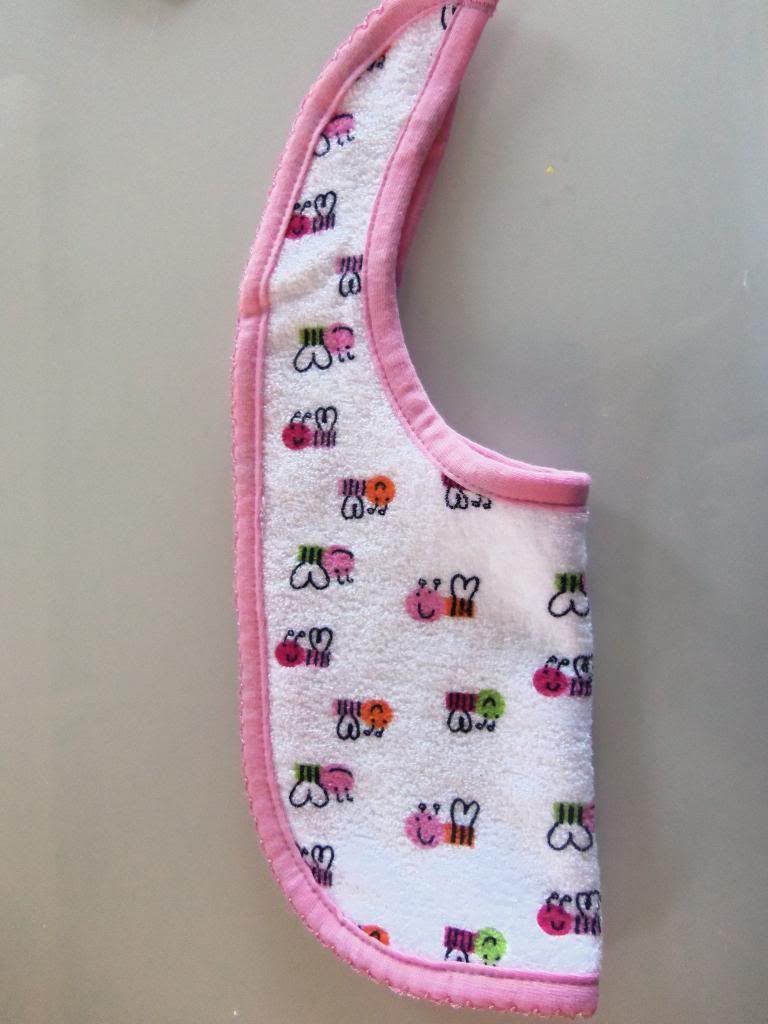
I started by wrapping all of my baby gear onto the Popsicle sticks as follows.
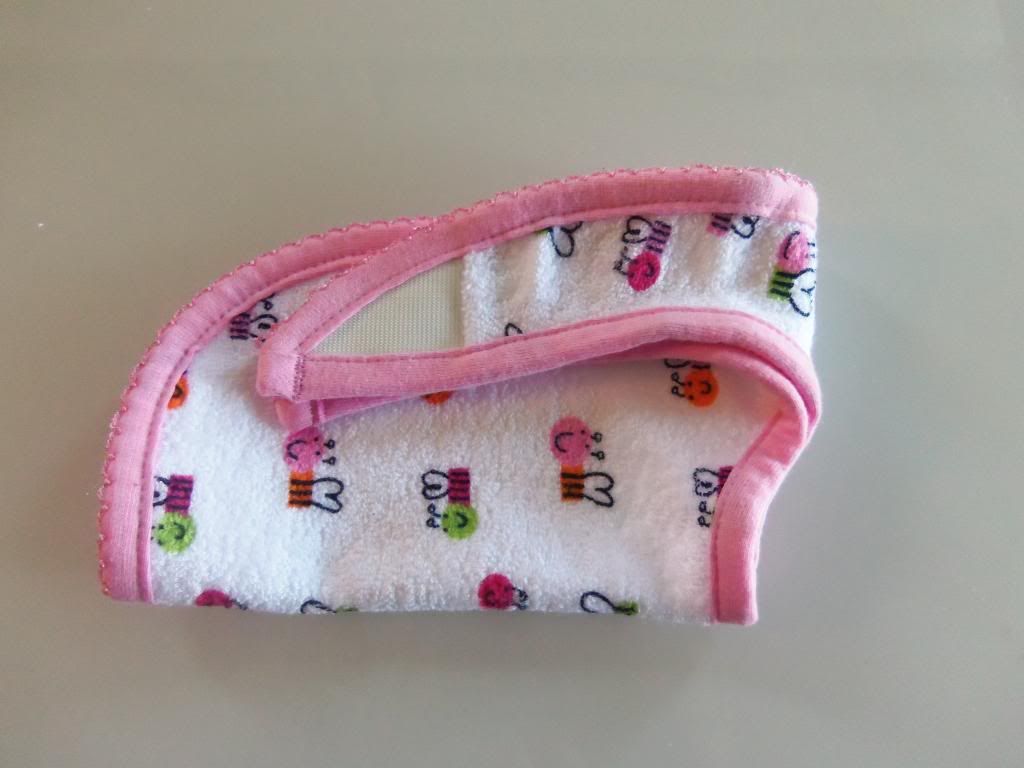
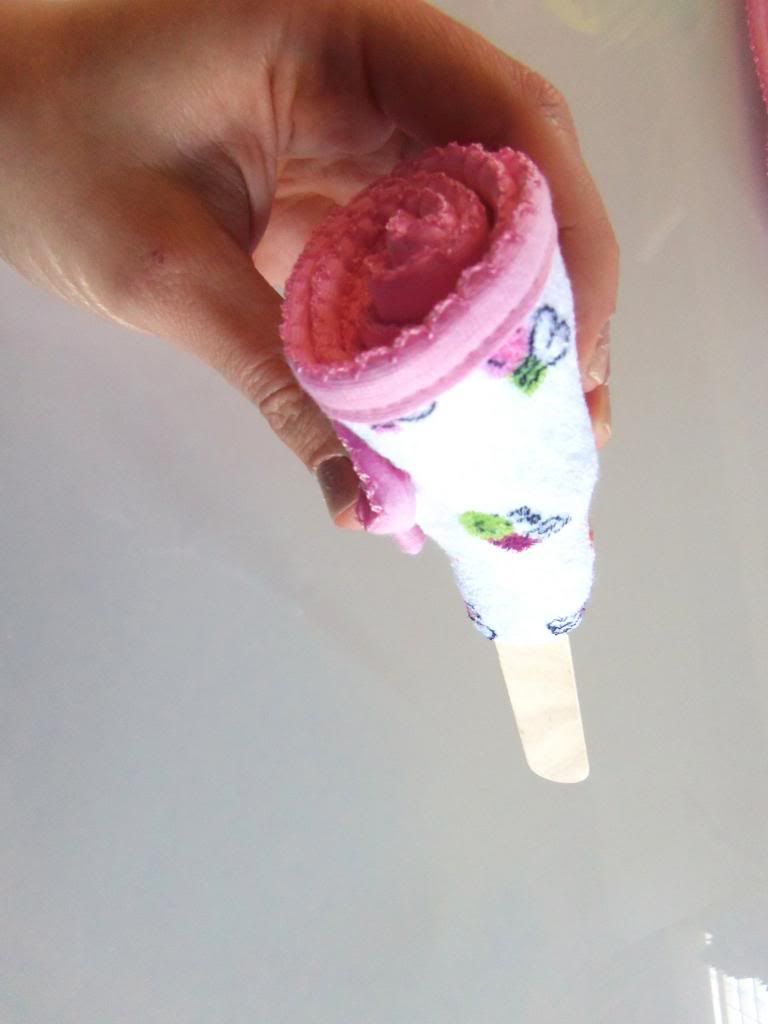
fold over the tails of the bib onto itself
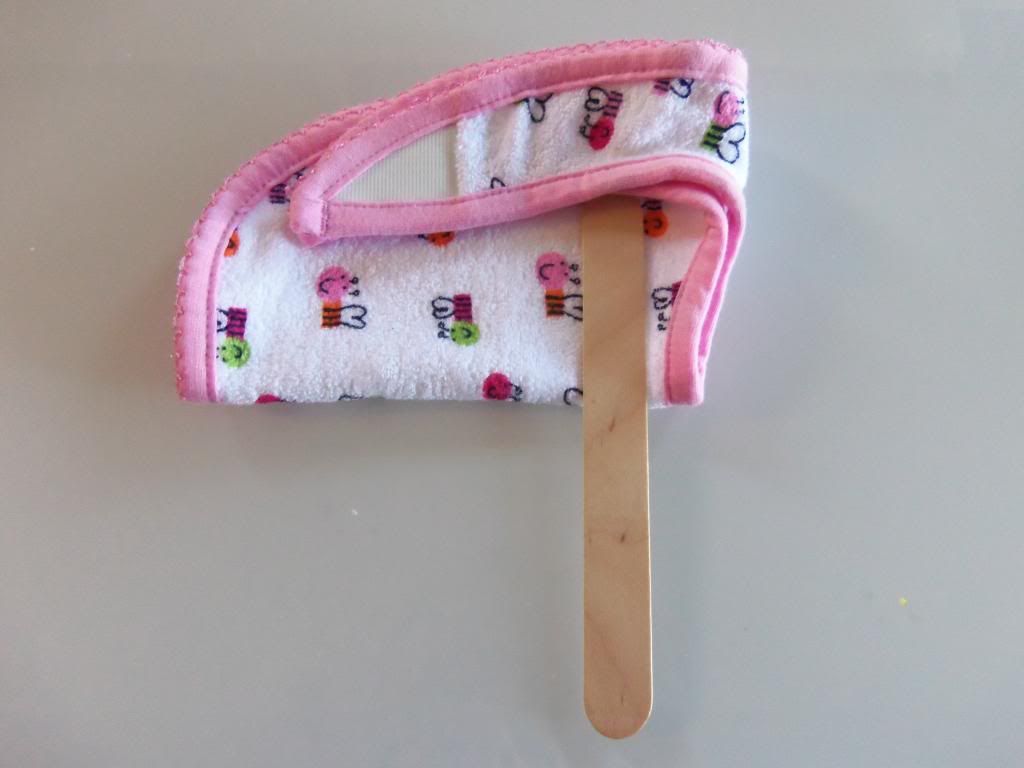
place the popsicle stick between the fold
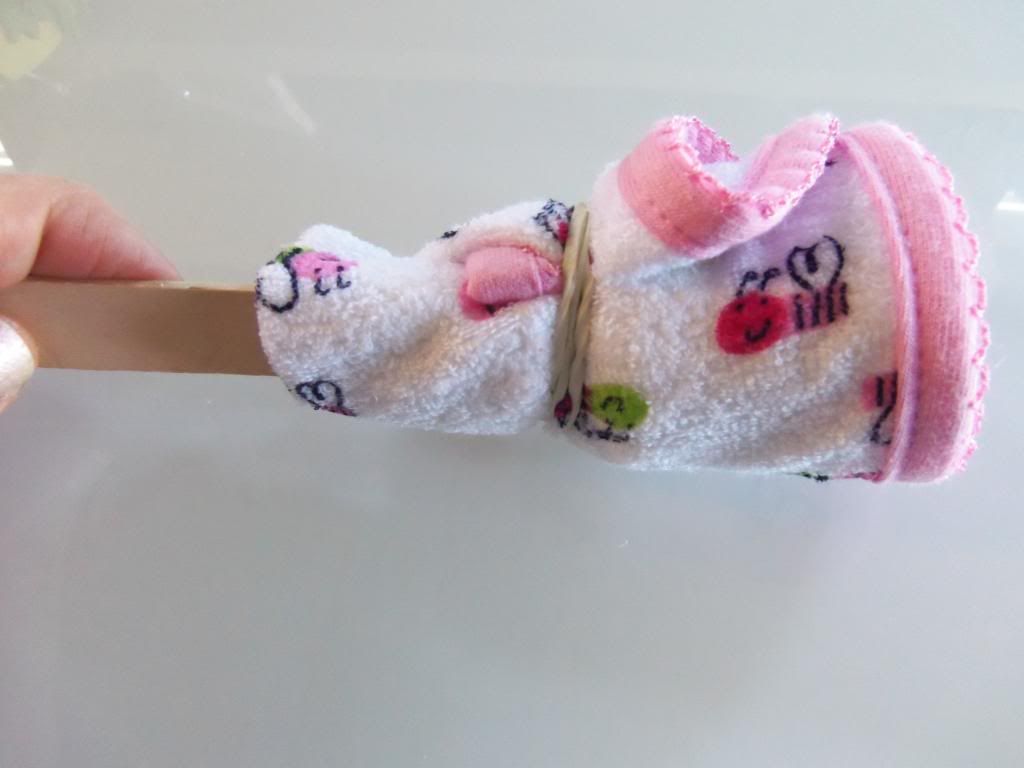
and roll the bib, as tightly as you can, onto the stick
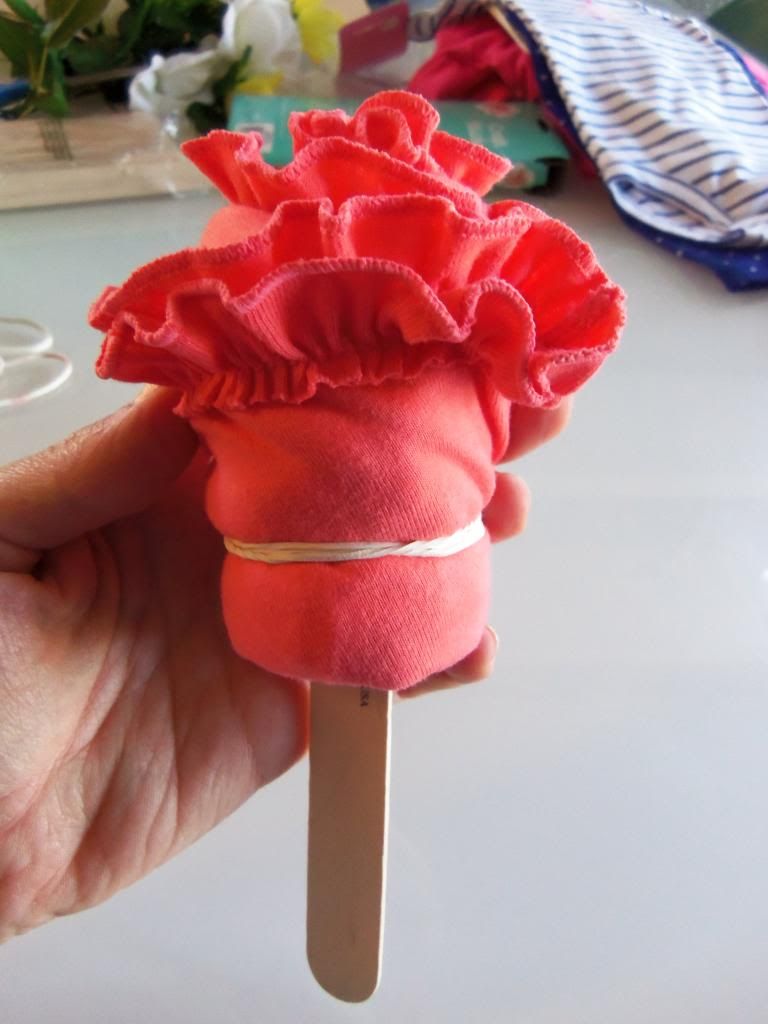
to hold the bib in place wrap a rubber band around the bib and stick.
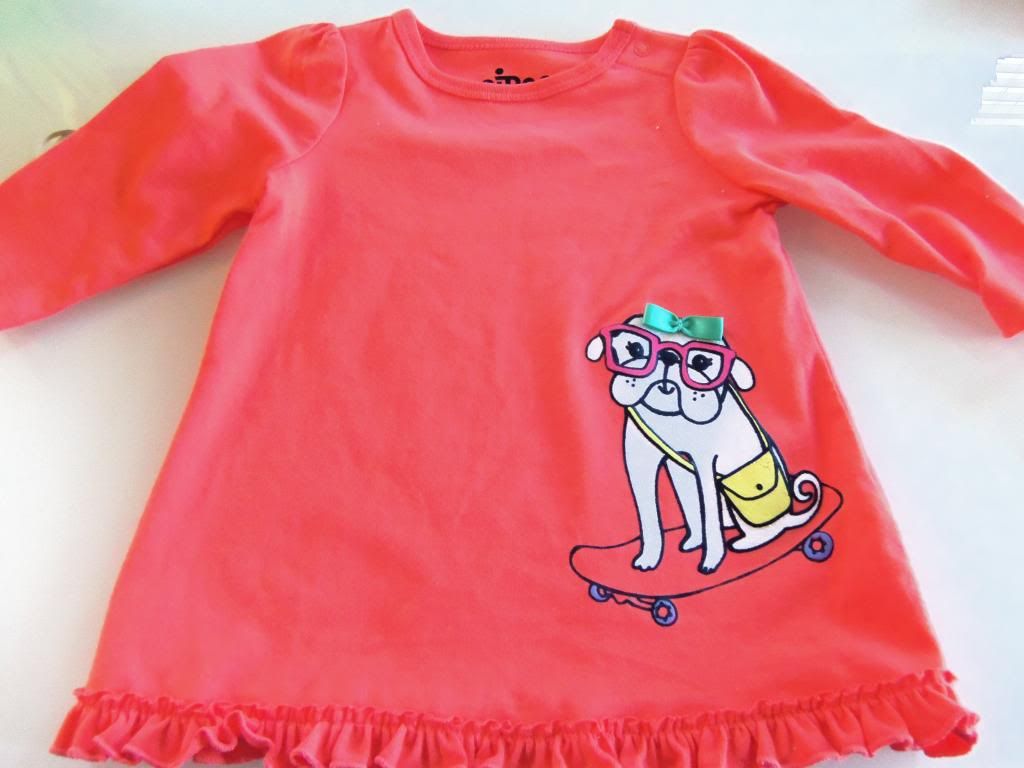
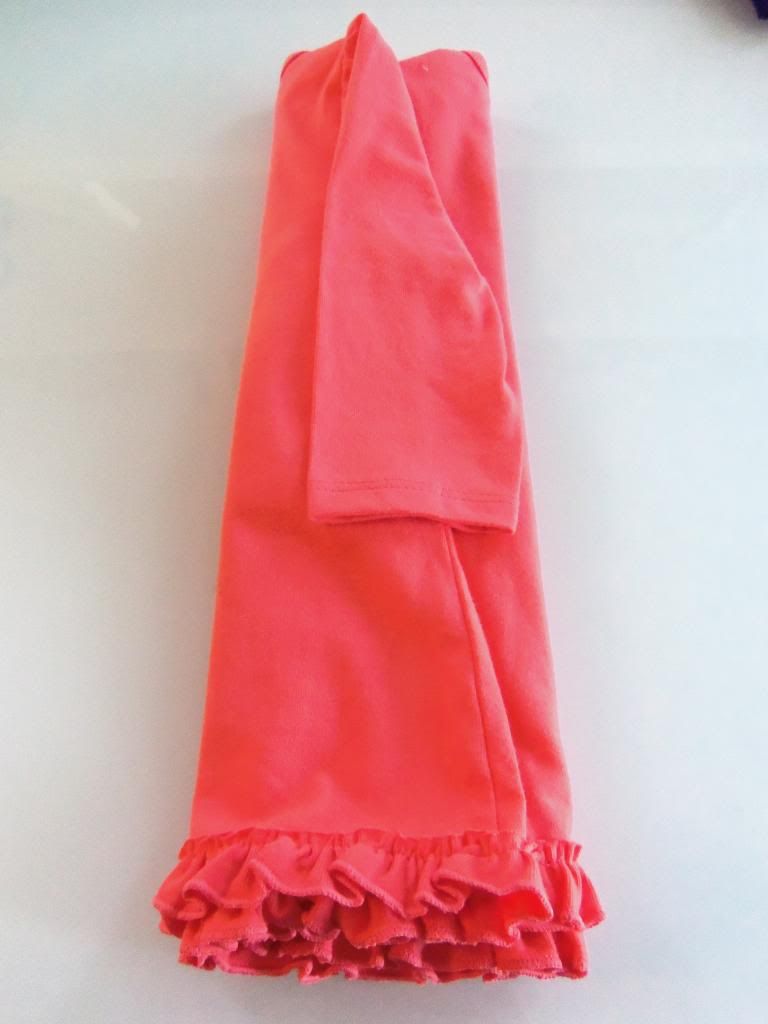
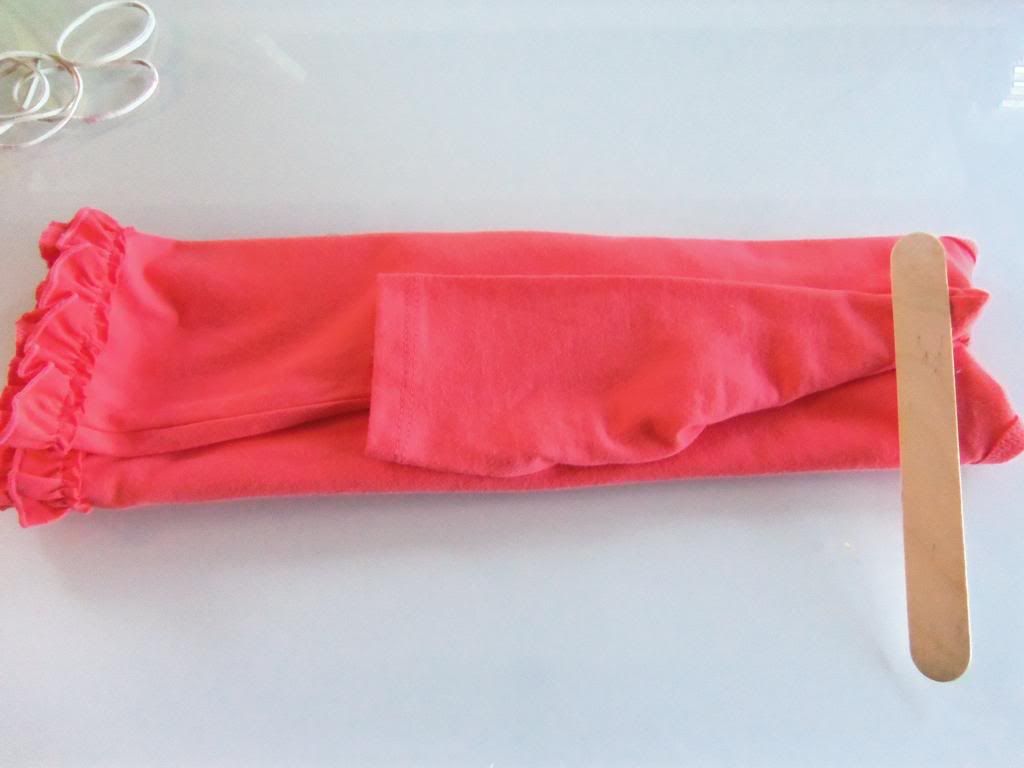
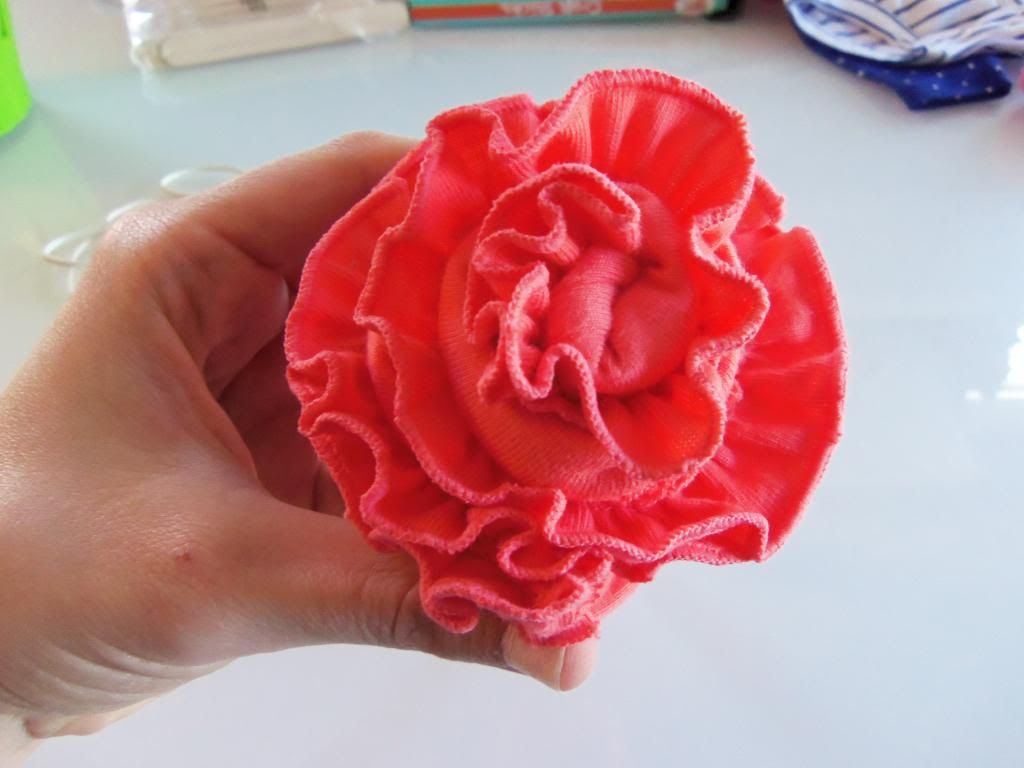
Continue this process with all of your clothes and additional baby gear. Below I will show you how I wrapped a shirt for a further example.
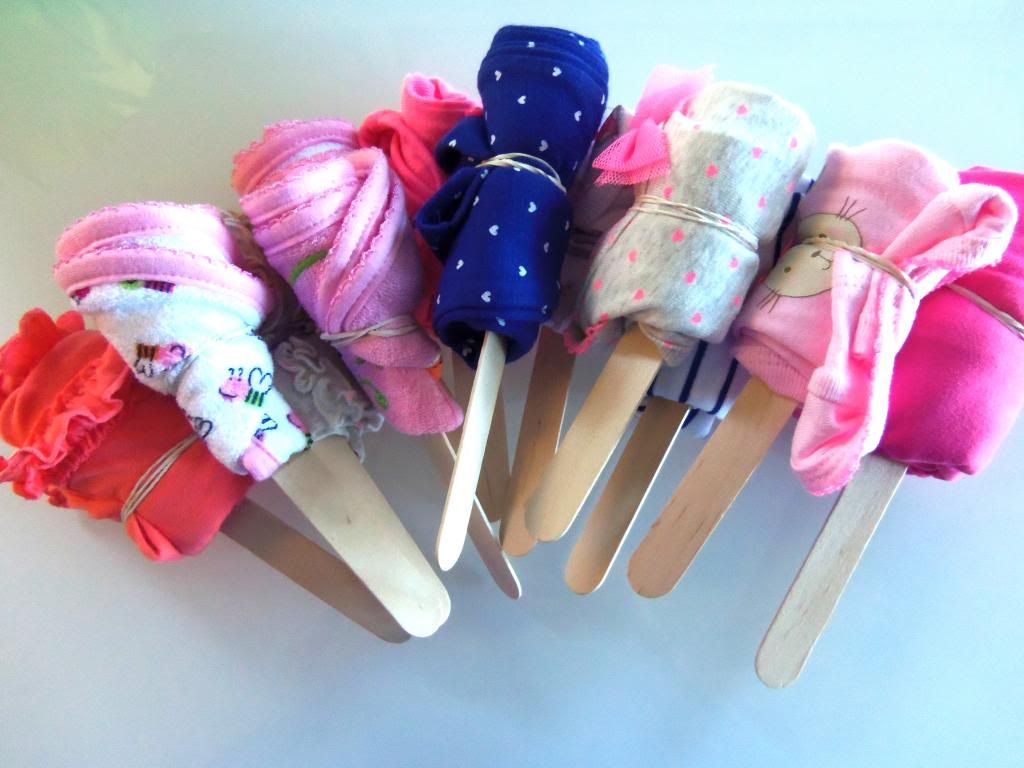
here are all of my completed baby clothes flowers
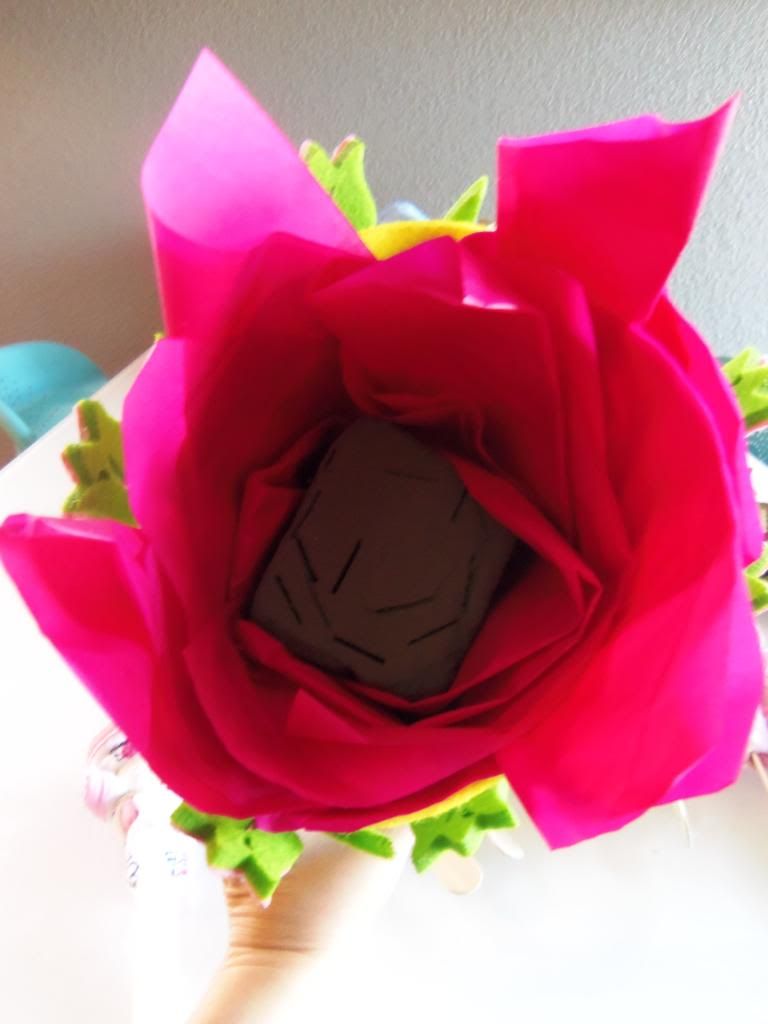
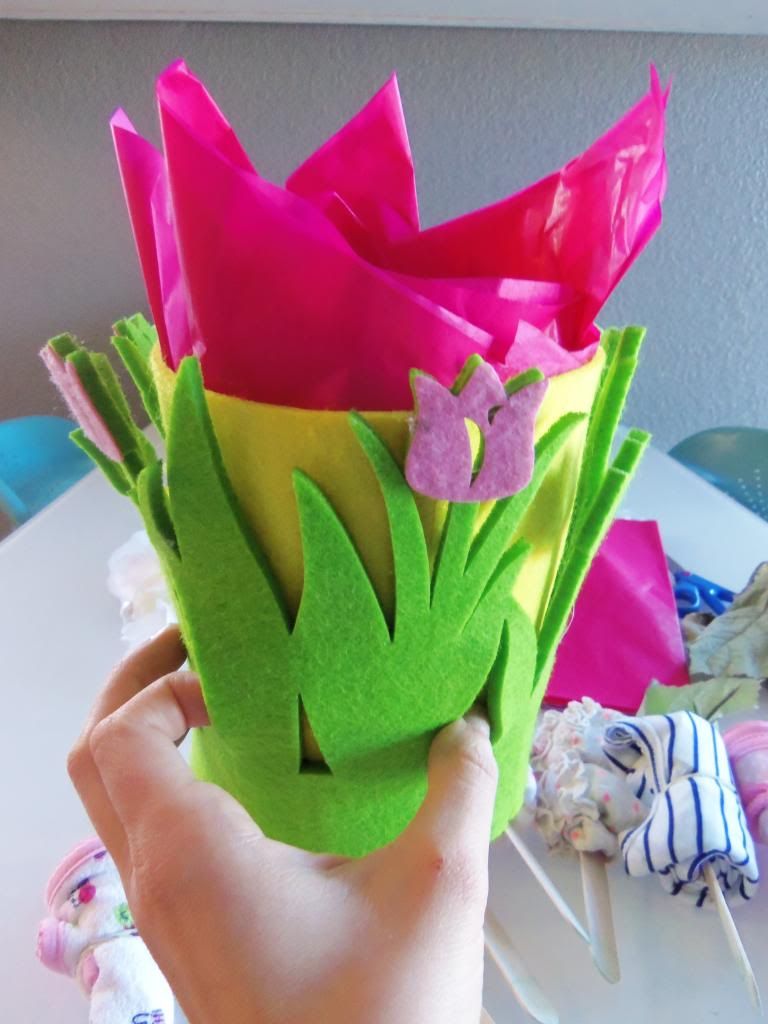
Next up I placed tissue paper inside of my container and then placed my styrofoam square inside the same container, as this will be holding all of my clothes and flowers in place.
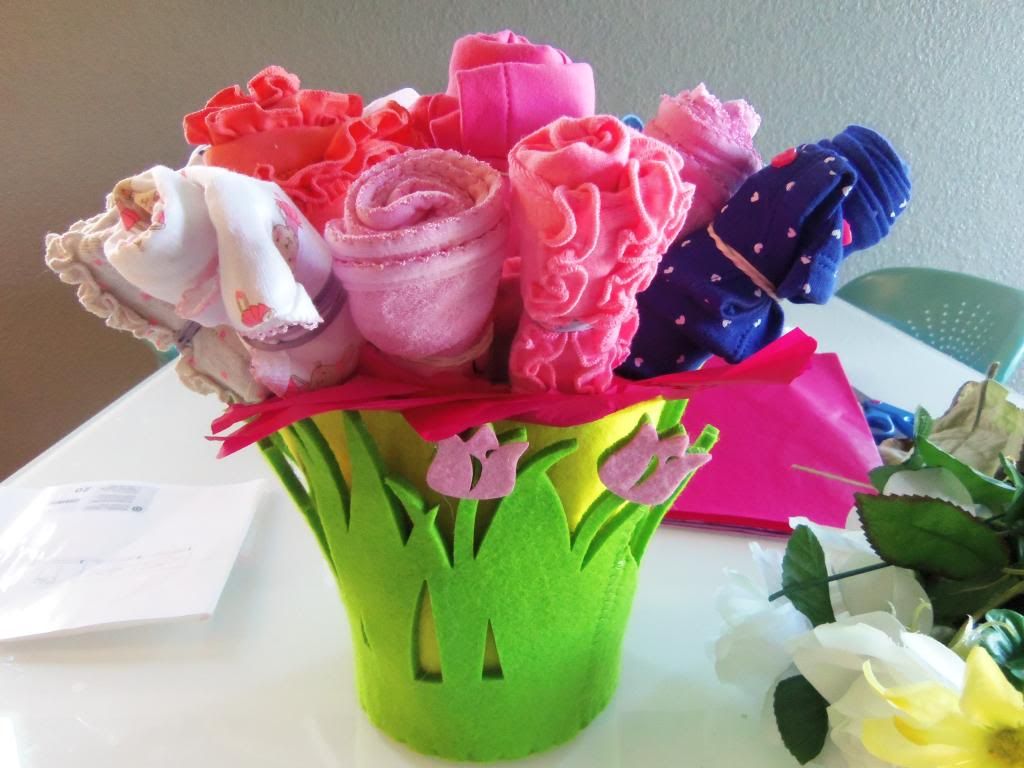
Now its time to start placing the sticks inside of your container 
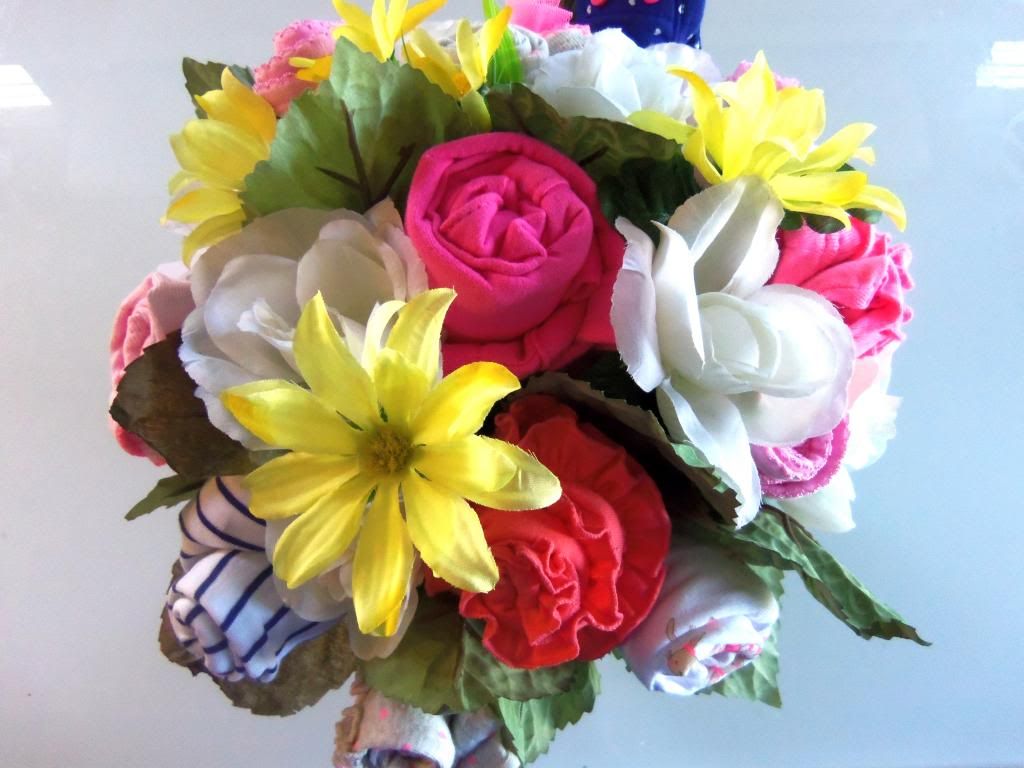
Then simply fill in any gaps with your flowers.
And voila! Baby Onesie Bouquet!!

Wednesday, January 1, 2014

Family Silhouettes

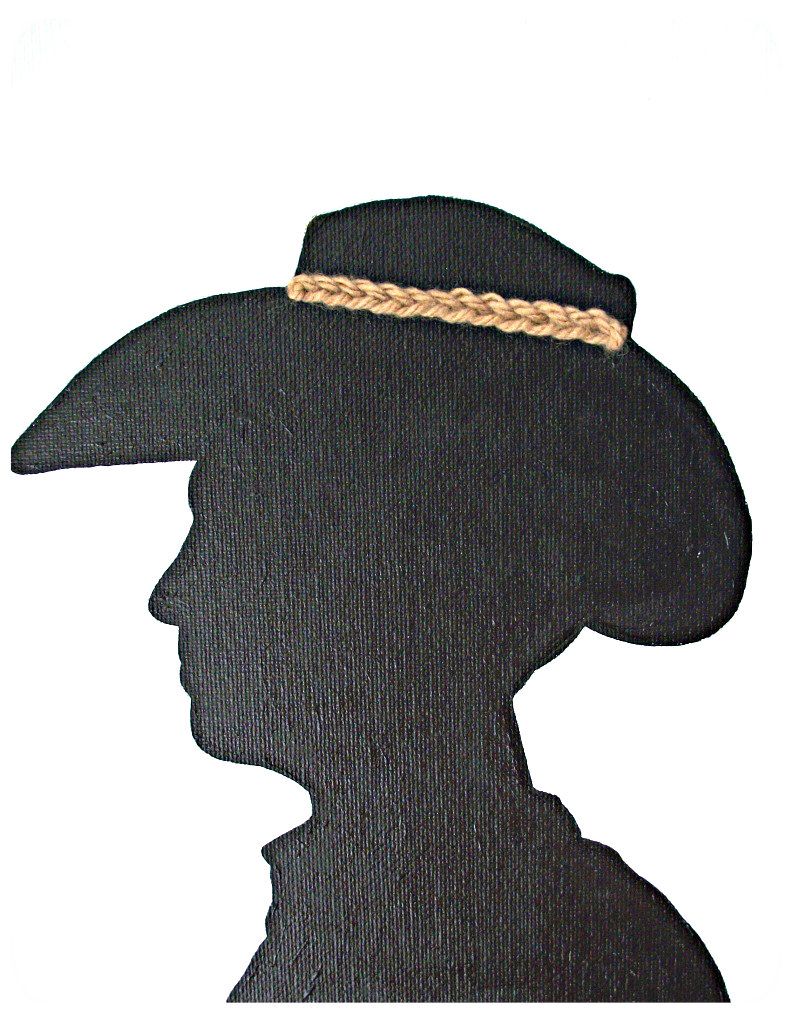
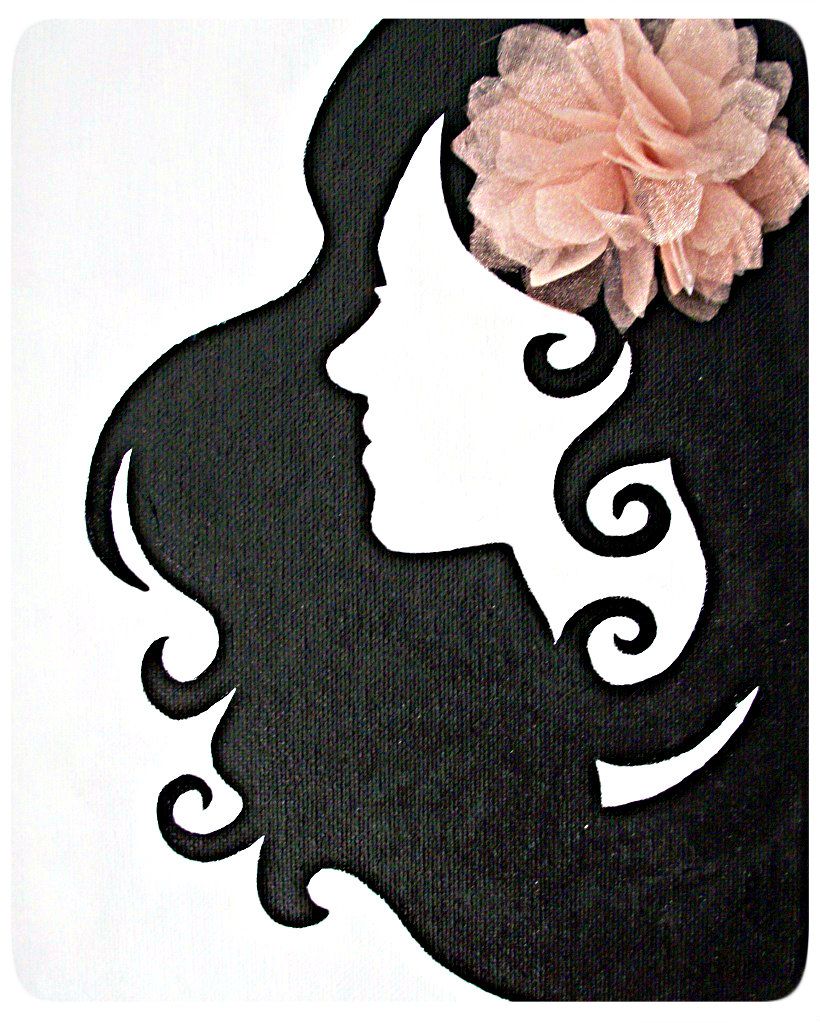
When my niece was first born, almost 12 years ago, my aunt made a silhouette of her cut out of black paper and framed it. I was in awe!! It was incredible and I knew that once I had children I wanted to do the same thing. However, instead of using paper I decided to paint a silhouette onto a canvas using a profile shot.  I blew up a side profile picture of my son , cut it out, traced it on the canvas and then painted within the lines. You can also paint the dead space black instead for a different look, use different colors or add details that might not have been in the picture; such as my husbands cowboy hat and my hair around my face (seen below)
After I had finished painting I couldn't help but think that there was something missing.....something to make the silhouette painting a little more personal and whimsical. Turned out a crochet bow tie was just what my son needed around his little neck.
Of course I couldn't stop there! I painted profiles of my husband and myself as well. 
This is really a fun project and a way to capture your little ones or family members at a specific time in their life. 

Wednesday, December 18, 2013

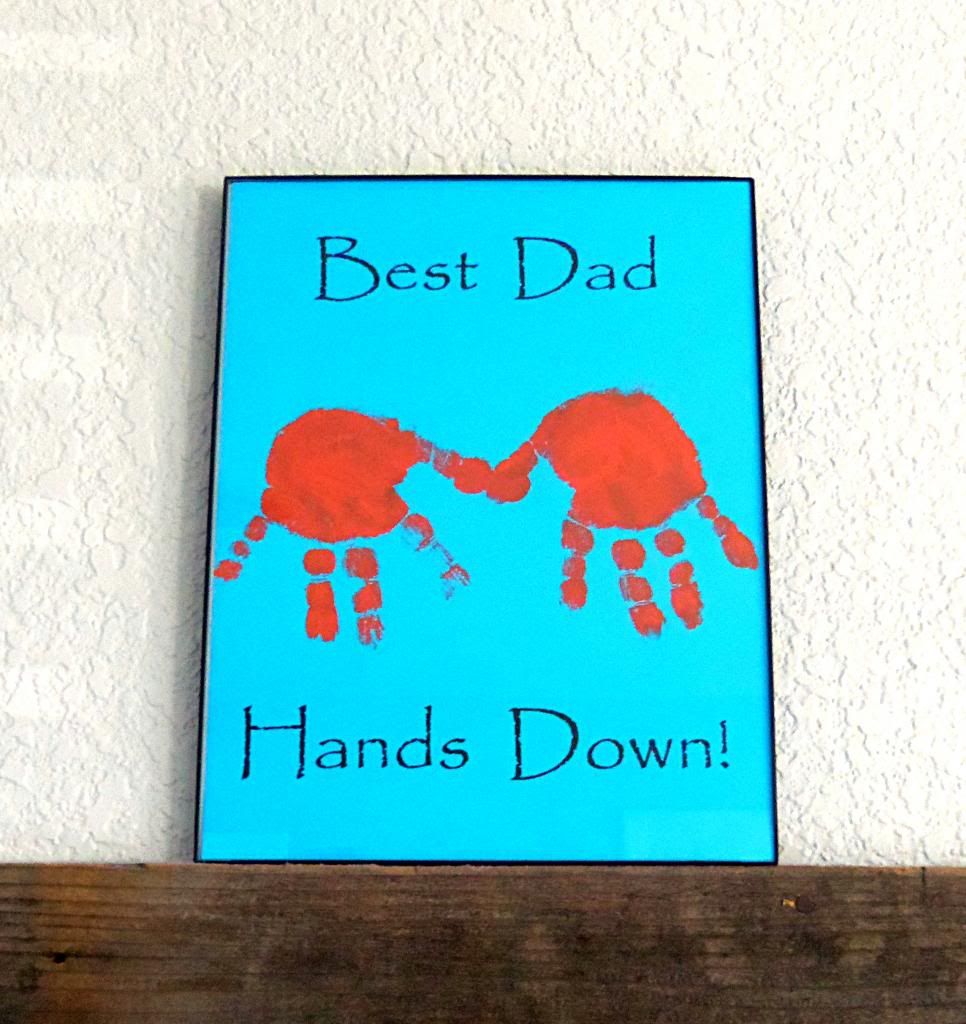
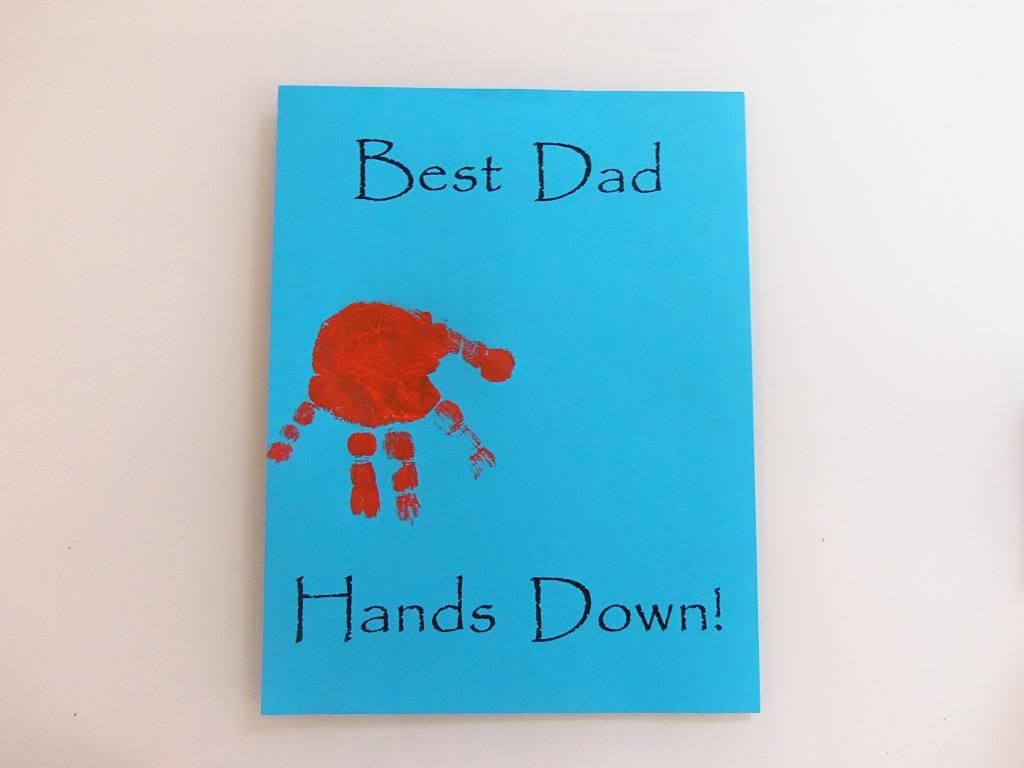
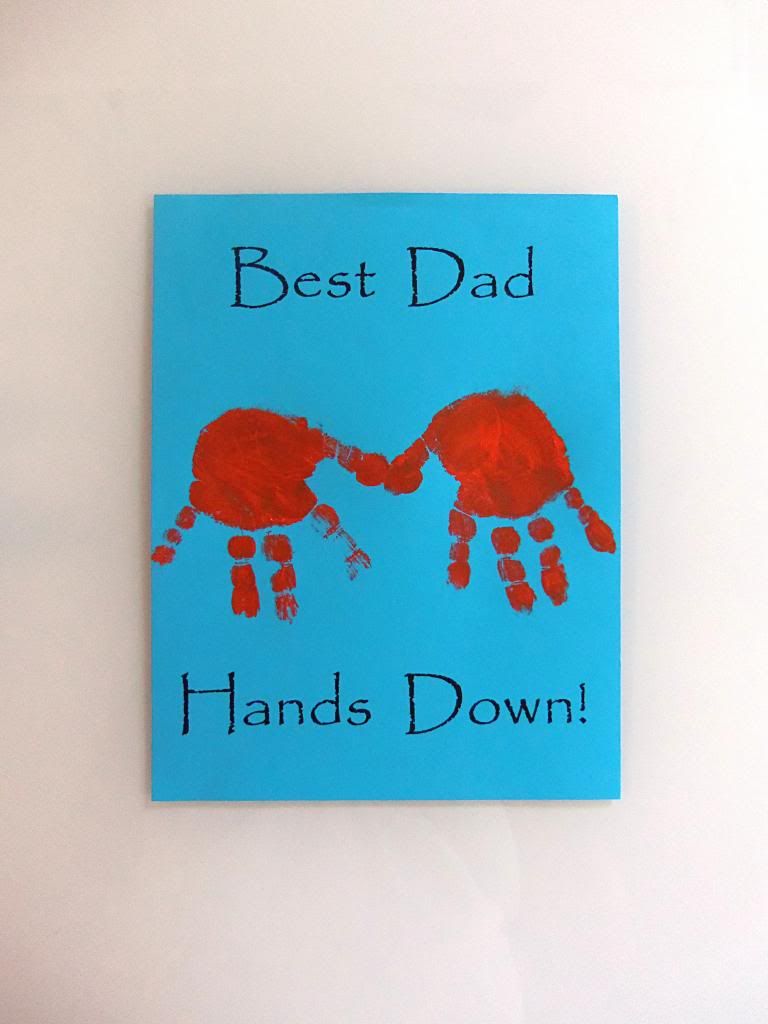
"Best Dad Hands Down" DIY Kids Craft

E just turned 2 and since we have a plethora of crayon scribble drawings and he obviously cannot write on his own, I was looking for a fun and cheap way to involve him in a craft for Ben on Fathers Day. That is how this little project evolved. What kid doesn't like finger painting, and in this case, literally! All you need is a piece of paper, a printer, some paint and a little hand(s)...easy peasy!


 I love this craft, and since it is never a bad time to let your dad or your children's dad know that they are number one, you can give this gift for any holiday or just because!

Wednesday, December 11, 2013

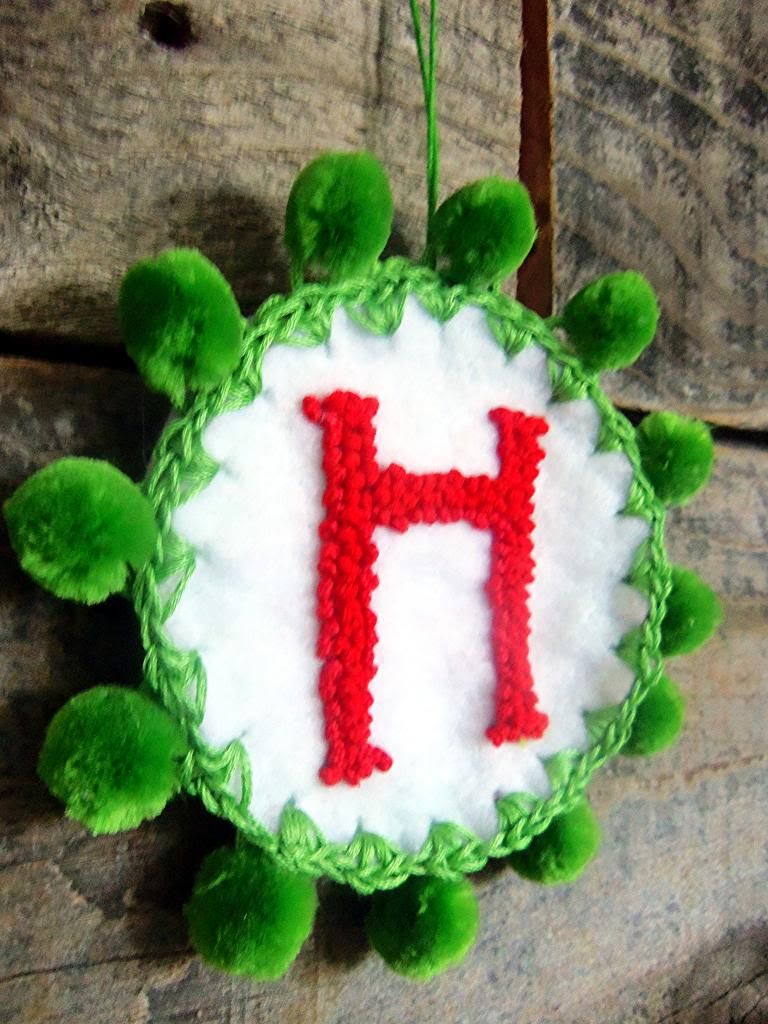
Felt Monogram French Knot Ornament


These are really cute and simple ornaments that you can make to add to your Christmas ornament collection or give as gifts of present toppers to friends and family! Since we are still trying to build up our own family ornament stash I made two ornaments for both my sweet little boys this year. These are really fun to make and if you have children that are old enough to use a thread and needle, it can be a great family project too!


All you need is:
  • felt
  • scissors
  • embroidery thread and needle
  • hot glue gun
  • decorative trim

Start by cuting out he shape and size of ornament you want. I used a plastic cup to cut circles for my ornaments. You will need two pieces of felt the same shape for each ornament you are making.

Trace the letter or word you want to french knot onto one of the pairs of cut felt.


With the color thread you choose start to make french knots in the spaces that you have traced on the felt until you have filled in the area completely. If you are not familiar with how to make french knots, click here for a good tutorial, they are really easy to do.


The next step isn't necessary but I decided to snip little holes evenly around the perimeter of the felt and do a simple single crochet with embroidery thread around the edge to finish it off.


With your second piece of felt you will want to attach a piece of cut embroidery thread for your hook and attach it with hot glue.


Then onto the same piece of felt attach any decorative trim that you have on hand to the perimeter of your ornament.


Then take your french knot felt piece and glue it onto the piece that you just added a decorative trim to. Now your ready to hang or gift this adorable little french knot monogrammed ornament!!


Blogging tips