After every passing Halloween I mention aloud that I will be sewing my family Halloween costumes for the following year. And every year October comes and I realize that I have yet again not made good on my promise! Last year I even went so far as to give away my only go-to costume, Dorothy from the Wizard of Oz, just to ensure that I would indeed be prepared to sew costumes. And it didn't work! Now I find myself costume-less 2 weeks before Halloween along with my husband and son. With a new resolve, or at least 1/3 of a resolve I am determined that my son will be wearing a costume this year!
Check list for said Halloween costume:
- inexpensive
- cute
- easy to make
- easy to move in
- something that my 16 month old will keep on all night
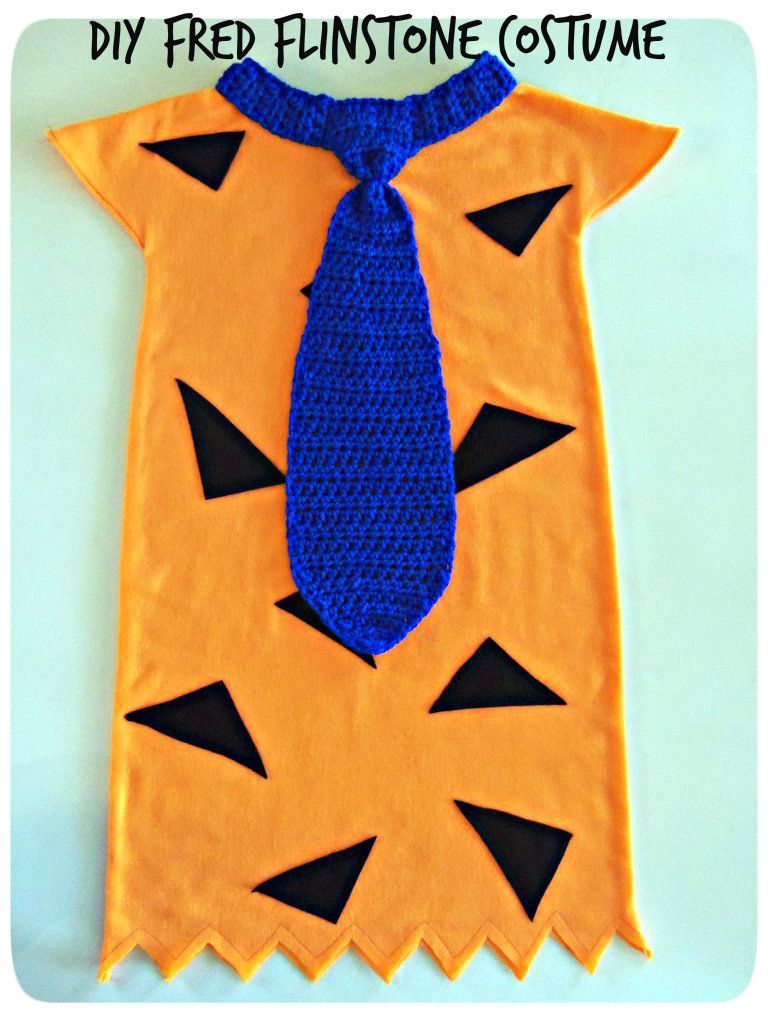
Cue the Flinstones, well only one Flinstone this year.

This costume is very very very easy. Did I mention easy? Super cute if I don't say so myself, functional for an on the go toddler and very affordable. This costume does involve sewing, all be it very little, and if you are really desperate for a costume and don't have a sewing machine you can even use no sew binding tape that can be found at any Joanne's Crafts or even Walmart, to close all of your seems.
Best thing is that this costume can be adapted to any age or size child or adult. AND from start to finish it took me about an hour to complete and cost under $4.00!!!! Lets begin:
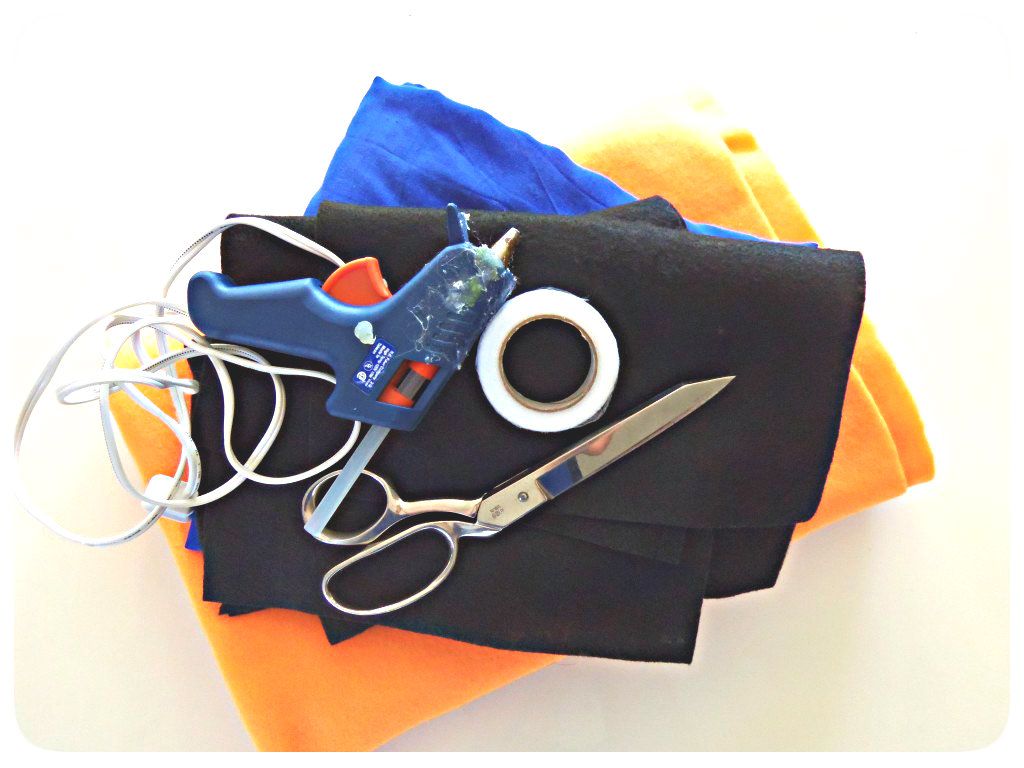
Materials:
sewing machine or no sew binding tape
scissors
glue (optional)
orange fabric
blue fabric
black fabric
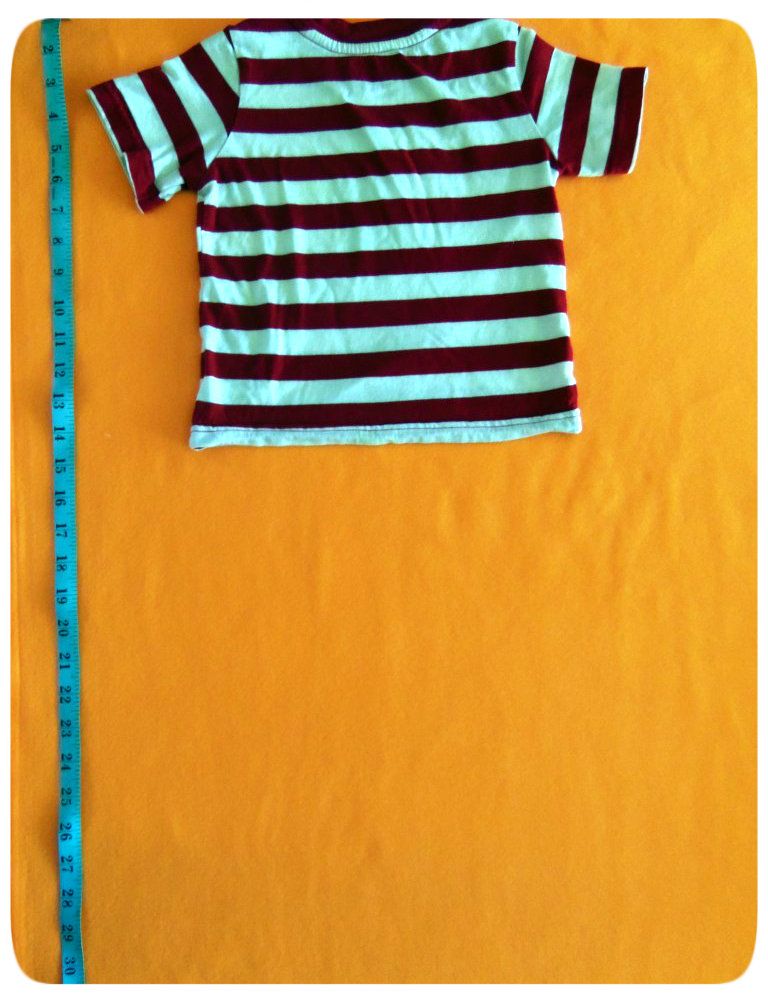
First lat your orange fabric out on a flat surface. I bought a soft fleecy fabric that I thought would keep E a little warmer. Depending on who you are making this costume for, lay out a t-shirt that fits the individual well, onto the fabric. Make sure you make a reference line on the fabric of how far down to trace, depending on the height of the individual you are making the costume for.
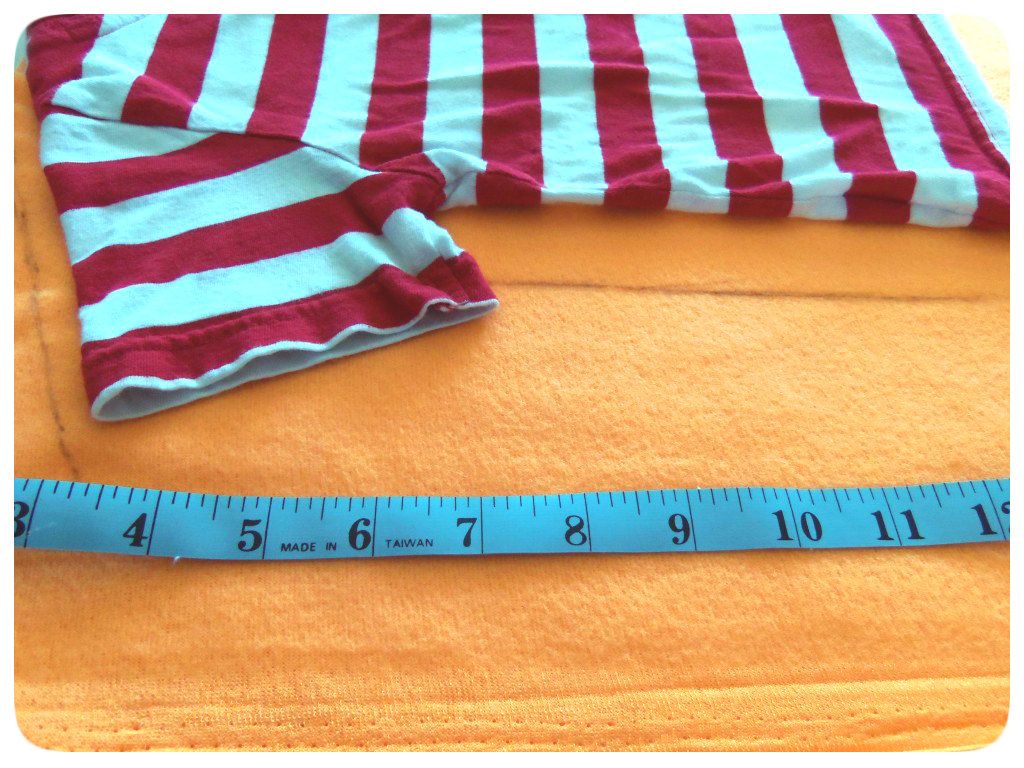
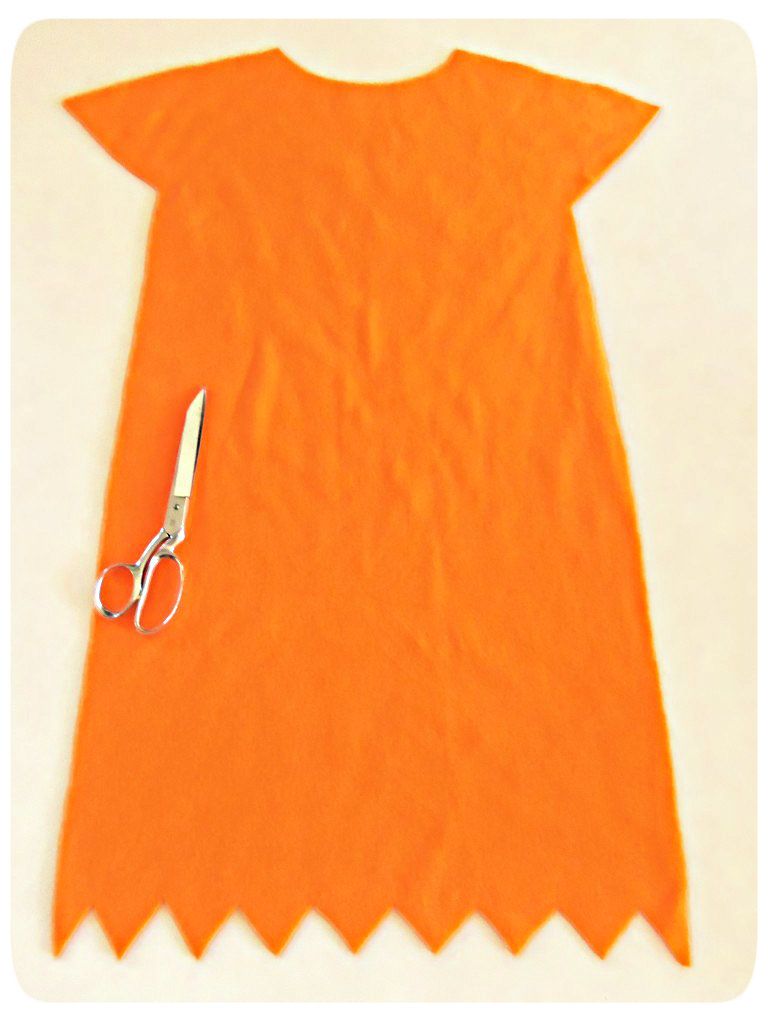
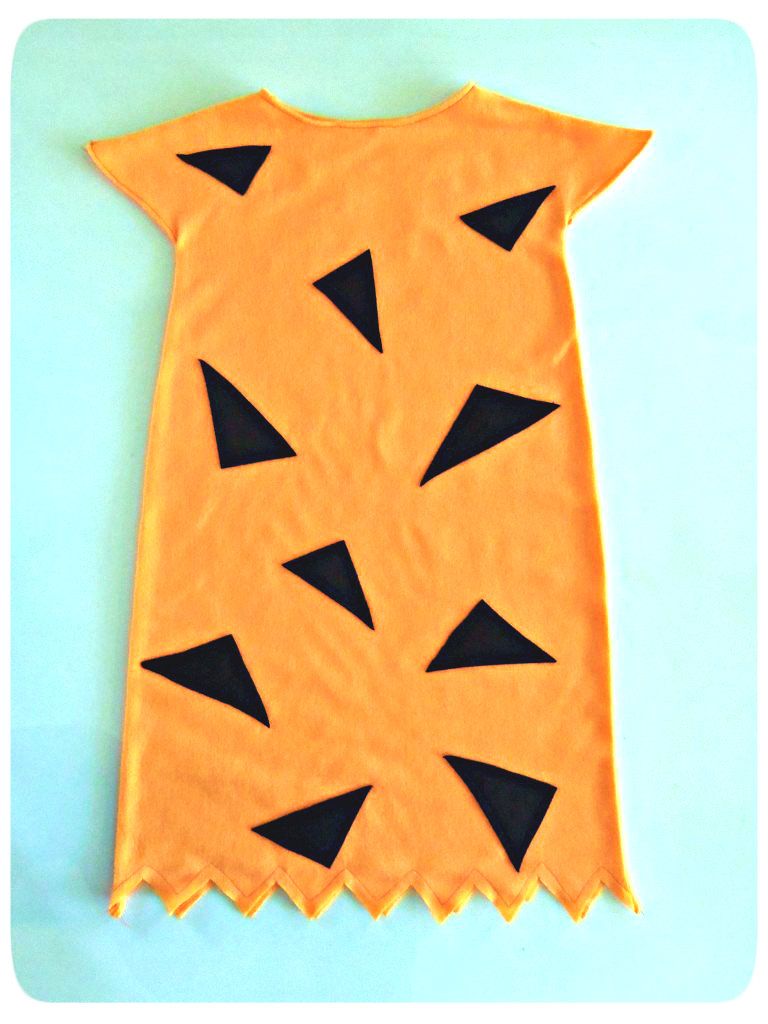
Trace the arms above and below being sure to trace about an inch away from the shirt to allow for sewing. From the armpit trace down to the length of the individual at a slight angle ( finished cut will be an ever so slight triangle effect down to the bottom). At the bottom of the costume you will cut a zig zag pattern from one end to the other, see picture below.
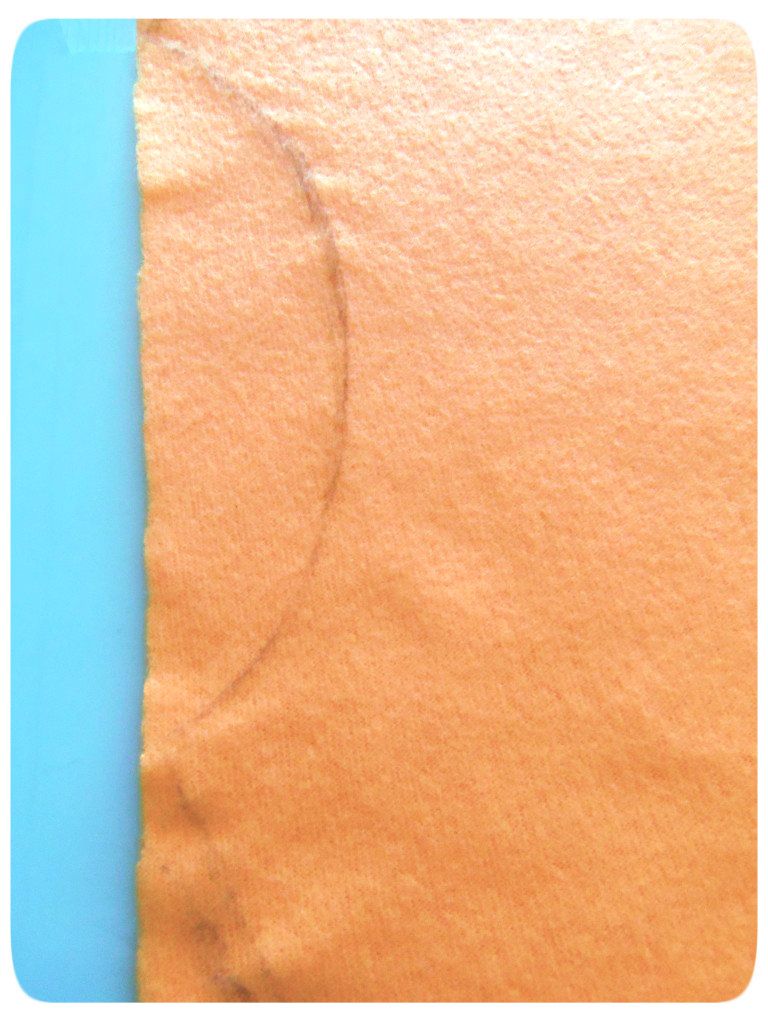
Once you have traced the arms and length of the costume, remove the shirt and trace the opening for the neck and arm holes.
Now cut along your traced pattern.
The next step is not necessary, I did it to finish my edges off and make things look a little bit more tidy. I folded in my arm holes and neck opening and sewed a seem. I also sewed a border on the bottom zig zag pattern.
Next cut your pieces of black fabric into triangles or right angles. I used black felt for this. You can use as many triangles as you prefer, have fun with this! My costume is for a 16 month old so I only ended up using one entire black felt square for the front and back of the costume. Once you have placed all of your triangles, pin them down and sew each one to your costume, front and back. You can also make things easy on yourself and use the no sew fabric tape or glue for this step. However, I must admit that sewing makes for a better looking finished product.
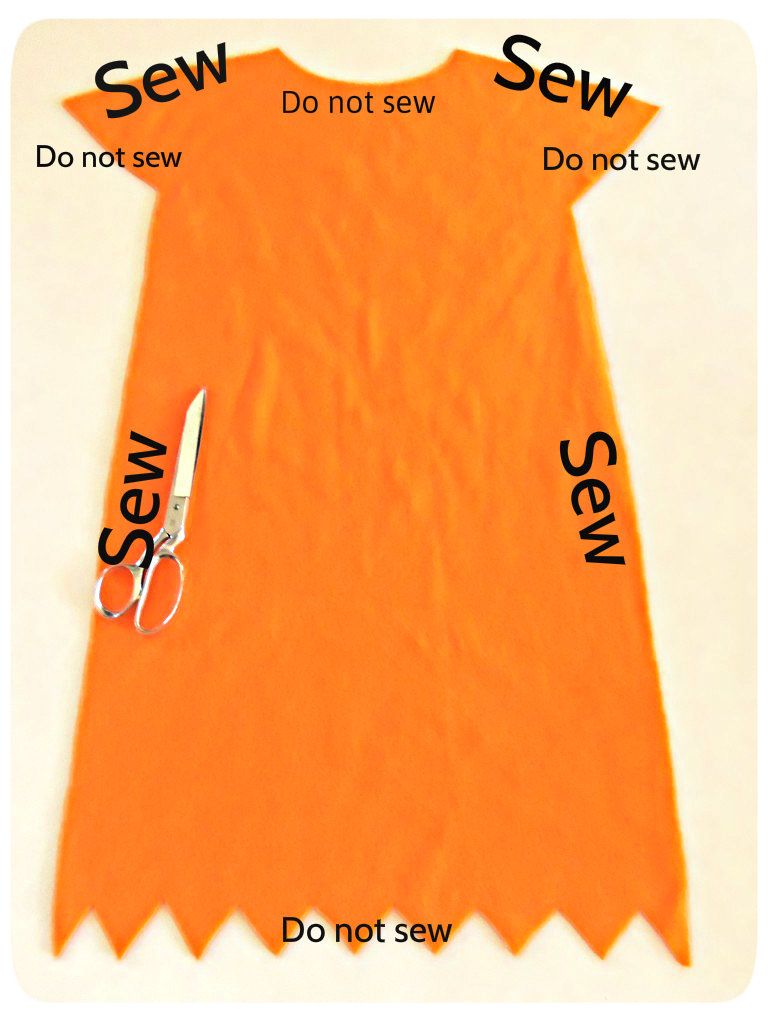
Now you are ready to sew the shell of your costume. Remember to always sew wrong sides together. Sew the shoulders and the sides, being sure not to sew the neck hole, the arm holes or the bottom of the costume (see below image). If you are using no sew fabric tape then you will need to heat your iron up and follow the package instructions.
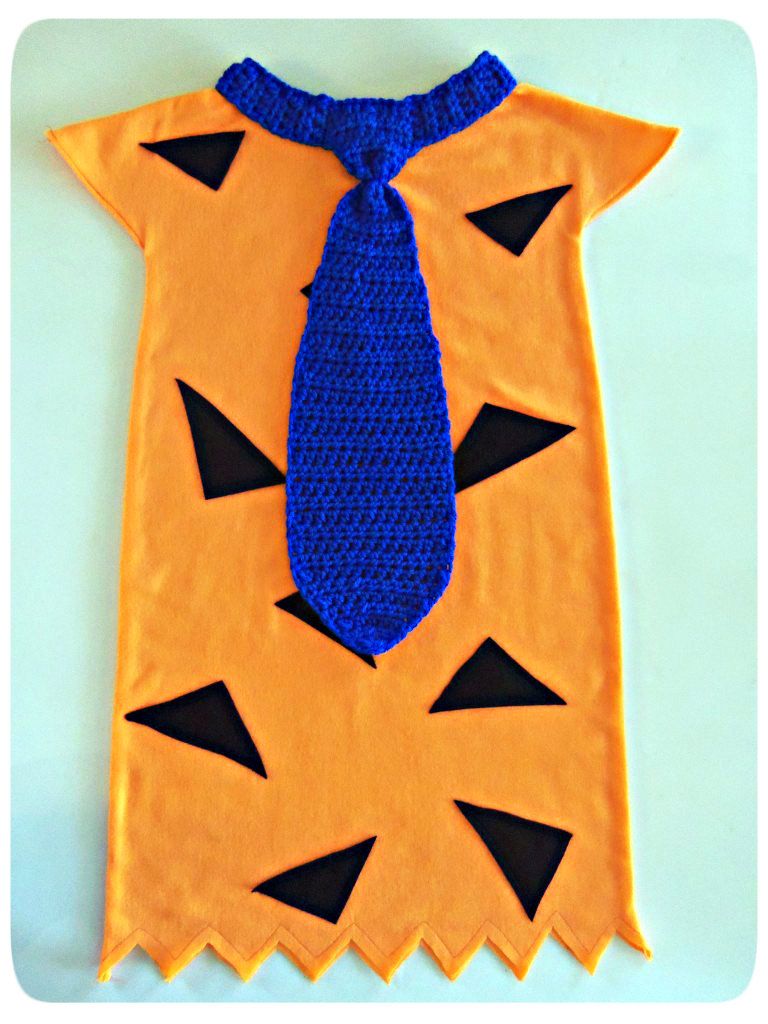
Next cut out your blue fabric to make a tie...or easier yet, if your husband already has a blue tie you can use that! After you have cut your fabric for your tie glue, sew or no sew tape your tie onto the costume.
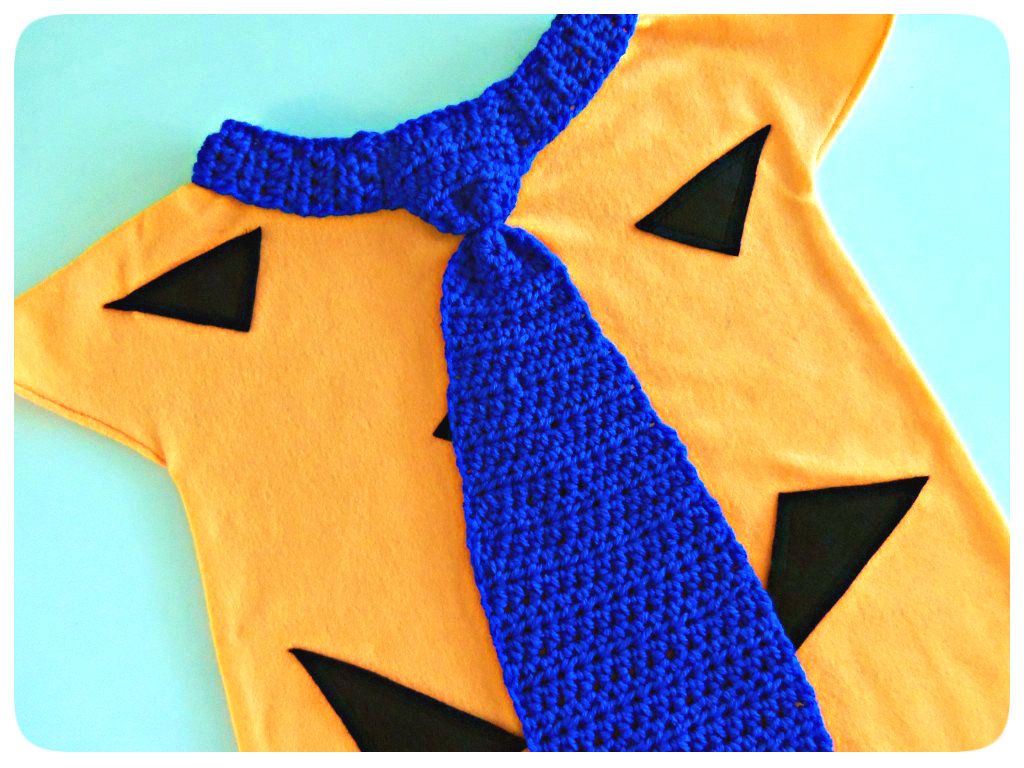
Since I am a crochet geek I opted to crochet my son a tie. After I finished it I simply tacked it to the costume and voila, Fred Flinstone in full effect!
I know I know you wanna see E in his new Halloween costume...patience!......