blankhomeaboutthe fammy faithwhats cookinget crafty

Wednesday, January 16, 2013

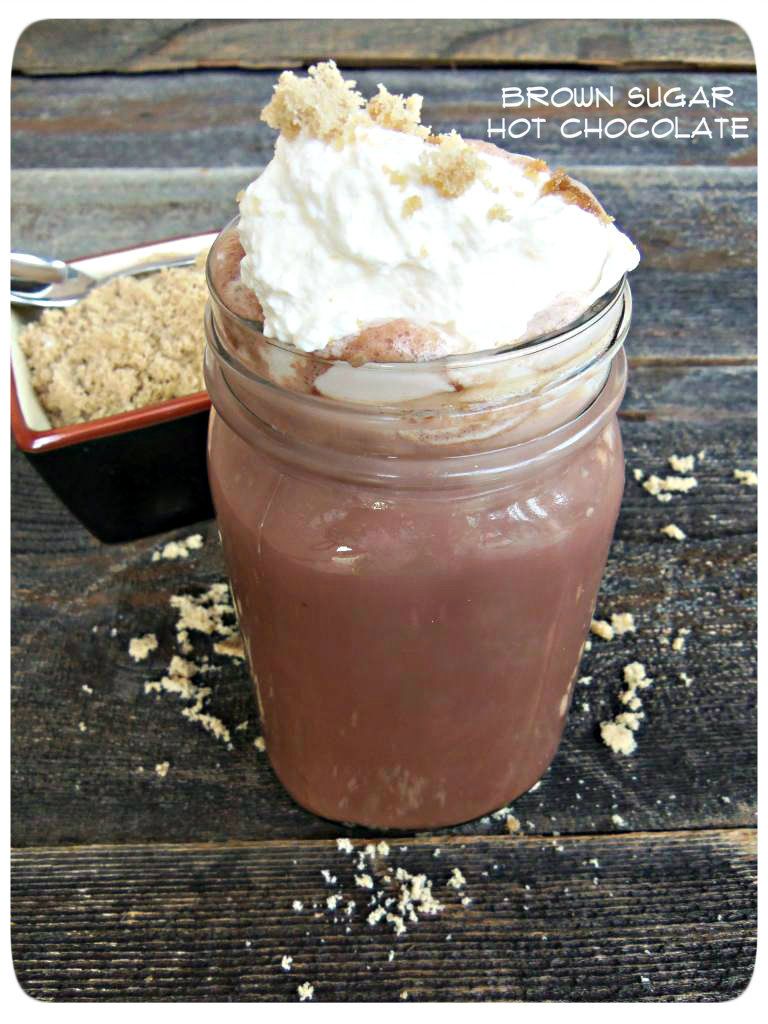
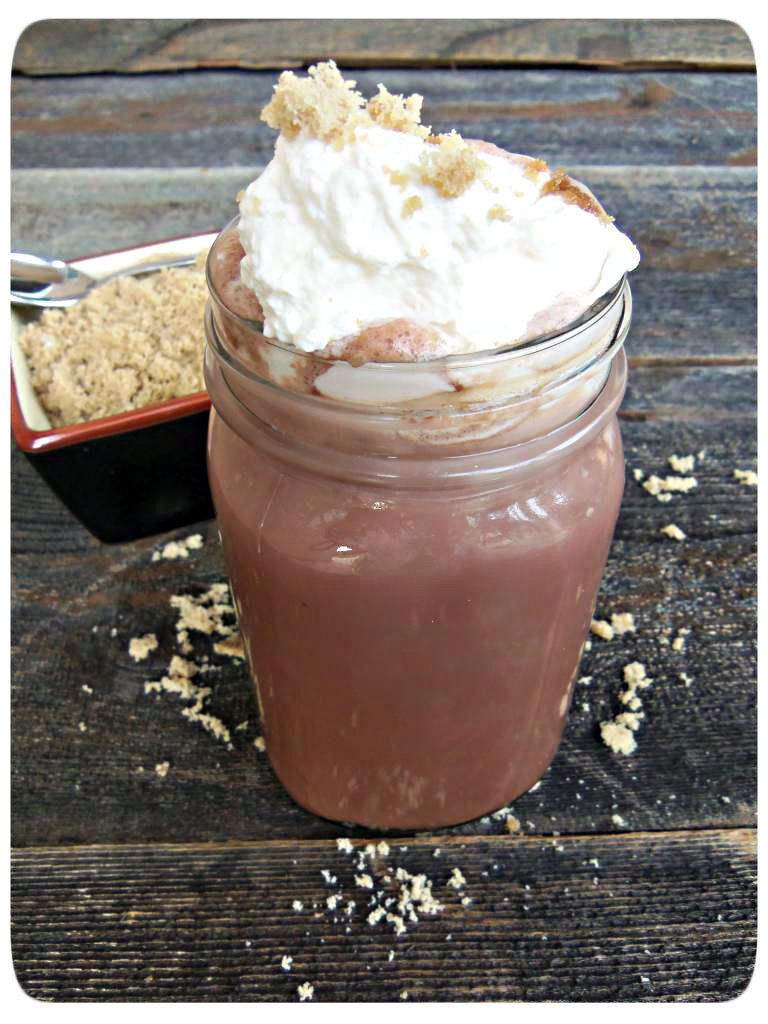
Brown Sugar Hot Chocolate

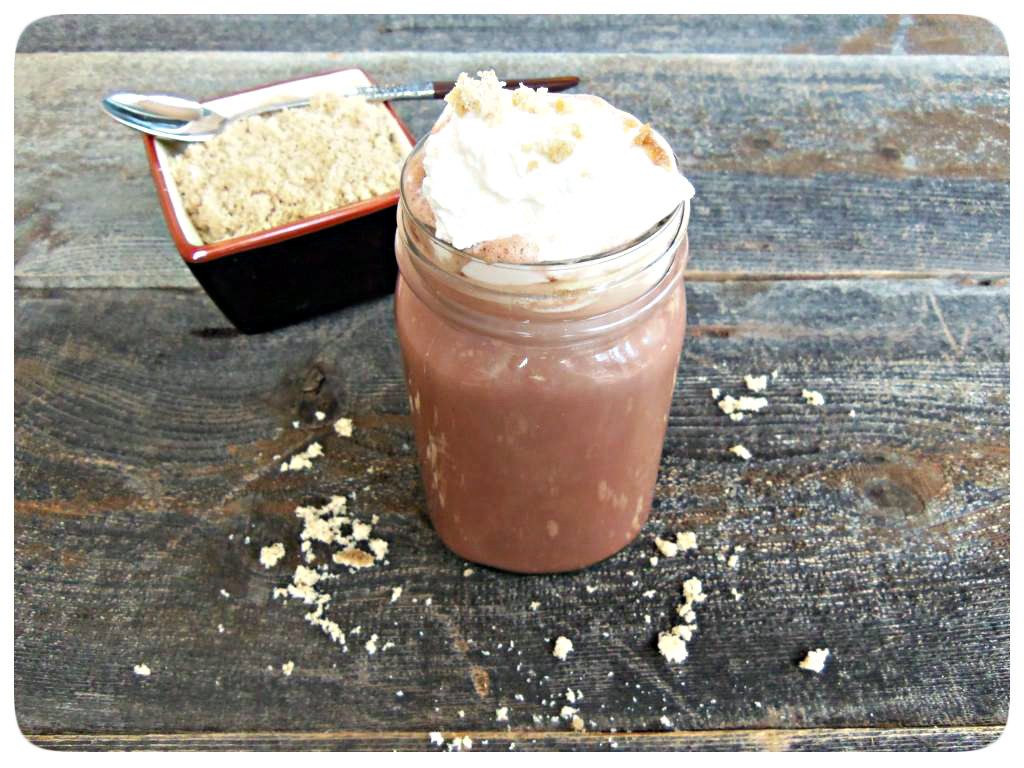
I love brown sugar and am always tempted to indulge myself with a spoonful now and then. For anyone who might have just cringed, don't worry, I don't actually eat spoonfuls of brown sugar.....but someday I just might try it :) In fact most of my cookie recipes I like to swap out regular granulated sugar for brown...or at least sneak a little in. And this is why I love this hot chocolate recipe so much, its got brown sugar and its a keeper!
Brown Sugar Hot Chocolate

Ingredients:
3 oz unsweetened chocolate
1/3 cup water
4 cups whole milk
3/4 cups brown sugar,  packed
1/8 teaspoon salt

Directions:
Melt chocolate and water together in a double boiler. Slowly stir in milk, sugar and salt. Whisk until blended. Top with whipped cream and a sprinkle of brown sugar.
Untitled_zpsf419afba

Sunday, January 13, 2013

Origami Envelope

Sooooooo, confession,  I do not like buying cards....for anything. Cards seem to me, overpriced pieces of paper that for some reason we have to attach to presents. I would much rather just apply a tag to a package simply stating who the gift is from. 
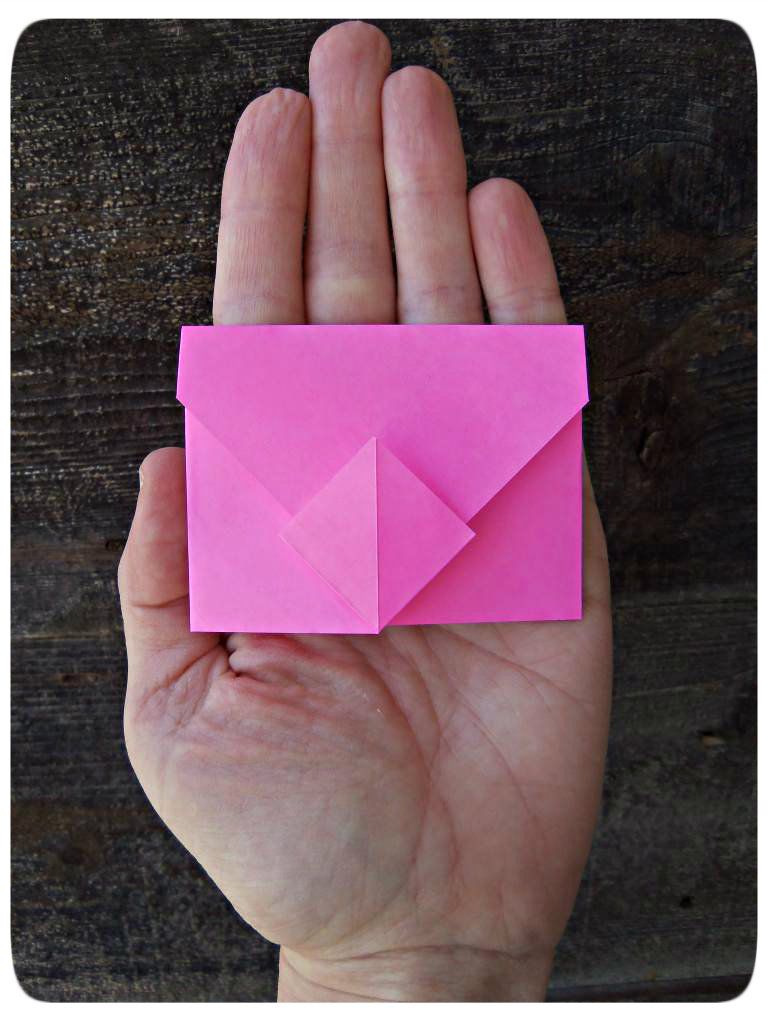
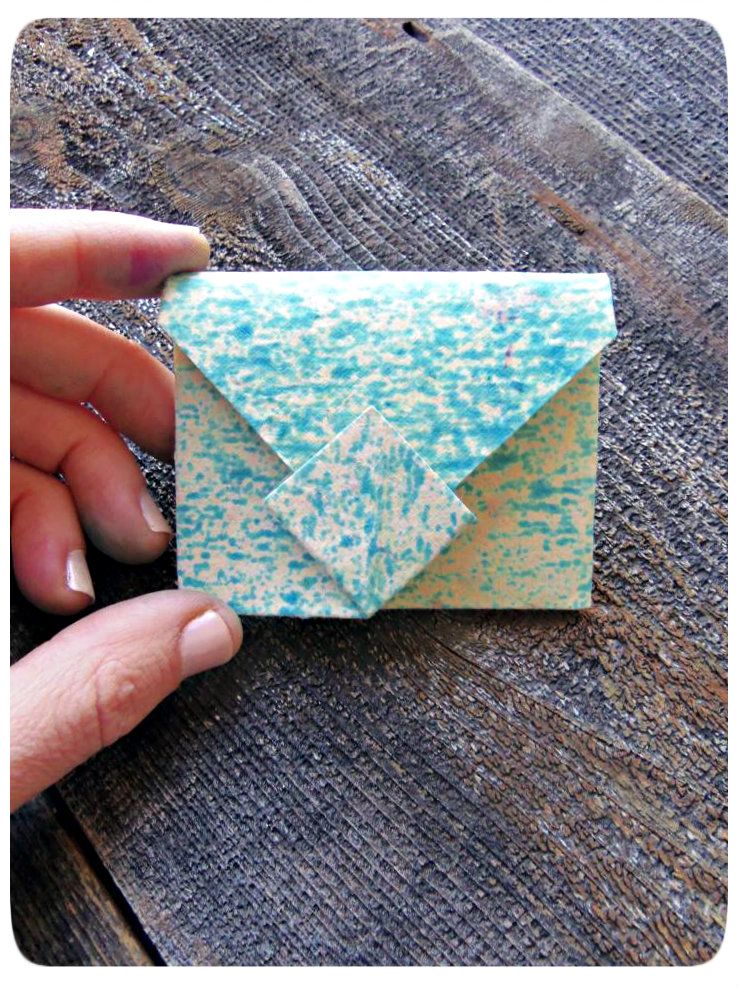
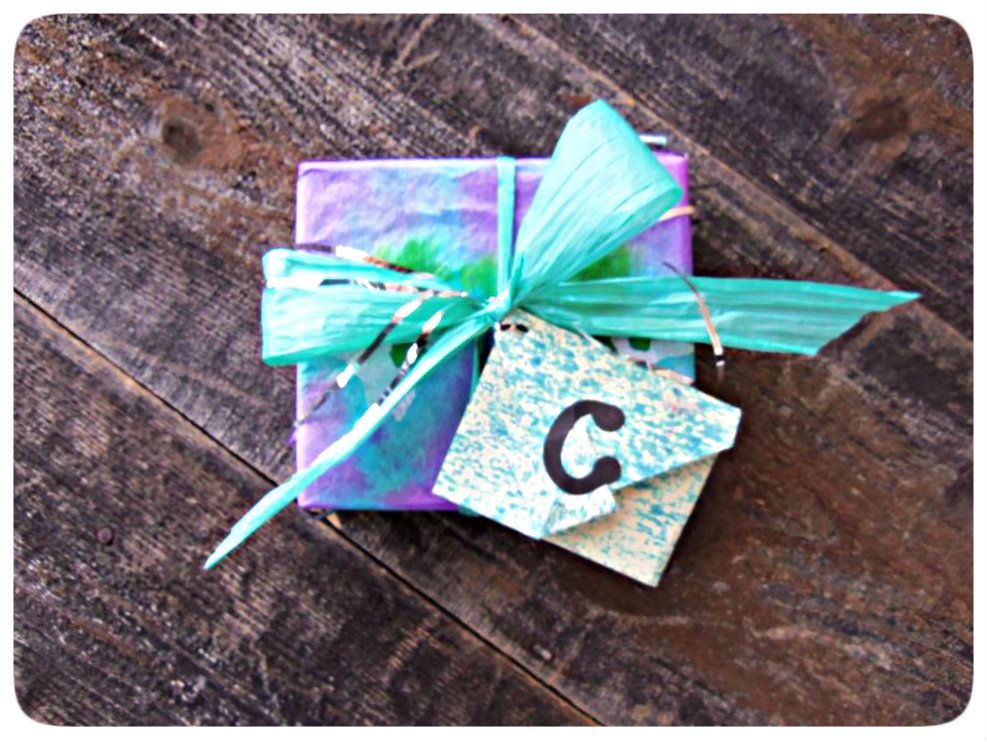
Thats when I thought of making a cute little origami envelope to attach to a present, with either a cute little handwritten note or a tag stating who it is from, inside. Simple, easy and can be done with anything from scrapbook paper to your ordinary binder paper...anything you have lying around!
Heres how you make them...
You start with a square piece of paper.
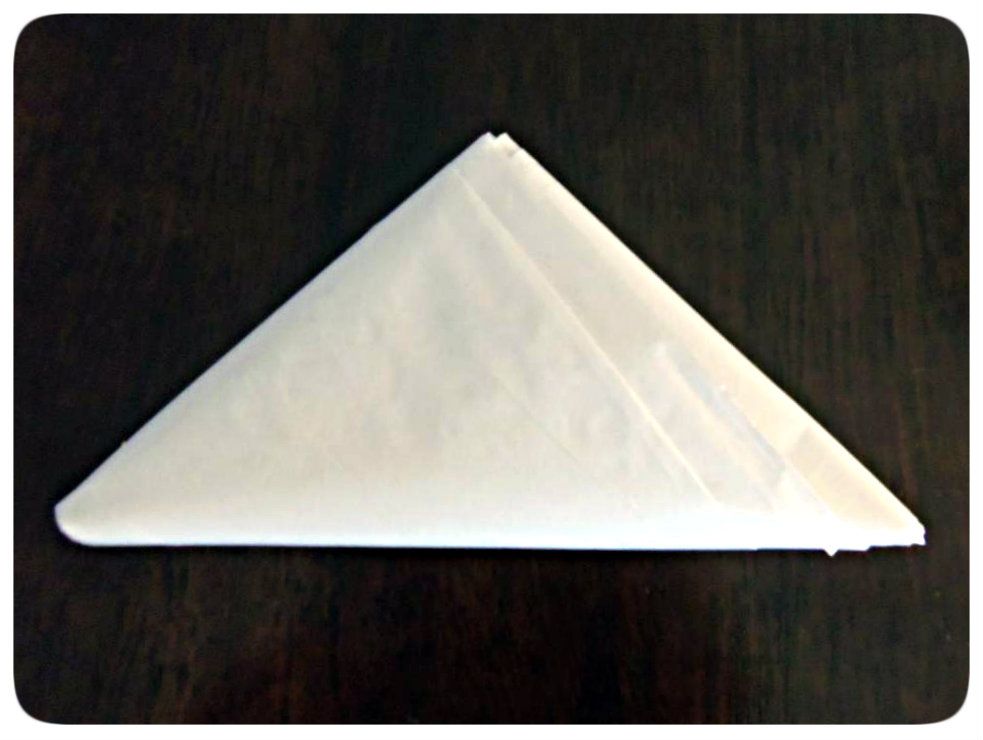
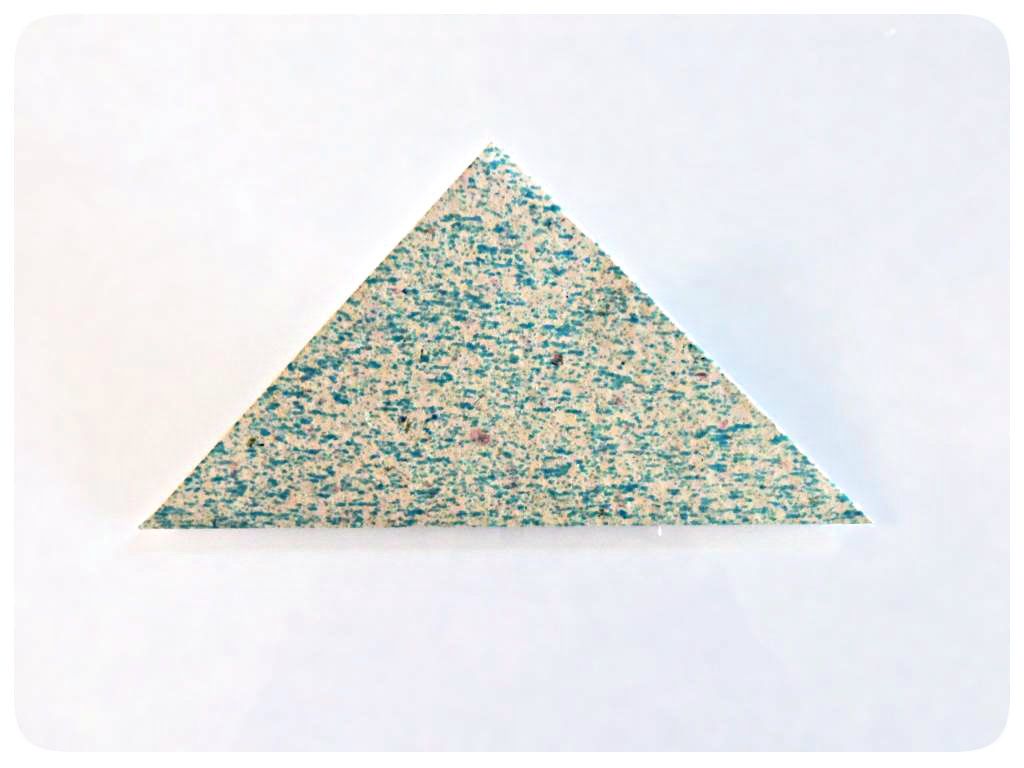
Fold it into a triangle
Fold the top corner of the first layer down to the bottom fold.
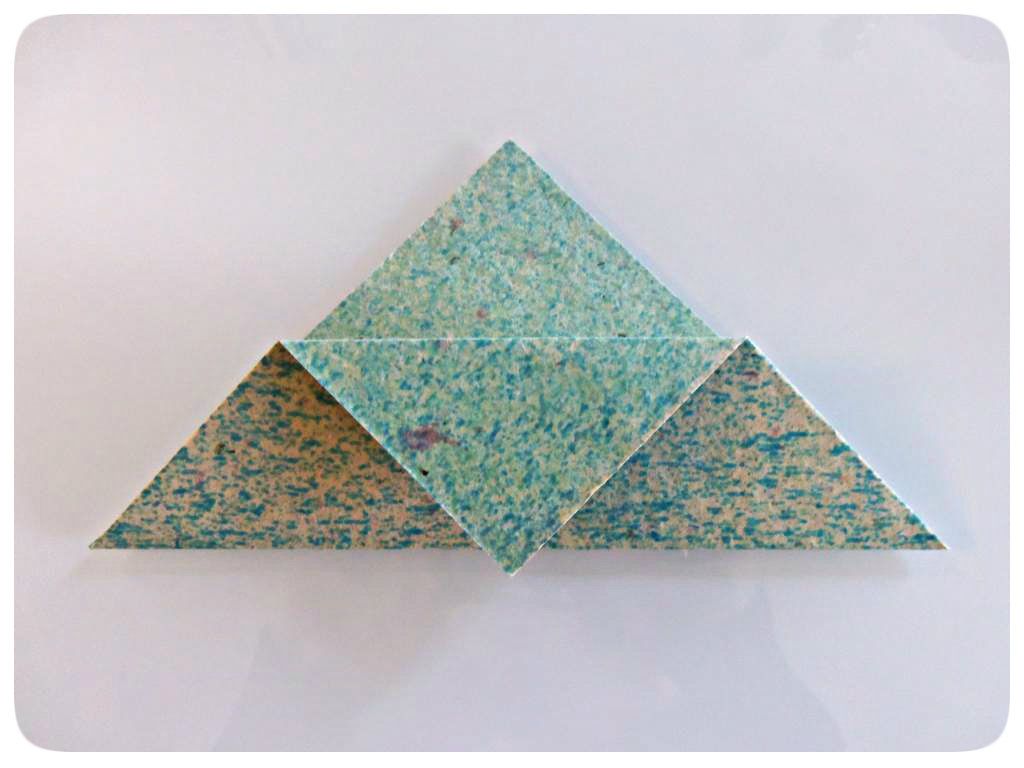
Fold your right corner about 1/3 of the way over, doing the same with the other side.
Fold the exposed corner over to the opposite corner.
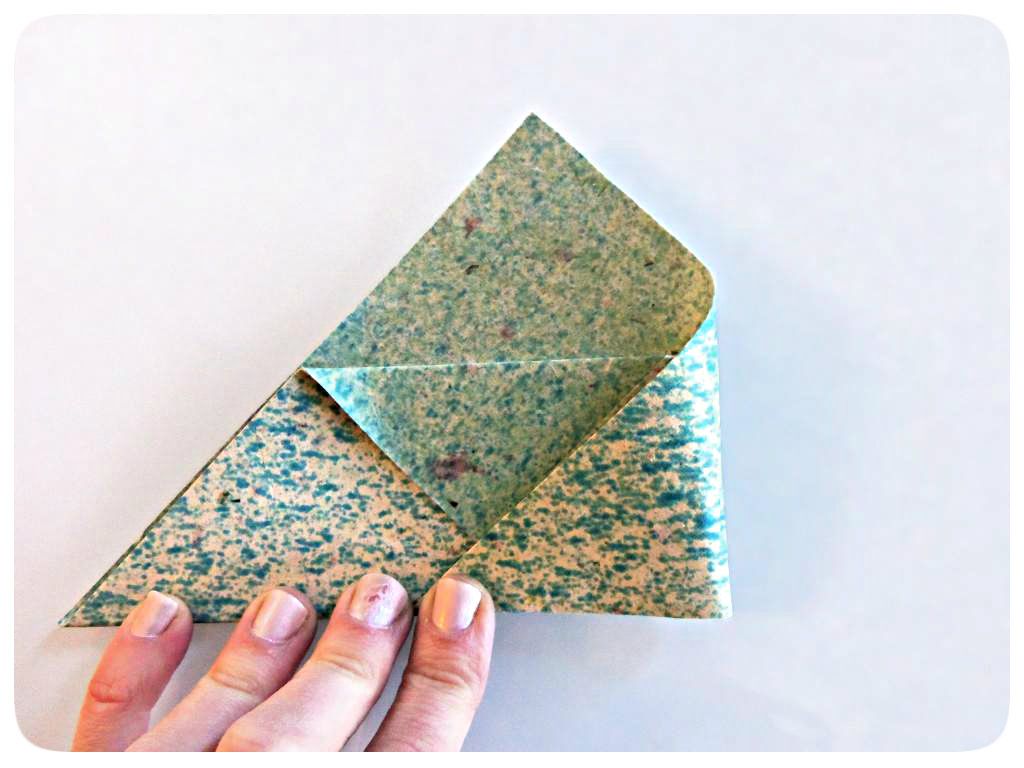
Now fold the point up to the top corner. This is just a crease we are making in the paper in order to guide us through the next step.
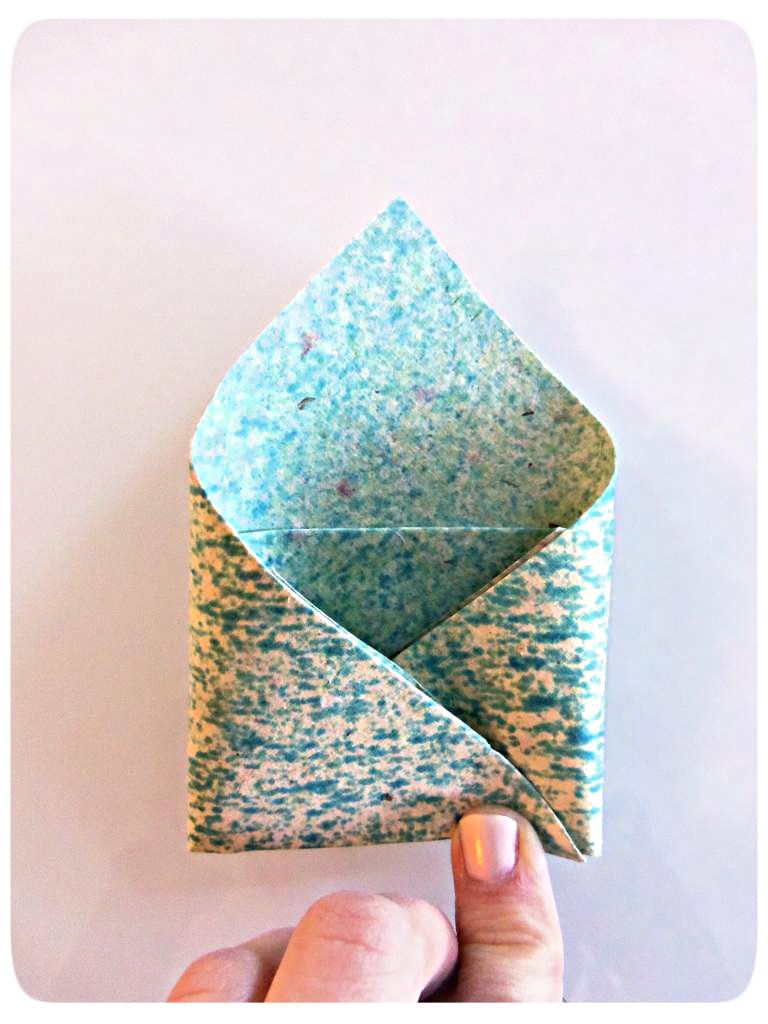
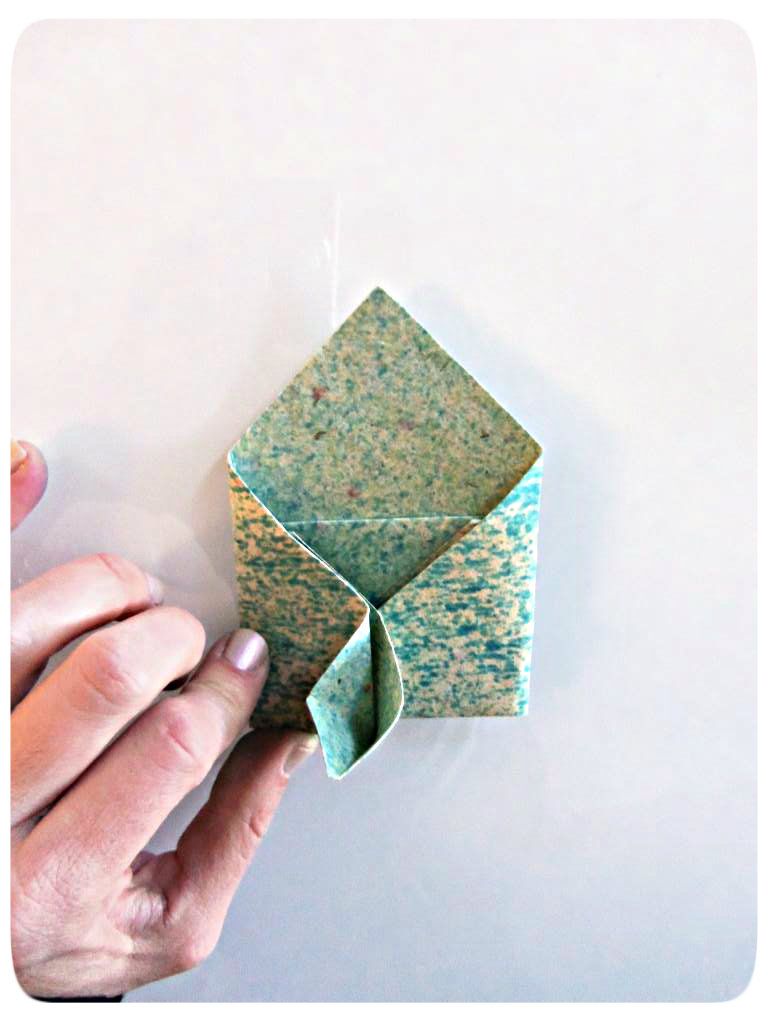
Open up your pocket you have created and push it in onto itself.
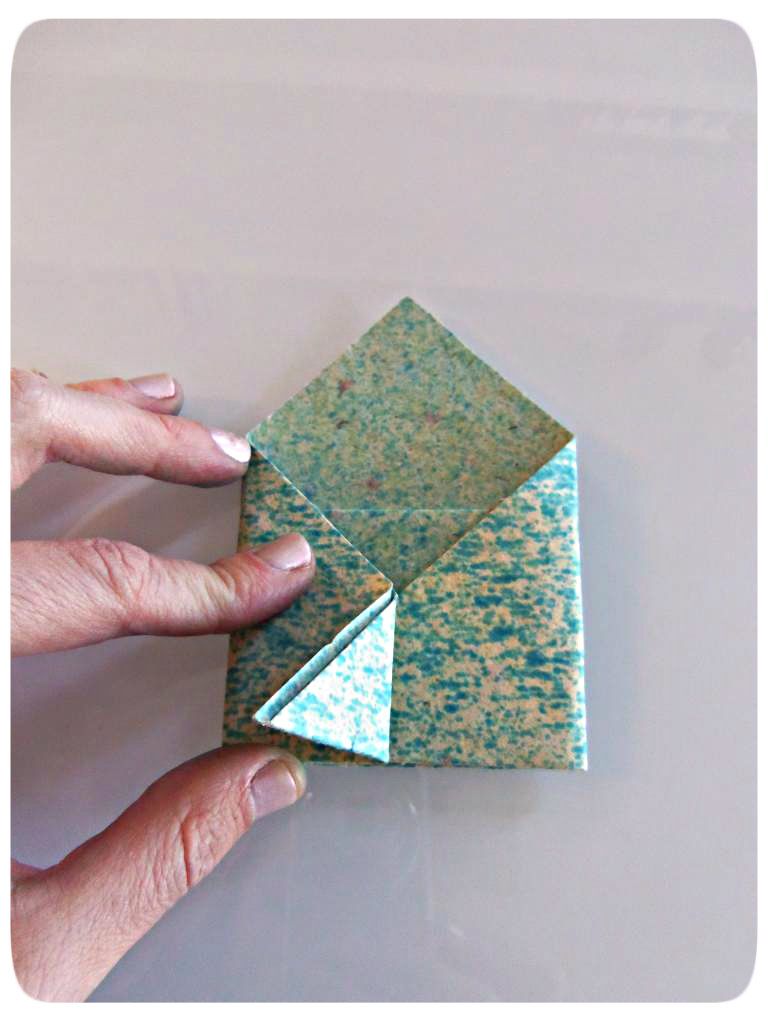
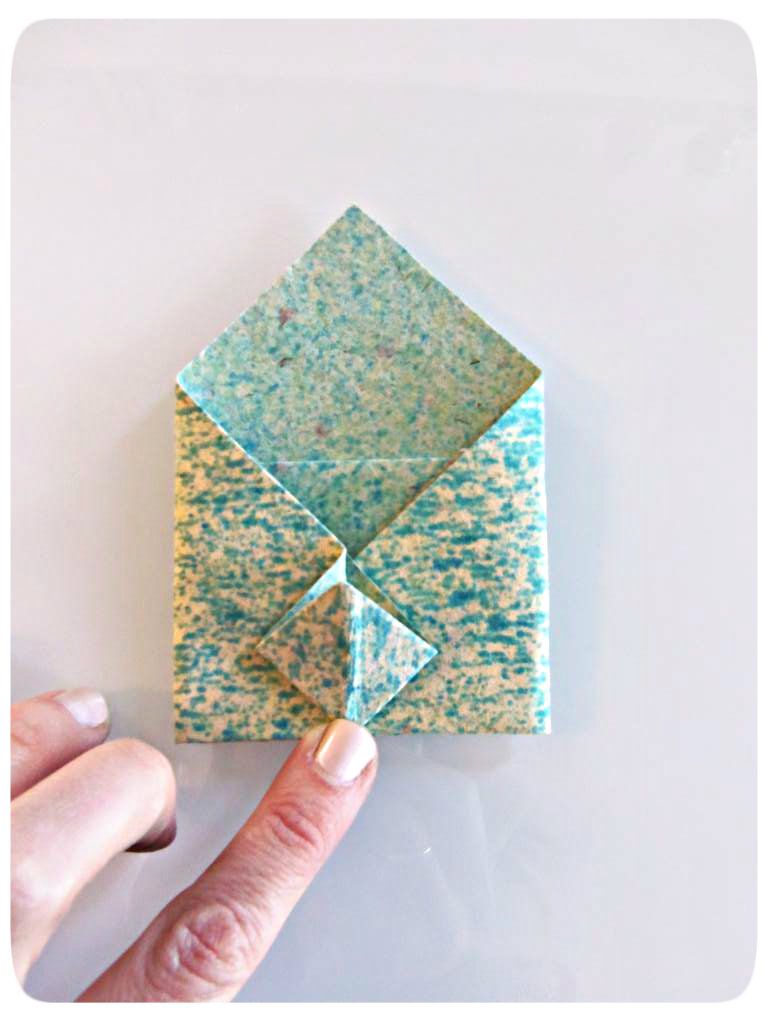
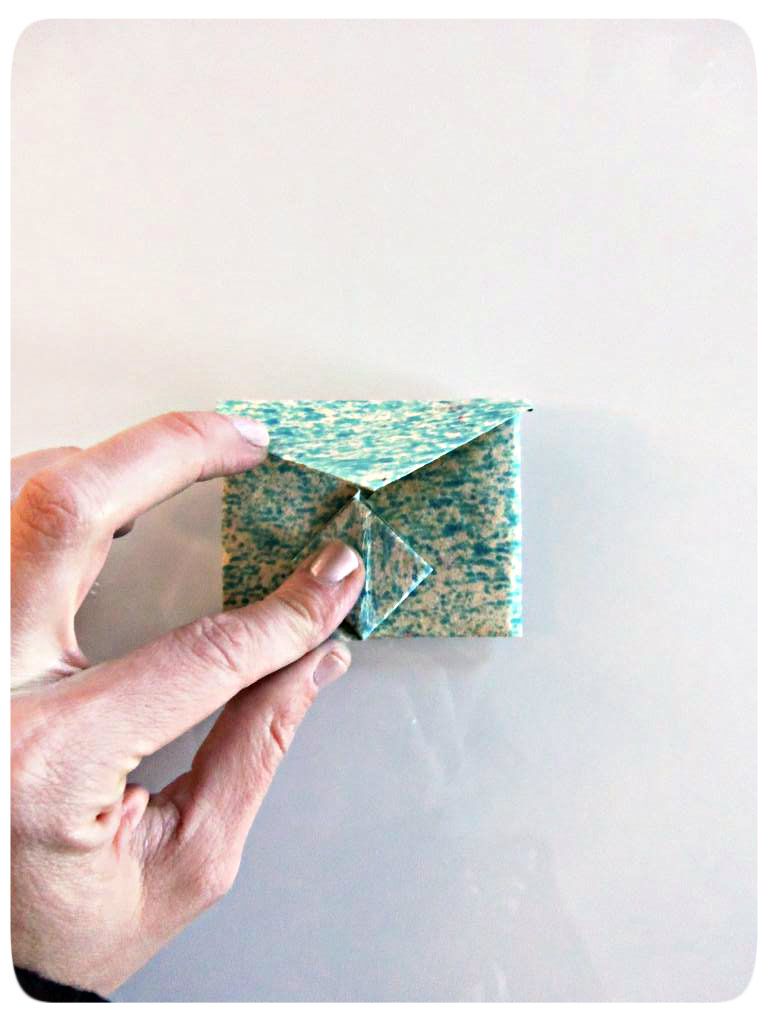
Now fold your very top point down to your bottom edge, and stick the corner into the pocket you made.
At this point before you completely seal your envelope you can insert a little note.
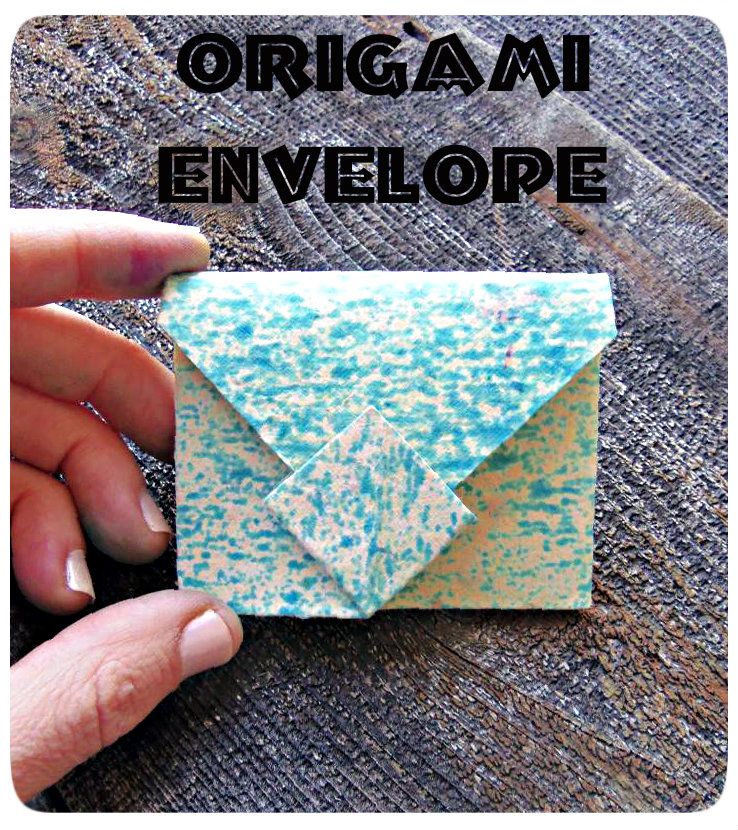
I attached the letter of the first name of the individual I was giving it to.
Voila, envelope!
Untitled_zpsf419afba

Wednesday, January 9, 2013

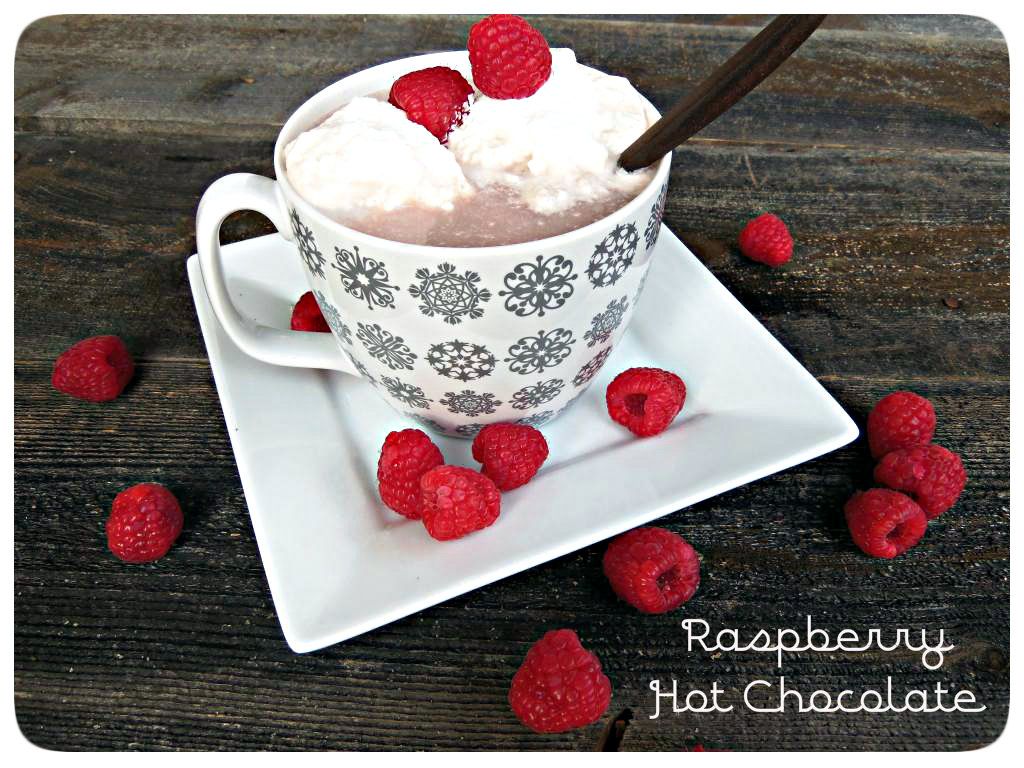
Raspberry Hot Chocolate

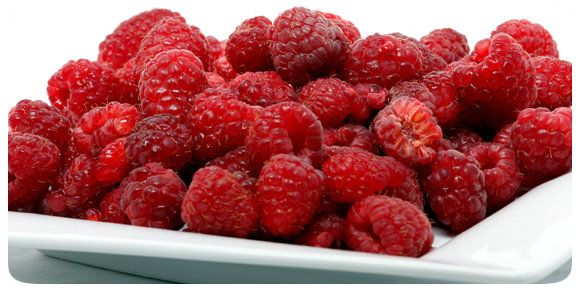
My little man Easton's life motto is go big or go home! This goes for everything that he does, everything, food included. He loves food, and especially fruit. So most of the time I buy the large packages of fruit from Costco because he has no problem going through an entire carton of raspberries, for instance, in one day. Yes, you read right, one day.
 Easton will go hard core raspberries for a few days until all of a sudden he can't even stand to look at another one. I will offer him another bowl of raspberries and he gives me a look like "How could you even think about serving me more raspberries, don't you know I hate them?" And at that moment his infatuation will turn to blueberries or blackberries, or pears, etc. until he reaches his breaking point with that fruit and we continue through the cycle. 
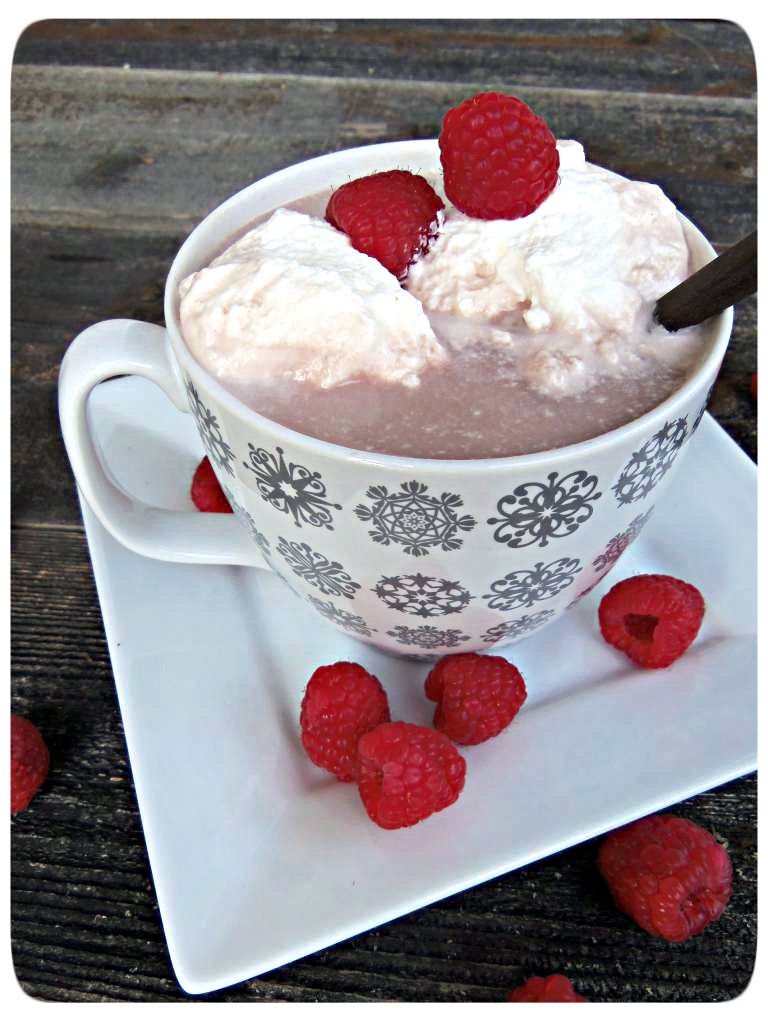
Well, I bought one too many packages of raspberries this time and decided to incorporate the leftovers into a sweet chocolaty drink. It is delicious! The raspberries are a subtle touch to the chocolate and a nice variation to your normal hot chocolate drink.

Raspberry Hot Chocolate

Ingredients:
2 cups cream
1 cup whole milk
6 oz bittersweet chocolate, finely chopped
2 tablespoons sugar
1/2 teaspoon salt
1 tablespoon butter
1 cup raspberries
whipped cream

Directions:
In a saucepan combine cream, milk, and sugar until hot, but DO NOT boil. While cream mixture is heating, puree your raspberries and set aside. Add chocolate and butter to heated cream mixture and reduce heat to simmer. Stir until chocolate is melted. Add pureed  raspberries and stir until smooth. Strain the liquid to catch any raspberry seeds that did not get pureed. Pour into mugs and garnish with whipped cream and a few raspberries if desired.

Untitled_zpsf419afba

Sunday, January 6, 2013

Smokey Corn Chowder


Holy cow its starting to get cold, really cold... well for California that is. Most days all I feel like eating is a warm bowl of a really good hardy soup...and there is nothing like having a good bowl of soup on a cold wintery day to help warm up those bones.

One of my go to recipes when I am craving soup is this smokey corn Chowder. It thick and rich and very satisfying. It never lasts very long at our house and I don't think it will at yours either.
Smokey Corn Chowder

Ingredients:
6-8 slices bacon
1 large red onion, chopped
4 cloves garlic, chopped
1 teaspoon smoked paprika
1/4 teaspoon red pepper flakes
4 cups chicken broth
1 cup cream
(2) 10 oz bags of frozen corn
salt and pepper to taste

Directions:
Cook bacon slices in a large pot that you will use to cook your soup in. Once bacon is cooked, drain on paper towel and set aside for garnish. Reserve about 2 tablespoons of bacon fat in pan and add chopped onions. Cook on medium heat until translucent and caramelization begins to occur. You want your onions to have some nice color on them. Next add in your garlic, smoked paprika and red pepper flakes. Cook for 2 minutes. Add your broth, cream, and corn and bring to a boil. Once boiling, reduce heat to a simmer and cook for 15 minutes. Transfer half of your soup into a blender and pulse for 10-15 seconds. Add blended soup back to pot. Stir soup and ladle portions into bowls and garnish with your cooked bacon pieces.

Untitled_zpsf419afba

Thursday, January 3, 2013

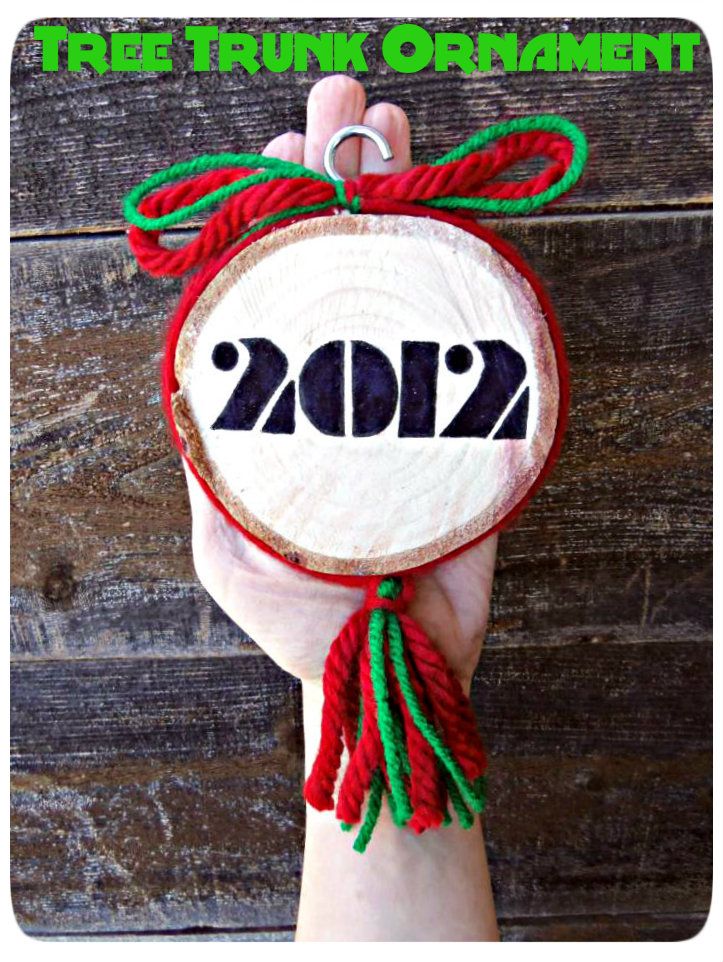
Christmas Tree Trunk Ornament


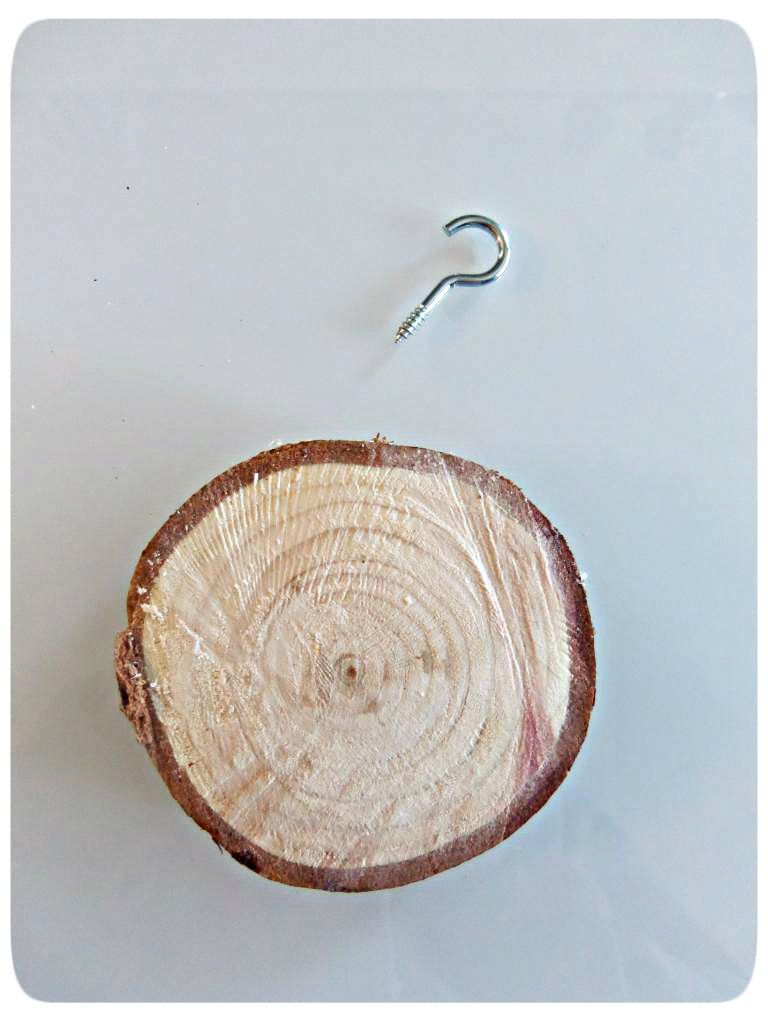
Before you toss that Christmas Tree to the curb keep a piece to remember it by! Saw off a piece of your tree trunk each year to make an ornament!! 


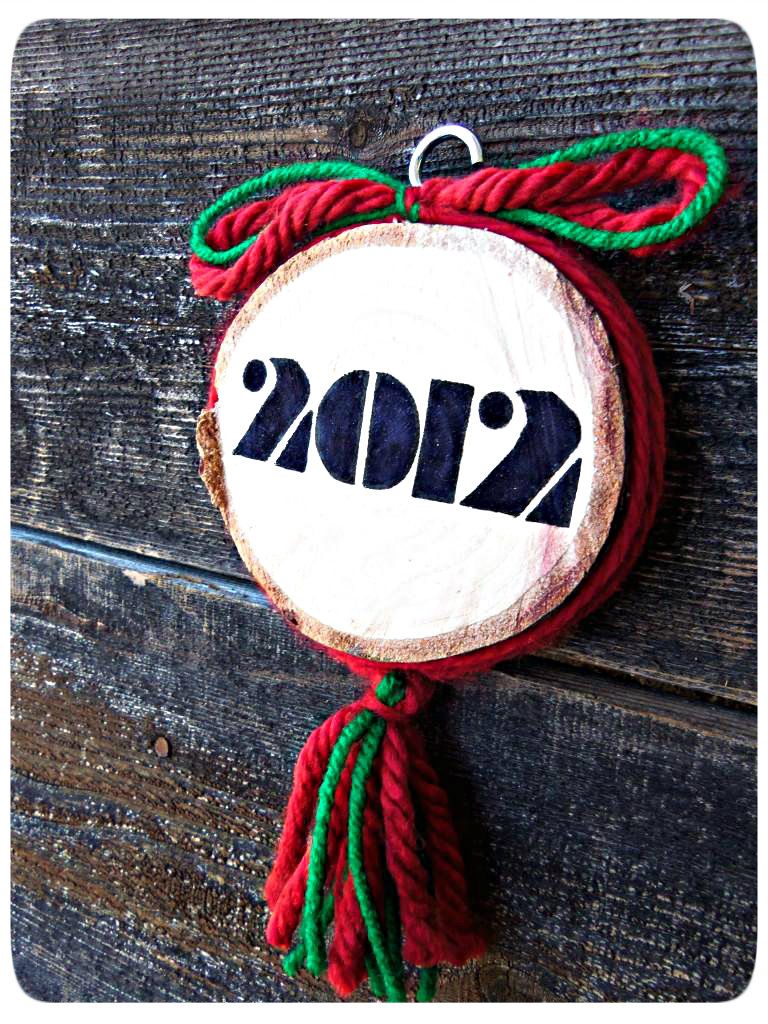
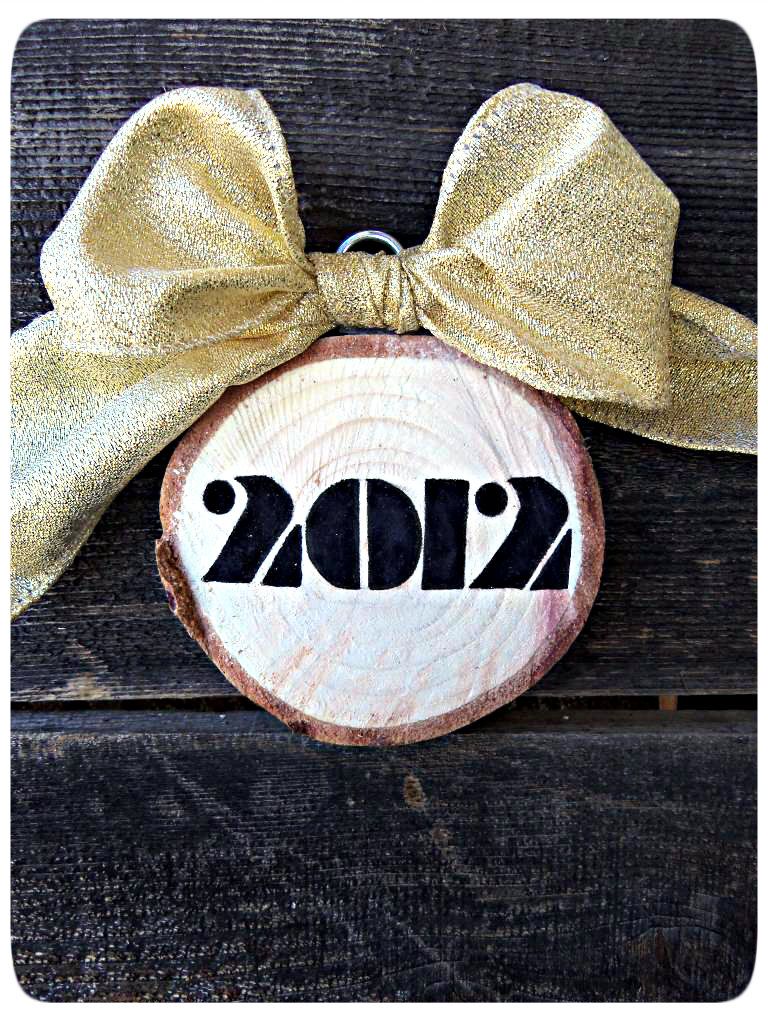
This project is super easy and can be as cheap as Free! All you really need is a piece from your tree trunk and an eye hook or drill a small hole in your disk to string a thread through to hang it with. And if you are feeling so inclined and creative you can add some sparkle and fun with some ribbons, beads, glitter, or whatever it is you want to personalize your ornament with.
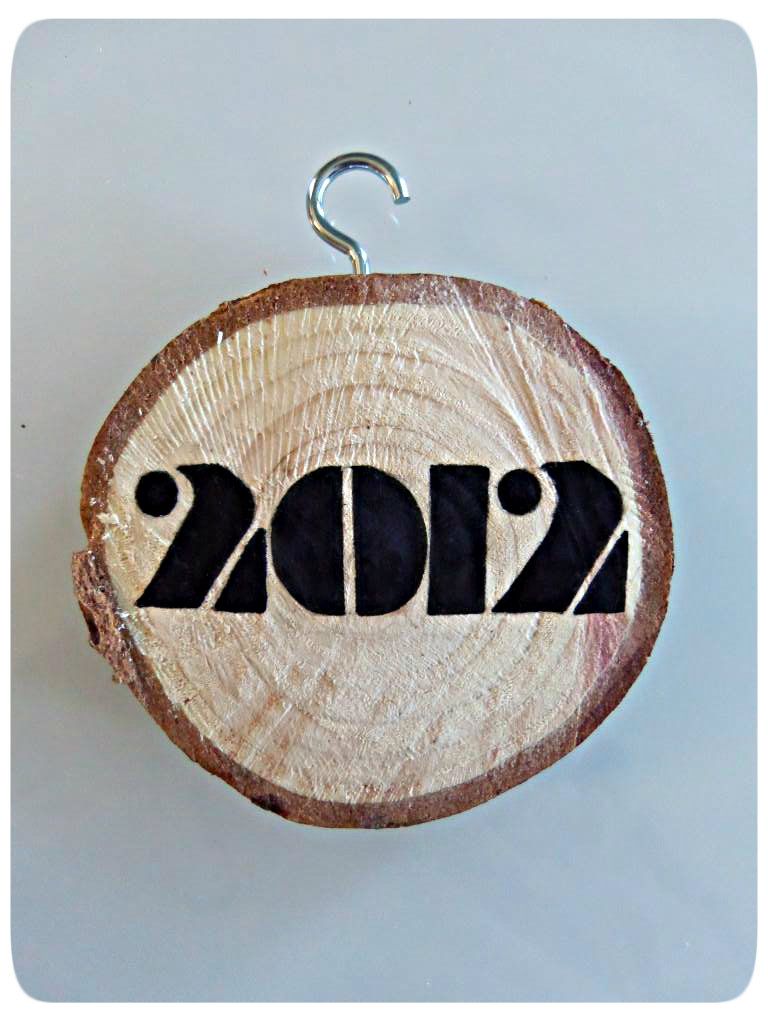
Start by screwing an eye hook into the top of your trunk disc or you can even drill a hole straight through your disk and then string some thread or ribbon through to hang it with.
Next write the year that your tree was used in. You can either leave it at that or add some embellishments. 
Untitled_zpsf419afba

Tuesday, January 1, 2013

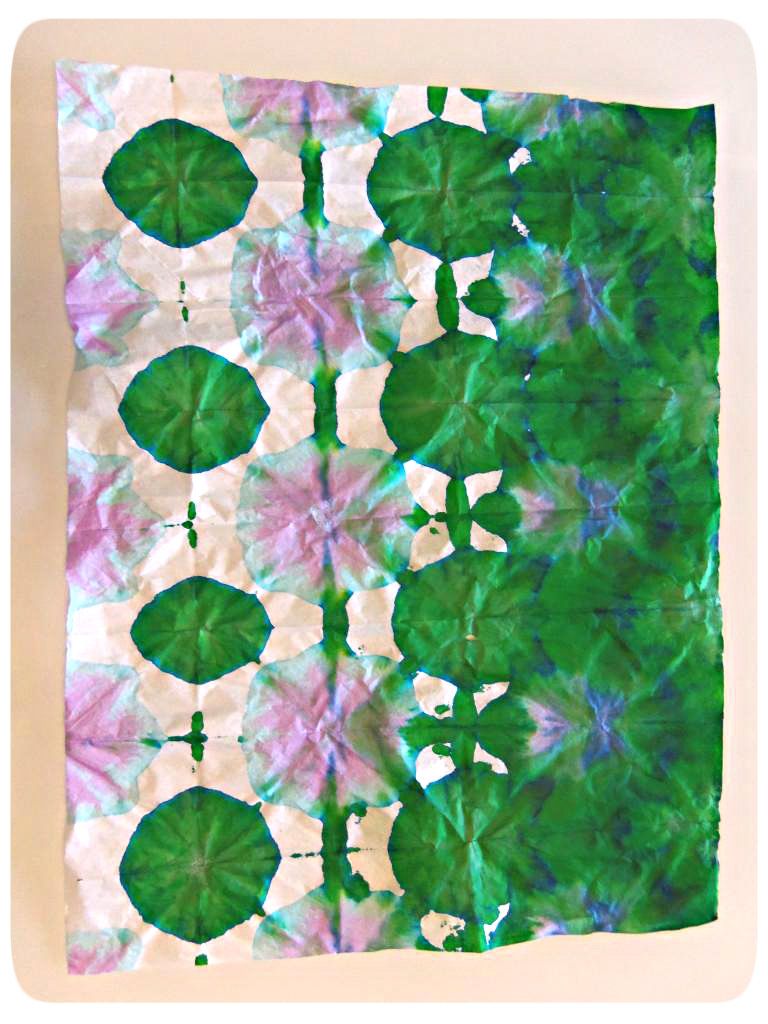
DIY Tie Dye Tissue Paper

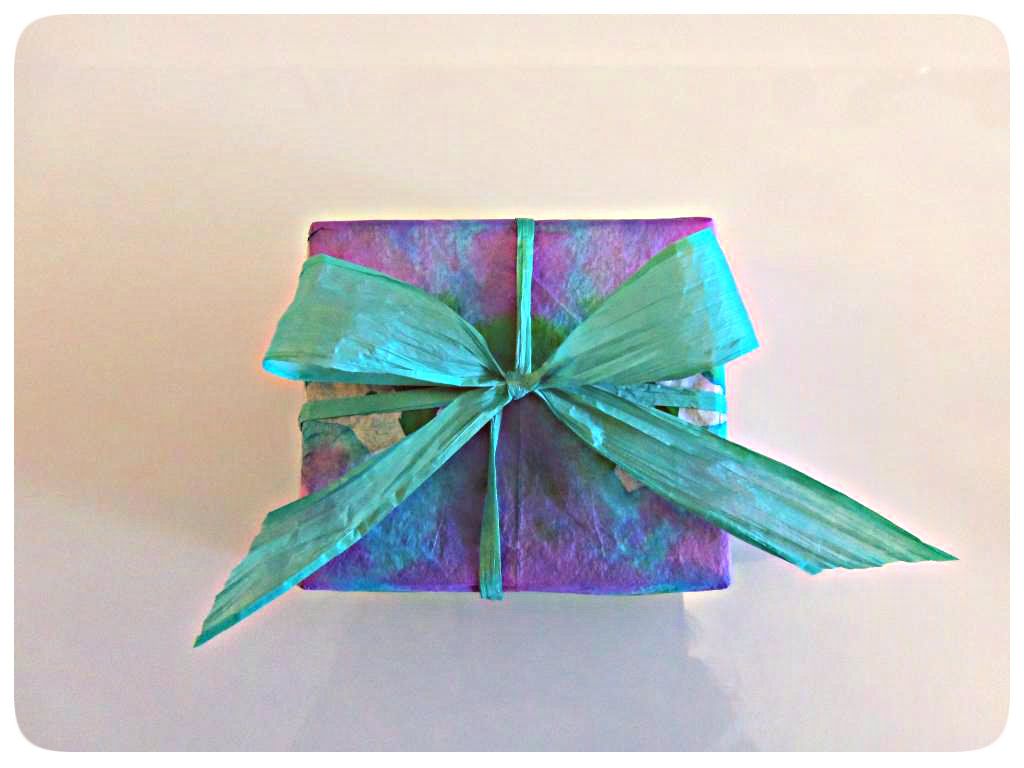
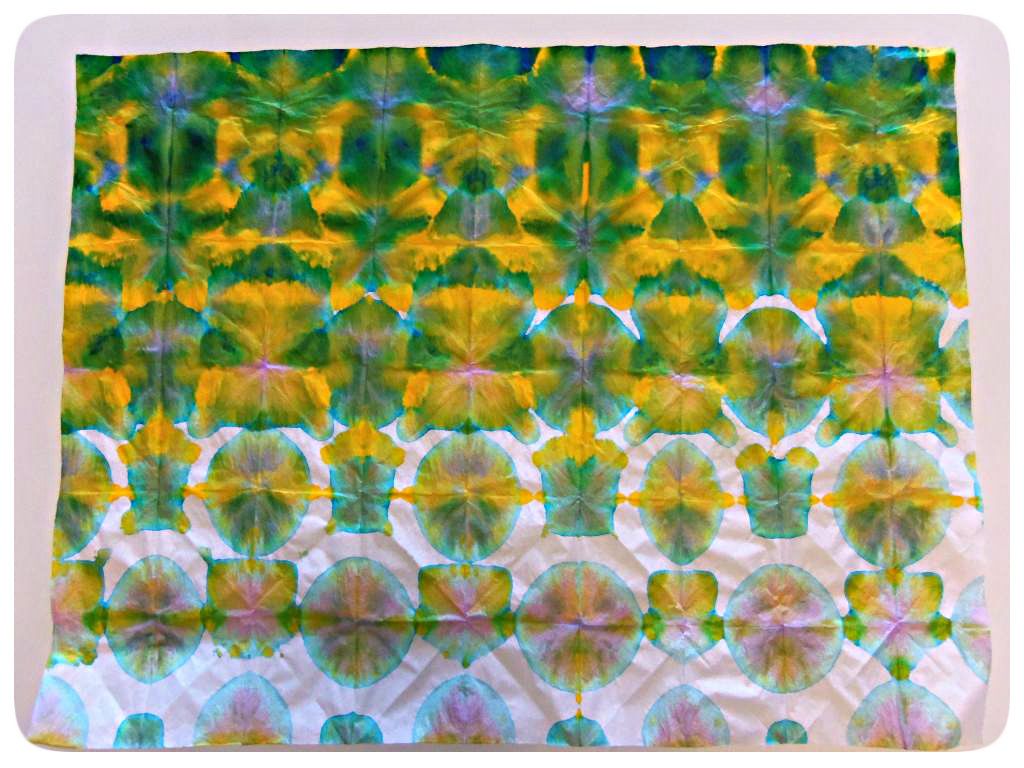
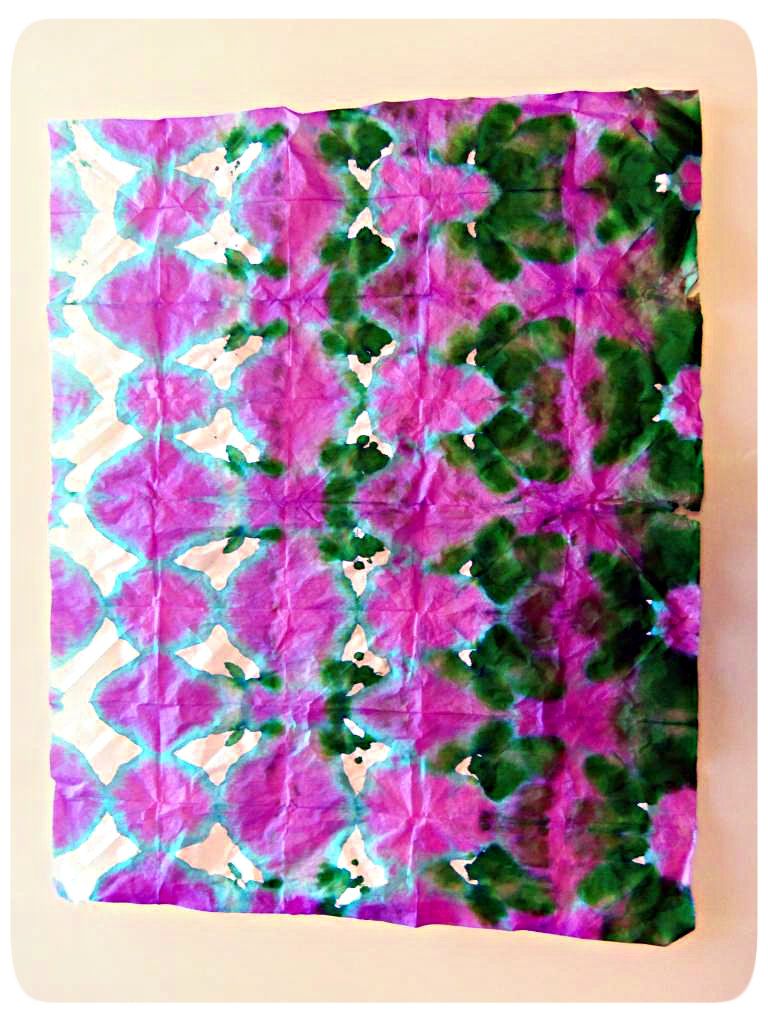
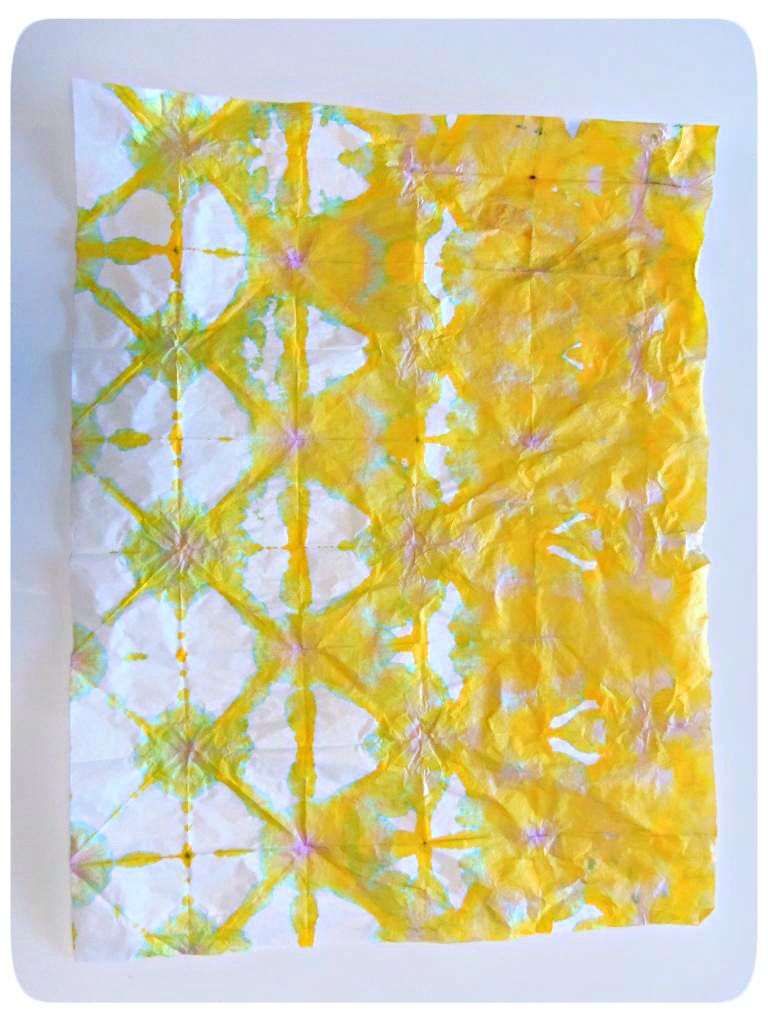
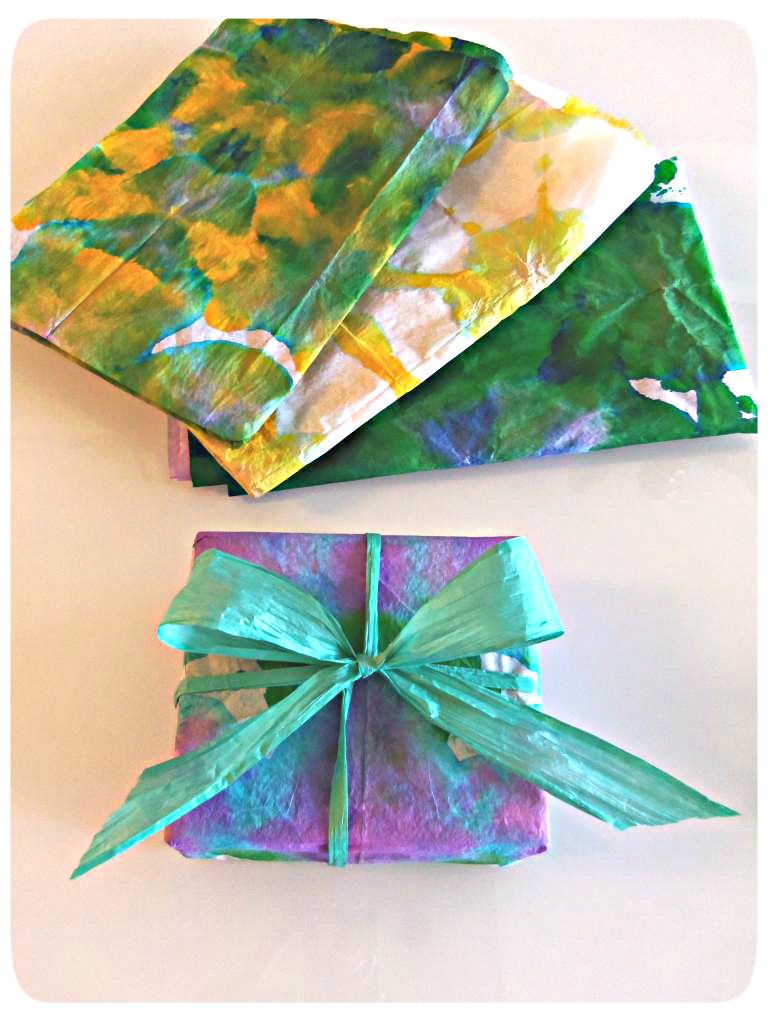
Most of the time I don't have wrapping paper on hand...in fact this was the reason for this very dye job tutorial...I needed wrapping paper and didn't have any. But I do however most always have tissue paper. And my favorite thing to do whether I have wrapping paper or not, is use dyed tissue paper to wrap presents. It is a bold and beautiful statement piece and one that your recipient will want to admire more than unwrap! 

My family has been tie dying tissue paper for over 40 years. I can vividly remember helping my mother dip tissue paper in different dyes when I was just a young girl. And of course the best part was unfolding the paper to see your design. I am in loooove with this DIY project!! You can dye and wrap in less than 30 minutes, and because it is so simple I'm sharing it with you!

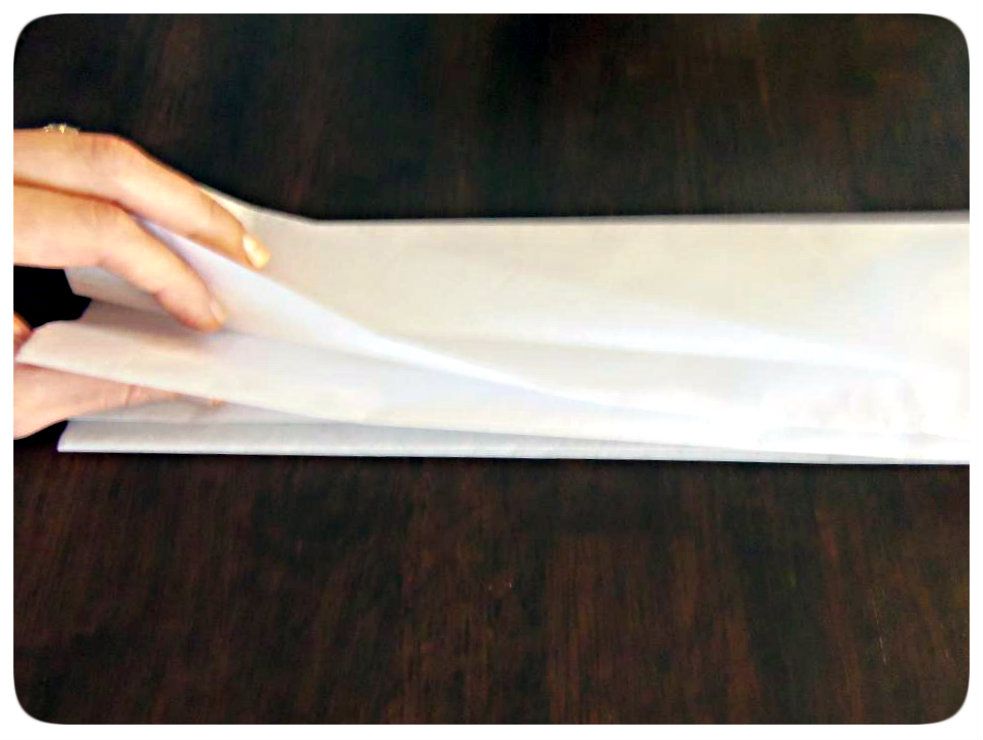
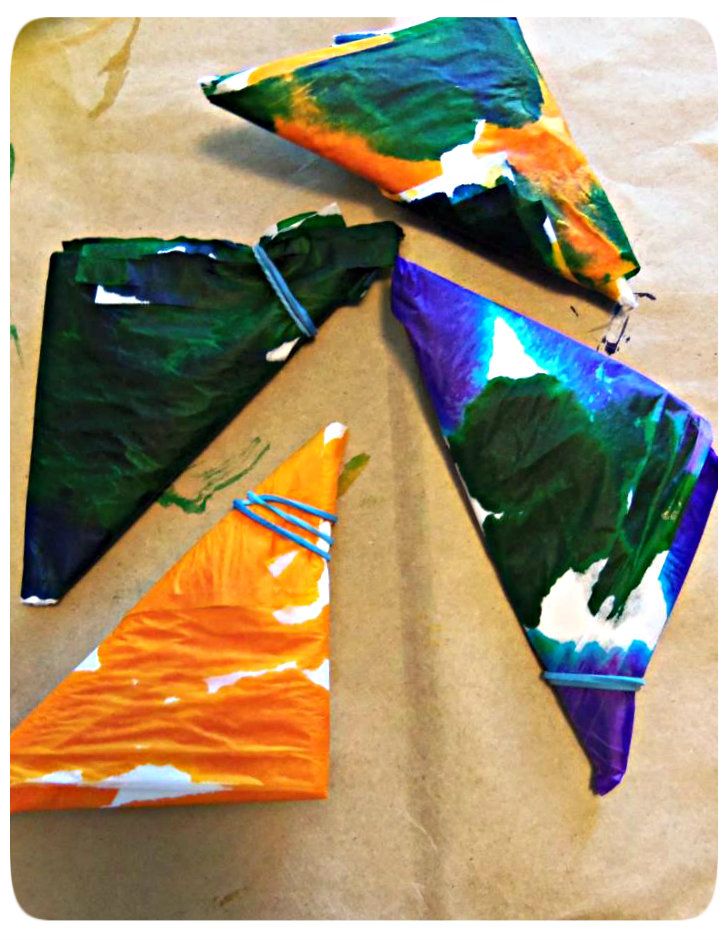
Start by folding your tissue paper accordion style lengthwise
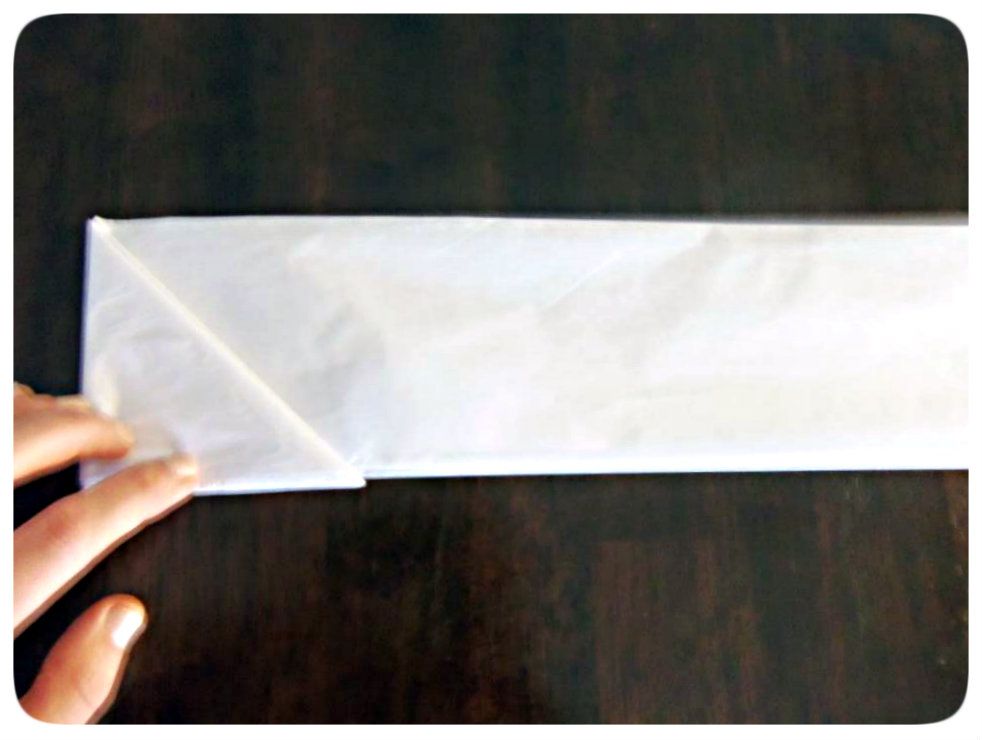
Next, fold one corner over into a triangle and continue folding until you reach the end of your tissue paper.
Continue that process until you have as many tissue paper triangles that you want. 
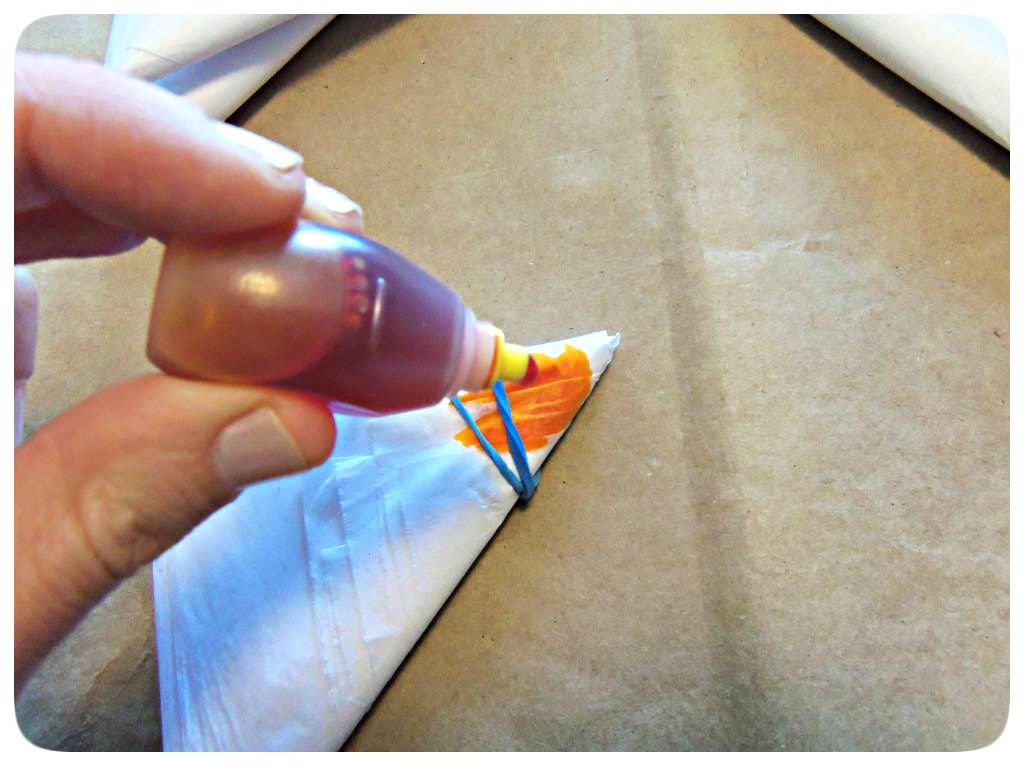
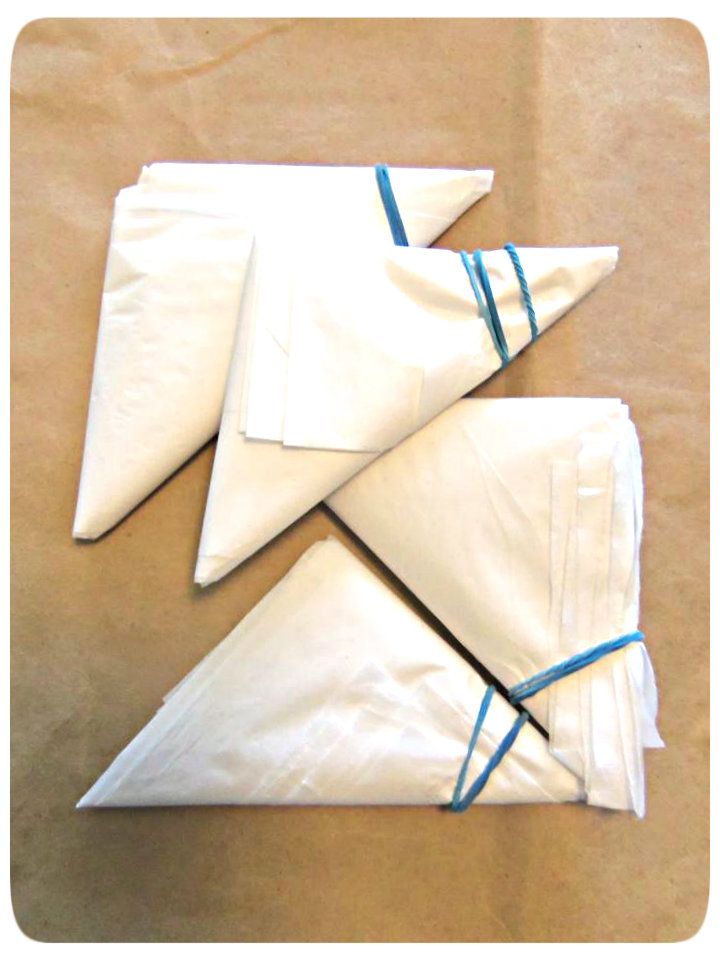
Attach a rubberband loosely around one corner of the triangle to hold the tissue paper in place.
Next, either squeeze or dip your triangles into dye. 
CAREFULLY unwrap your triangles and lay out to dry.
Once dry you can use them to wrap a present or stuff into the top of a bag present.
Untitled_zpsf419afba
Blogging tips