blankhomeaboutthe fammy faithwhats cookinget crafty

Wednesday, October 16, 2013

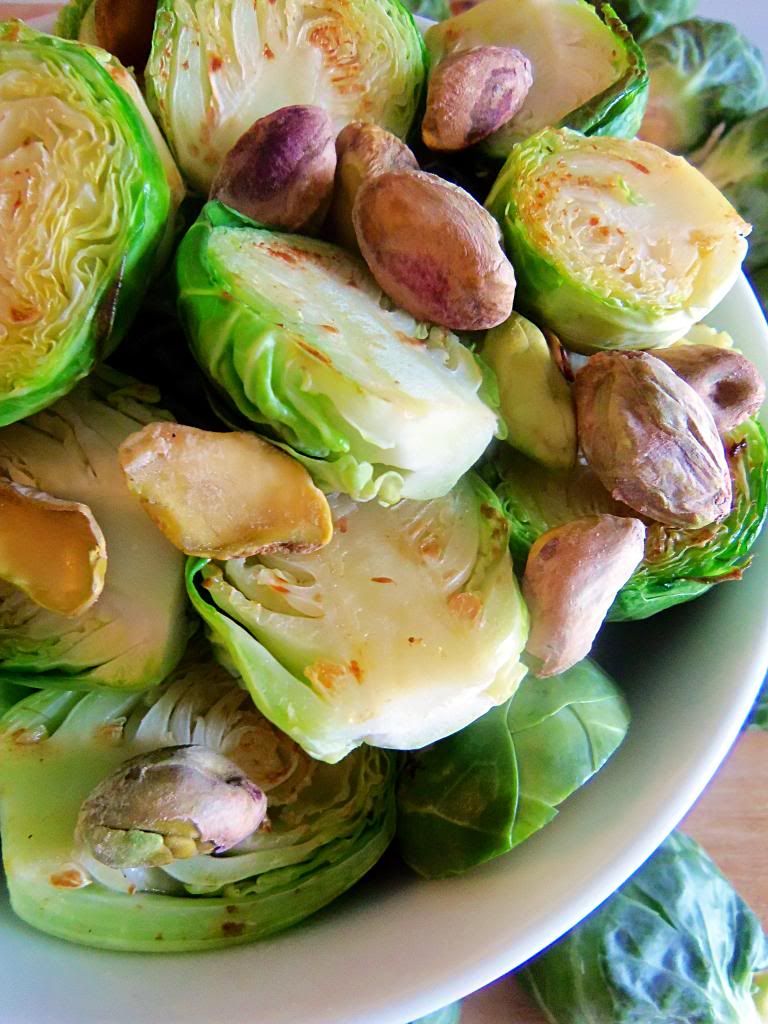
Brown Butter Brussels Sprouts with Thyme & Pistachio Nuts


I think brussels sprouts are just about the cutest things ever. They are mini little cabbages wrapped up in a cute little package. But rumor has it that brussels sprouts aren't exactly winning over the hearts or taste buds of children or adults. I would venture to say that how you are cooking your brussels sprouts has a lot to do with that, not to mention whether you are using fresh or frozen brussels sprouts. They have so much potential and can be stir fried, sautéed, roasted or steamed. They work with just about any flavor palates  and are a great source of vitamins and anticancer agents. All in all they are a killer veggie, and by killer I mean awesome!


Normally I like to sauté my brussels sprouts with some bacon or onions but this time I decided to switch it up a bit. I tossed them in some browned butter and fresh thyme and sprinkled them with some salty pistachio nuts. Lets be real, put brown butter on most anything and you will have me licking my plate clean! It is so aromatic and sweet...who knew butter could taste so good! The pistachio nuts add a great unexpected taste and texture to the brussels sprouts and pair deliciously with the butter and thyme. Go ahead, give brussels sprouts another try, they might just become your new favorite vegetable!

Brown Butter Brussels Sprouts with Thyme and Pistachio Nuts

Ingredients:
1 1/2 pounds brussels sprouts, trimmed and cut in half
1/4 cup butter
juice of 1/2 a lemon
1 tablespoon fresh thyme
1/4 cup pistachio nuts, roughly chopped
salt and pepper to taste

Directions:
Grill your brussels sprout on your BBQ for about 10 minutes or until just tender. If you do not have a BBQ or prefer to steam them, do so for about 10 minutes as well. Meanwhile melt your butter in a large skillet over medium high heat watching carefully until your butter begins to bubble up, brown slightly and give off a nutty aroma. Add the lemon juice and thyme and turn heat down to low. Add your brussels sprouts and stir until everything is warmed through. Salt to taste. Plate your brussels sprouts and sprinkle with chopped pistachio nuts.

Wednesday, October 9, 2013

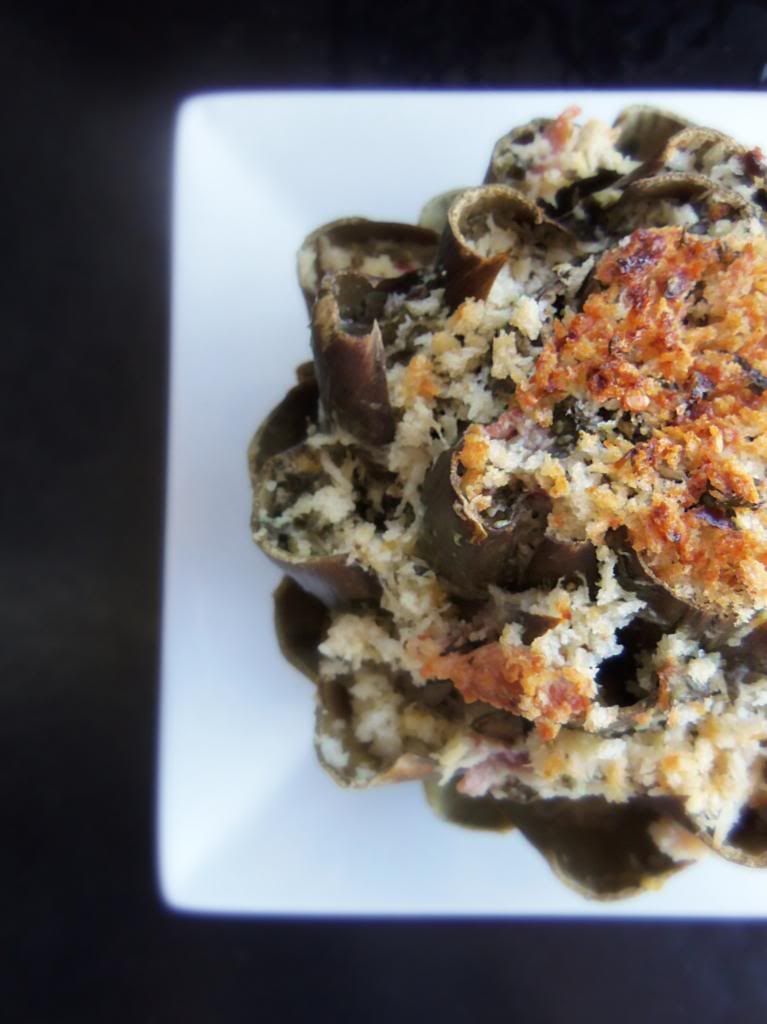
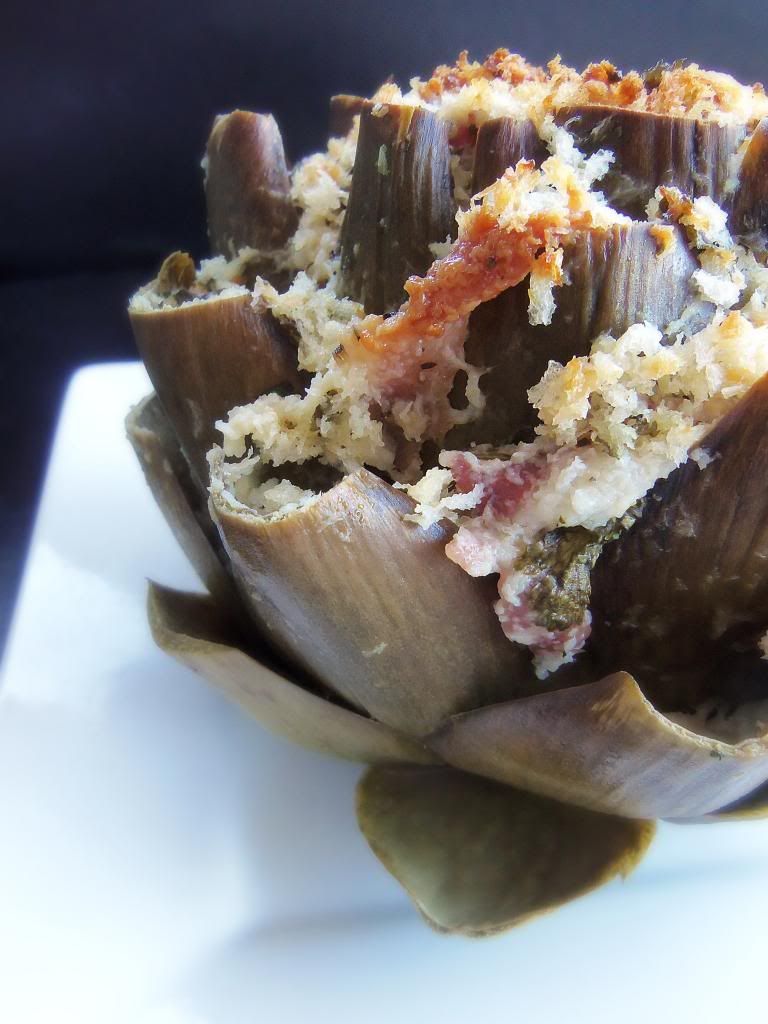
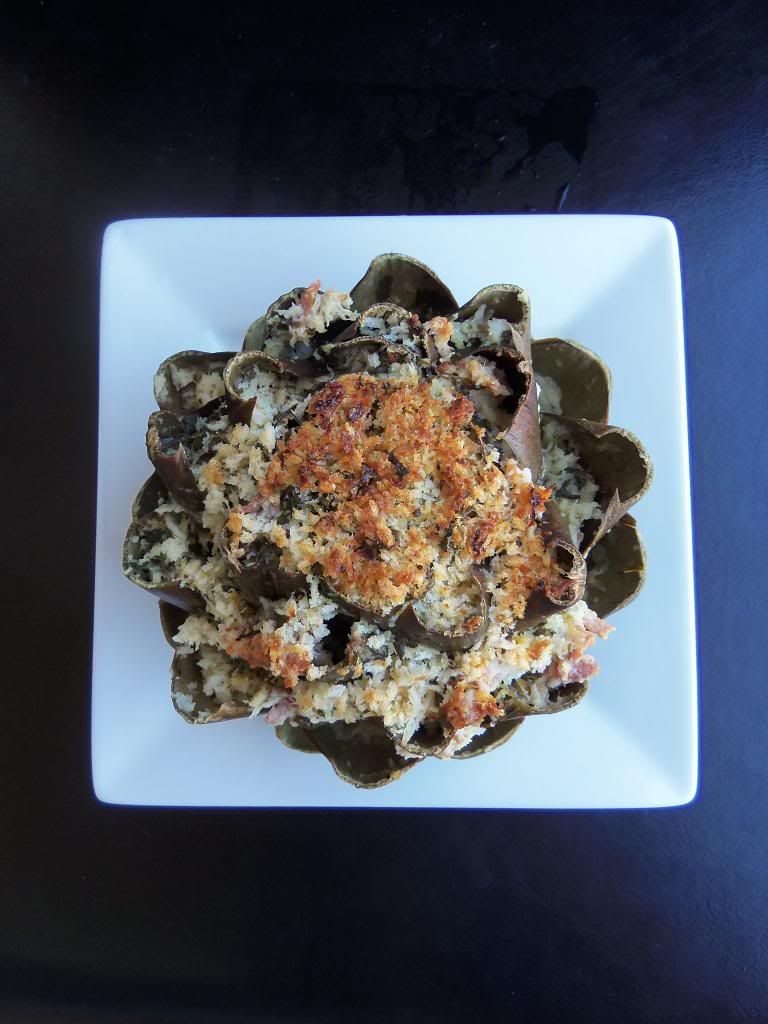
Prosciutto Stuffed Artichokes

Growing up my parents fed us a serious variety of foods. I'm talking foods that most parents might not eat let alone decide to feed their children. Now don't get the wrong idea, my mother and father were not feeding us road kill or anything disgusting or harmful but they did make sure to feed us obscure vegetables, uncommon spices and a variety of dishes that one might not consider making on a random Monday night. I am so grateful that I was exposed to so many different foods because as an adult I am pretty sure that I can count how many foods I wont eat on half a hand. One being okra. Ugh, sorry for any okra lovers out there but the slime factor is just too much for me to handle!

I can remember having company over for dinner on evening and my mother served steamed artichokes as a side dish. Now your probably thinking ok artichokes are not an uncommon vegetable, and I would agree, but to our company they were. In fact they did not even know what an artichoke was and had obviously never tasted one. It was a very funny experience that I can still vividly remember some 25 years later. 
Growing up we ate our artichokes very simply; just steamed. Sometimes we would have a little mayonnaise on the side to dip our soft meaty leaves into; but other than that, that is as fancy as it got. Now a days I like to add a bit more flavor to my artichokes and this recipe is a favorite of mine. The stuffing has a great combination of flavors including prosciutto, lemon zest, parsley, and garlic to name a few. And the leaves of the artichoke are great accessories for scooping up all of the fallen stuffing. Couldn't be easier, a completely self contained meal and delicious as well!

Prosciutto Stuffed Artichoke

Ingredients:
4 artichokes
2 lemons
3 cups panko bread crumbs
3/4 cup pecorino or parmesan cheese
3/4 cup minced prosciutto
4 cloves garlic minced
1/2 cup fresh parsley, chopped
1/2 teaspoon red pepper flakes
1/2 teaspoon clack pepper
1 teaspoon salt
1/2 cup olive oil
chicken stock

Directions:
To prepare the artichokes cut the stem off very close to the base so that the artichoke can stand flat on its own. Cut about a half an inch off of the top of the artichoke and with scissors snip thorny tips from the remaining leaves.
With a spoon, scoop out the choke in the center of the artichokes 
Cut one lemon in half and squeeze into a large bowl of cold water. Toss in the squeezed lemon halves along with the artichokes to prevent discoloration while you make the stuffing.
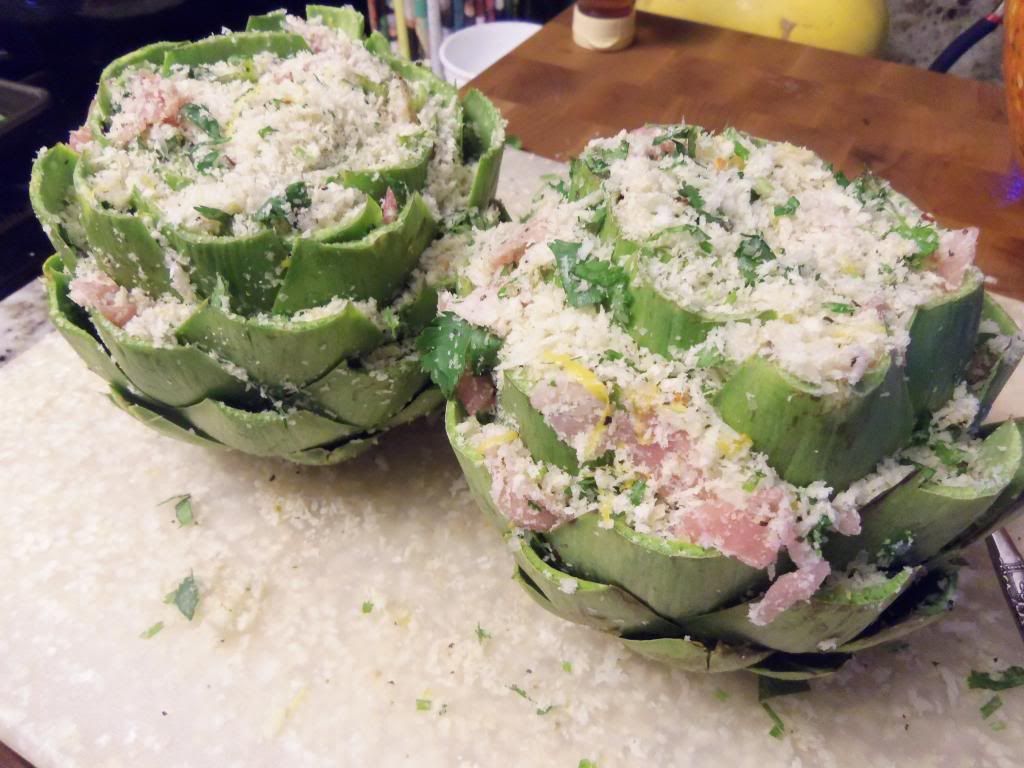
In a bowl, combine the breadcrumbs, cheese, prosciutto, garlic, parsley, chili flakes, pepper, zest from remaining lemon and olive oil. Taste for salt.

Drain artichokes. Working with one artichoke at at time, set in the bowl of breadcrumb mixture and start to separate the leaves while pushing stuffing inside.


Set the artichokes in a pot fitted with a tight lid. Pour stock in approximately 1/3 of the way up the sides of the artichokes. Bring the stock to a boil, cover pot, and reduce heat to a low simmer. Cook, 30-35 minutes then transfer your pot to the oven to broil for about 7-10 minutes until tops are golden brown. Serve and enjoy!


Wednesday, October 2, 2013

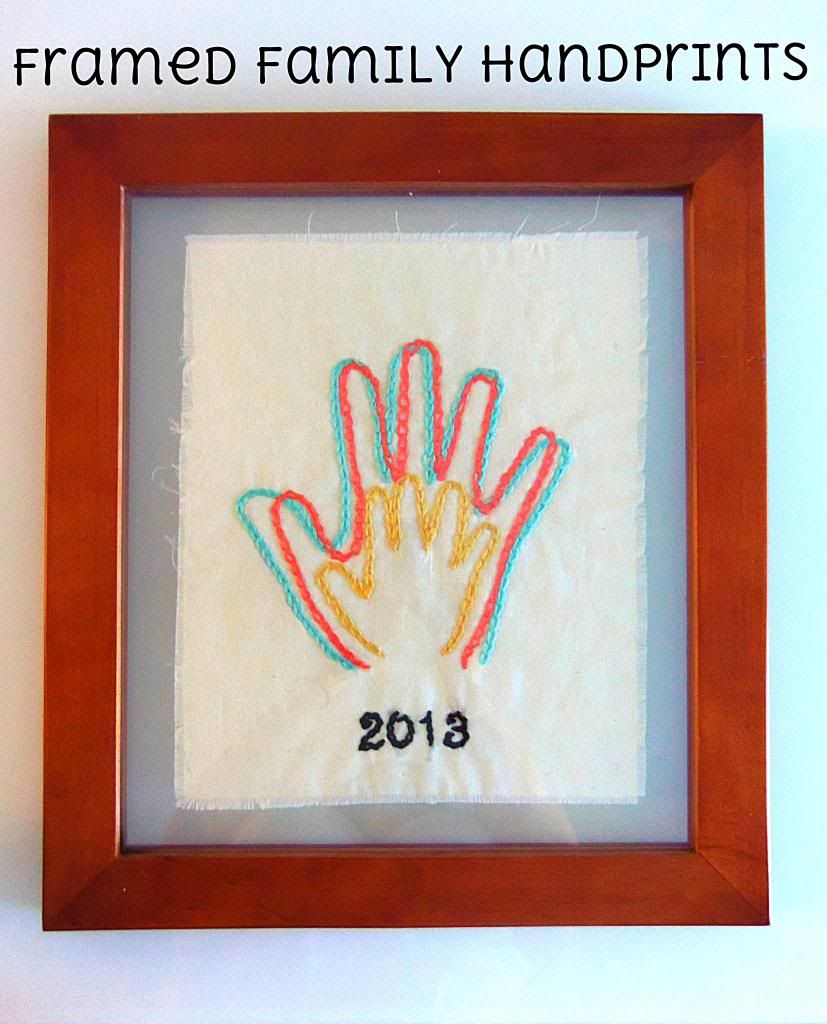
Framed Family Handprints

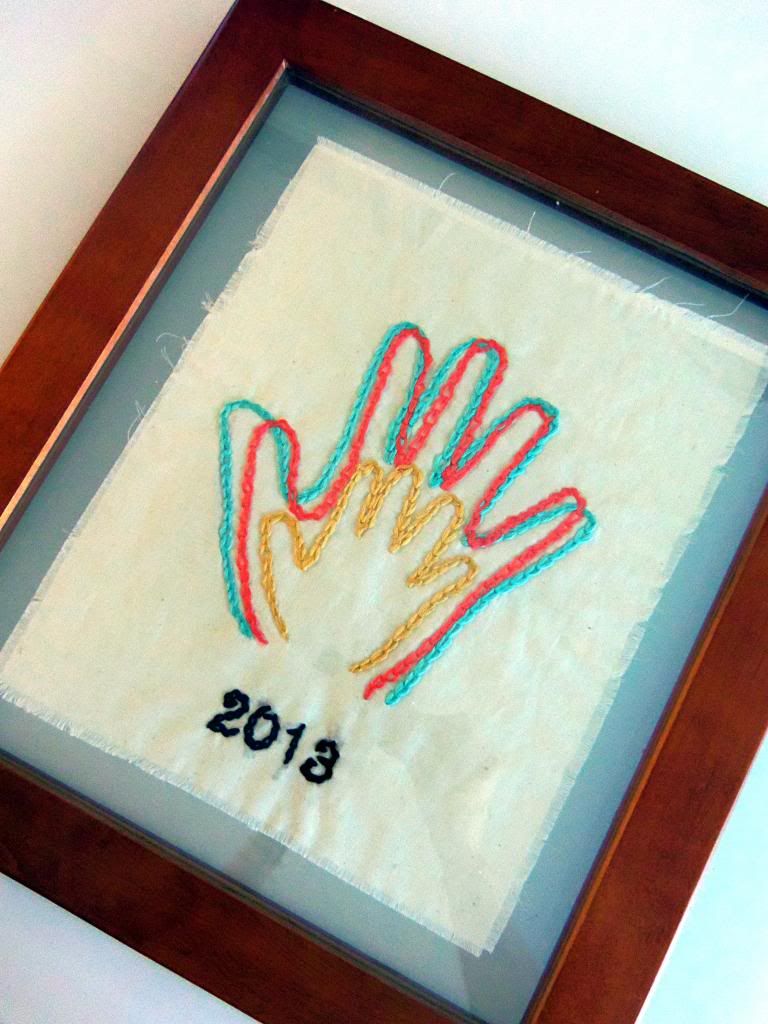
I am so in love with this project, for three reasons really...its absolutely adorable, personal, and is now a piece of art work that will be a memory of our family. This is such a great way to freeze your little family in time, via hand prints that is. It couldn't be easier to make either. I used a piece of cream muslin fabric for my background.  You could actually use just about any fabric, plain or patterned. Keep in mind though that you want your hands to stand out, they are the focal point, so you don't want a pattern that will be to distracting.
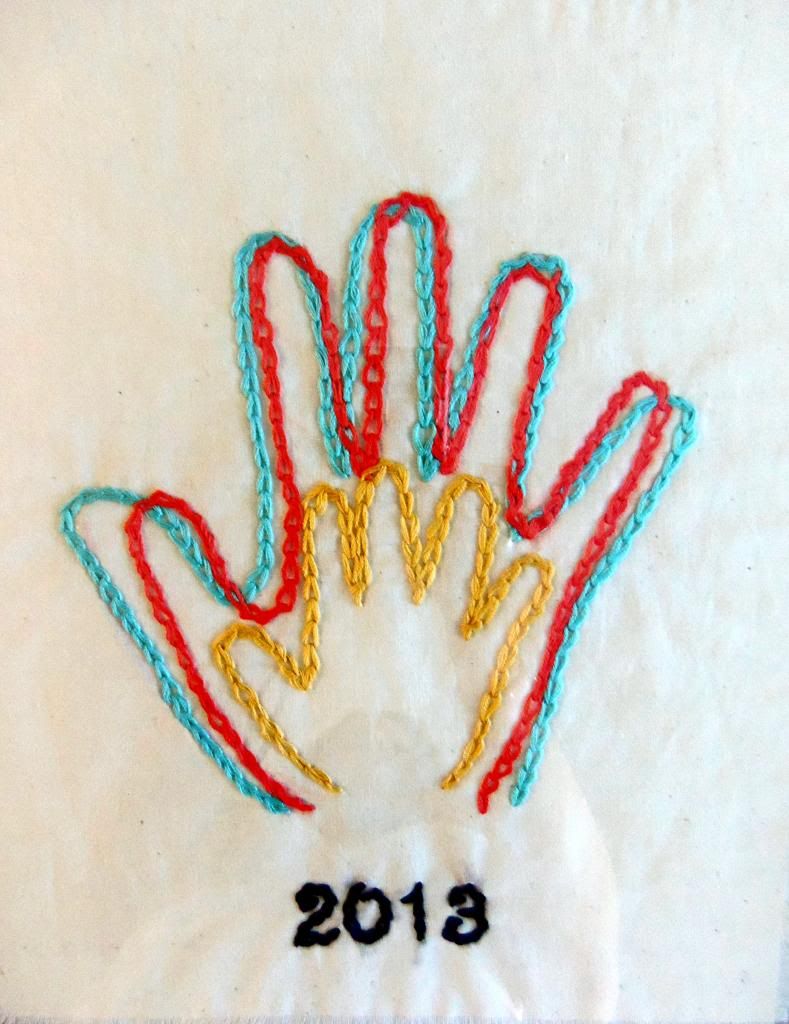
Once I had my fabric cut to the dimensions that would fit into my frame I frayed the edges for a little interest. Next I individually traced my husbands, my sons, and my hand on pieces of paper. I cut each out and then traced them lightly in pencil on my fabric. Then I chose a color for each of our hands and did a simple chain stitch with embroidery thread and a needle over my traced hands. 
I finished it off with the date at the bottom. And since we have another addition added to our family, I will be adding another little handprint by the end of the year :) And there you have it a fun family project that will always bring back fond memories and a smile to your face.

Saturday, September 28, 2013

Baby Moccasins


I'm an now featuring an array of baby moccasins in my Etsy shop from sizes newborn- 12 months. Check em out, they are super cute and would be perfect for a gift or your very own little one!!
\

Wednesday, September 25, 2013

Candy Jar


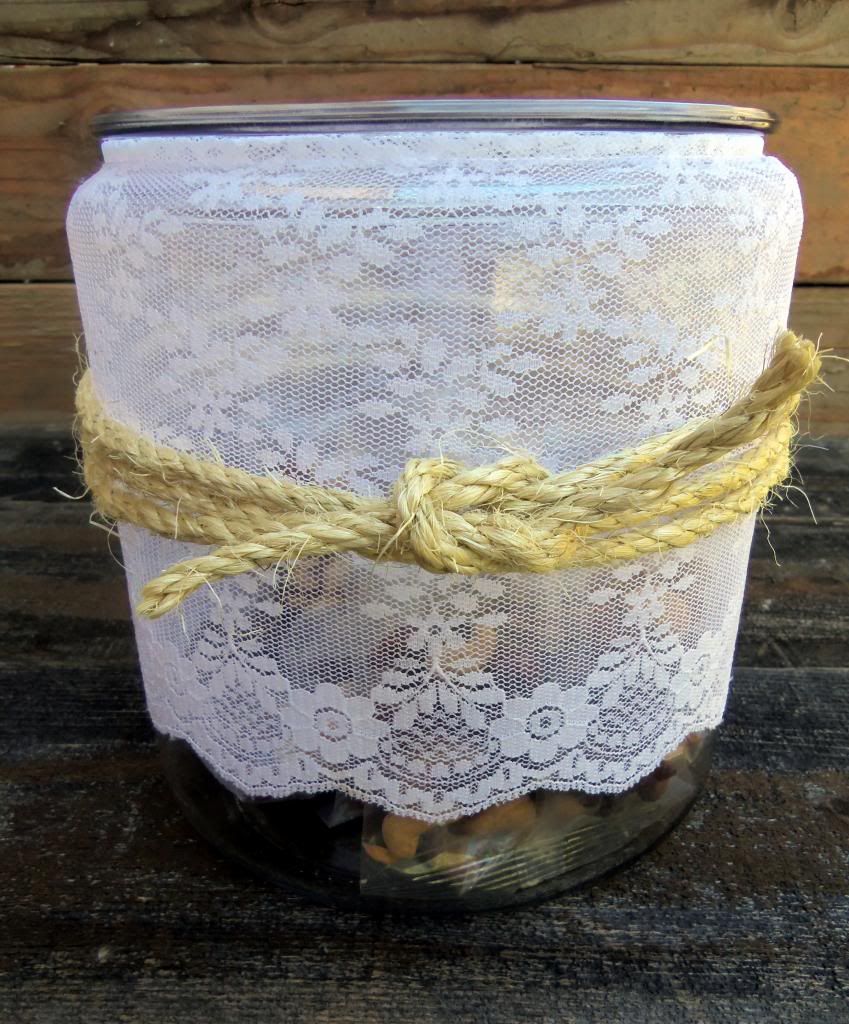
I cant recall a day when I haven't indulged in a little treat, or a big treat for that matter.  Most of the time it is a baked good but often times I find myself craving just a little something mid day and wishing I had a stocked candy jar in the house for just those moments. After wishing for far too long, I decided to make it happen. But I didn't want just any candy jar, I wanted a cute candy jar! :) I instantly remembered a jar I had stored in our garage that I had bought at Target. I had broken the lid and was going to discard it but thought that someday it might come in handy. Boy I am glad I saved it because it turned out to be the perfect size, shape and everything for my new candy jar! And who needs a jar?!! When I want my candy I want it now! I don't need a lid getting in my way, haha. But just a jar was way to boring for me; I had to spruce it up a bit.

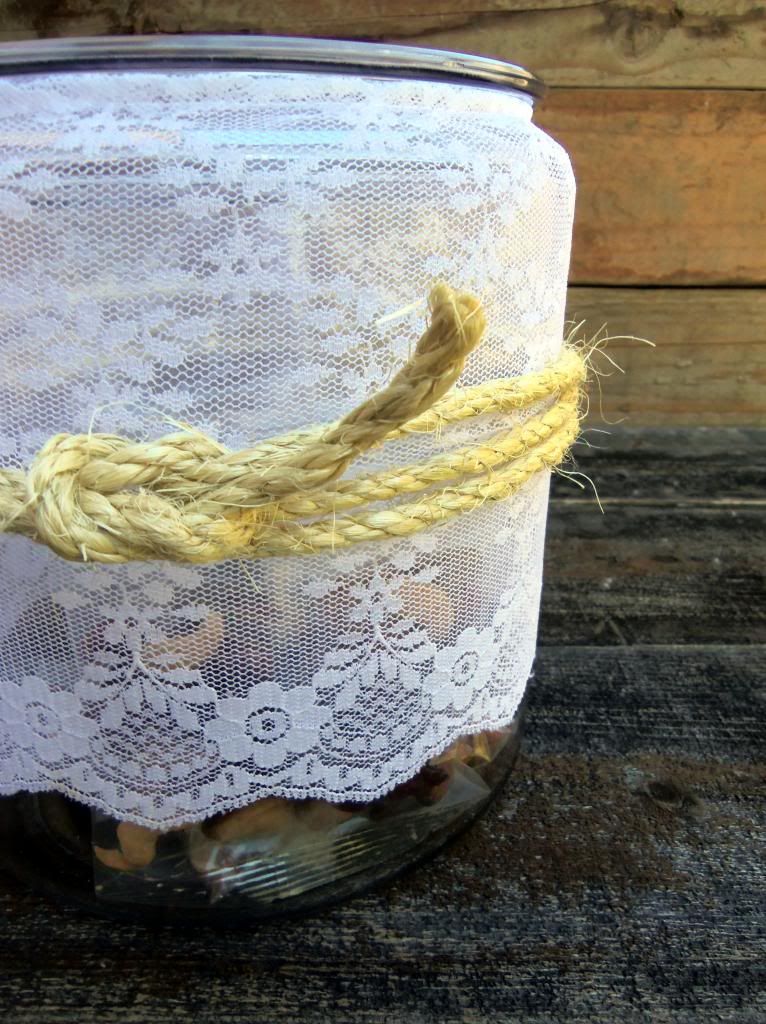
So spruce it up I did! I went to Joann's and bought some very very wide lace trim and simple wrapped it around the jar and tacked it in place with a bit of hot glue. Then I took some extra rope I had lying around and wrapped it around a few times and tied a knot. Its both soft and hard...kinda like me :)
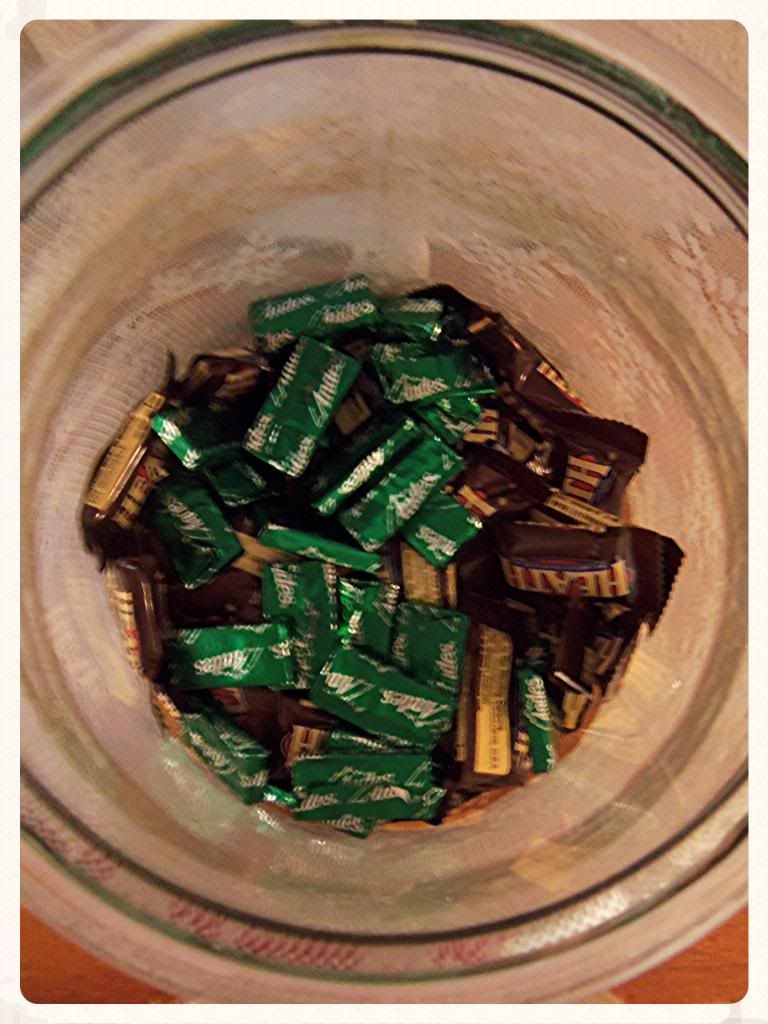
 And whats my drug of choice these days?...mini Heath Bar and Andes baby!!

Wednesday, September 18, 2013

Cartoon Family Portraits

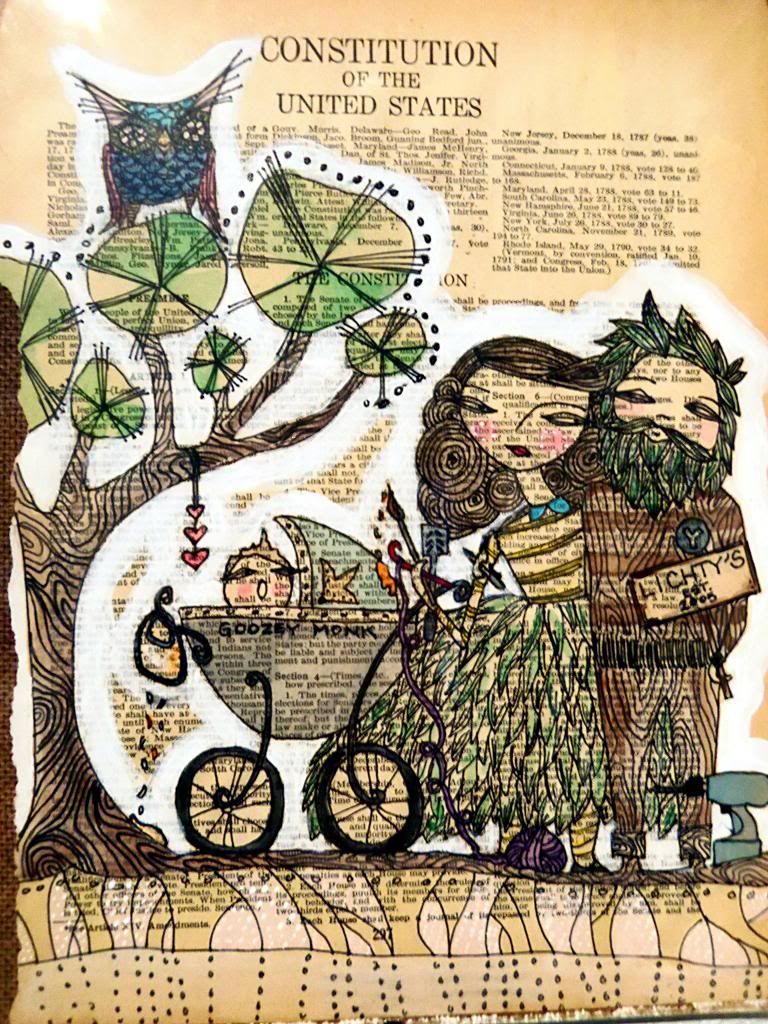
Acouple of years ago I came across an artist who created great little sketches and characters that were so whimsical and interesting and I decided to start doing some family portraits using a few of her ideas. Thats when I created a portrait of our little family on an old, discolored page ripped out of a dictionary. Of course I included Ben, myself and our then baby E. On or next to each of us I added a few details that were specific to us individually. I am holding a baking spatula, a paint brush and a crochet hook attached to a ball of yarn by my feet. Ben has his BYU insignia on his shirt, a power tool at his feet, a pen in his had, which he can almost never be seen without, and is shown whistling. I put E in a little carriage with one of his nick names as well as a soiled bib hanging on his carriage. E had HORRIBLE reflux as a baby, and when I say horrible I mean projectile vomit all day all the time. Consequently we had to buy him special almost full body bibs that he would wear constantly to shield himself from the mess. Hence the reason for a soiled and dripping bib in the picture :)

I have our family portrait framed on our wall and I noticed it the other day and it dawned on me that I hadn't yet drawn one with our special new addition. So in no time I whipped one up to add to our little Lichty family collection of drawn portraits. In fact I have started a whole series...one pre marriage on our first date and another one for our wedding day sans children. 
Lichty family with newest addition, baby H

First date
Wedding Day
I have also had an opportunity to make a few family portraits for some friends and acquaintances as well. Unfortunately I don't have pictures of all of them but here are two that I do have pictures of.

A portrait done for some good friends who had just moved into a new place

This is a portrait of the Collom Family, done as a birthday present +Tim Collom Gallery 

Wednesday, September 11, 2013

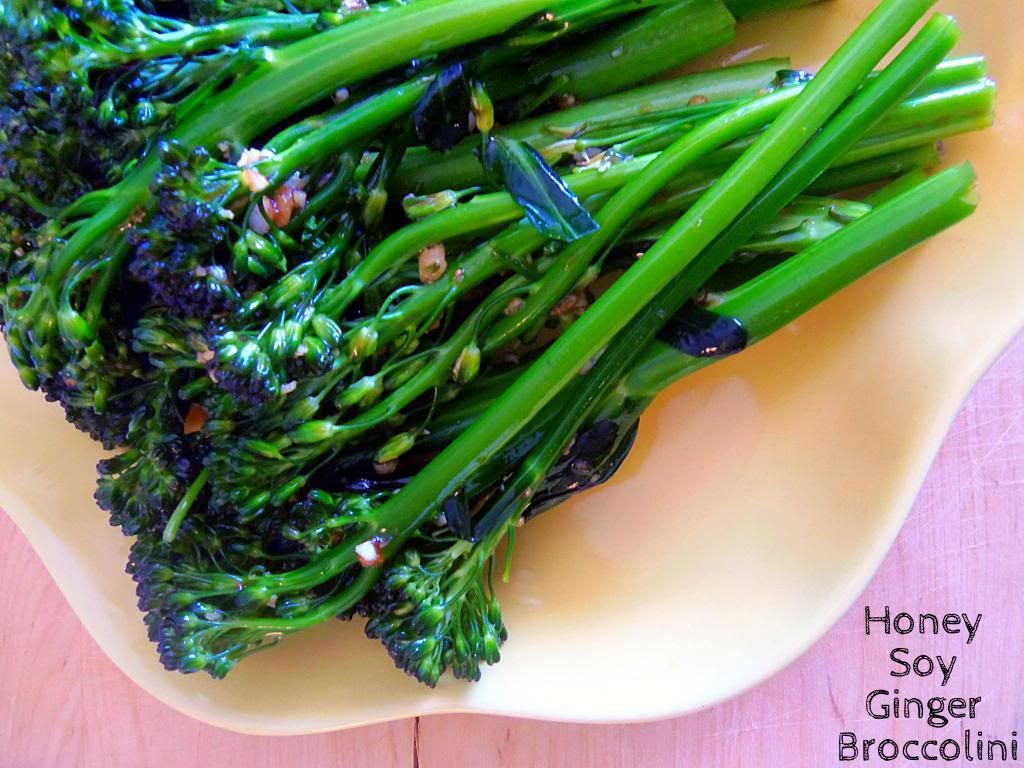
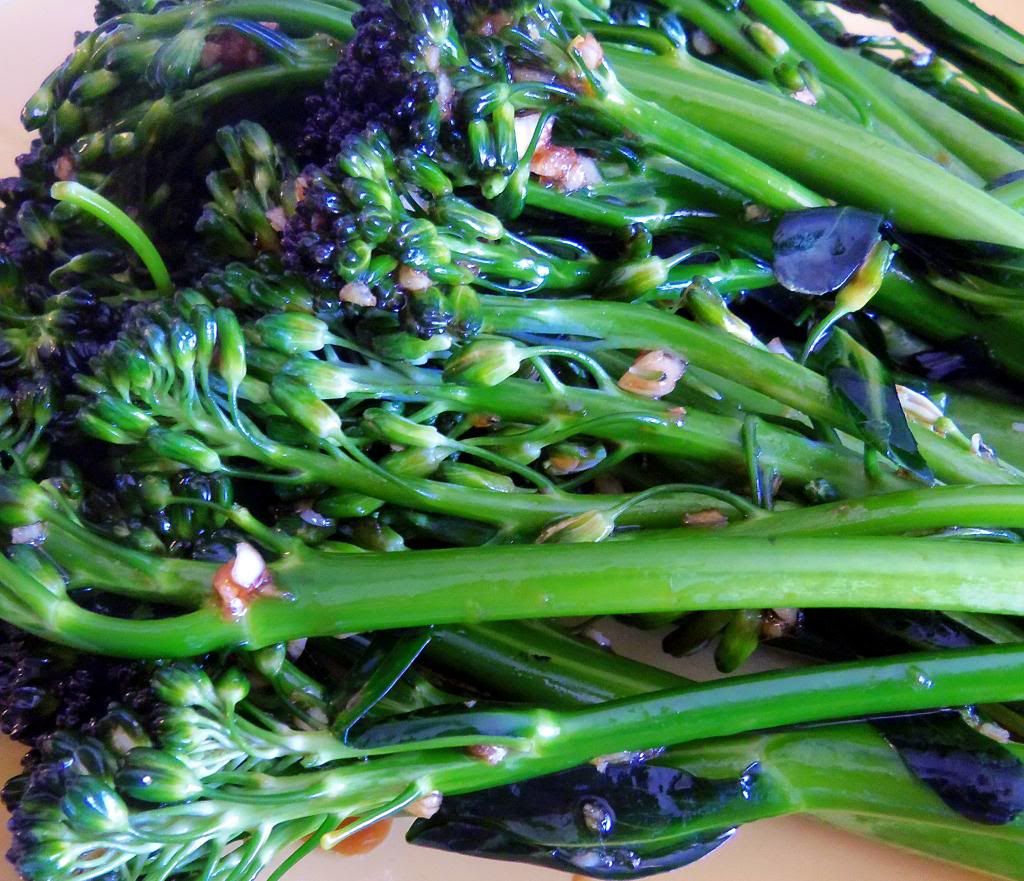
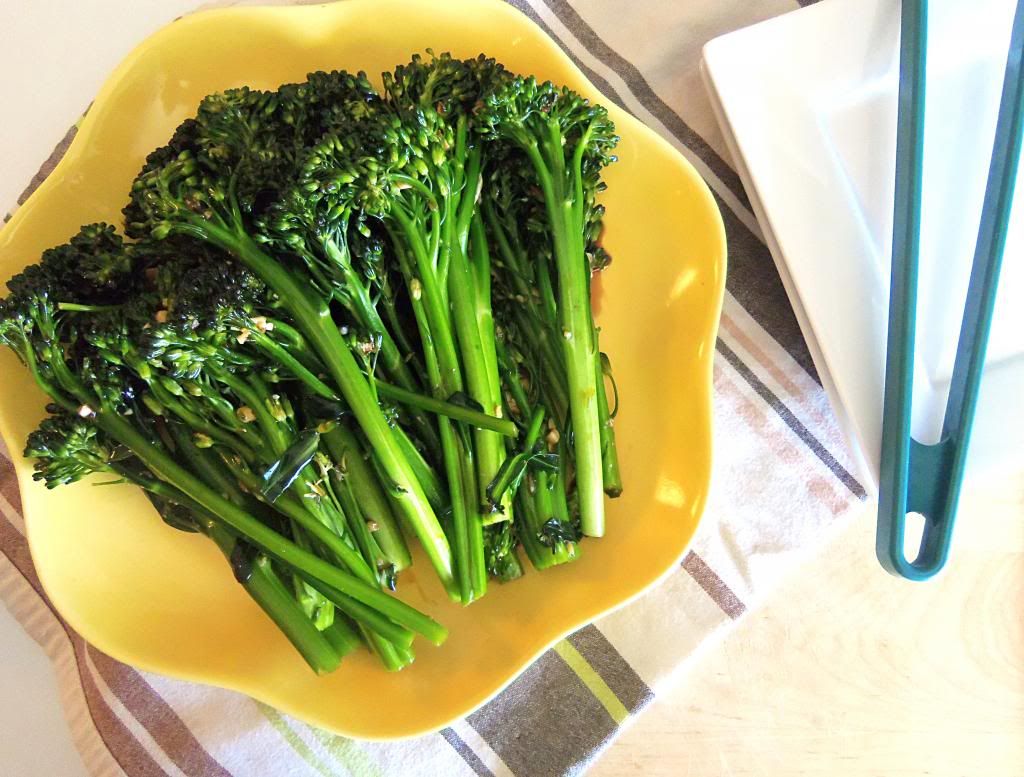
Honey, Soy, Ginger Broccolini


I love broccoli! And I am lucky enough that my husband and son both do too. So I often find myself steaming, baking, roasting or BBQ-ing broccoli as a side with our dinner. Best part is that its so packed with fiber and nutrients that I don't have to feel guilty loading up my plate with a heaping size serving of it. I mean no one ever got fat from eating too much broccoli...right? And since we eat it so often I am always on the look out for new ways or flavors to use when cooking it.
Most of the time I actually buy those super large bags of broccoli from Costco that could probably feed an entire block of broccoli lovers. But instead I use it for just two adults and one small child, and we have no problem going through it in a week or less. But even more than regular broccoli I love to use broccolini, which coincidentally, Costco also sells. Broccolini has small florets with long slender stalks. It is a cross between regular broccoli and Chinese Kale.  I prefer to use broccolini because I find it a bit sweeter and the stalks are much thiner and more tender allowing for a quicker cooking time. Not to mention my son loves to hold on to the long stem like a lollipop and eat it right down to the end!
This recipe happens to be our newest addiction and can be used with regular broccoli, broccoli rabe or any of your favorite vegetables for that matter!

Honey, Soy, Ginger Broccolini

Ingredients:
1 1/2 pounds broccolini
3 tablespoons olive oil
3 tablespoons soy sauce
1 tablespoon sesame oil
1 tablespoon white vinegar
5 tablespoons honey
4 cloves garlic, minced
1 tablespoon fresh grated ginger
1 teaspoon pepper

Directions:
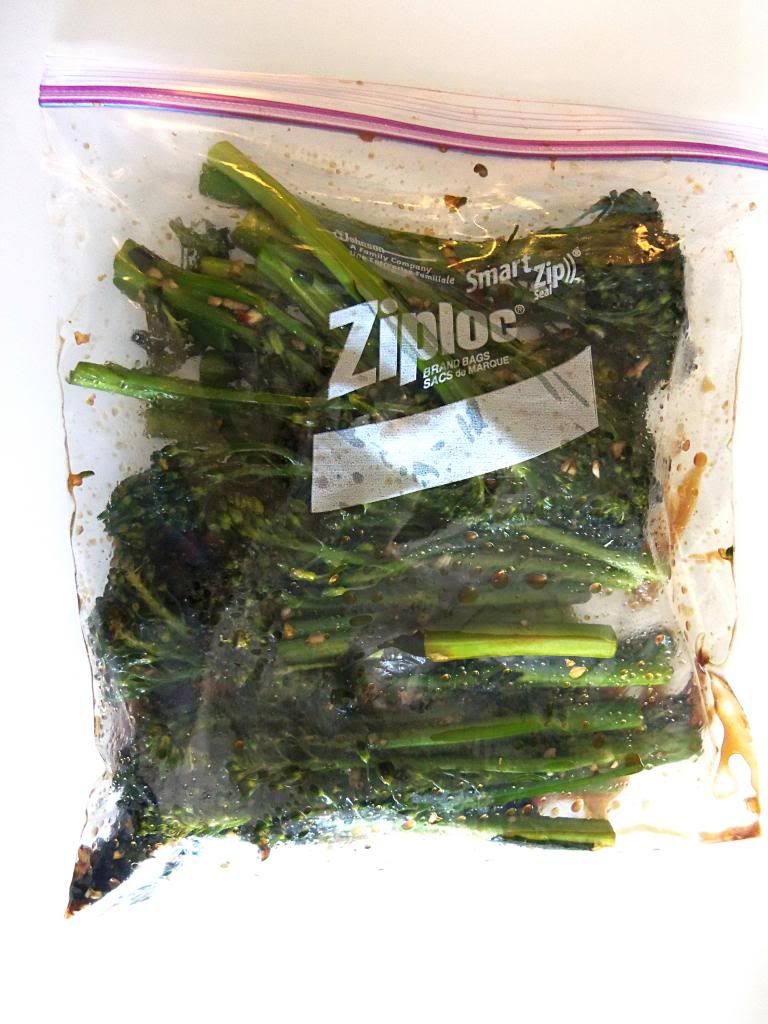
Combine all ingredients except broccolini into a zip lock baggie and mix ingredients well. Once mixed add broccolini and maneuver it around until it is all well coated. Refrigerate for a minimum of 1 hour. 
Once ready to cook preheat your oven to 350. Line a baking sheet with foil and  place broccolini and marinade onto pan. Bake for 20-25 minutes or until the stems of the broccolini are just tender when a knife is inserted.
Blogging tips