blankhomeaboutthe fammy faithwhats cookinget crafty

Wednesday, January 15, 2014

Baby Onesie Bouquet


Babies babies babies; it seems everyone I know is having babies this year! Its fantastic and so exciting! A recent baby shower I was invited to had slipped my mind and I found myself the day before rushing to the store to pick up something quick and easy to give. I opted on a few cute summer/fall outfits for the little girl to be but was unsatisfied with the idea of simple wrapping the clothes in a garment box and presenting them to the soon to be mother. I wanted a more creative way to present the gift.  Thats when I remembered a gift I give to all of my nieces and nephews on their 5th birthdays. I make them candy and toy bouquets. I attach their favorite candy and fun toys to wooden BBQ skews, wrap the skewers in green floral tape, stick the skewers into styrofoam that is placed in a heavy vase or pot and stuff in tissue and flowers to fill in the gaps. It really is a sight to be seen and almost a heartbreak to watch disassembled. 

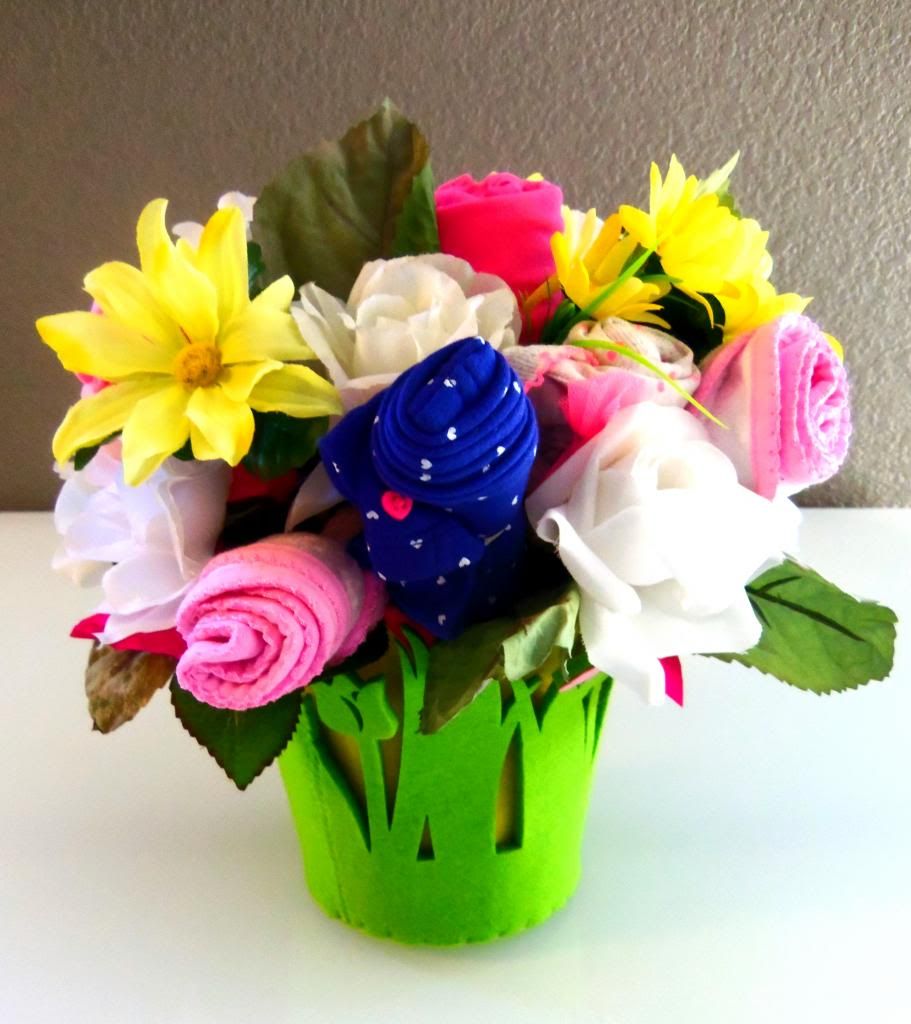
For this occasion I decided to use the same technique just simply replace the candy and toys with the baby clothes and make a baby onesie bouquet. It is really really quite simple to be honest and took way less time than you would think. And the presentation and the expression on the mother to be's face is way worth any anxiety you may have of making this. 

Here are things that I used to make my bouquet:

  • container
  • popcycle sticks (they were sturdier to use with the clothes than the BBQ skewers I normally use
  • rubberbands
  • filler flowers
  • tissue paper
  • styrofoam to secure popsicle sticks and flowers in place inside of basket
  • baby clothes, bibs, socks, beanies, etc.
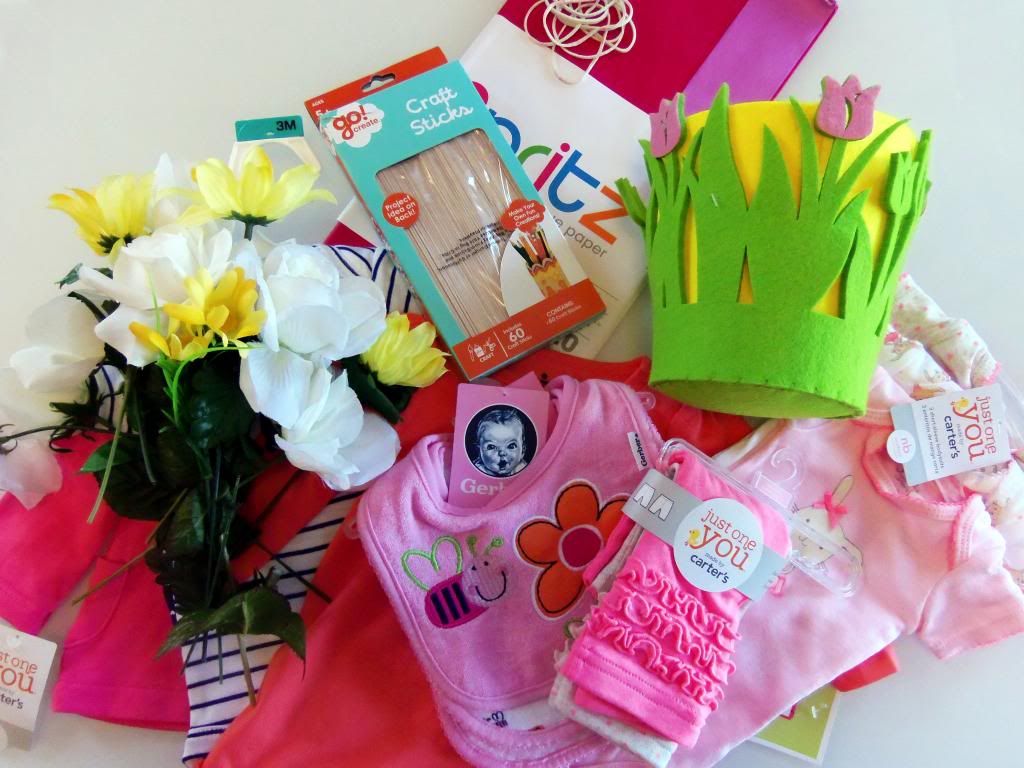
I started by wrapping all of my baby gear onto the Popsicle sticks as follows.
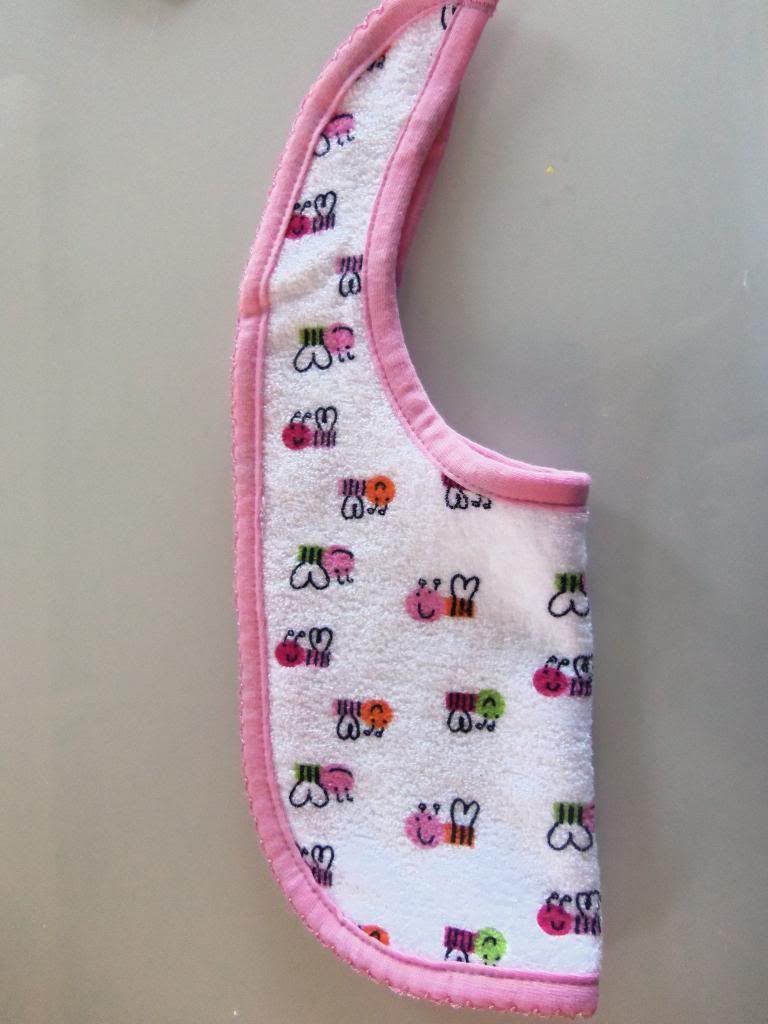
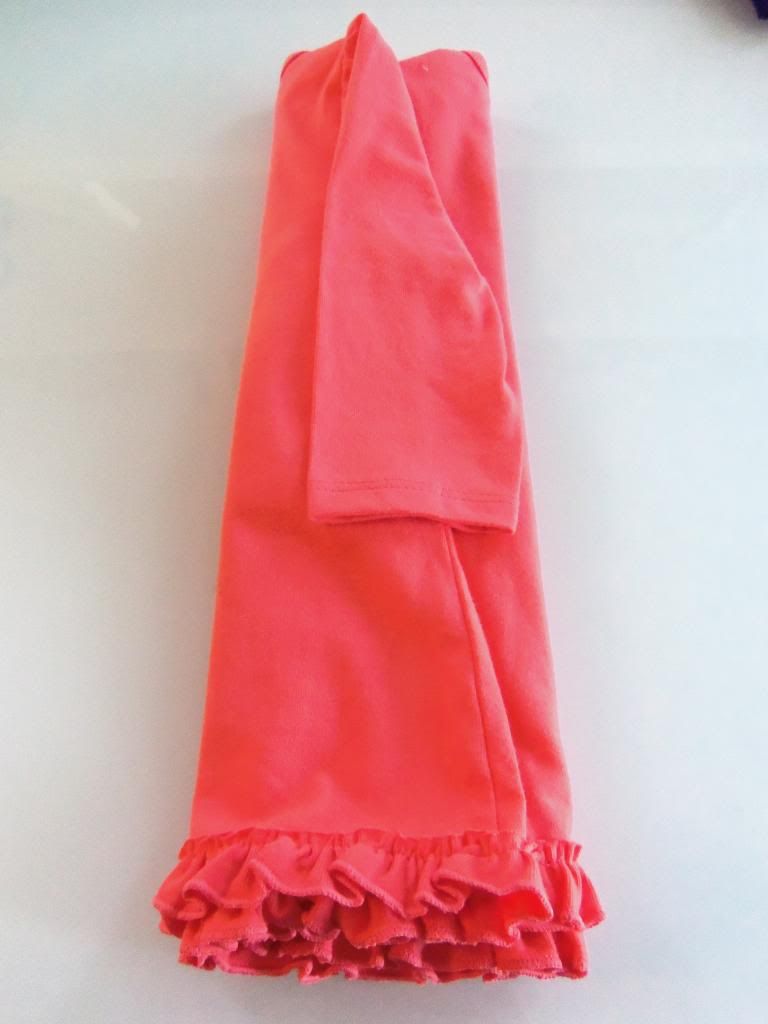
fold over the tails of the bib onto itself
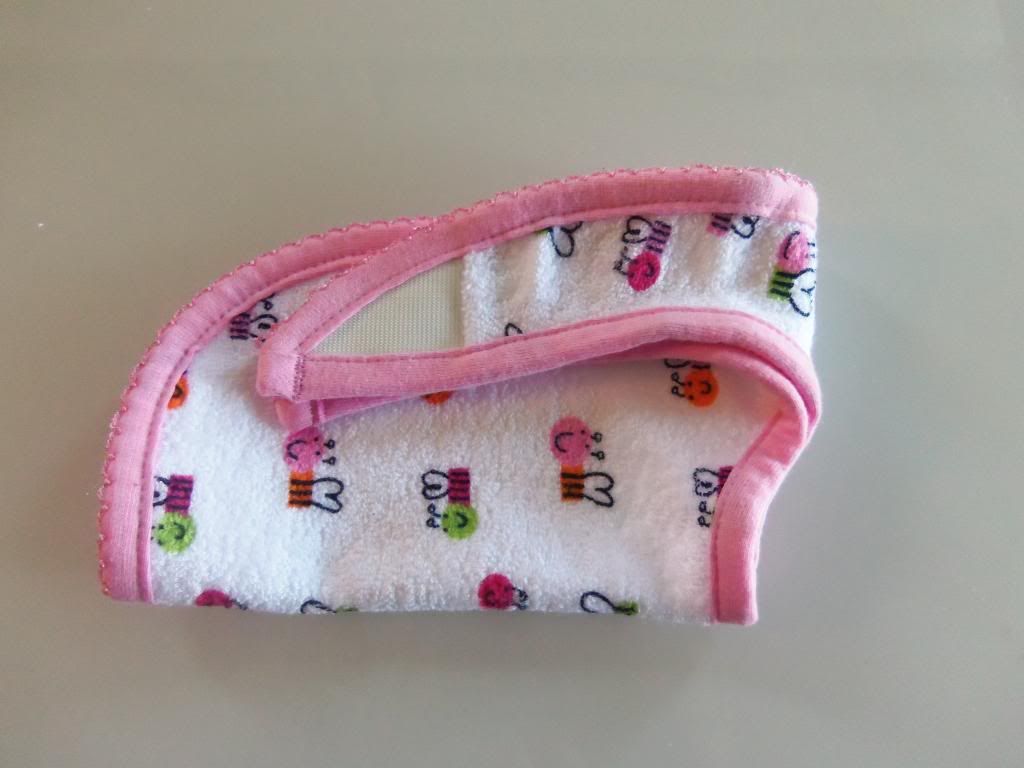
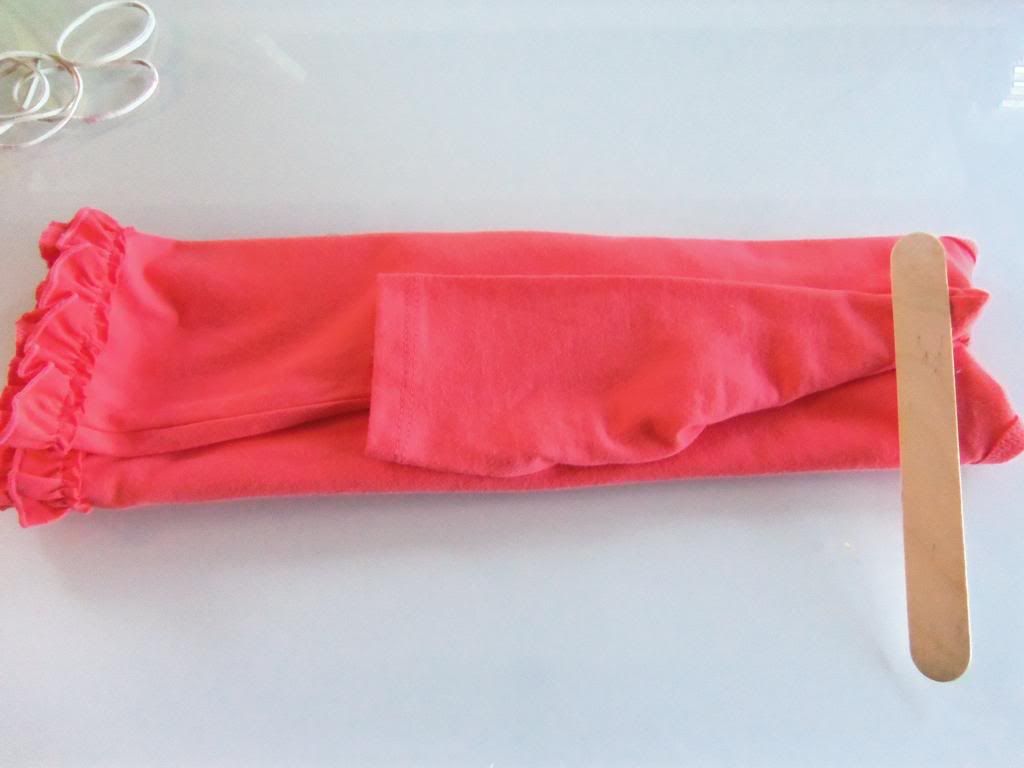
place the popsicle stick between the fold
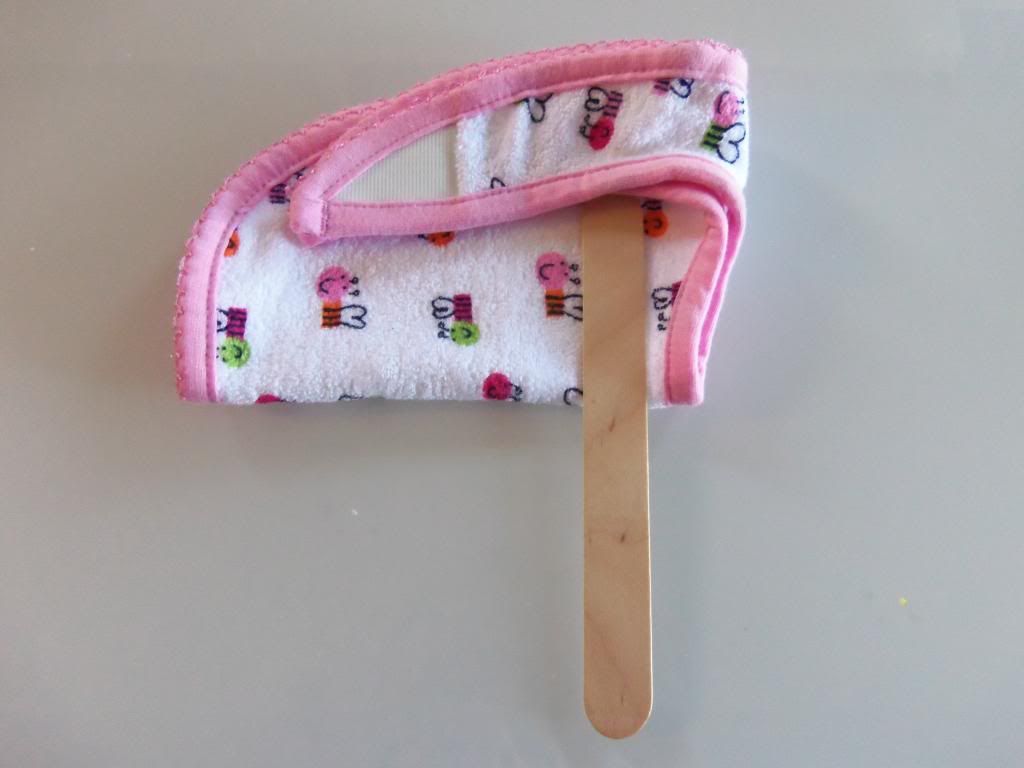
and roll the bib, as tightly as you can, onto the stick
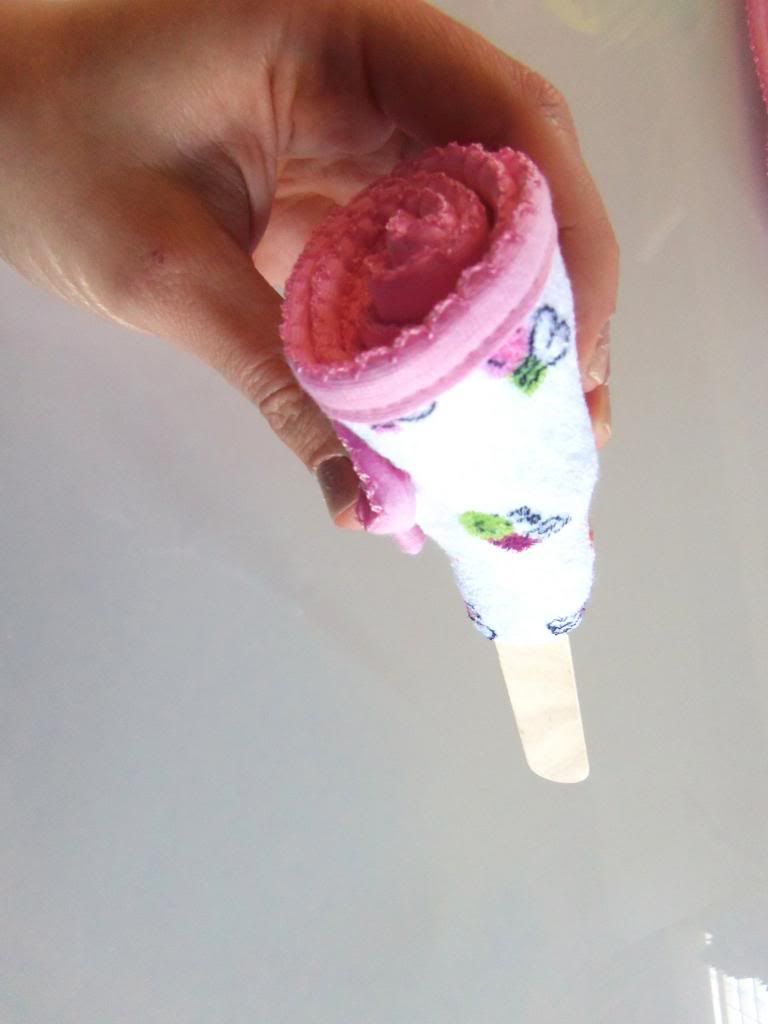
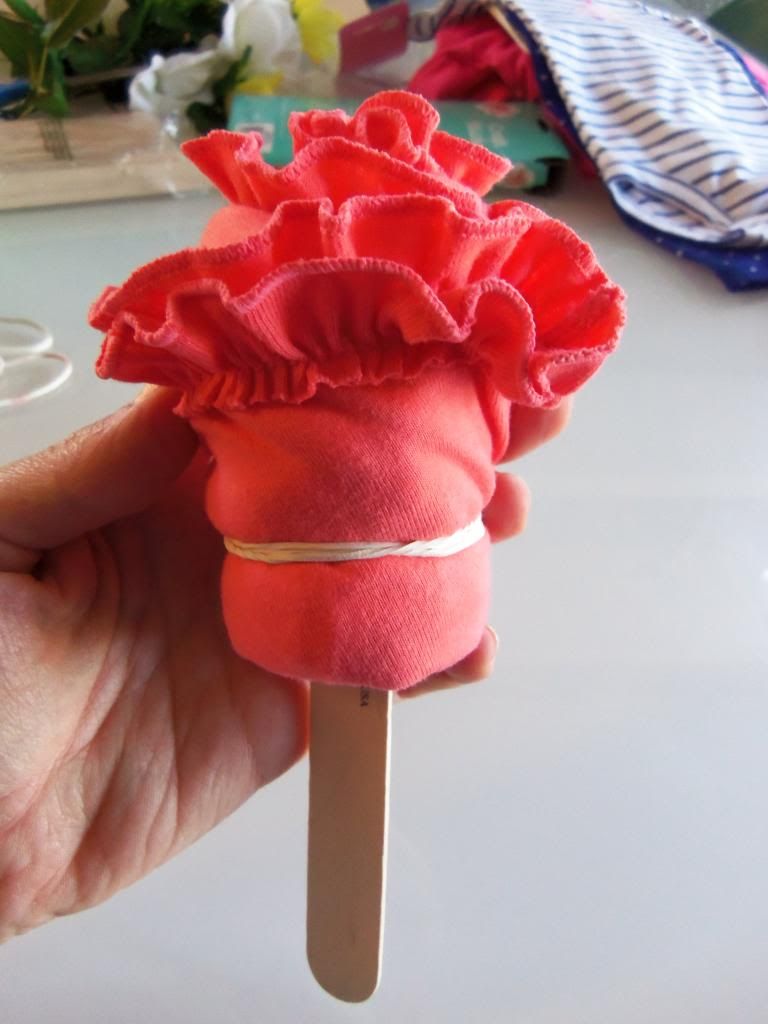
to hold the bib in place wrap a rubber band around the bib and stick.
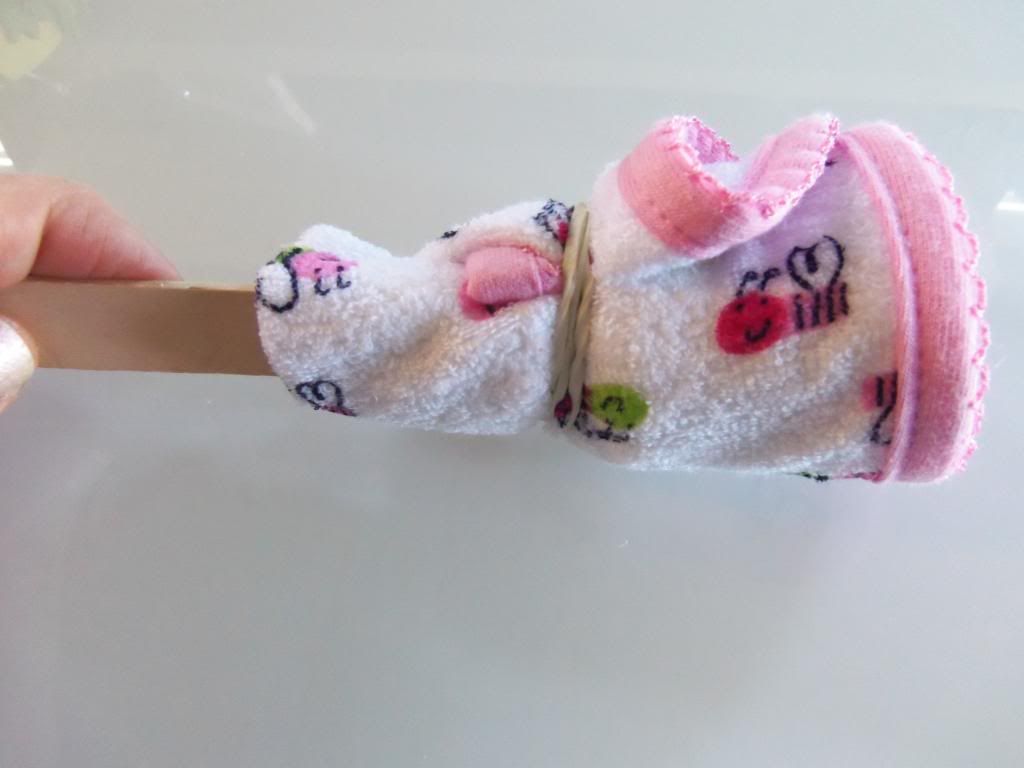
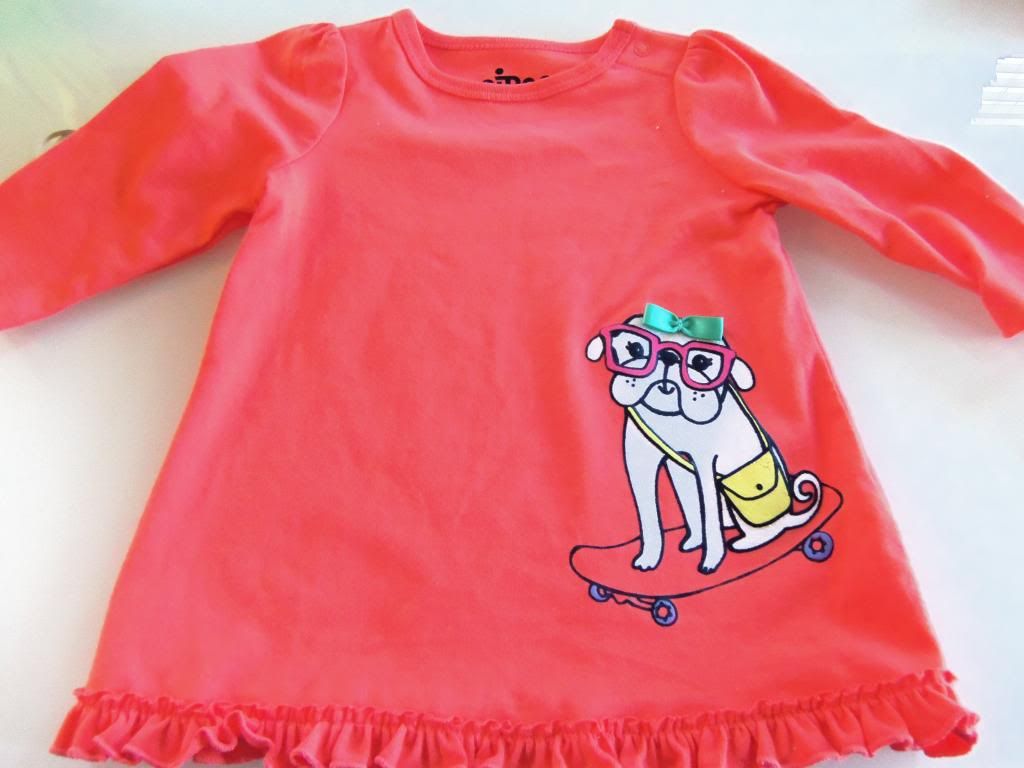
Continue this process with all of your clothes and additional baby gear. Below I will show you how I wrapped a shirt for a further example.
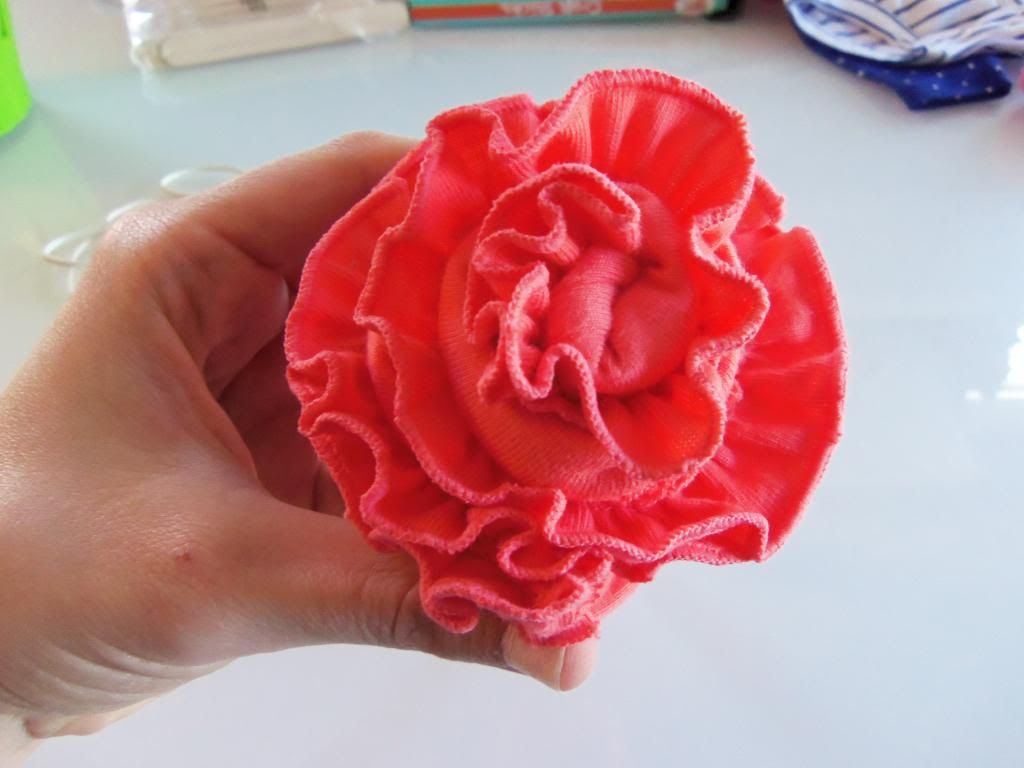
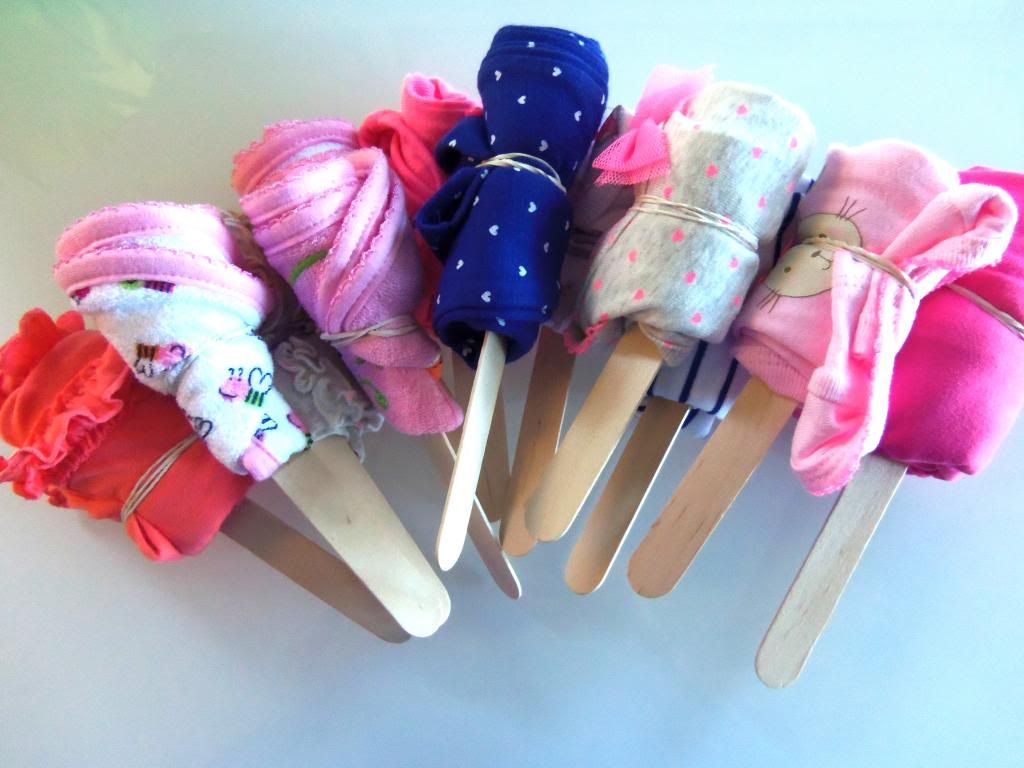
here are all of my completed baby clothes flowers
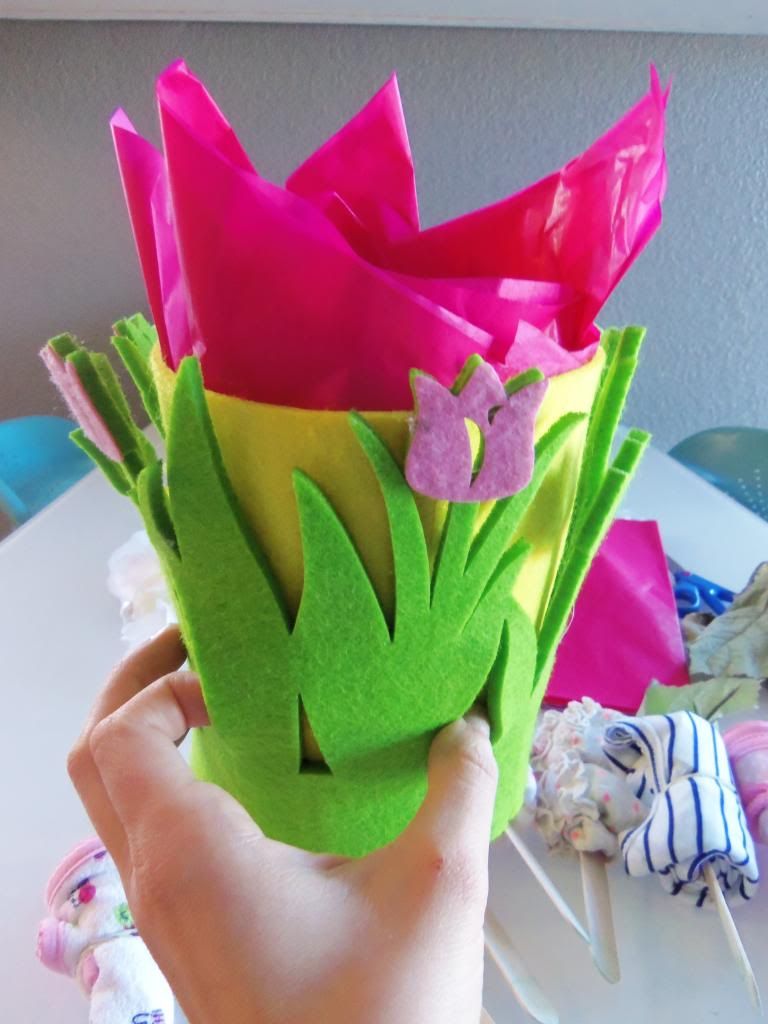
Next up I placed tissue paper inside of my container and then placed my styrofoam square inside the same container, as this will be holding all of my clothes and flowers in place.
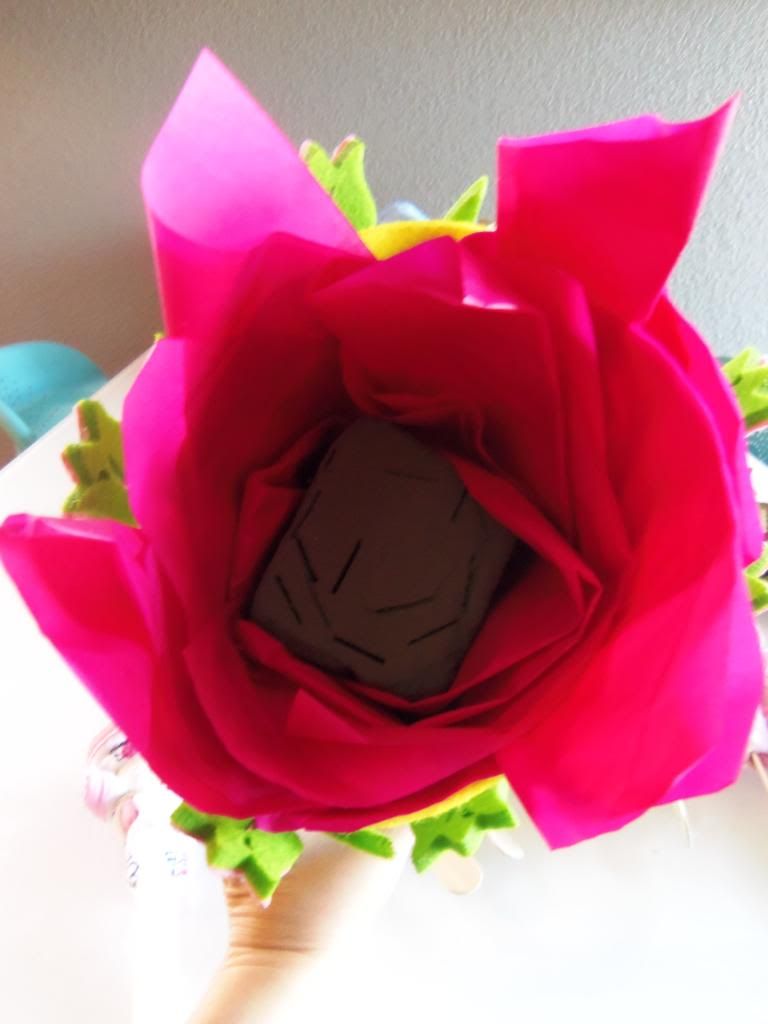
Now its time to start placing the sticks inside of your container 
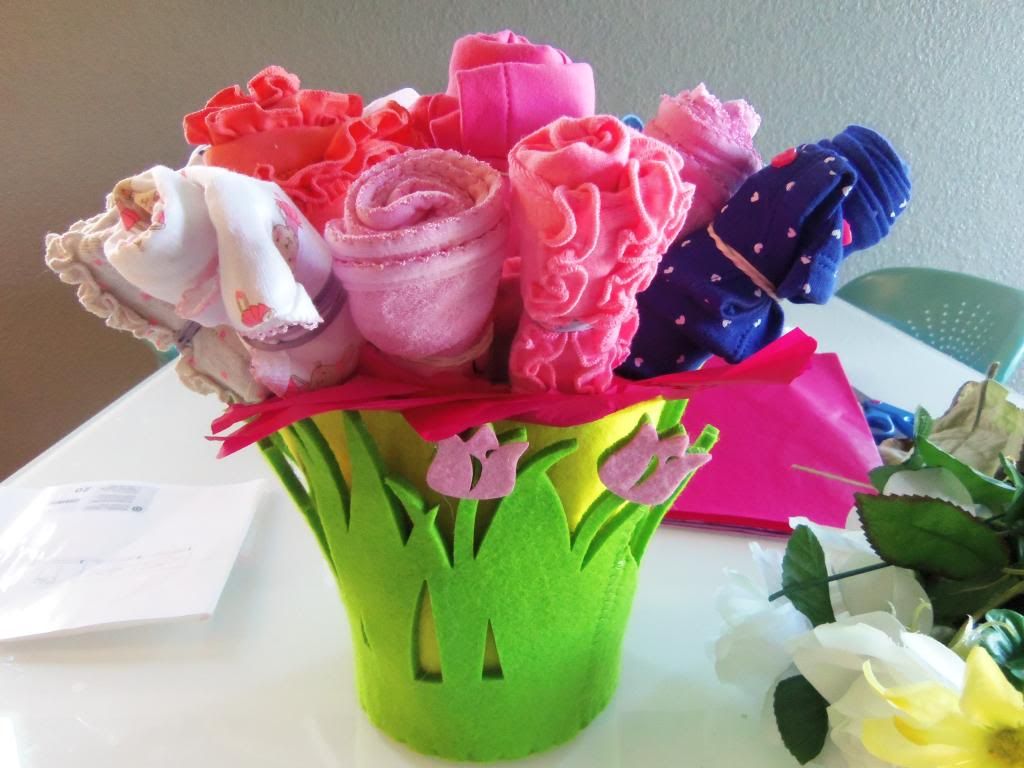
Then simply fill in any gaps with your flowers.
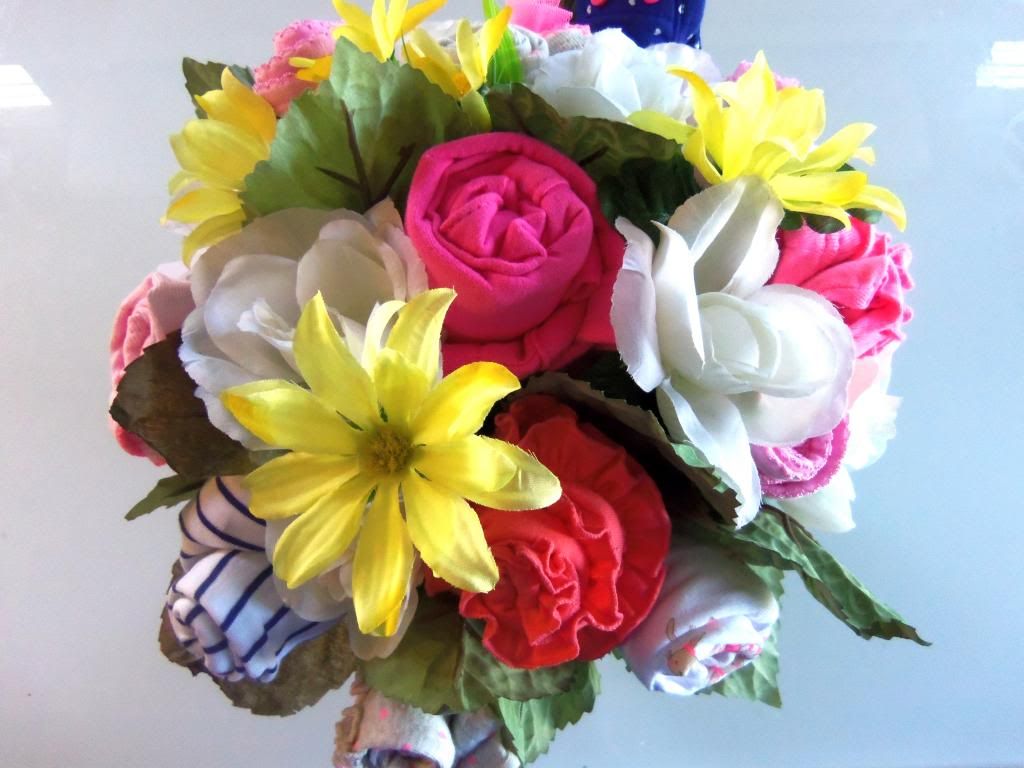
And voila! Baby Onesie Bouquet!!
Wednesday, January 8, 2014

Italian Wedding Soup


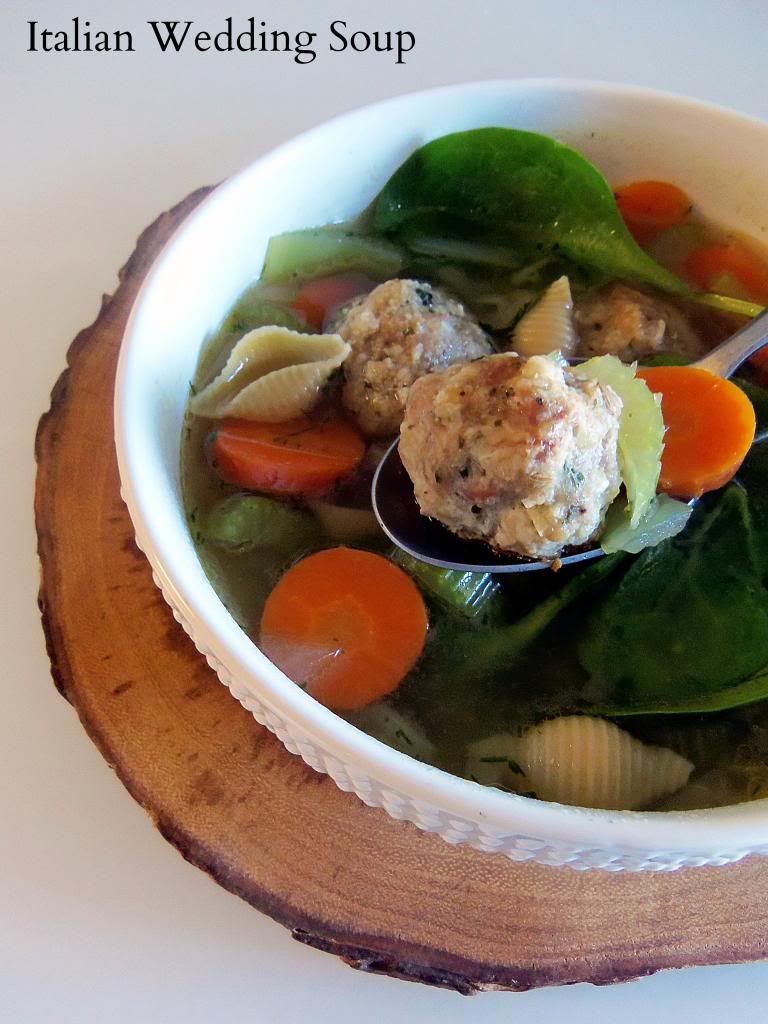
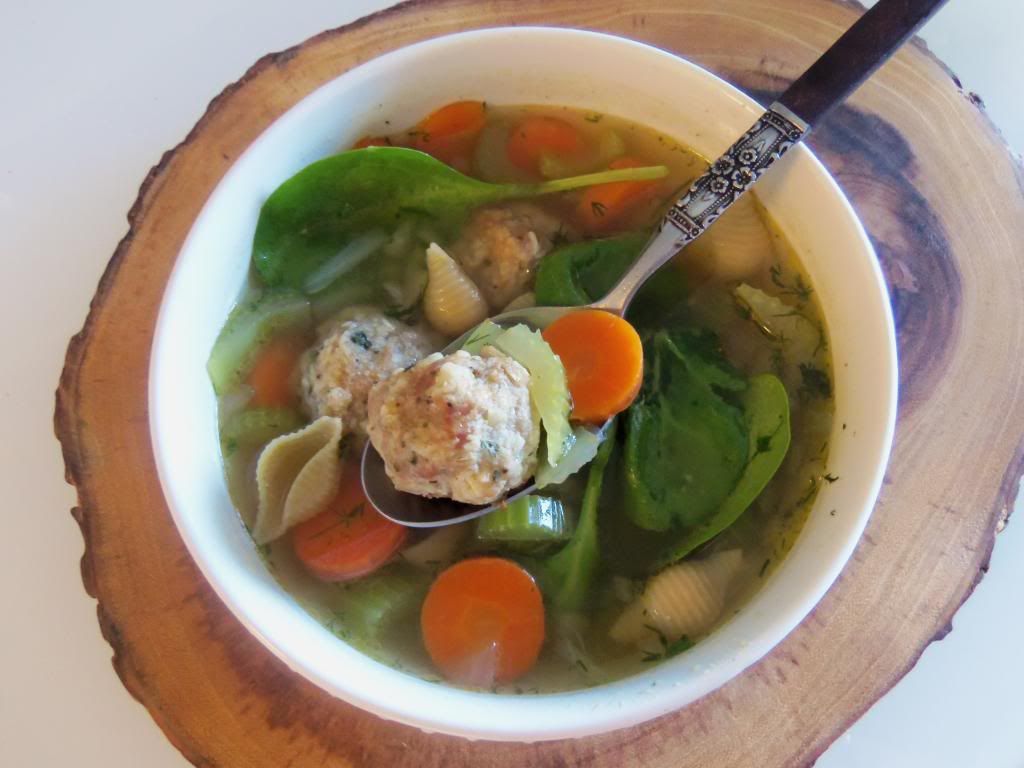
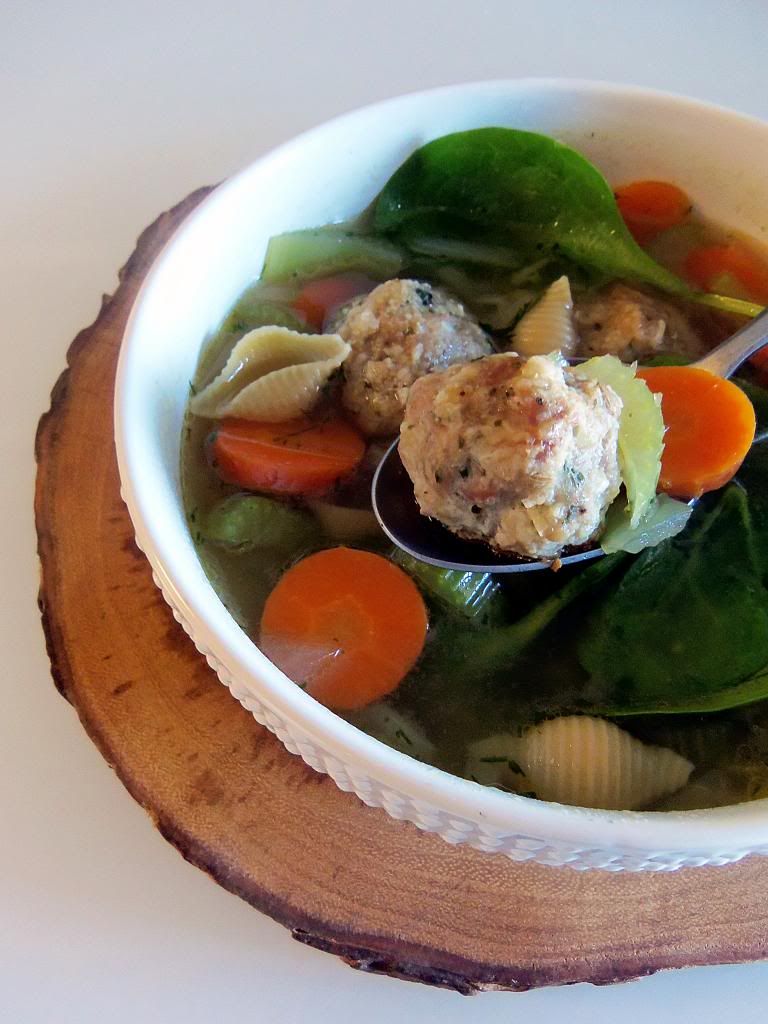
Temperatures are cooling off and of course the dreaded cold/flu virus that seems to be unescapable finds its way into your house to wreak its havoc on any unexacting passerby. Thats exactly what has happen to my little family and the only thing that sounds good to my poor sickly husband is soup...italian wedding soup that is. And there is only one recipe that I turn to when making italian wedding soup...Ina Gartens. This soup is dang good and seriously satisfying, especially on a cold winter day or in this instance on a sick day when all you want is a soothing, comforting bowl of soup to help heal your aches and pains.

Italian Wedding Soup

Ingredients:
Meatballs-
3/4 pound ground turkey
1/2 pound sausage, casings removed
2/3 cup panko bread crumbs
2 teaspoons minced garlic
1/4 cup fresh italian parsley, chopped
1/2 cup grated parmesan cheese
3 tablespoons milk
1 large egg, beaten
salt and black pepper

Soup-
2 tablespoons olive oil
1 cup minced yellow onion
1 cup diced carrots
1 cup diced celery
10 cups chicken broth
1/2 dry white wine (If you are uncomfortable cooking with wine you can substitute additional chicken broth)
1 cup small shell pasta
1/4 minced fresh dill
8 ounces baby spinach

Directions:
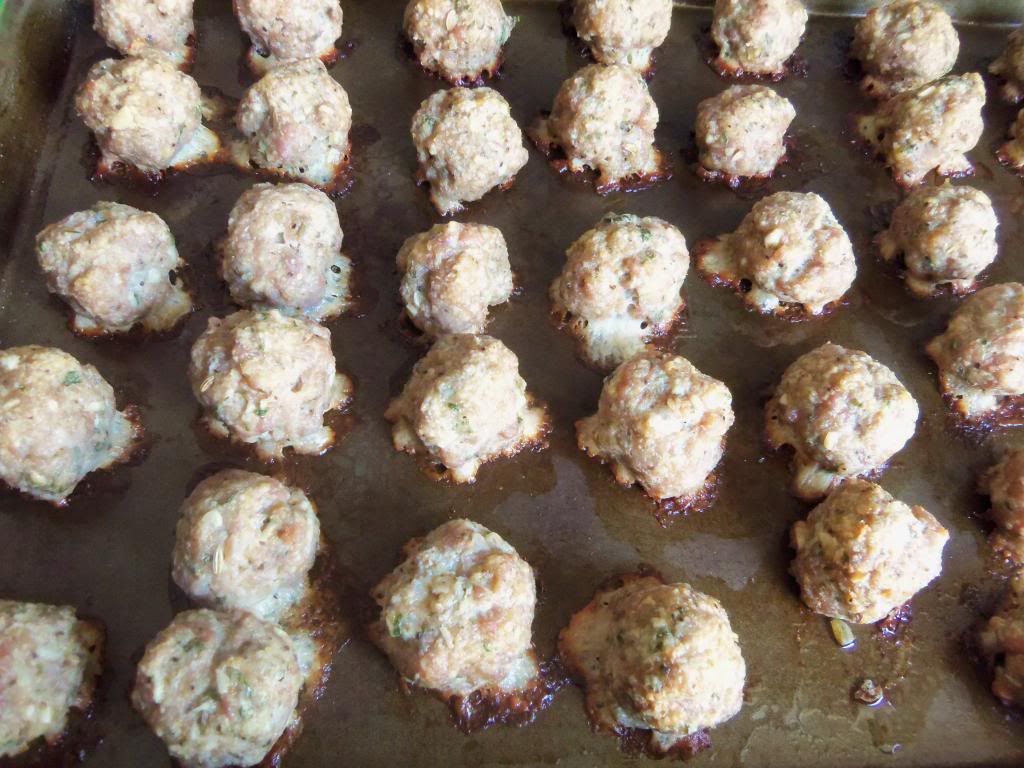
Preheat oven to 350 degrees. To prepare your meatballs place ground meats, panko, garlic, parsley, parmesan, milk, egg, 1 teaspoon salt and 1/2 teaspoon pepper in a bowl and combine gently with a fork. Drop 1-inch meatballs onto a sheet pan lined with parchment paper; making about 40 meatballs. Bake for 30 minutes, until cooked through and lightly browned. Set aside.
To prepare the soup heat olive oil over medium-low heat in a large stock pot. Add onion, carrots, and celery and sauté until softened, 5-6 minutes, stirring occasionally. Add the chicken broth and wine and bring to a boil. Add pasta to the simmering broth and cook an additional 6-8 minutes, until pasta is tender. Add the fresh dill and then the meatballs to the soup and simmer for 1 minute. Taste for salt and pepper. Stir in spinach and cook for 1 minute, until spinach is just wilted. Ladle into soup bowls and enjoy!

Wednesday, January 1, 2014

Family Silhouettes

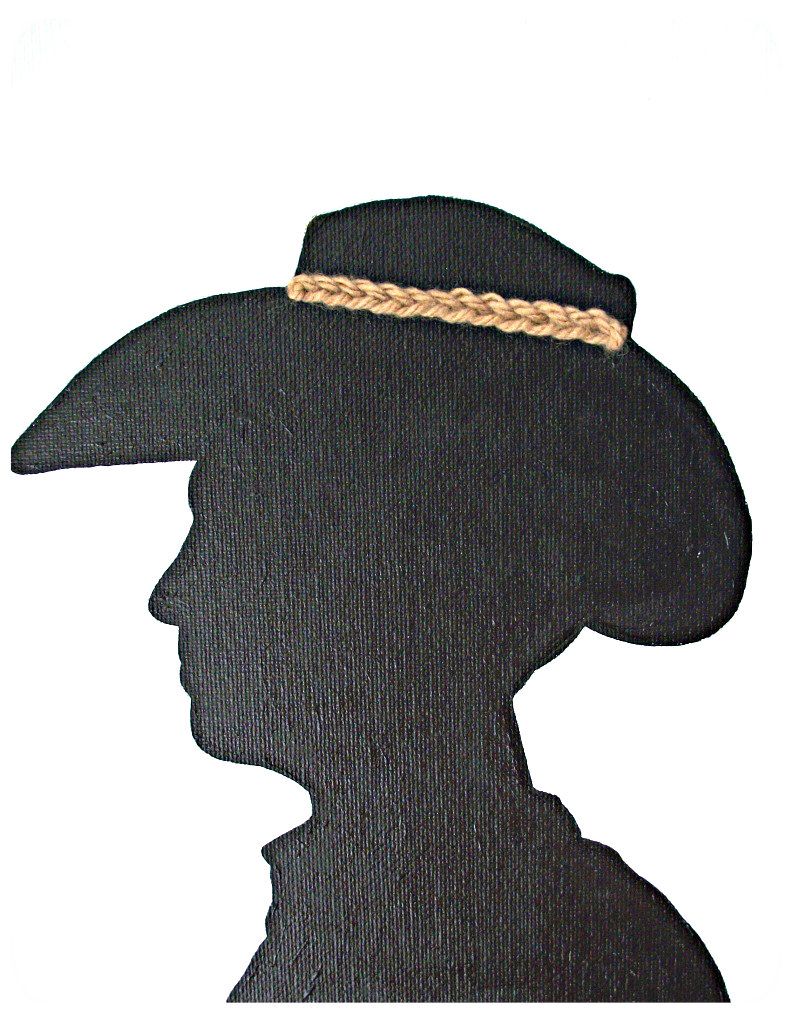
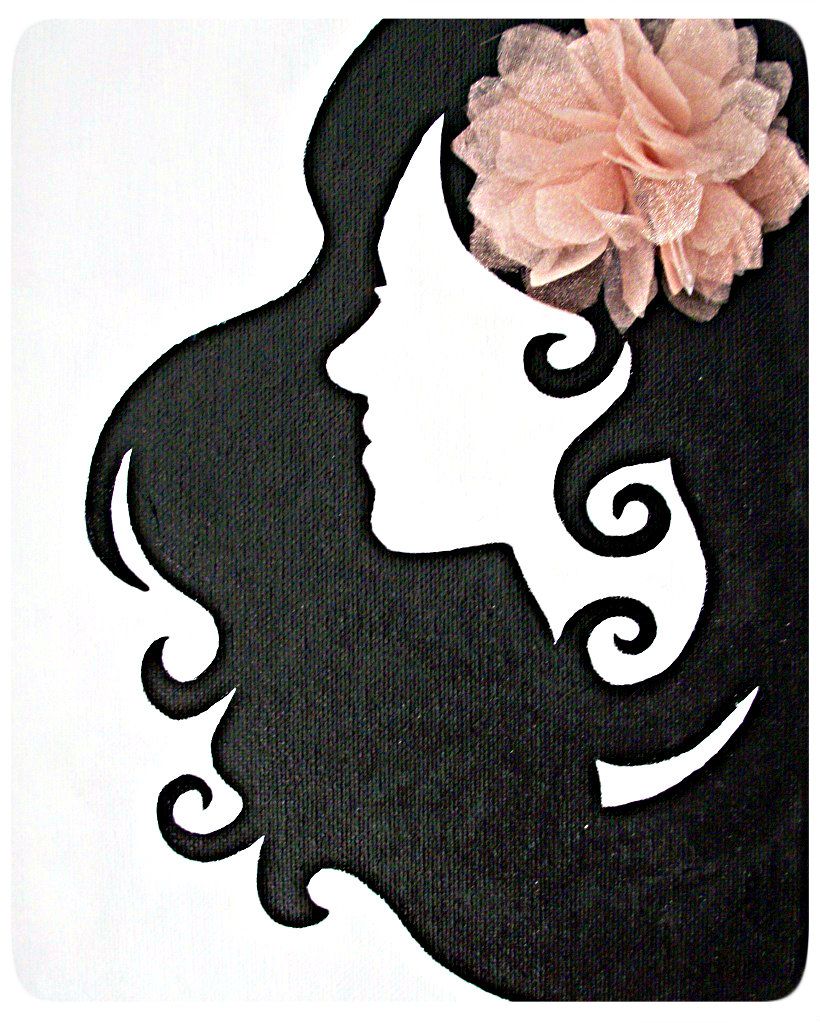
When my niece was first born, almost 12 years ago, my aunt made a silhouette of her cut out of black paper and framed it. I was in awe!! It was incredible and I knew that once I had children I wanted to do the same thing. However, instead of using paper I decided to paint a silhouette onto a canvas using a profile shot.  I blew up a side profile picture of my son , cut it out, traced it on the canvas and then painted within the lines. You can also paint the dead space black instead for a different look, use different colors or add details that might not have been in the picture; such as my husbands cowboy hat and my hair around my face (seen below)
After I had finished painting I couldn't help but think that there was something missing.....something to make the silhouette painting a little more personal and whimsical. Turned out a crochet bow tie was just what my son needed around his little neck.
Of course I couldn't stop there! I painted profiles of my husband and myself as well. 
This is really a fun project and a way to capture your little ones or family members at a specific time in their life. 

Wednesday, December 25, 2013

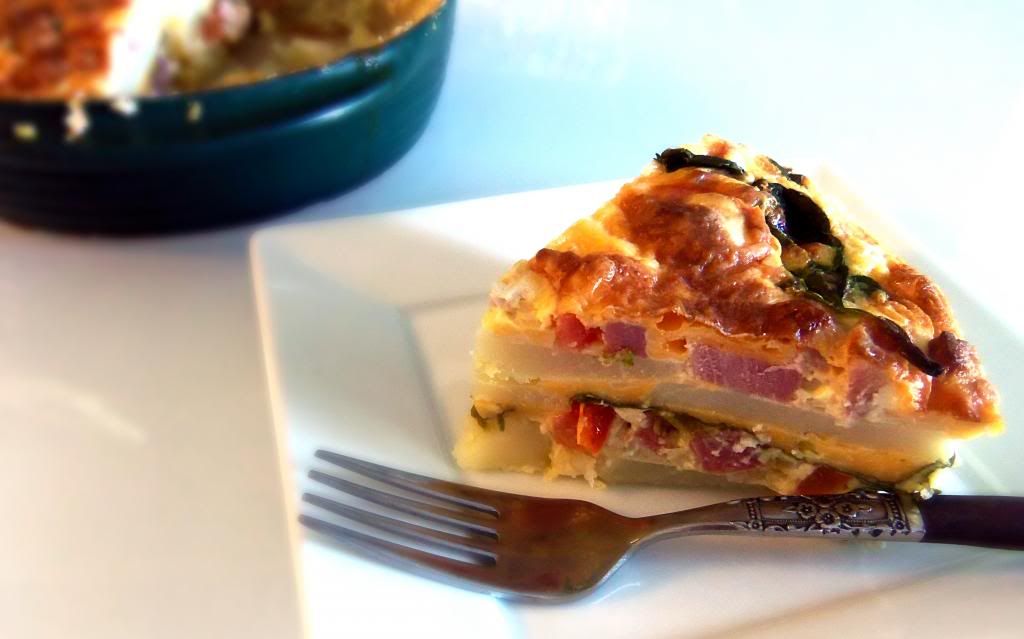
Breakfast Egg Bake

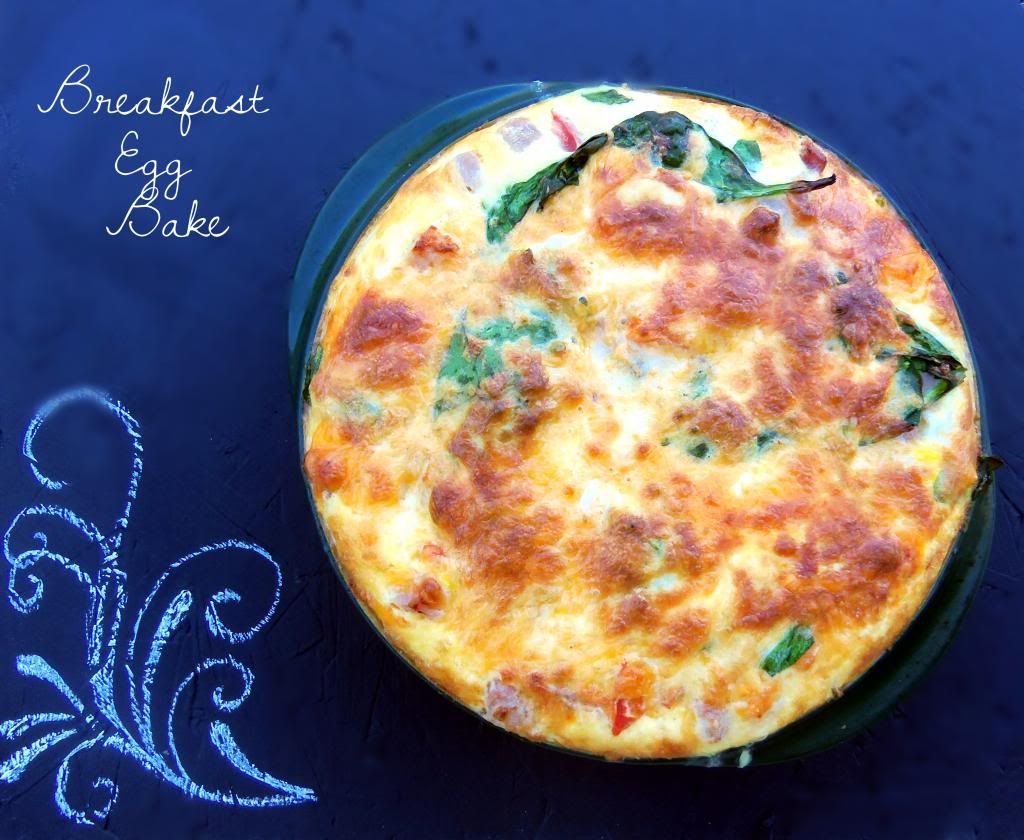
Sometimes you just feel like breakfast for dinner, right?! Unless your my dad who doesn't like breakfast food so in that case you never want breakfast for dinner. But for those of us who do crave a little meal time switch up then this is a recipe for a delicious egg bake packed with flavor and a great compliment to any of your other favorite breakfast accompaniments.
In fact its almost a meal in itself. It includes veggies, meat, cheese and eggs. Plus its a great way to get sneaky and throw in some veggies that your family might otherwise have trouble eating on their own.

Breakfast Egg Bake

Ingredients:
2 small-medium potatoes
1/2 medium onion finely sliced
1 cup diced ham
1-4 ounce can Ortega chills
1 cup diced tomatoes
2 cups spinach
1 1/2 cups grated cheddar cheese
3/4 cup parmesan cheese
1 cup cream
4 large eggs
salt and pepper

Directions:
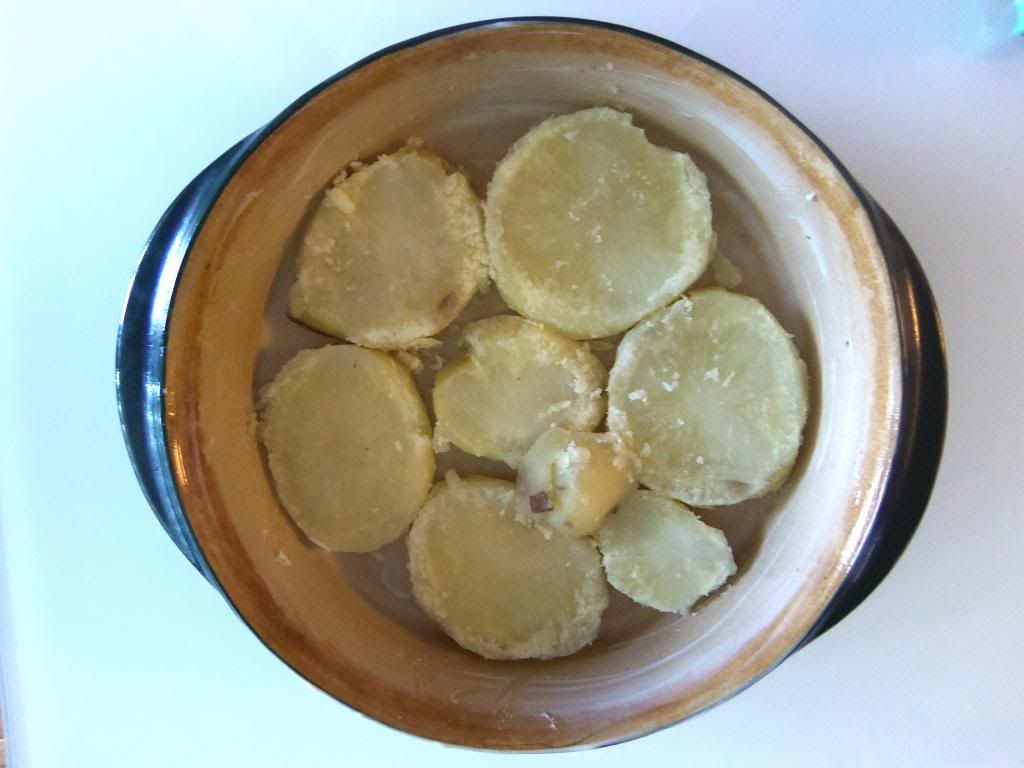
Boil your potatoes until just tender; let cool. Once potatoes are cooled thinly slice them in rounds. Prepare a 9 inch baking dish by spraying with non stick cooking spray or spreading with a thin layer of butter. Place a layer of your cut potatoes in your baking dish an sprinkle with salt and pepper. 
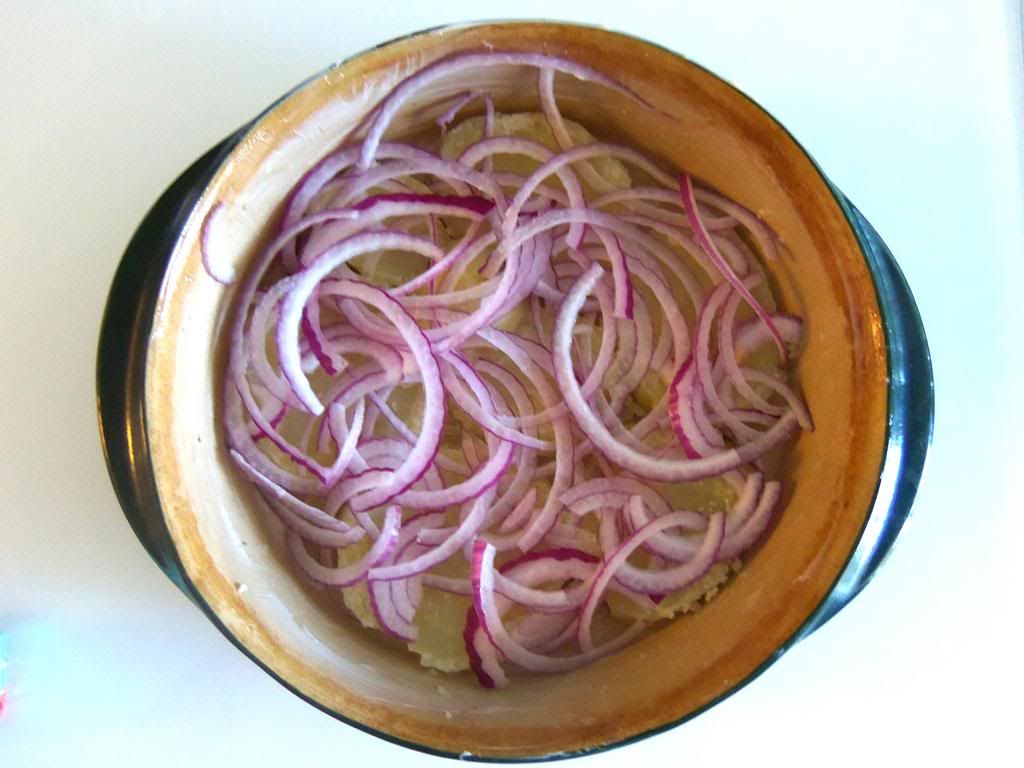
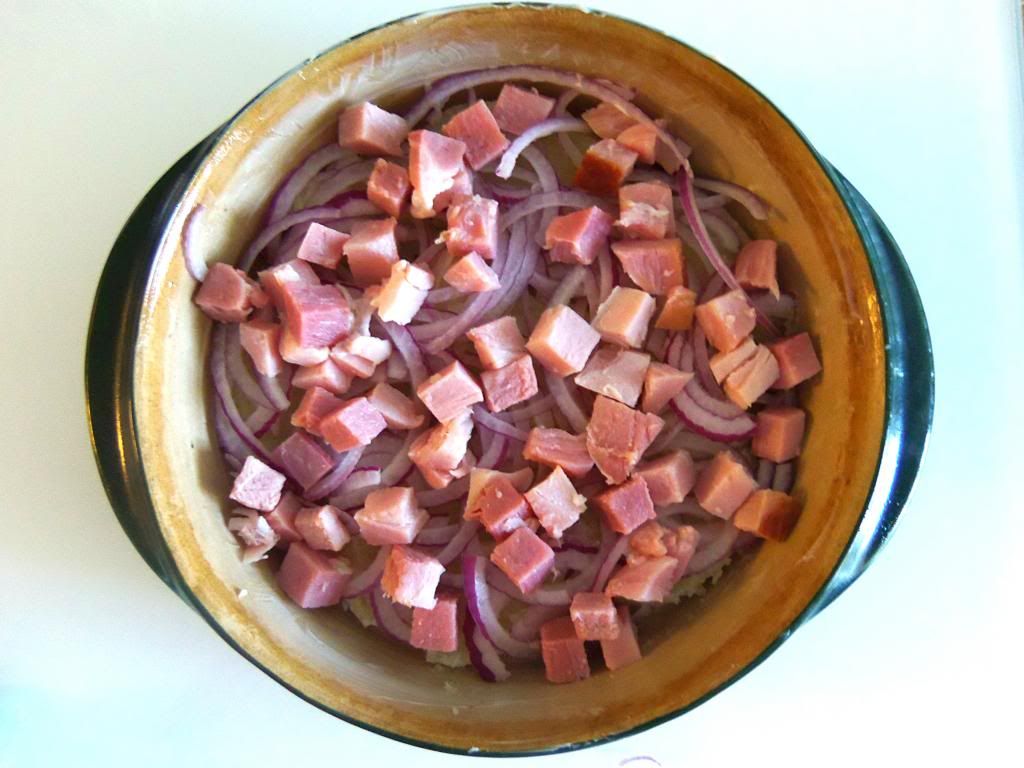
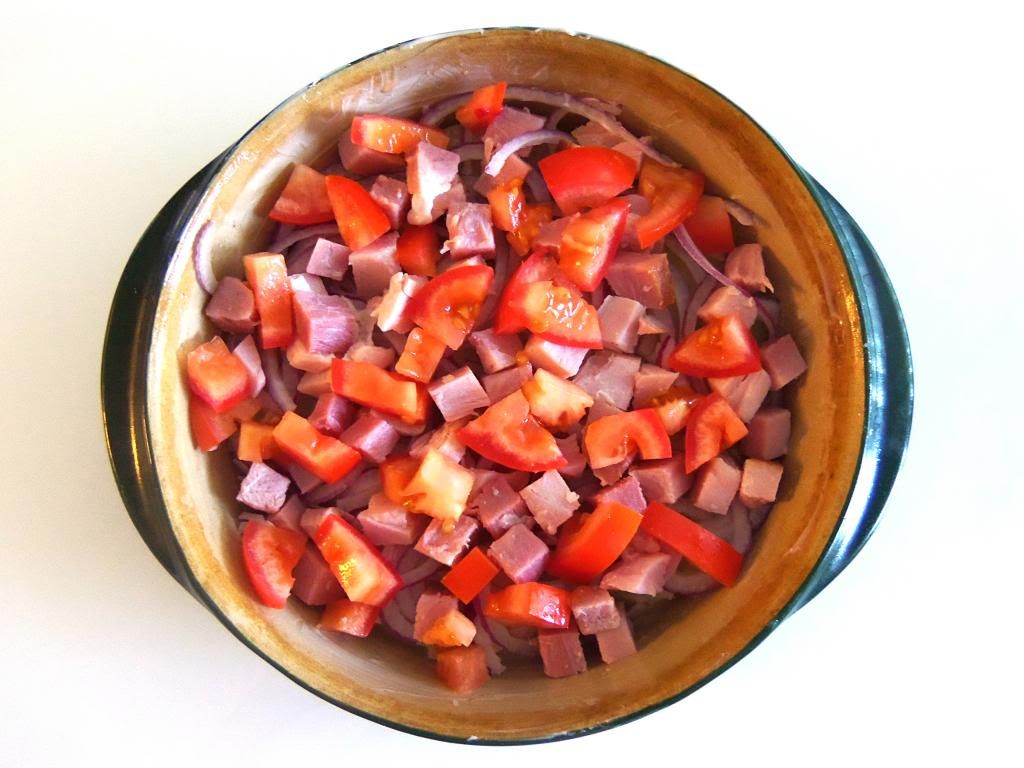
Top with half of your onions and ham. 
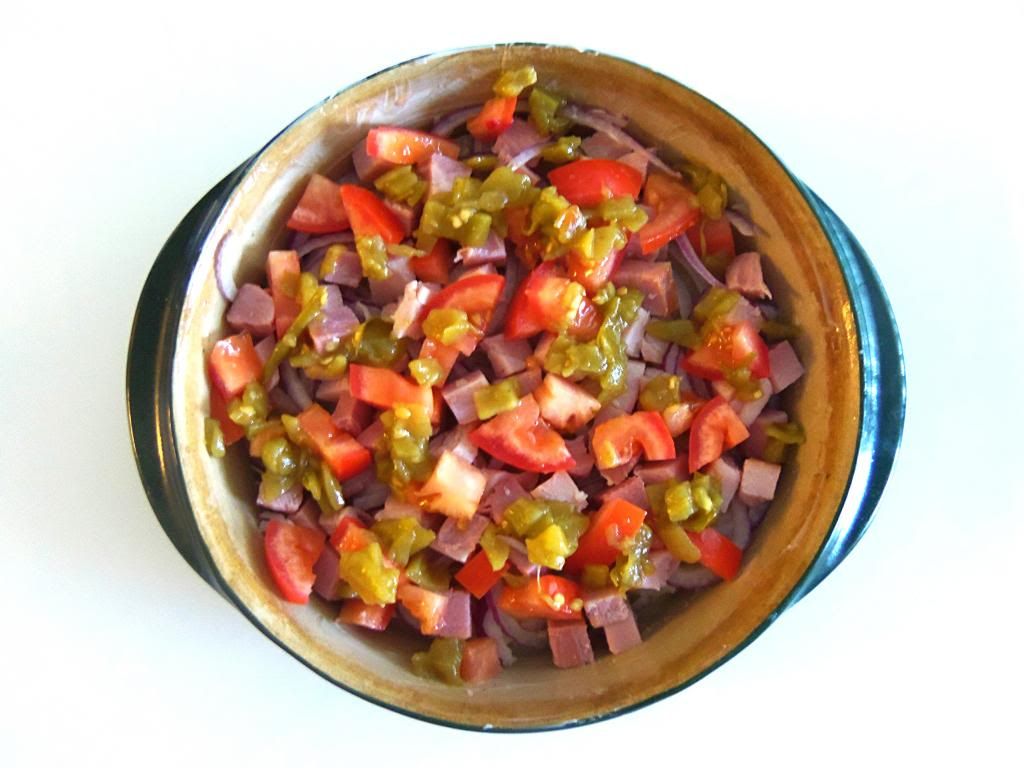
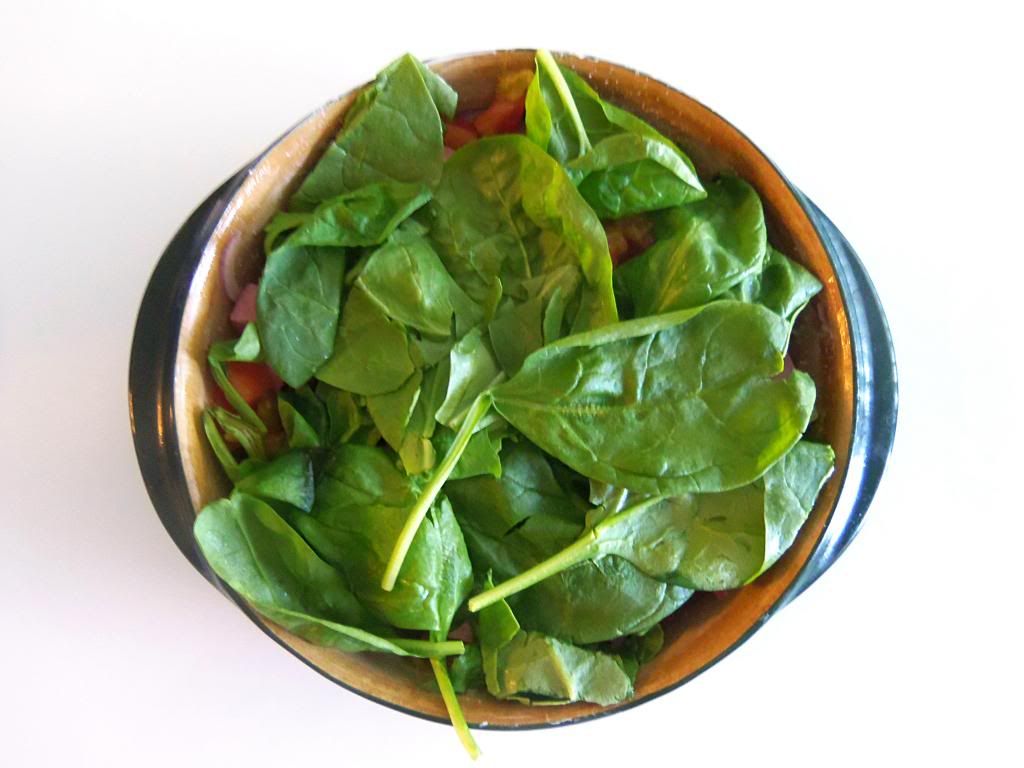
Next top with half of your tomatoes, chilis and spinach. 

Sprinkle with half of your cheese and repeat the above steps ending with your cheese. 
Whisk together the eggs and cream and gently pour the mixture over your ingredients. Do this slowly so that the liquid has time to penetrate to the bottom of the pan without overflowing. 
Place your baking dish onto a cookie sheet to catch any overflow and bake at 350 degrees for 50-60 minutes.


Wednesday, December 18, 2013

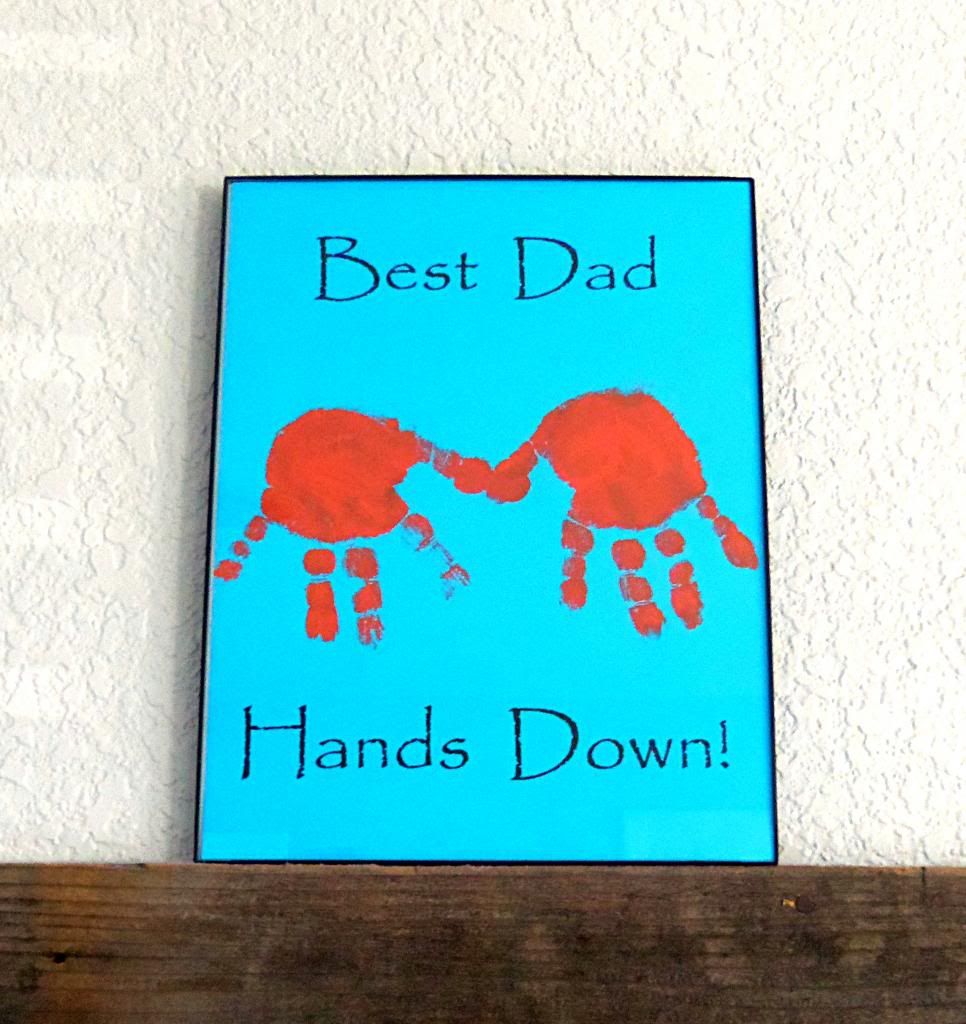
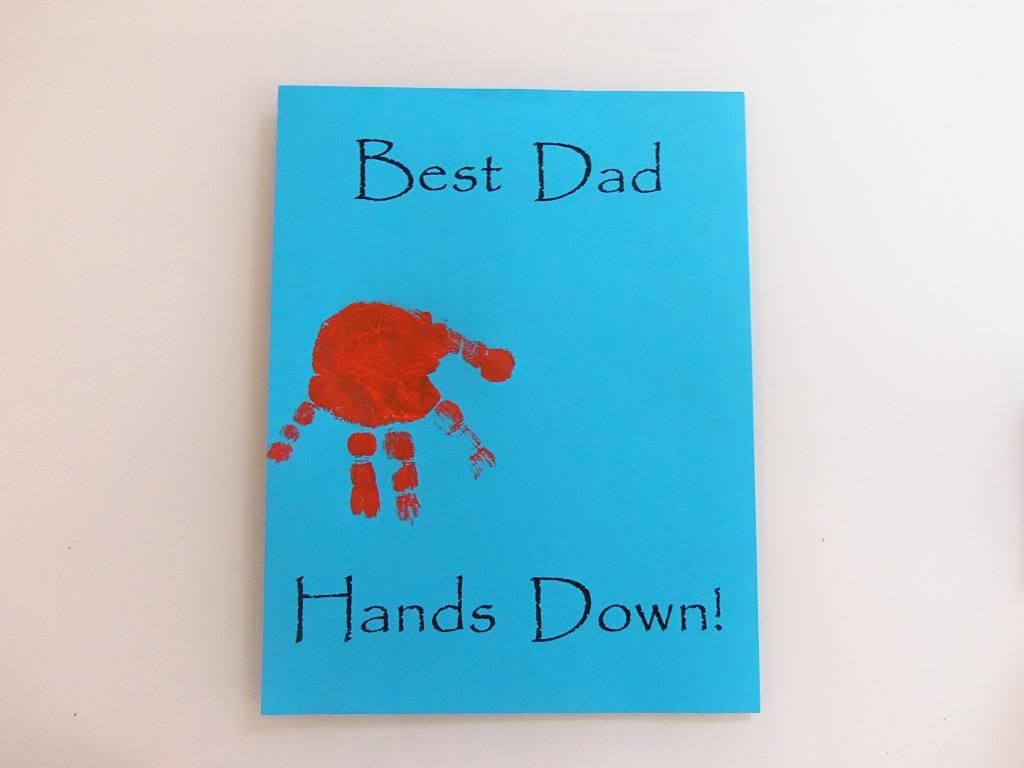
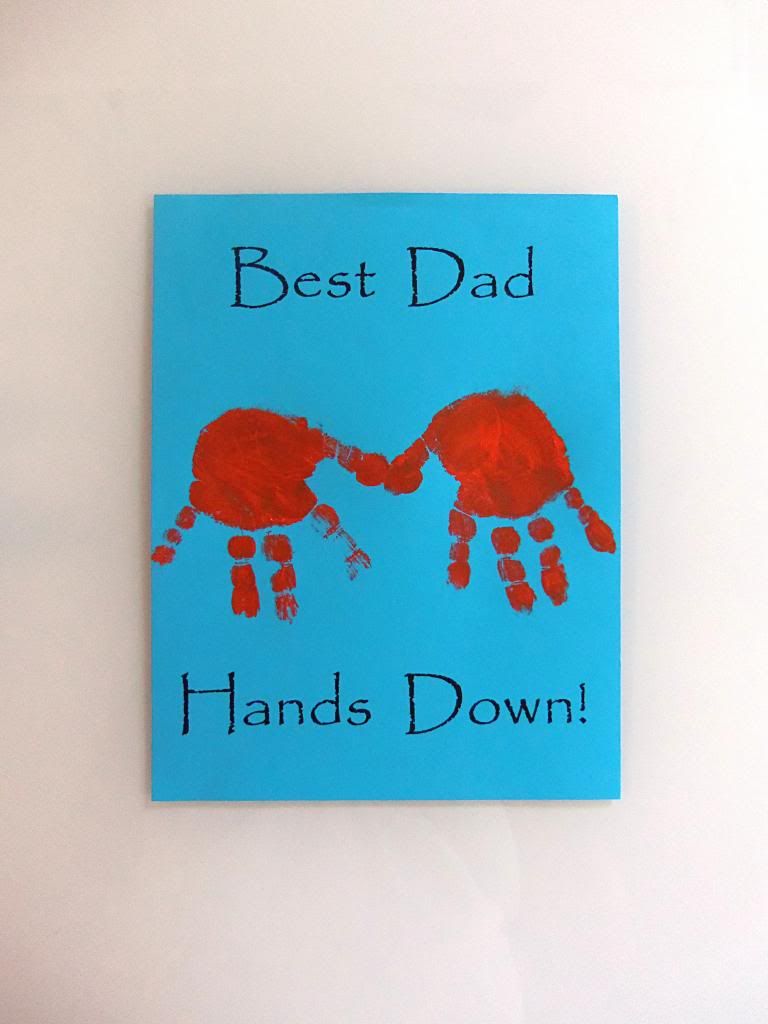
"Best Dad Hands Down" DIY Kids Craft

E just turned 2 and since we have a plethora of crayon scribble drawings and he obviously cannot write on his own, I was looking for a fun and cheap way to involve him in a craft for Ben on Fathers Day. That is how this little project evolved. What kid doesn't like finger painting, and in this case, literally! All you need is a piece of paper, a printer, some paint and a little hand(s)...easy peasy!


 I love this craft, and since it is never a bad time to let your dad or your children's dad know that they are number one, you can give this gift for any holiday or just because!

Wednesday, December 11, 2013

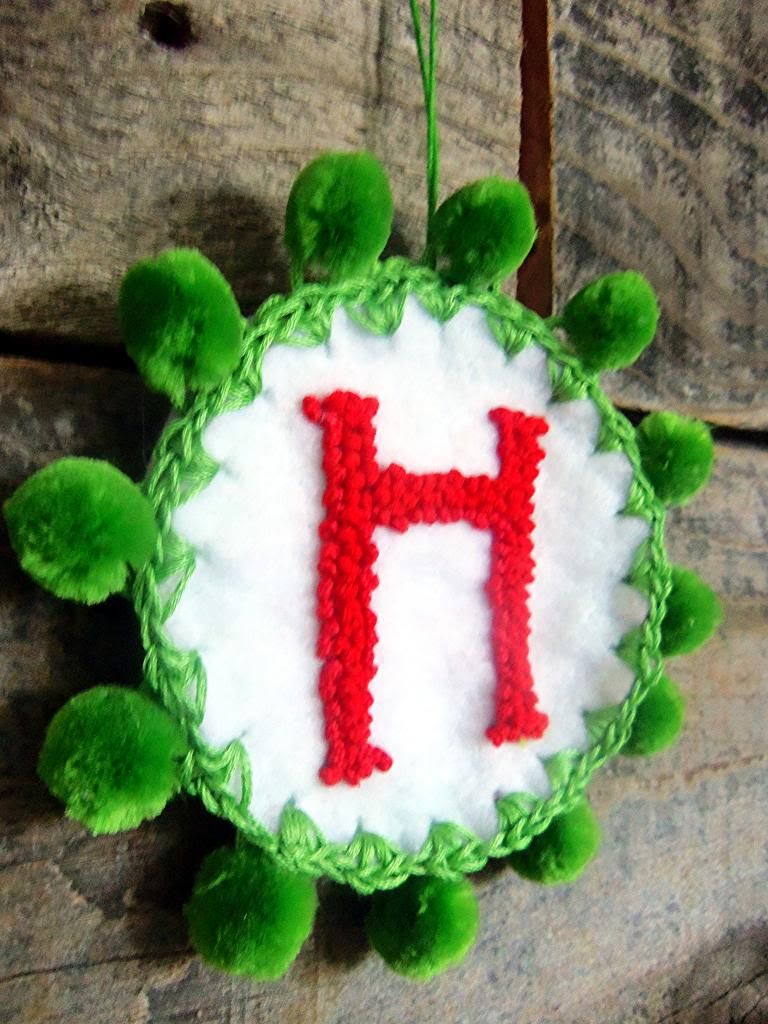
Felt Monogram French Knot Ornament


These are really cute and simple ornaments that you can make to add to your Christmas ornament collection or give as gifts of present toppers to friends and family! Since we are still trying to build up our own family ornament stash I made two ornaments for both my sweet little boys this year. These are really fun to make and if you have children that are old enough to use a thread and needle, it can be a great family project too!


All you need is:
  • felt
  • scissors
  • embroidery thread and needle
  • hot glue gun
  • decorative trim

Start by cuting out he shape and size of ornament you want. I used a plastic cup to cut circles for my ornaments. You will need two pieces of felt the same shape for each ornament you are making.

Trace the letter or word you want to french knot onto one of the pairs of cut felt.


With the color thread you choose start to make french knots in the spaces that you have traced on the felt until you have filled in the area completely. If you are not familiar with how to make french knots, click here for a good tutorial, they are really easy to do.


The next step isn't necessary but I decided to snip little holes evenly around the perimeter of the felt and do a simple single crochet with embroidery thread around the edge to finish it off.


With your second piece of felt you will want to attach a piece of cut embroidery thread for your hook and attach it with hot glue.


Then onto the same piece of felt attach any decorative trim that you have on hand to the perimeter of your ornament.


Then take your french knot felt piece and glue it onto the piece that you just added a decorative trim to. Now your ready to hang or gift this adorable little french knot monogrammed ornament!!

Wednesday, December 4, 2013

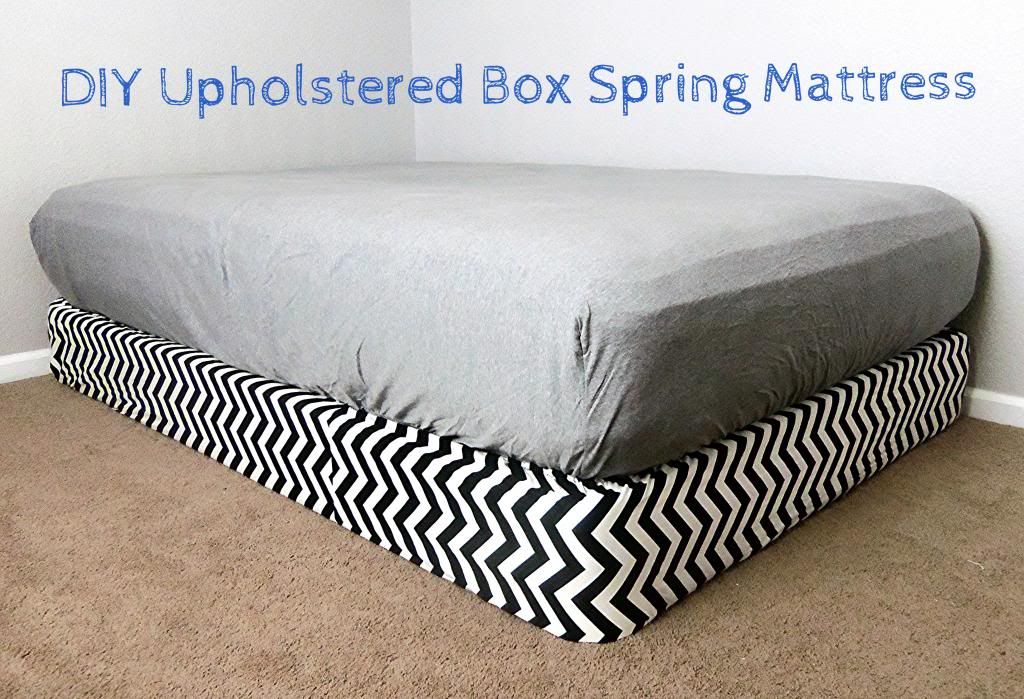
DIY Upholstered Boxspring Mattress

It was time to move my son out of his crib and into a toddler bed; but instead of getting a small bed that he would be sure to grow out of in no time, we decided to go ahead and throw him in a full size bed that would last him for years to come. Since he is only 2+ years old we opted to leave the mattress and box spring on the ground instead of in a frame. We were a little hesitant at first since he has never been up so high or had such a large bed before. We made him a part of the process of breaking down his crib and bringing in the new mattress and box spring and he had a blast. He was easily able to climb on top and thought it was the greatest thing in the world to now have that much real-estate to sleep on. 


He is still young enough that he doesn't use a top sheet to get tangled in or a comforter to smother him so we simply bought some fitted sheets that we jersey material for softness and warmth. But when it came to the box spring I was stumped. I couldn't put a bed skirt on it because there were no legs on the bed to heighten it so that the bed skirt would not just pile up on the floor. And there was no way I was going to leave the box spring uncovered because it was hideous. So that left only one thing to do! Cover it with fabric. I have seen multiple tutorials online about reupholstering a box spring but all of them included permanently attaching fabric to the box spring by stapling, or gluing it. I wanted the option to be able to take it off and wash it when needed or be able to switch it out when my son gets older. And that's why I decided to simply sew elastic around my fabric for easy on and off access. 

It couldn't have been easier to make; all you need is:
  • fabric
  • elastic
  • tape measure 
  • sewing machine

Lets get started:
First things first you will want to take some measurements. Measure the perimeter of the box spring frame and add 5 inches and that will be the length of fabric you will need to cover the perimeter of the box spring. Next measure the height of the box spring and add 5 inches and that will be the width of fabric you will need. After you take all of your measurements, sew together the lengths of your fabric to give you one really long piece of fabric that is the entire length of the perimeter of the box spring. Sew together the two ends of your fabric right sides together. So now you have one large fully connected piece of fabric, like one big box spring square. Next you want to fold over the ruff edges of your length to make a hem and sew all the way down both sides.


Then take your elastic and either sew elastic around the entire length of your fabric both top and bottom or you can just add elastic to the corner parts of your box spring mattress top and bottom.


Place your fabric cover onto your box spring to make sure it fits and voila, you now have a stylish cover that you can remove to wash or change any time you want!!


Blogging tips