blankhomeaboutthe fammy faithwhats cookinget crafty

Sunday, February 3, 2013

Dark Chocolate Salted Caramel Tart


Its was my parents anniversary a bit ago and they invited my family to have dinner and share the special day with them.  My mother asked me to prepare a dessert for the evening and I new I had to make something that would knock her socks off. She has a CRAZY sweet tooth and I can thank her for mine! I knew she loved caramel, dark chocolate and sea salt so imagine my utter surprise when I came across a recipe for a dark chocolate salted caramel tart! I mean, it was like the sky parted and I could hear angels singing! I had to make this dessert! Only problem was that I had never made it and would be tasting it for the first time with everyone else.  But I mean come on...with those flavors I knew I had a good chance of being the hero of the night! 

Lucky for me I was right...my mom loooooved it looooved it looooved it, it was ridiculously good, like to good to be true good, like holy crap good, like I'm gona be making this again kinda good!

Dark Chocolate Salted Caramel Tart
*slightly adapted from Saveur
Ingredients:
Crust-
1 1/2 cups flour
1/4 cup plus 1 Tablespoon dutch-process dark cocoa powder
1/4 teaspoon salt
10 Tablespoons unsalted butter, softened
1/2 cup plus 2 tablespoons powdered sugar
2 egg yolks, room temperature
1/2 teaspoon vanilla extract

Caramel-
1 1/2 cups sugar
6 Tablespoons water
3 Tablespoons light corn syrup
1/4 teaspoon salt
6 tablespoons unsalted butter
7 tablespoons heavy whipping cream

Ganache-
1/2 cup heavy whipping cream
4 ounces bittersweet chocolate, finely chopped
Fleur de Sel for garnish

Directions:
Crust-
Preheat your oven to 350 degrees. Whisk together flour, cocoa powder and salt and set aside. In mixer cream together butter and sugar until pale and fluffy, about 3 minutes; mix in egg yolks and vanilla. Mix in dry ingredients. Transfer dough to a 9" or 11" tart pan with a removable bottom and press dough evenly into bottom and sides of pan. Refrigerate for 30 minutes.
 Prick the tart shell all over with a fork and bake until cooked through, about 15 minutes. Transfer to a rack and let cool.

Caramel-
In a heavy saucepan, whisk together sugar, corn syrup, salt and water and bring to a boil over medium heat. Cook uninterrupted until candy thermometer inserted into the syrup reads 340 degrees. I do not have a candy thermometer and have always made my caramel from sight. Look for the caramel to turn a rich amber color, then immediately remove pan from the heat and whisk in the butter and cream. The mixture will bubble up ferociously, so be careful! It is important that you have not burnt your caramel at this stage. If you suspect you have or if it tastes slightly burnt you will need to begin your caramel again. Pour your caramel over your cooled tart shell and let cool slightly before refrigerating until firm overnight or for at least 5 hours. 


Ganache-
Bring cream to a boil over medium heat. Place chocolate into a bowl and pour your hot cream over the chocolate. Let sit for a few minutes then slowly stir in a circular motion, until smooth and thickened. Poor ganache evenly over tart and spread with a small offset spatula, then refrigerate overnight or for a minimum of 5 hours. 

Sprinkle tart with sea salt and serve chilled. It is important that you serve your tart chilled and place it back into the refrigerator if you have not finished the entire tart. Once the tart sits out for awhile the caramel becomes very soft and will start to oooze out between the tart shell and ganache...not that ooozing caramel is a bad thing :)

Friday, February 1, 2013

Bye Bye Baby

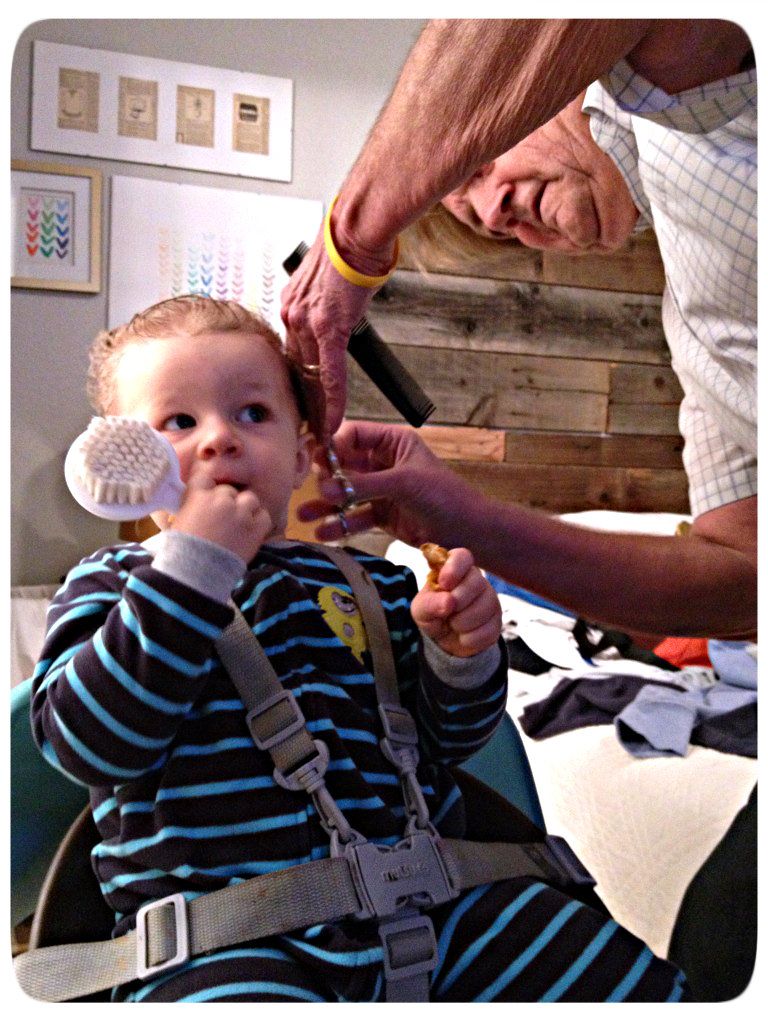
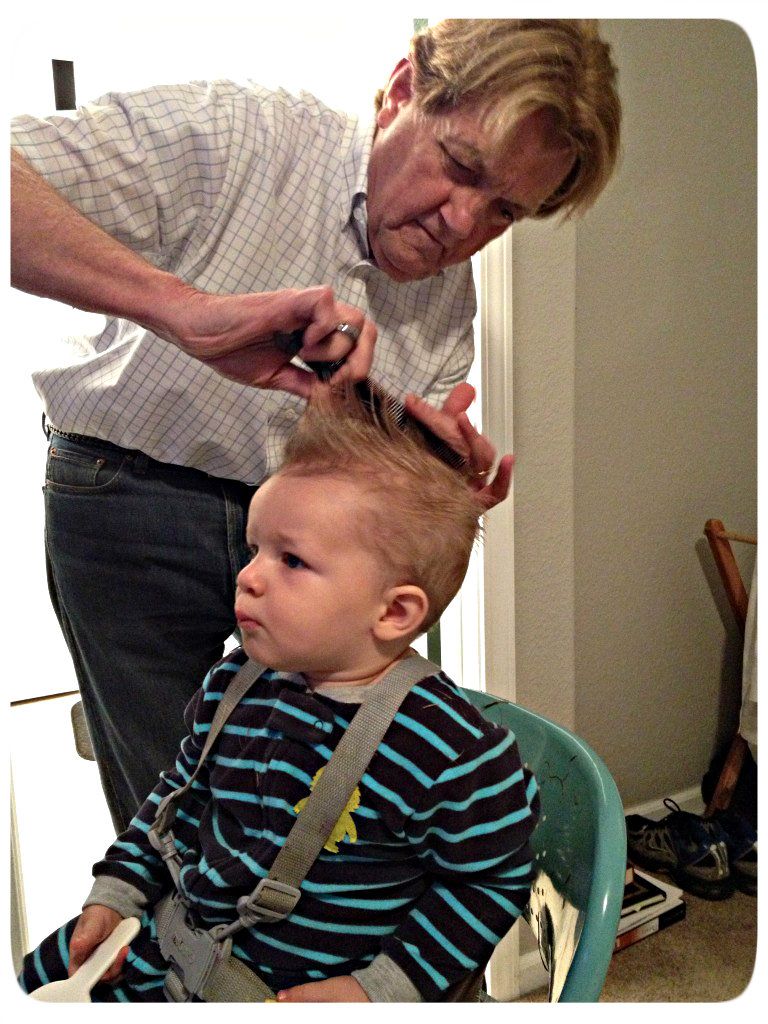
Easton has had more hair colors than I can keep track of and having lost his hair once he has now been blessed with another head of hair...hopefully this time its permanent! :)
Recently we were working on growing out a really sweet mullet. Not a strange and almost creepy Billy Ray Cyrus kinda mullet but an adorable baby mullet. The kind where the long hair starts to curl and flip so perfectly that you have been accused by perfect strangers of using a curling iron to style your sons hair!
It wasn't until waiting in line at Walgreens to get my flu shot when someone mistook my adorable son who was also sporting a mohawk and wearing all blue, for a GIRL, that I decided to rethink the further growth of his mullet. That's when I made the phone call to my father and mother, hair salon owners, about the idea of cutting his hair. Before I knew it that very same day I found my self watching my father slowly and methodically cut all of my sons golden locks off.
January 8, 2013: the day by baby became a boy
Before
After
Untitled_zpsf419afba

Wednesday, January 30, 2013

Whole Wheat Cinnamon Sugar Tortilla Chips


Multiple times a month I get a serious craving for fried dough sprinkled with cinnamon and sugar. Am I alone over here?! I know at least one person is with me on this one, that's my husband. But in an effort to be more conscious of what we eat and how much of it we eat we have not yet succumb to our fried desires :) So to help satisfy our craving but on a more friendly caloric level I decided to put some whole wheat tortillas to use and make some Whole Wheat Cinnamon Sugar Chips.

 I used the raw frozen tortillas that Costco sells to make my chips. And in honor of the upcoming Valentines Day Holiday and Ben and My 8 year anniversary I used a heart cookie cutter to make my chips. I wasn't sure how they would turn out because I had never made baked chips before. Not to mention it is really hard to top fried dough, right!? That being said, these were very very good and definitely satisfied our craving for cinnamon-sugary fried goodness! We ate ours with some yummy ice cream but they would also be great with a sweet dip or along side a fresh bowl of fruit.
I even took some of my chips and sprinkled them with just cinnamon so that E could enjoy some chips with us.

Whole Wheat Cinnamon Sugar Tortilla Chips

Ingredients:
Whole wheat tortillas ( I used the raw tortillas from Costco. If using already baked tortillas I might take a few minutes off of the baking time)
1 tablespoon cinnamon
3 tablespoons sugar
2-3 tablespoons butter, melted

Directions:
Preheat oven to 325 degrees. Using a cookie cutter of your choice or a knife cut your tortillas into desired shapes for your chips.

Melt butter, set aside. Combine sugar and cinnamon and set aside. Place cut tortillas onto a lightly greased baking sheet. 

Spread melted butter atop each cut tortilla and sprinkle with cinnamon and sugar. 
Place in oven for 5 minutes. Turn each chip and spread butter on new side along with sugar cinnamon mixture. Bake and additional 5 minutes. Turn oven off and let chips sit in oven for 5 minutes. Remove pan from oven and let chips cool on rack.

Eat alone or serve with your favorite ice cream, dip or a bowl of fruit!

Untitled_zpsf419afba

Sunday, January 27, 2013

White Chocolate Biscoff Cookies


Ben and I were reminiscing recently about our first few years of marriage. What a crazy time. Newlyweds, sans children, Ben trying to make a living, me trying to finish my schooling, just bought a house, making new friends, exploring the Bay area; the list can go on and on. One thing I really enjoyed was being able to meet Ben almost everyday for lunch. Often we didn't have more than 30 minutes so we would often meet for a fast meal at Subway. Jared, Subway Jared had reeled us in with his promises of healthy eating and weight loss :) Veggie sandwich for me and  meat and bacon for Ben. Subway or not, I have always felt an entitlement to have a treat after every meal. Well, breakfast excluded. I don't know where I got this idea from or who convinced me it was even a good idea, but its something I have done for at least my entire married career and it is something that I thoroughly thoroughly look forward to. And probably the first thing that should go if I ever decide to go on a strict diet :) So after every Subway sandwich we would always buy two cookies, one white chocolate macadamia nut and one chocolate chip.

On a particular visit to Subway with my hubby we happen to arrive at the same time the workers were baking their cookies. I noticed that they placed their cookie dough into a version of what looked like a muffin tin only not as deep. A light bulb went off in my head...a really really big light bulb!  I don't know about you but I love my cookies big and thick! And so often I am disappointed when my cookies turn out thin and flat :( Why was watching Subway workers put cookie dough into a flatter muffin tin so revelatory you ask?! Well I will tell you. Cookie dough+ regular muffin tin= thick and soft and gooey and yummy cookies!! Perfection! What a brilliant idea! Problem solved...no more flat cookies...EVER. And now I share with you my white chocolate biscoff muffin tin cookie recipe. 
Now my new problem is wanting to eat all of these cookies!

White Chocolate Biscoff Muffin Tin Cookies

Ingredients:
3 2/3 cups flour
1 1/4 teaspoon baking soda
1 1/2 teaspoon  baking powder
1 1/2 teaspoon course salt
1 1/4 cups unsalted butter
1 1/4 cups brown sugar
1 cup plus 2 tablespoons sugar
1 cup Biscoff Spread or Cookie Butter Spread
2 large eggs
2 teaspoon vanilla extract
1 bag white chocolate chips


Directions:
Sift together the dry ingredients; set aside. Combine butter and sugars, mixing until light and fluffy in texture, about 5 minutes. Add Biscoff and mix. Mix in the eggs, one at at time. Add vanilla. Reduce speed to low and add the dry ingredients. Mix just until the ingredients are incorporated. Stir in the white chocolate chips. Place cookie dough, covered, into the refrigerator for minimum 30 minutes. Preheat oven to 350 degrees. Form dough into small rounded balls and place into muffin tin cups. 

Bake 8-9 minutes or until edges are barely golden. Let cool in muffin tin for a minimum of 5 minutes. Remove cookies from tin and place onto cooling rack to cool completely.


Untitled_zpsf419afba

Wednesday, January 23, 2013

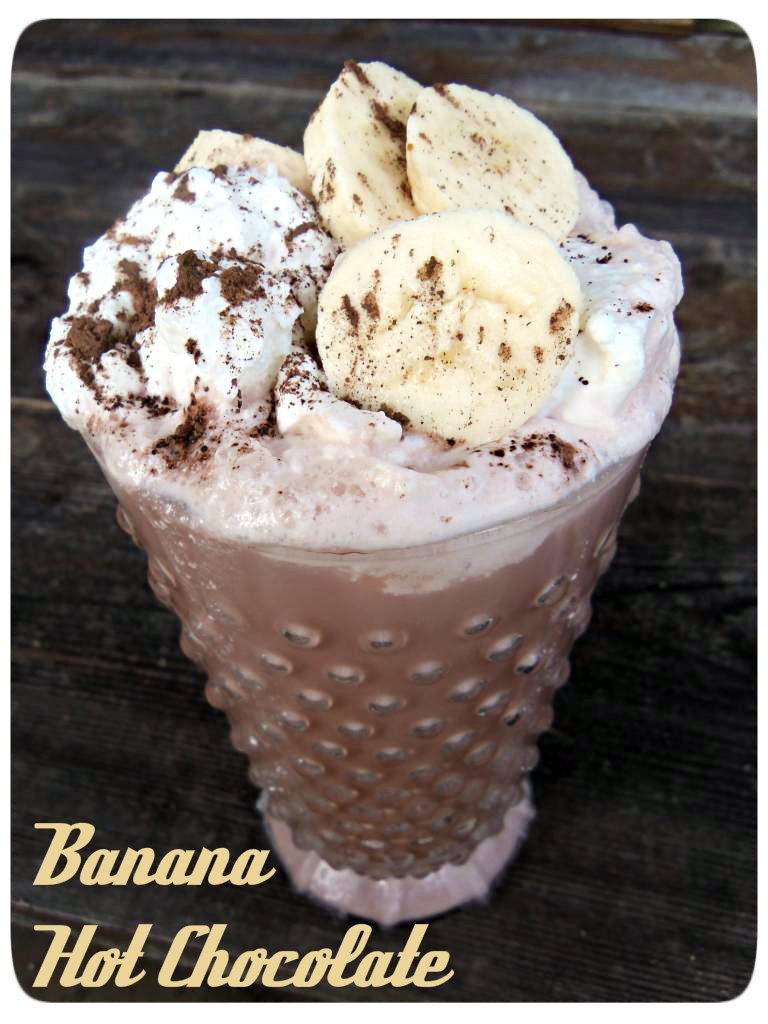
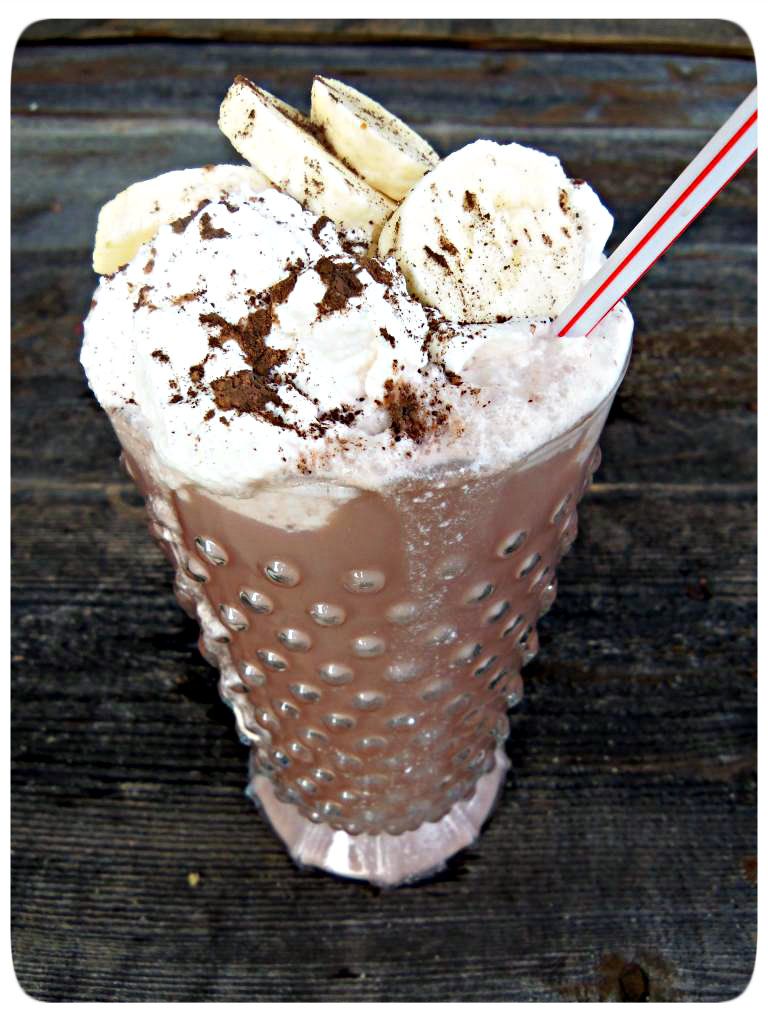
Banana Hot Chocolate

This recipe reminds me of Great America Theme Park. Why you ask, well let me tell you. Every time my parents took my sister and I to Great America my sister would insist on getting a chocolate covered banana. Oh how I used to cringe at the idea of chocolate and bananas!! Who could eat that!!! Well, that's what I used to say anyway. Kinda how I used to feel about asparagus and now look at me, I'm like an asparagus fiend! 
I am proud to say that I have changed my ways, bananas and chocolate do work! Who would have thought?! And oh how they work in this recipe....mouthwatering! So this one is for all of you chocolate covered banana lovers out there!!

Banana Hot Chocolate

Ingredients:
2 cups cream
1 cup whole milk
2 tablespoons sugar
1/2 teaspoon salt
6 oz bittersweet chocolate, finely chopped
2 ripe bananas
1 1/2 teaspoons cinnamon
whipped cream
marshmallows

Directions:
In a saucepan combine cream, milk, and sugar until hot, be sure NOT to let it boil. Add chocolate and heat to simmer. Stir until chocolate is melted. Puree the bananas and cinnamon together. After pureed, heat in microwave for 15 seconds and then stir into hot chocolate mixture. Pour into mugs and garnish with whipped cream, marshmallows and banana slices.
Untitled_zpsf419afba

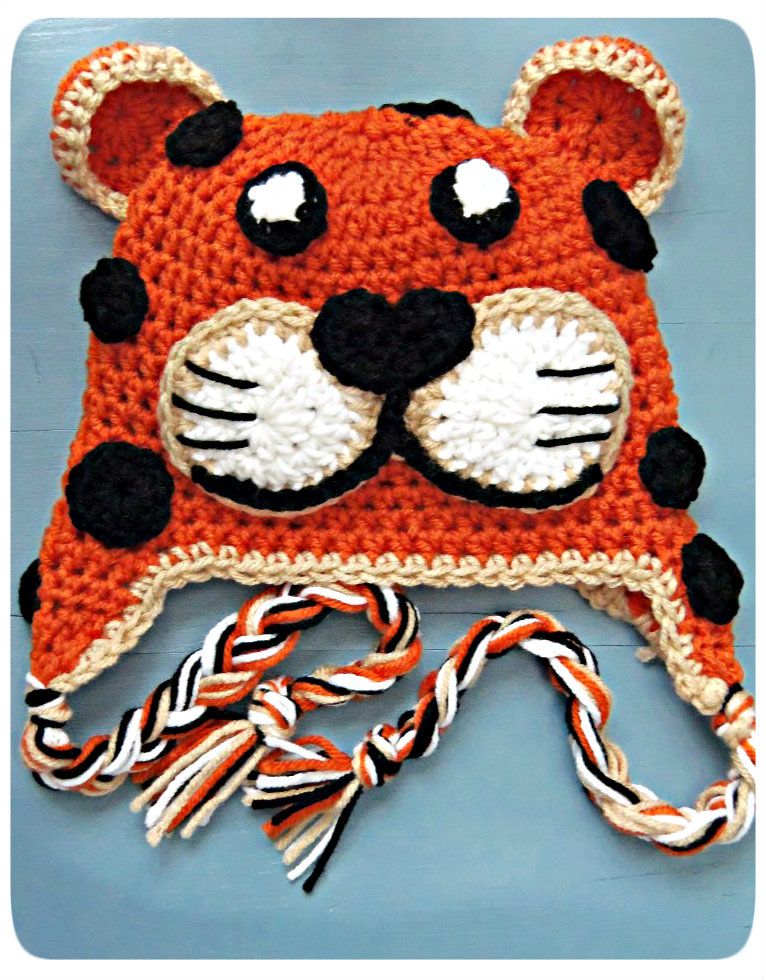
Cheetah Beanie

Introducing the newest creation in my Etsy shop, the Cheetah!
This little cutie was created for a friend of mine who's sons favorite animal was a cheetah. I wasn't planning on adding it to my shop since it is one of my most labor intensive...but!...he is just so cute that I could not resist. Available in sizes newborn-Adult! Come and get him!
Untitled_zpsf419afba

Sunday, January 20, 2013

Mason Jar Projects

I love mason jars! And it seems I am inundated with them of late as we have consumed the contents of our home canned tomato mason jars. There is never a question of what to do with them since thanks to Pinterest there are endless possibilities of crafts using mason jars  
Some of my mason jars I like to keep a-la-natural and use them as drinking glasses and some I like to jazz up a bit, so I started a few easy projects I thought I would share and included some of my favorite Pinterest mason jar crafts. 
_____________________________________

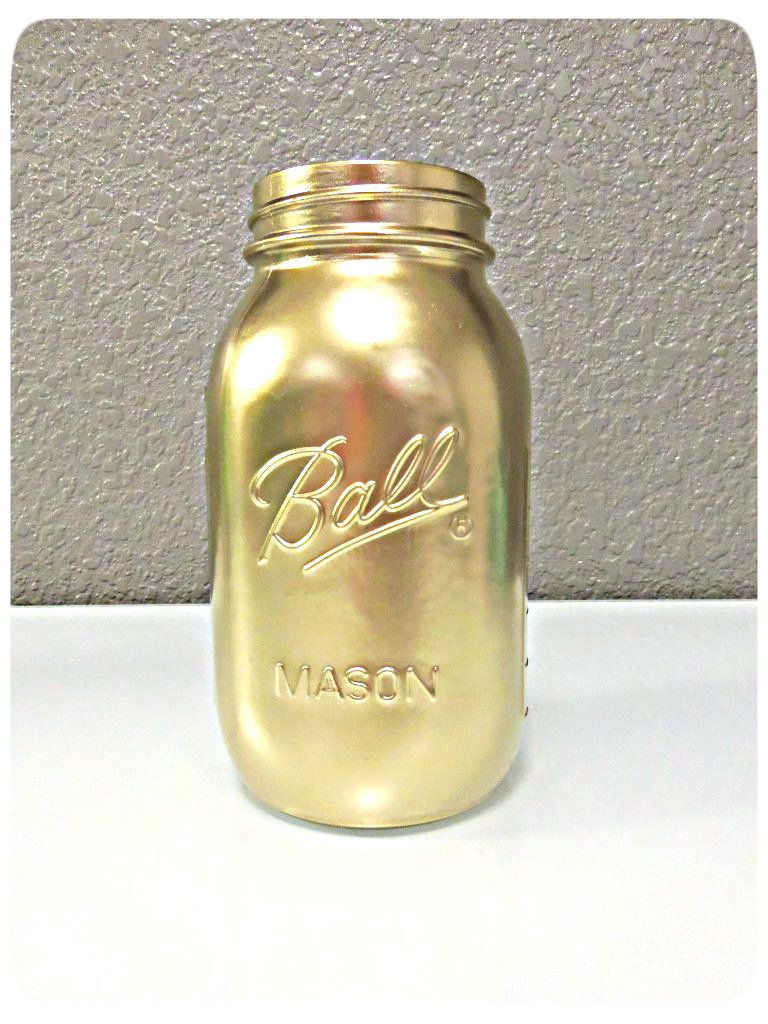
Simply spray painting a mason jar makes a world of difference. Its amazing how much more the raised glass etching stands out once it has some color on it.
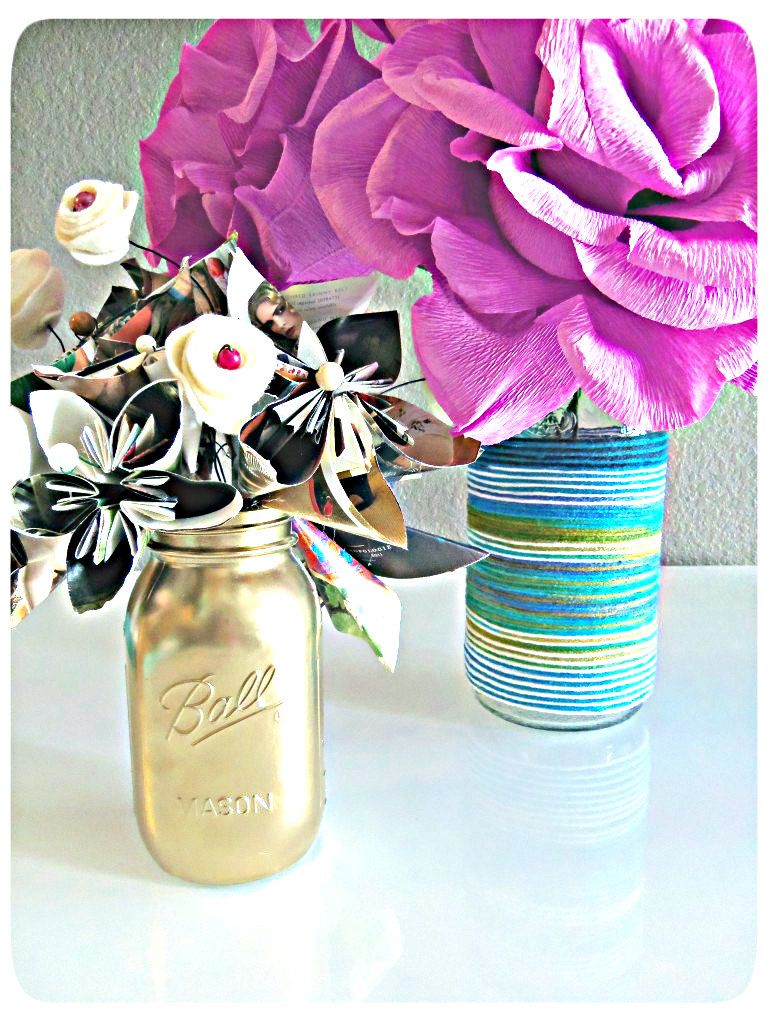
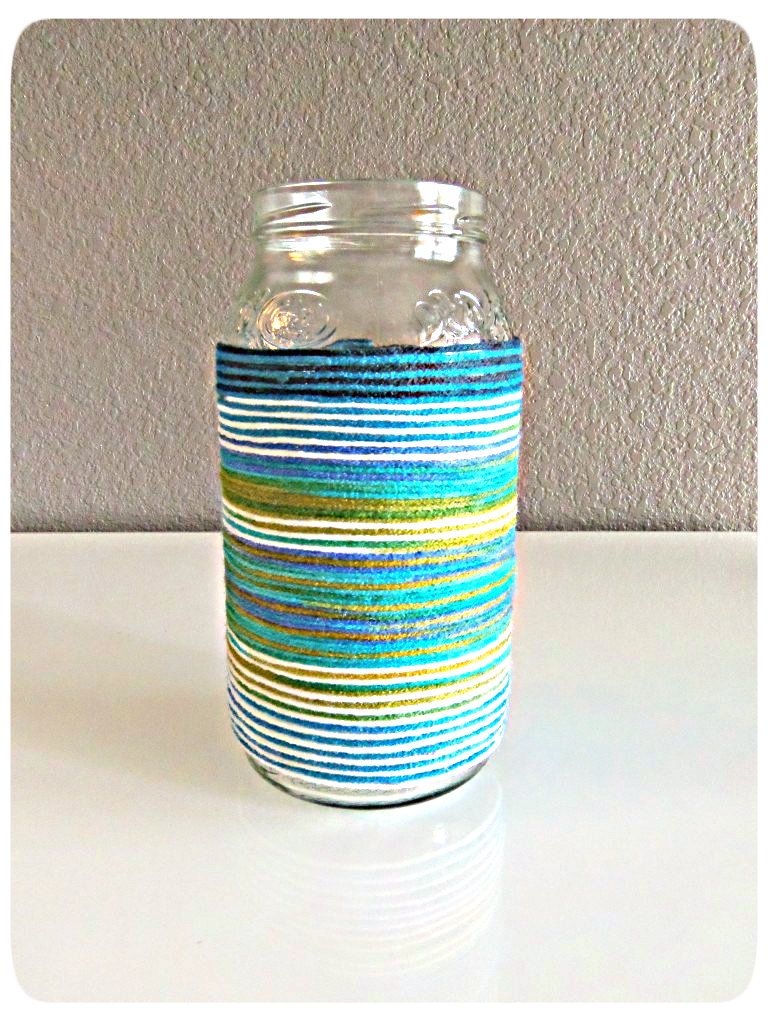
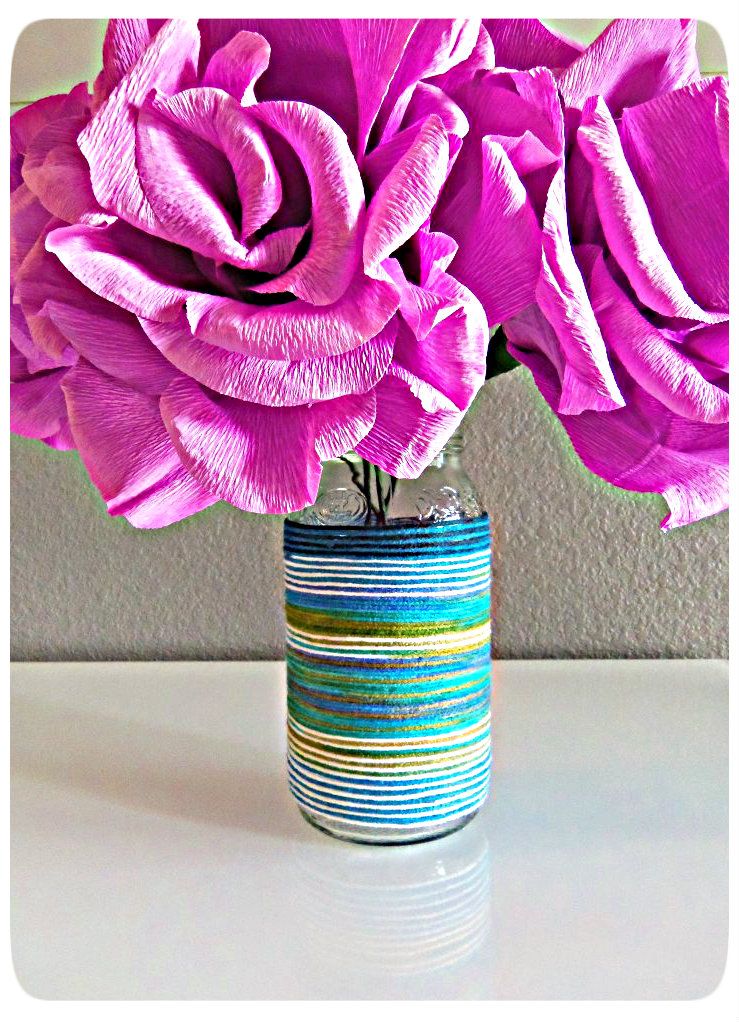
After finishing up a ginormous pickle jar I decided to wrap it with some fun ombre-ish yarn and throw some flowers in it.
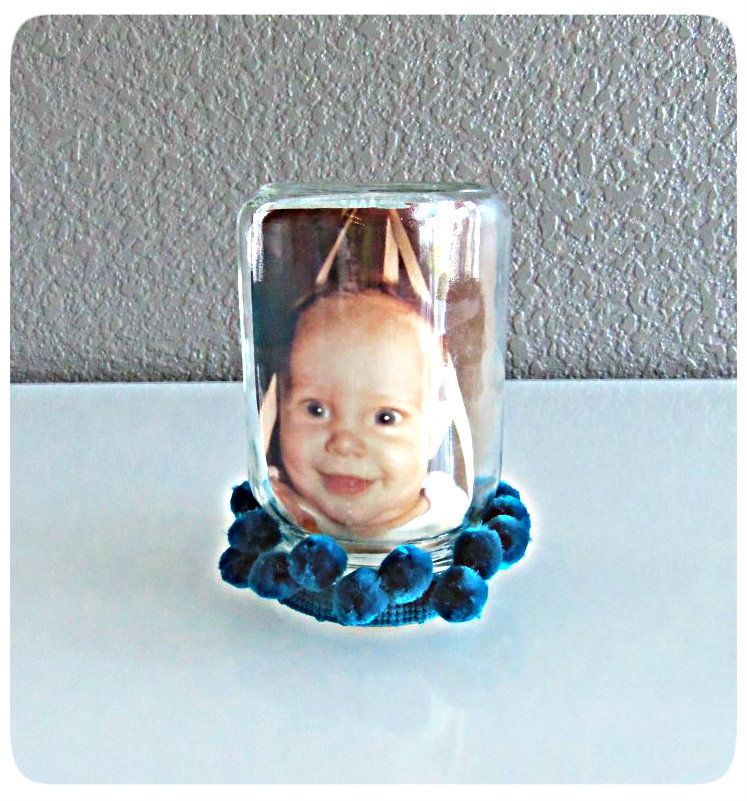
For one mason jar project I simply stuck a photograph inside of the jar...no water, no olive oil(come on, you've all seen the olive oil mason jar picture frame floating around pinterest, right!!) and no lid even needed, and letting the glass do all the work to showcase, distort and display your family photo. And to finish it off I glued a fun pom pom ribbon around the edge.
Ben when he was a baby
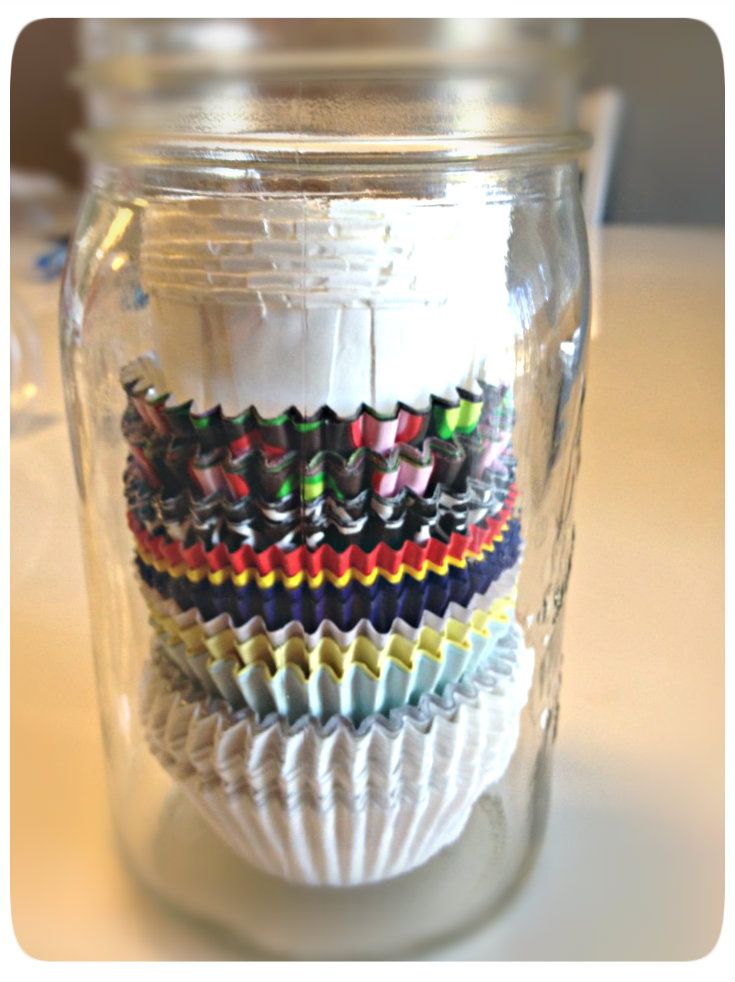
One very practical use I have found for a mason jar is as a cupcake liner holder. It is worlds upon worlds easier having all of my liners in one spot perfectly neat and pretty than it is to have 7 different sized wobbly misshapen containers shoved in the corners of my cabinets. It actually makes me smile a bit when I open my  cabinet door and see these pretties looking down at me...its the little things!
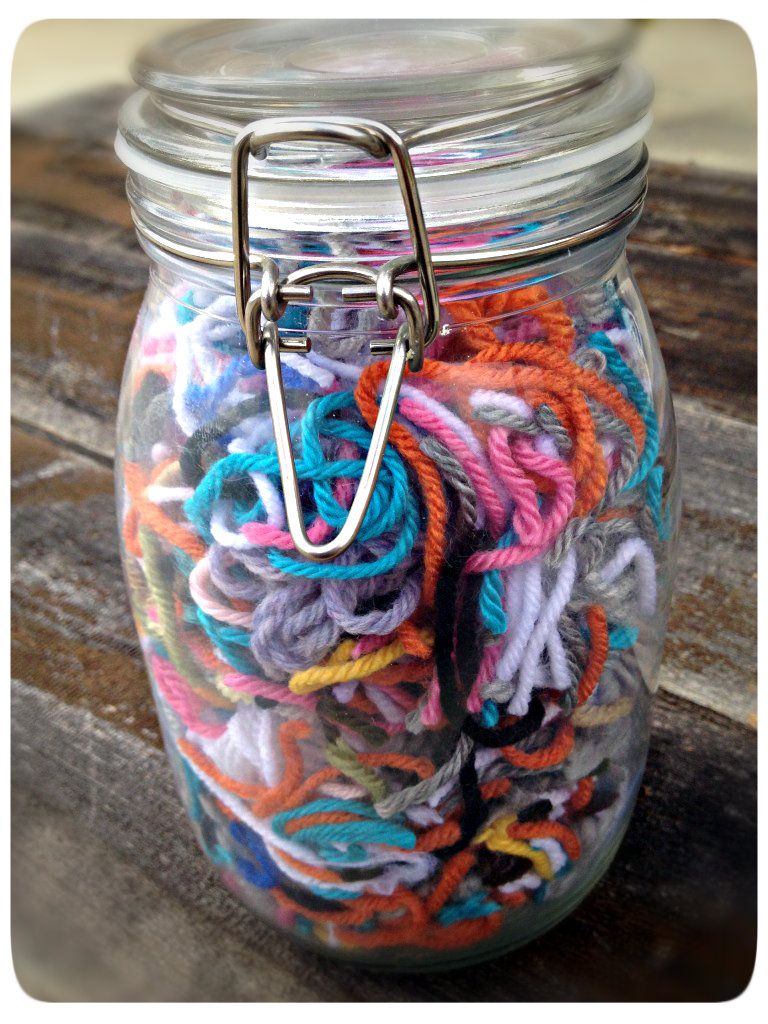
I also love to use mason jars to store some of my favorite things that I otherwise don't know how to display....like rock collections or all of my yarn trimmings from my different crafts.
 
Here are some other fun ideas that others have thought of to use their mason jars for:

Terrariums

Dessert Jars


Pin Cushion

Olive Oil Filled Picture Frame
Makes ya wanna go out and get some mason jars, doesn't it!!! :)
Untitled_zpsf419afba
Blogging tips