I can remember years ago tuning into an episode of Oprah Winfrey and was devastated when Nate Berkus, home decorator, announced that having fake flowers in your home was one of the bigest faux pas of all time. What! No fake flowers?! Like for real for real or just kind of for real?! At the time I kinda maybe was guilty of having a fake flower arrangement on my dining room table that rivaled something out of Butchart Gardens. I thought it was pretty spectacular and my world had just been shattered. The news gave me pause to say the least and catapulted me into another world of creativity and imagination. I didn't replace my faux flowers over night but over time they were weeded out and I have begun to use other forms, such as crochet flowers, fabric flowers and yes origami paper flowers just like the tutorial for today.
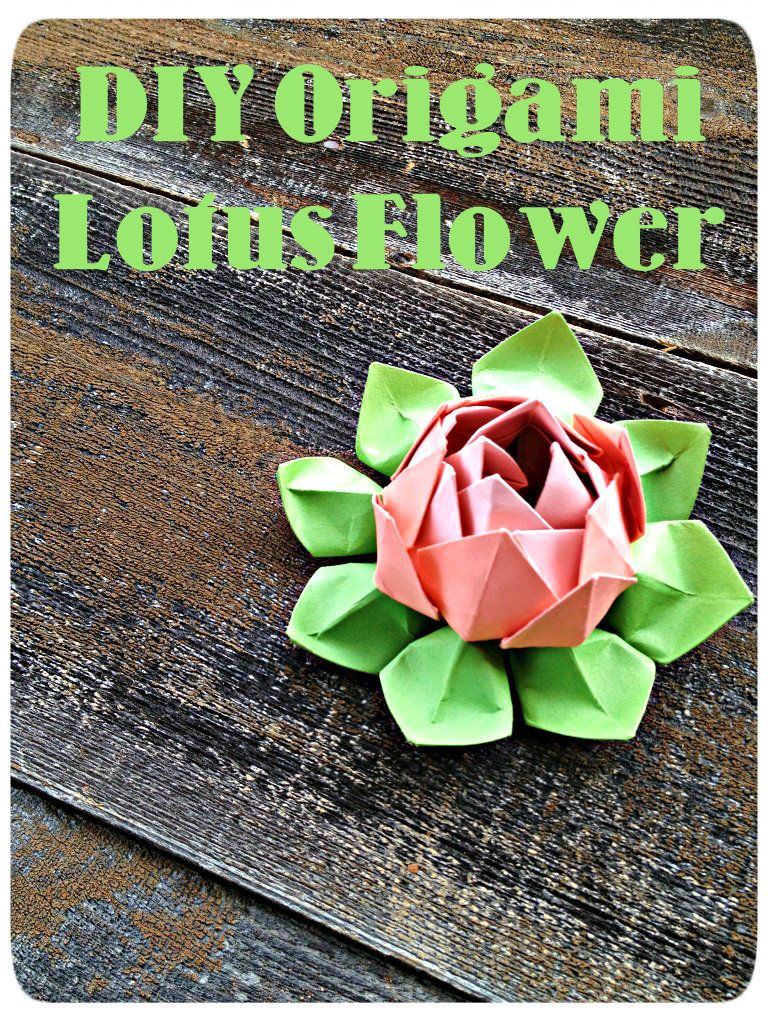
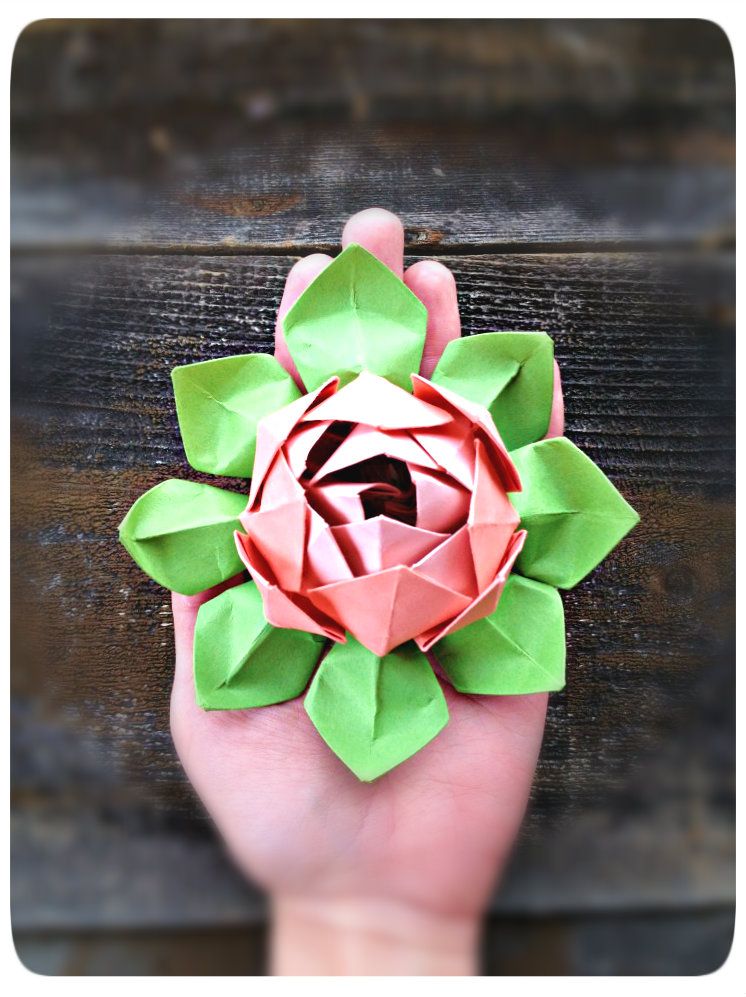
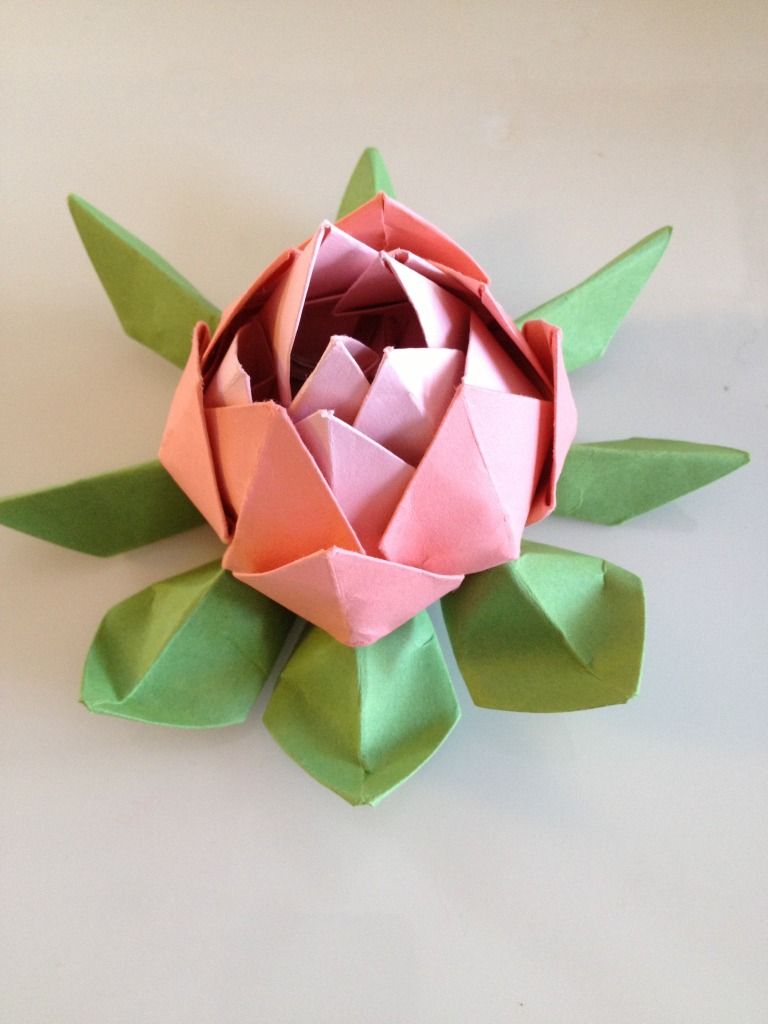
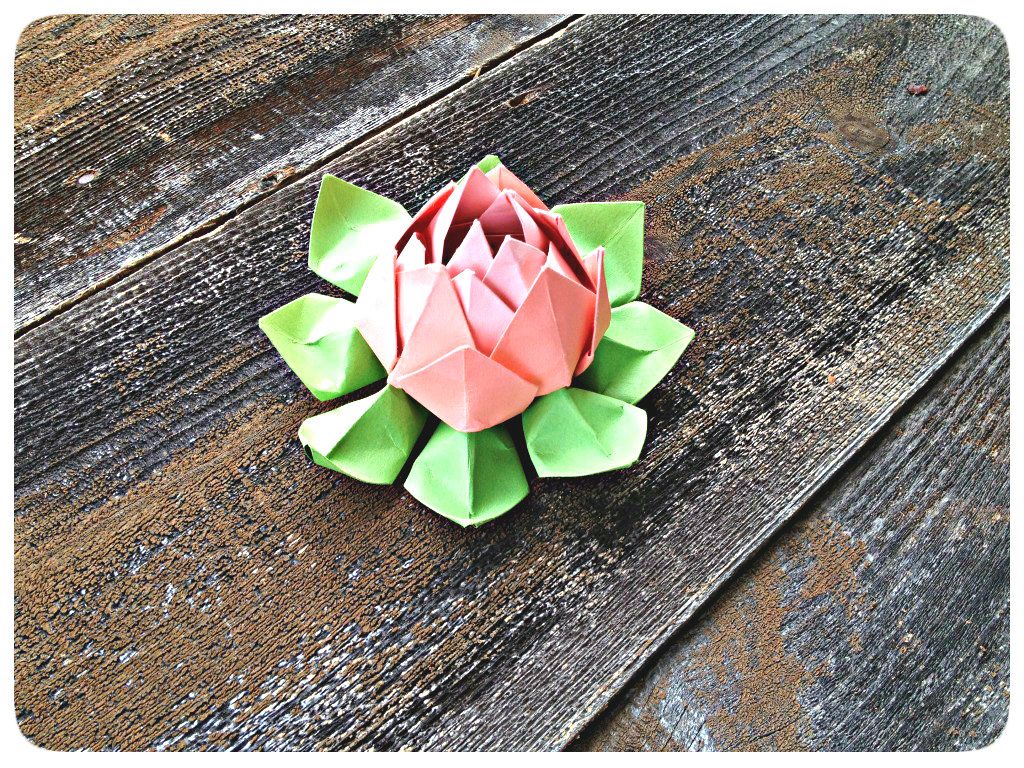
Beautiful right! And so easy. Your friends will think you are an origami master! I have my little Lotus flowers sitting around my house making my shelves more interesting and creating conversation. A great way to use one of these flowers would also include slipping a sweet little note right into the center of the pedals and gifting to a friend or loved one. Your welcome in advance :)
Lets begin:
Materials you will need:
- Origami paper (you can also use magazine paper, construction paper or scrapbooking paper, although with each paper comes a different paper weight and will either make it more difficult or easier to use)
- A cutting board or scissors
- Ruler
- Rubber band or twisty tie
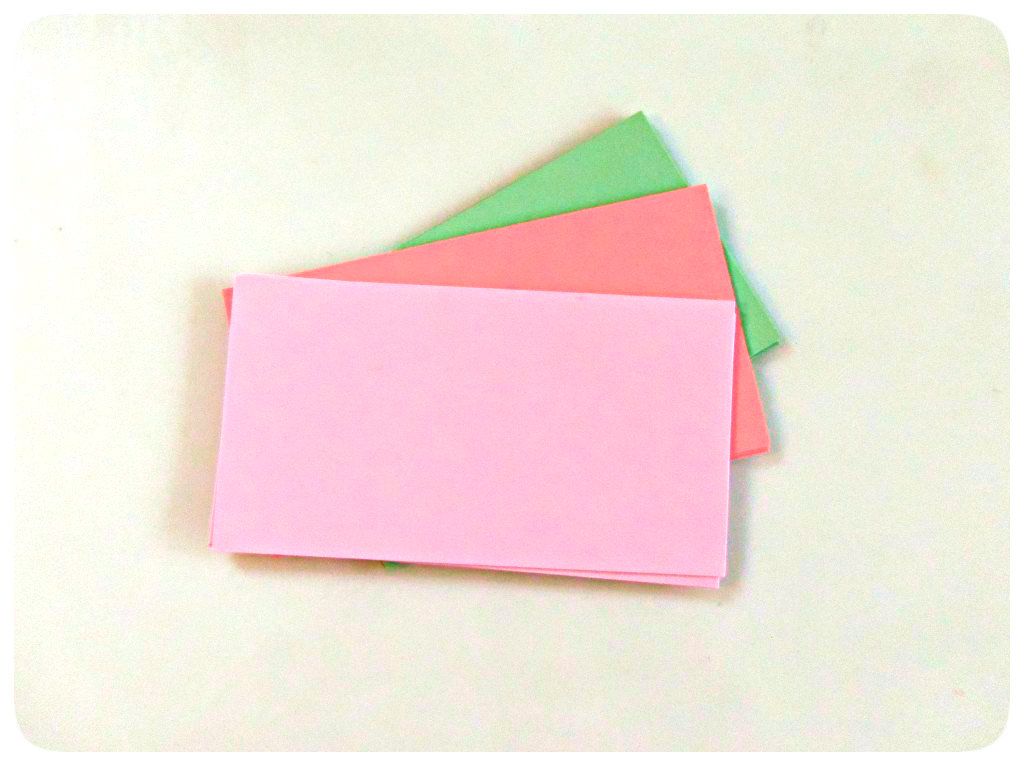
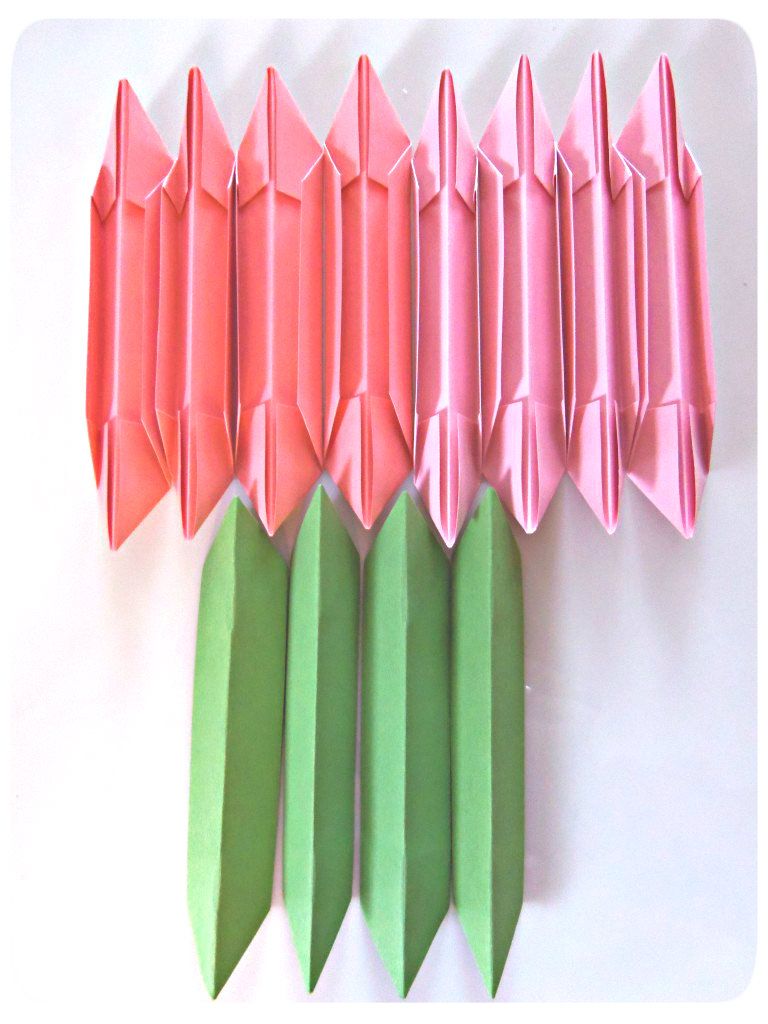
Once you decide on what color you would like your lotus flower petals to be, cut (8) 3x5.5-inch pieces of your paper in that color. You will also need (4) 3x5.5-inch pieces of green paper for your lotus flower leaves.
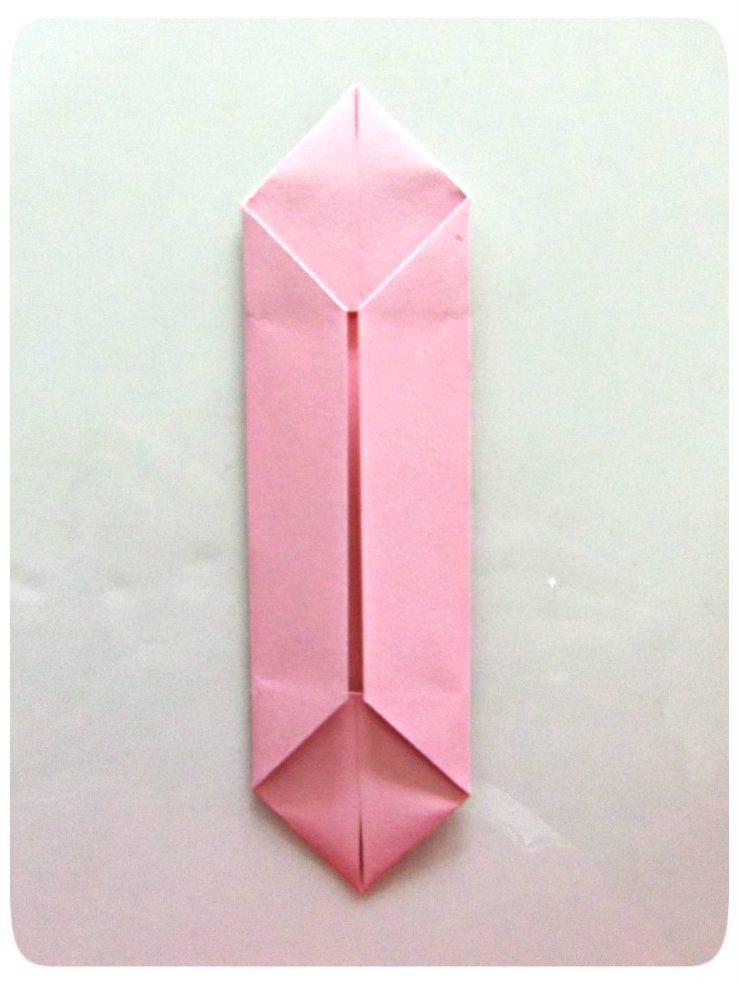
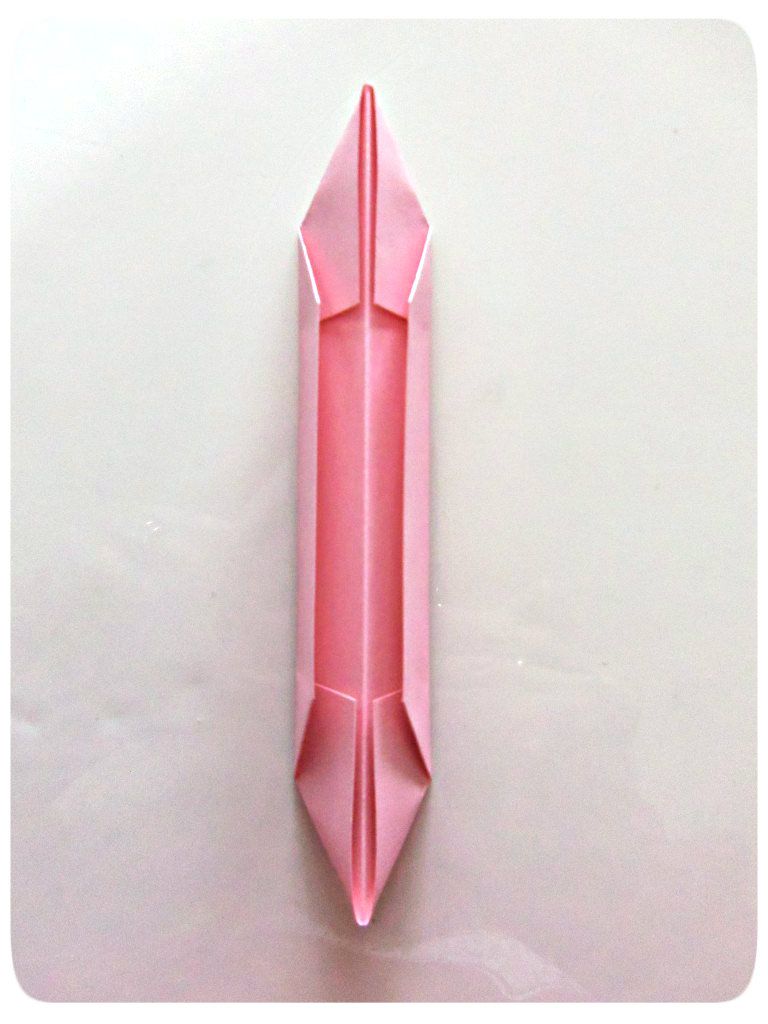
For both the petals and leafs, you will fold your paper in half . Be sure to run your nail or a sharp edge over all of your creases as you go.
Next fold in each corner towards that center line.
Now fold in your straight edges toward that center line.
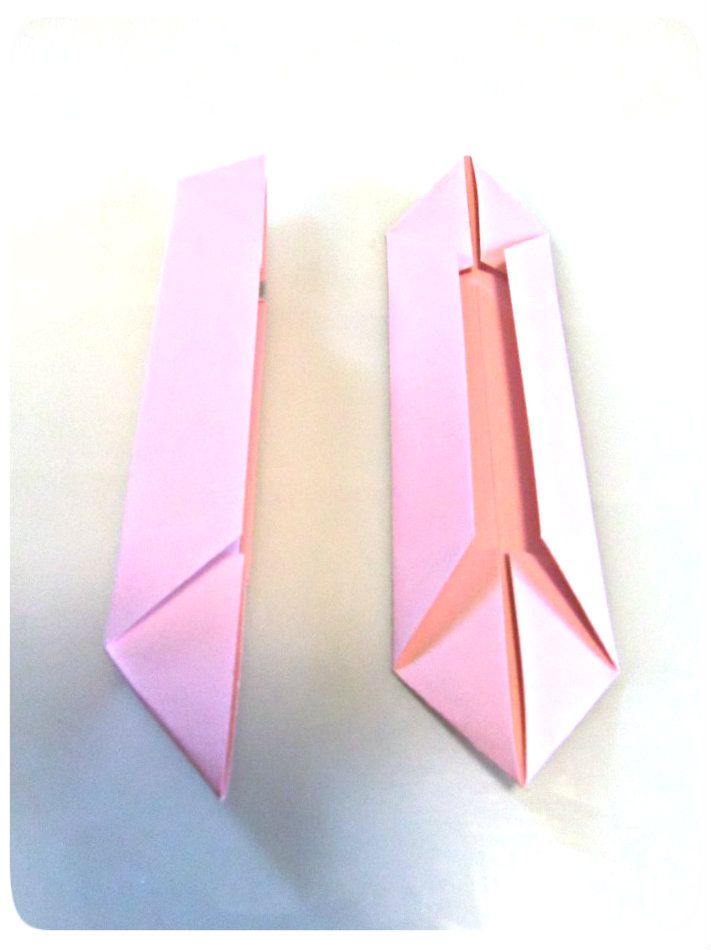
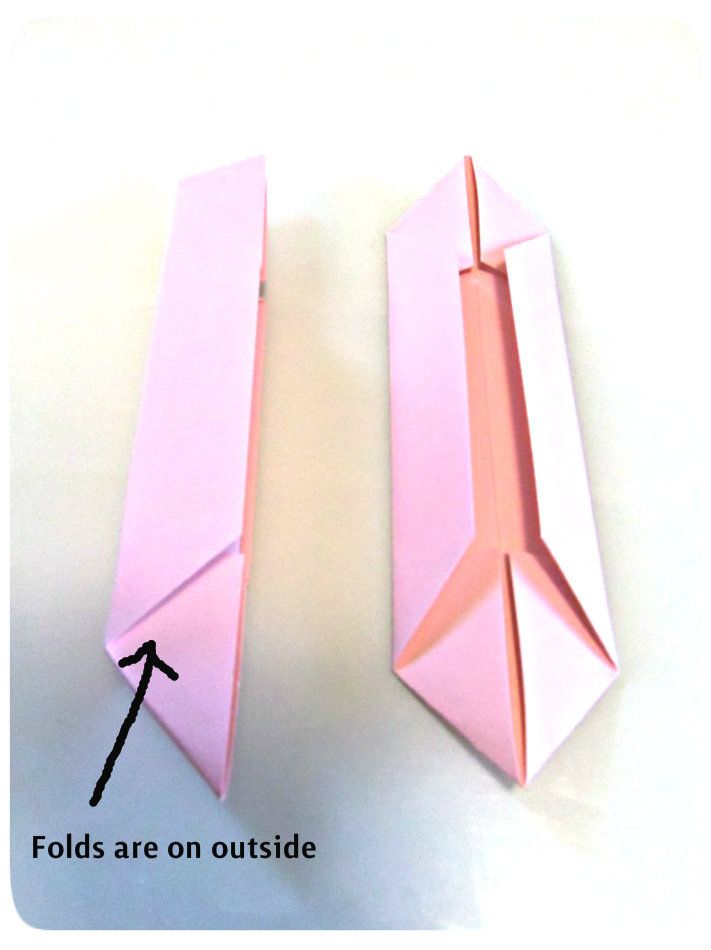
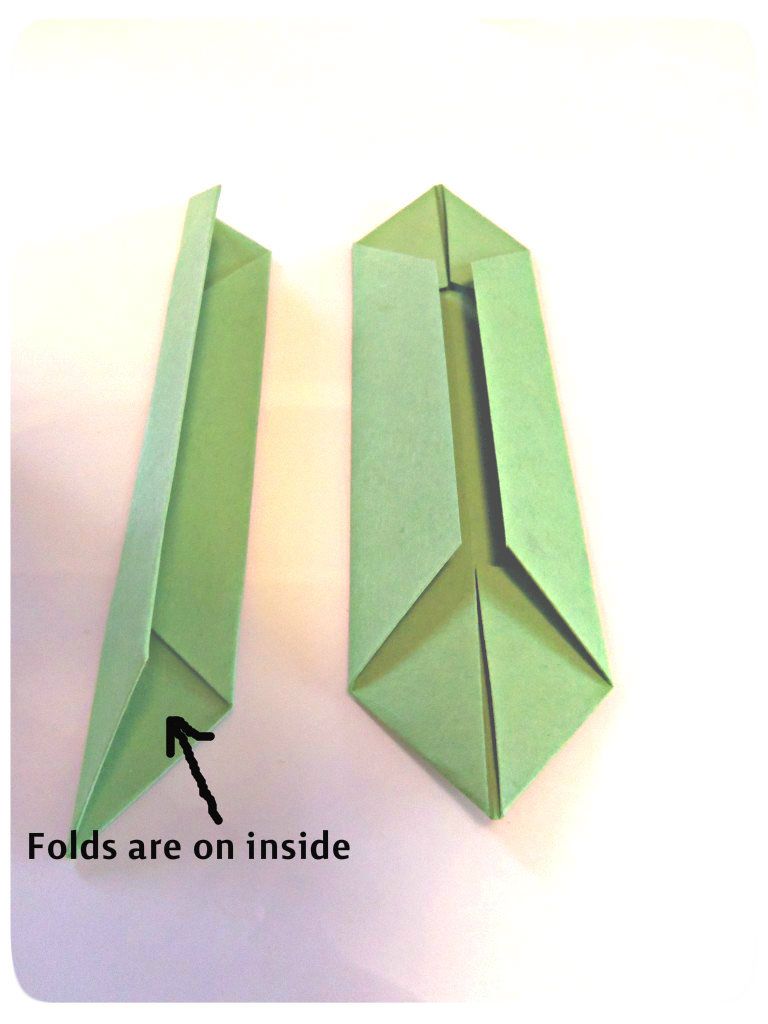
For the pieces of paper that are your petals you will fold your paper away from the center line. Now all of your folds are exposed
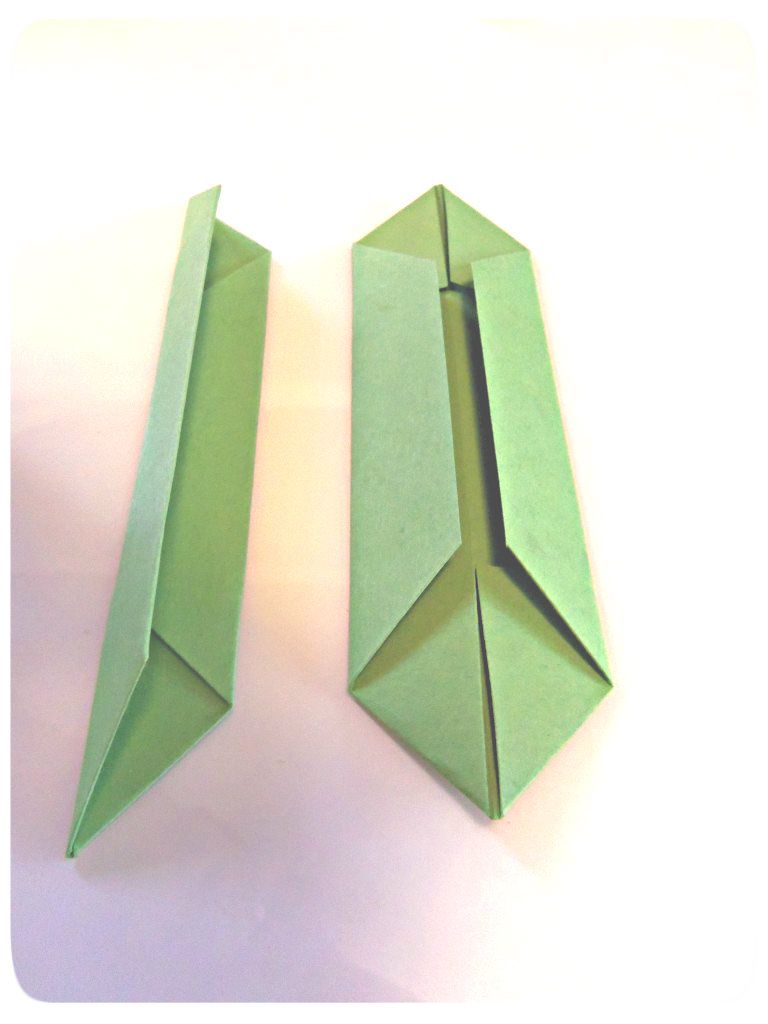
For the pieces of paper that are to be you leaves you will fold in your paper at the center line so that your folds are now hidden.
Finish folding all four of your leaves and all eight of your petals
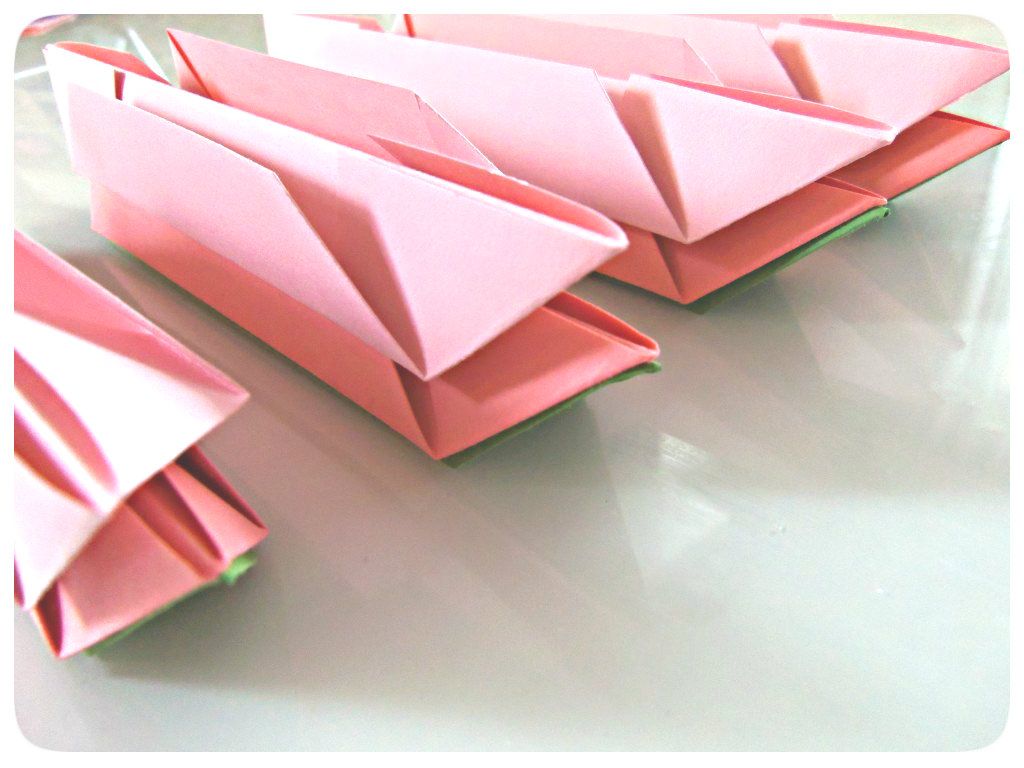
Next make four stacks of three. Start by placing a petal paper over the top of one leaf paper, then place another petal paper over the top of the first petal; set aside. The petal paper will be stacked over the completely smooth side of the leaf paper like the picture above. At this point the first petal will have all of its folds exposed. The second petal will be stacked over the entire first petal with its folds now exposed. Make 3 more stack just like that.
Now place each of your four stacks side by side in one grouping
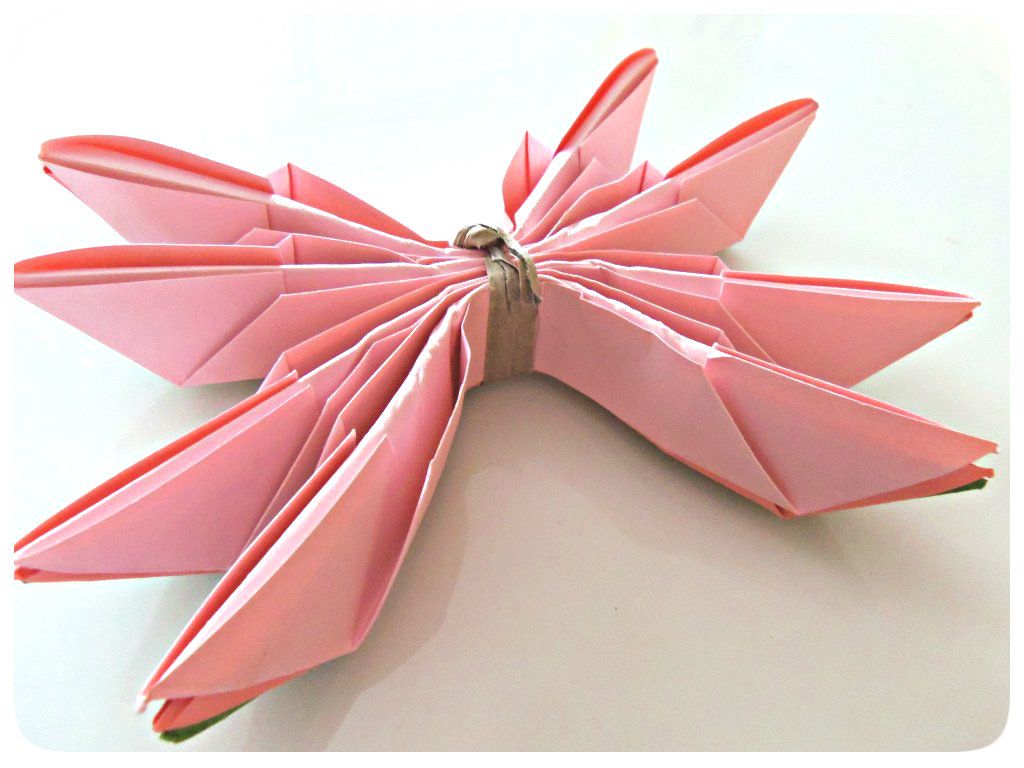
Secure the stack with a thin rubber band or twisty tie in the middle of the paper pieces and gently fan out the stacks of paper groupings
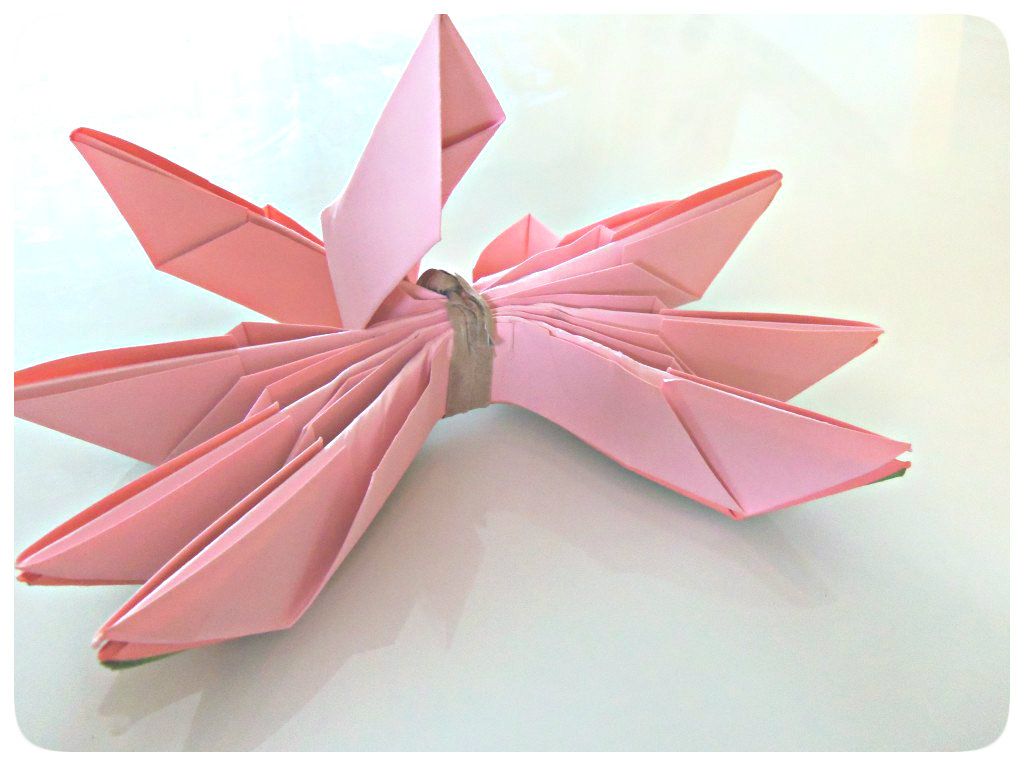
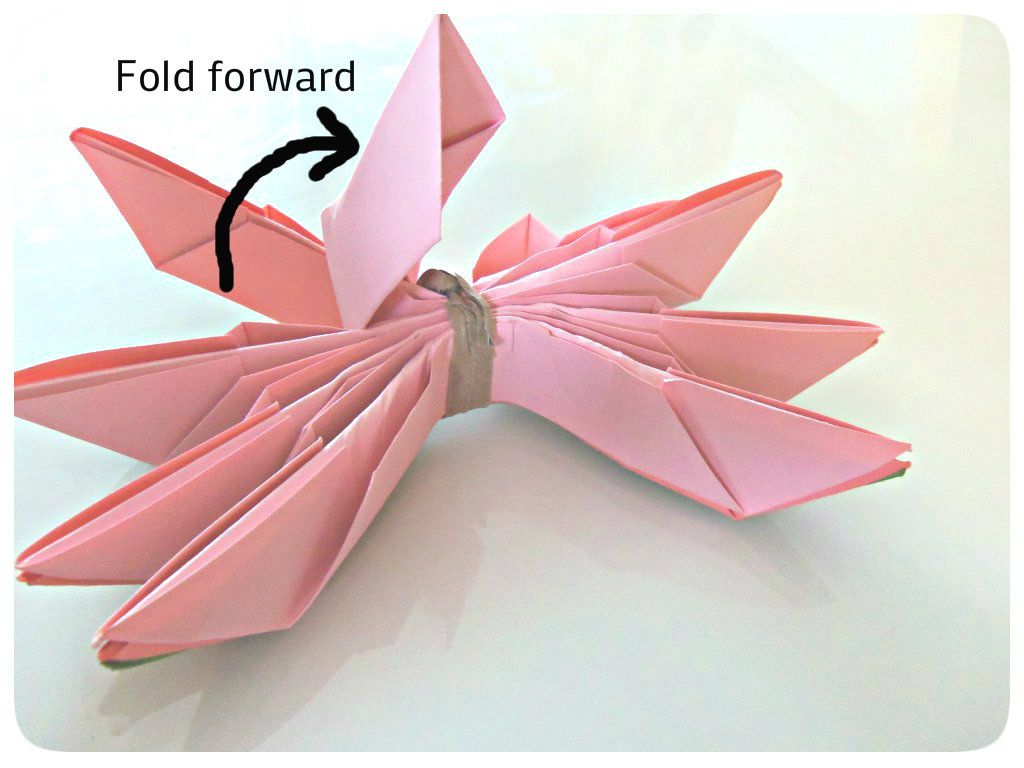
Now gently manipulate one of the petals forward toward the center where you have secured your paper.
Now skip one grouping and fold another petal up, repeat all the way around until you reach your leaf paper, being sure to skip a petal every time.
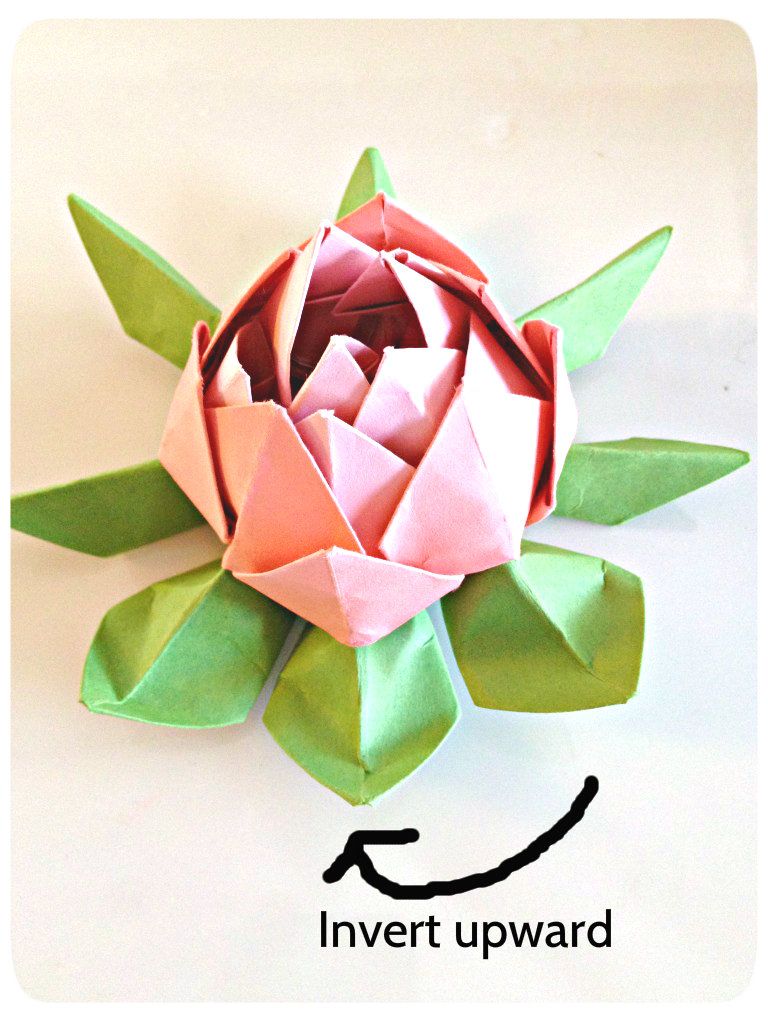
Once you have completed your petals you are on the home stretch. Now gentle invert your leaves forward as shown in the photo below.
Continue with all of your petals and your masterpiece is complete!!!!
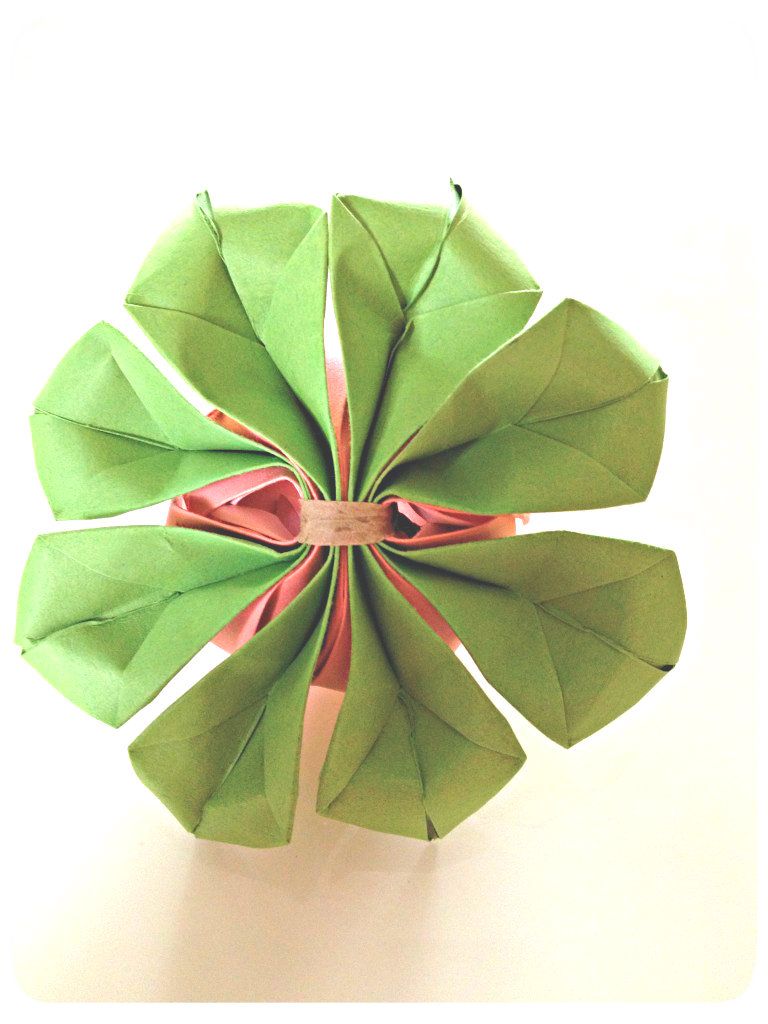
Here is what the underside will look like
And here is the finished product
Now its your turn!








Such a lovely Origami. Thank you so much for the tutorial :)
ReplyDeleteWonderful! Worked great for me :) thank you!
ReplyDeleteThis comment has been removed by the author.
ReplyDeleteIve been looking for a tutorial that was understandable, not just a few pics that leave you confused. THIS IS AWESOME! TY!
ReplyDeletewe did it at school to bad i was sick:(
ReplyDelete