


Looking for a fun alternative way to add a little excitement to your ordinary bowl of ice cream and impress your family and/or guests?! How bout making a delicious edible ice cream bowl! This is such a simple idea but yet so flavorful and presentationaly impressive. The cinnamon sugar bowl is so delicious that you don't even need to serve it with any fancy ice cream; vanilla will do just fine! We love to top ours with some fresh berries and a sprig of basil.
This is an easy dessert idea that can be made well in advance. So when its dessert time you can relax and simply scoop your ice cream into your cinnamon sugar bowl, collect all of the compliments and watch as your family or guests devour it. Plus, kids and adults alike will love the idea of getting to eat their very own bowl!

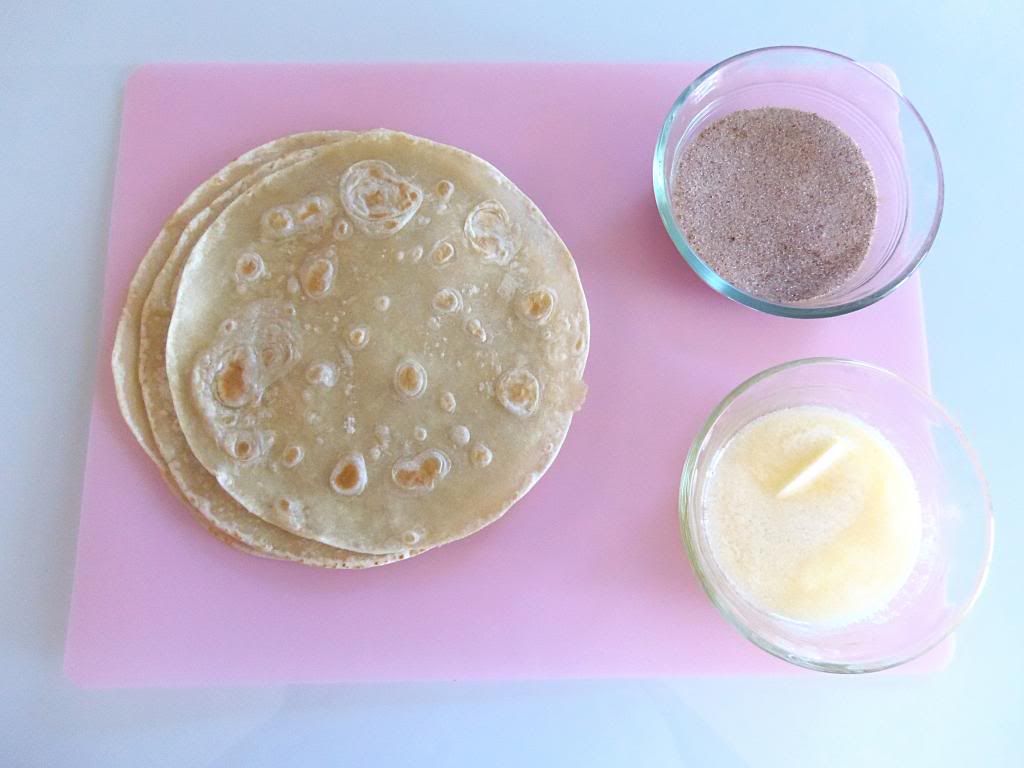
Cinnamon Sugar Tortilla Ice Cream Bowls
Ingredients:
6 tortillas
1 1/2 tablespoons cinnamon
1/4 cup plus 2 tablespoons sugar
butter, melted
Directions:
Preheat your oven to 350 degrees. Prepare oven safe containers, at least 1 1/2 inches in depth, by spraying with non stick cooking spray. Do not skip this part. If you do not use a non stick cooking spray on your containers the sugar will stick to the bowls and you will be unable to remove them without breaking them. I placed my bowls onto a cookie sheet for added stability and easy one step transferring in and out of the oven.

Combine your sugar and cinnamon in a small bowl. Place your melted butter, cinnamon sugar mixture and and tortillas all next to each other on a work surface.
Spread a very thin layer of melted butter on both sides of your tortilla, so that they do not become soggy while cooking, and sprinkle with the cinnamon sugar mixture. Continue until you have completed all of your tortillas. Place your prepared tortillas into your oven safe containers being sure to push each down into the bottom and fold them where needed so that the middle remains open as it cooks.

Cook tortillas between 17-20 minutes keeping an eye on them in the last few minutes to make sure that they do not burn. Once cooked and crisp remove them from the bowls immediately and place on a cooling wrack. Once finished cooling they are ready to use, or if you are making them in advance, store them in an air tight container until ready to use.