blankhomeaboutthe fammy faithwhats cookinget crafty

Saturday, December 29, 2012

Christmas 12'

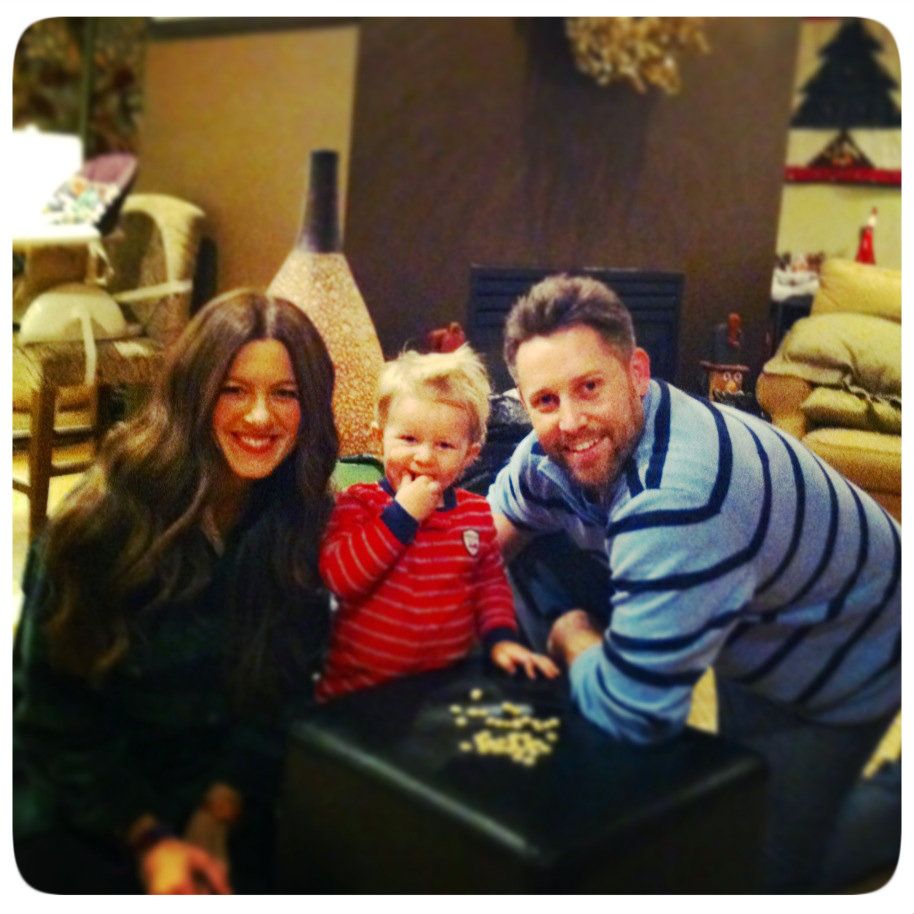
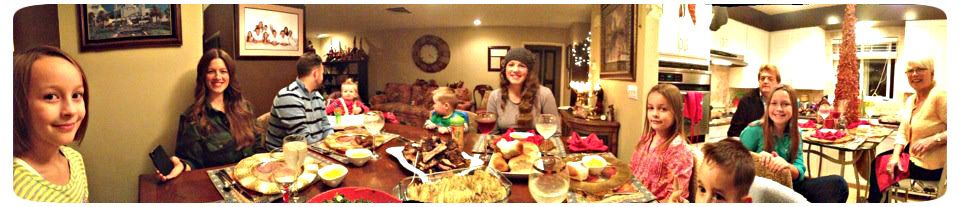
I love Christmas, and I love that I live so close to my family that I can spend time with them on Christmas! This year we had our Christmas feast with the whole family on Christmas Eve.
Ben's not looking, Scott cant be seen cause hes taking the photo and porters head is cut off but its the best shot we got :)
And one of my favorite parts of our Christmas get togethers started 6 years ago in a movie theater in Brentwood California. Six years ago is when Ben and I first saw the movie Dan in Real Life. The families of the movie get together each year for their annual Christmas talent show. I nearly came unglued!! This was the only thing missing from our family Christmas celebration each year. Now all I had to do was pitch it to my family and hope that they would be wiling participants in this new tradition. I must have been very convincing because we haven't missed a talent show yet! Of course "talent" is used very loosely in regards to our shows :) but they are always fun, hilarious and sometimes nail biting. Best of all, we video tape them each year...oh the hilarity!!
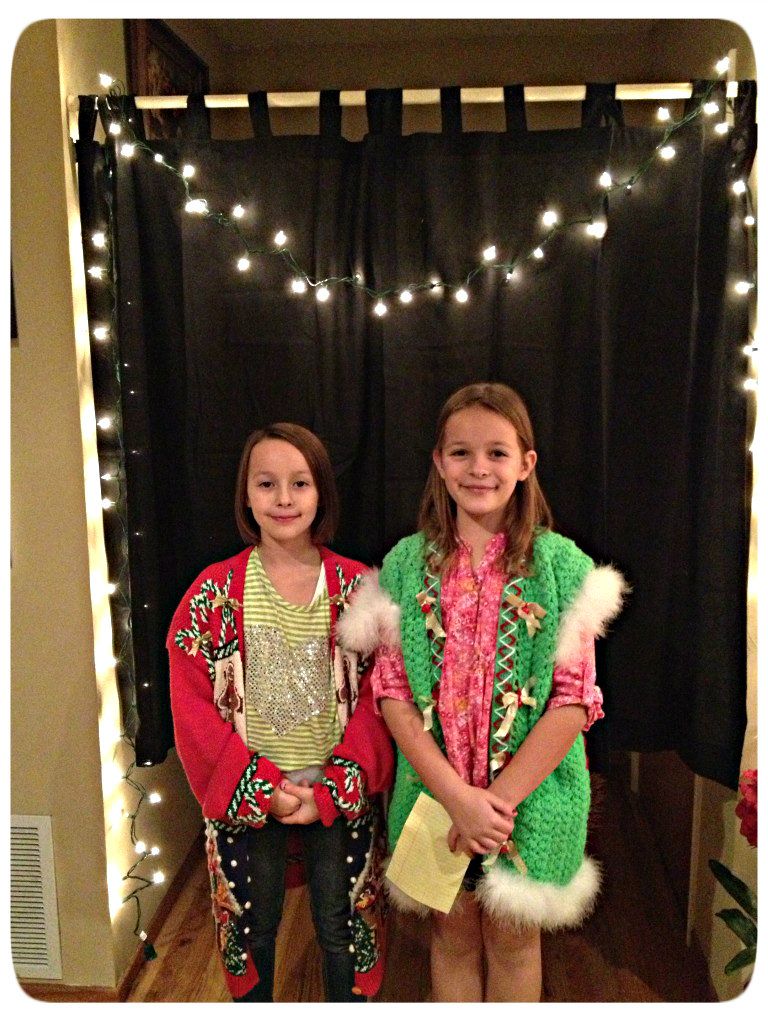
Each year we have a new talent show host who of course has to wear one of the Hideous host Christmas sweaters. This year the twins co-hosted for us.
Here's just a sampling of some of the acts....
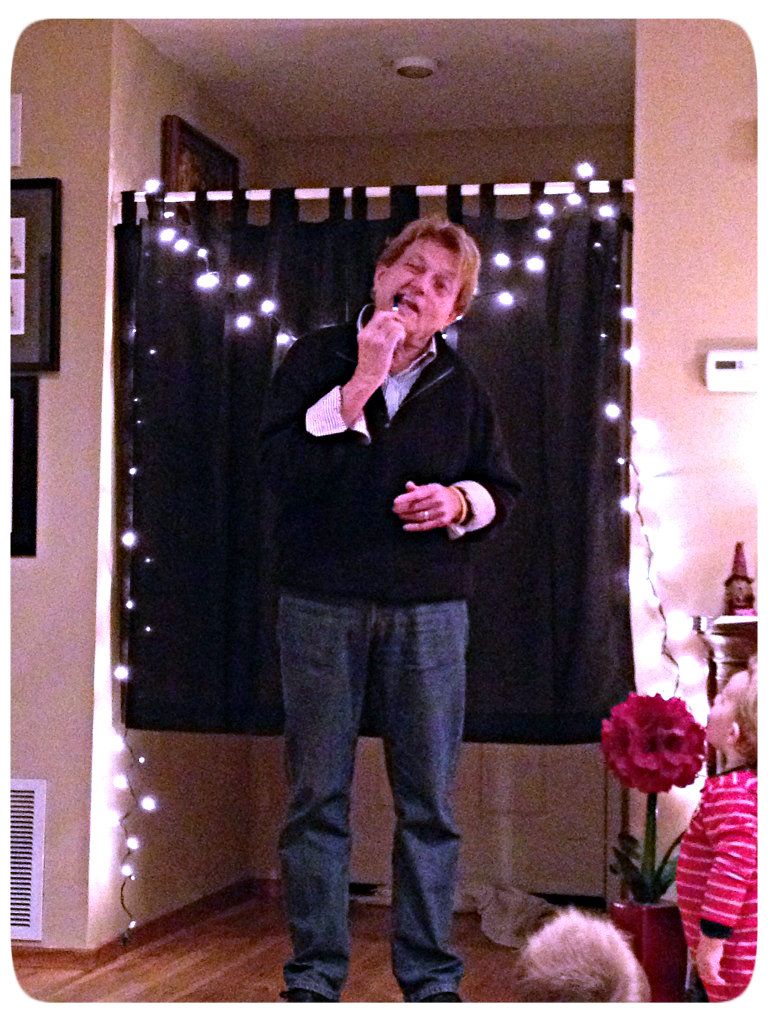
Dad giving the little ones a tutorial of how to brush your teeth the right way
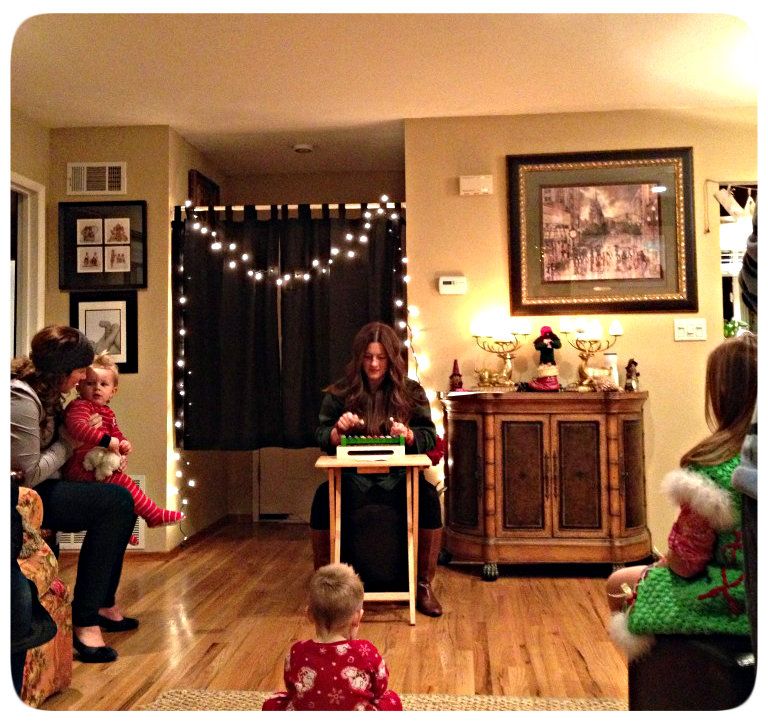
A few jams on the xylophone from me
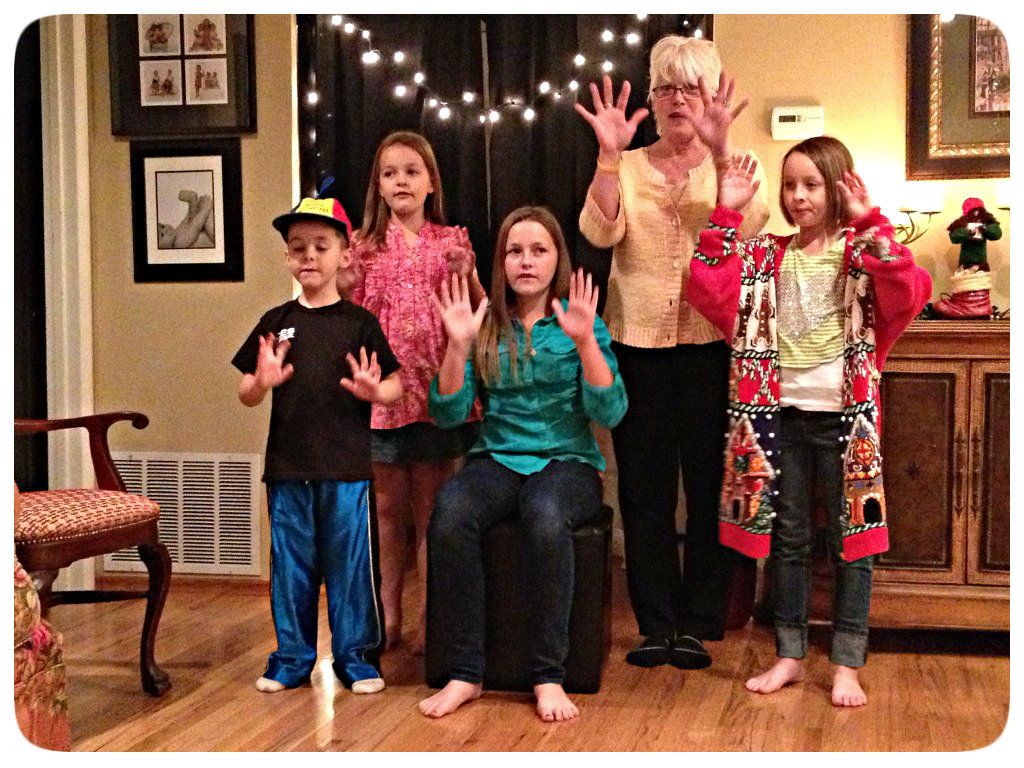
Mom and the Campbell kids signing a song
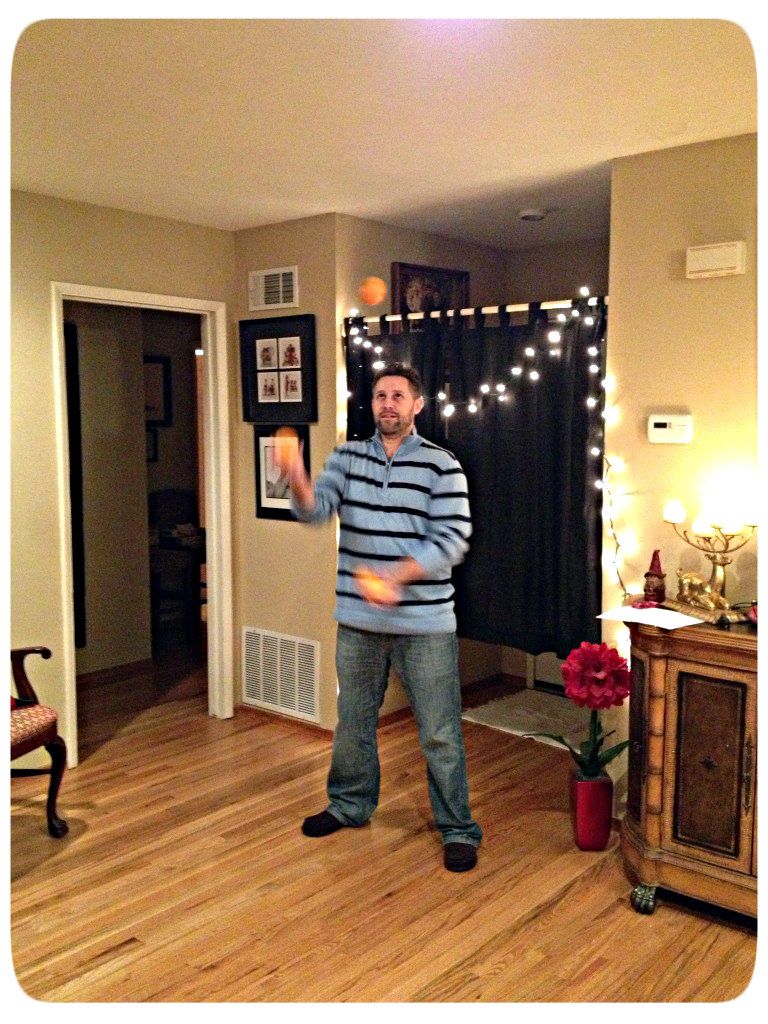
Ben juggling oranges
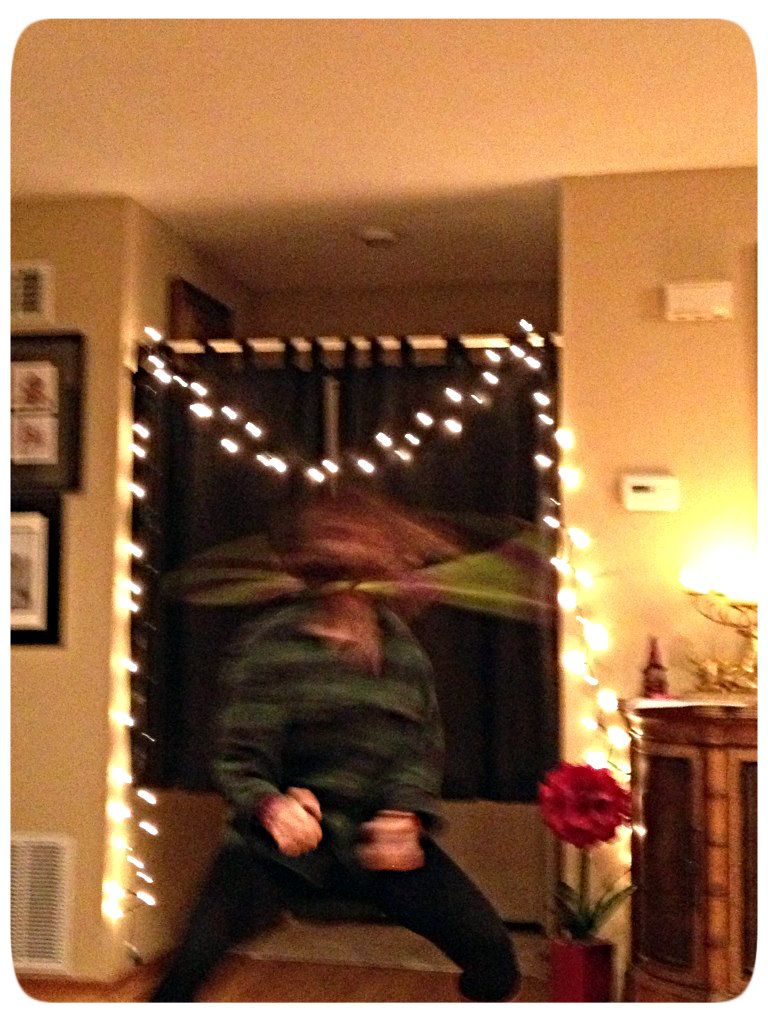
I'm preforming the helicopter with a hoola hoop
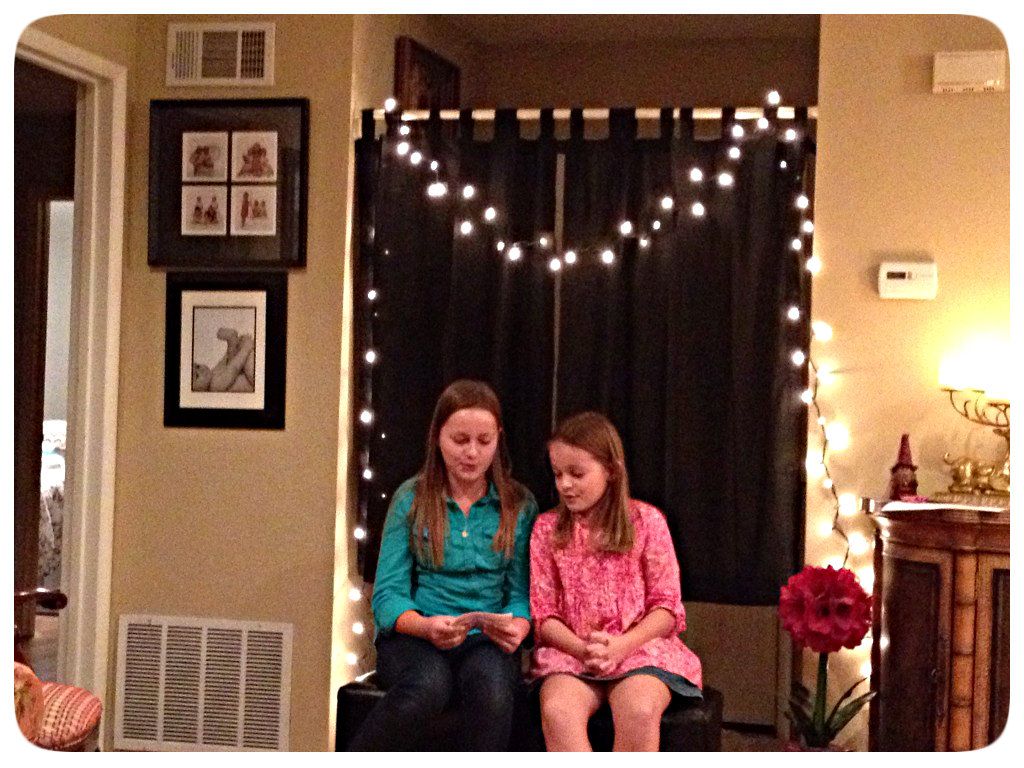
McKenzie and Sarah singing a top ten pop song
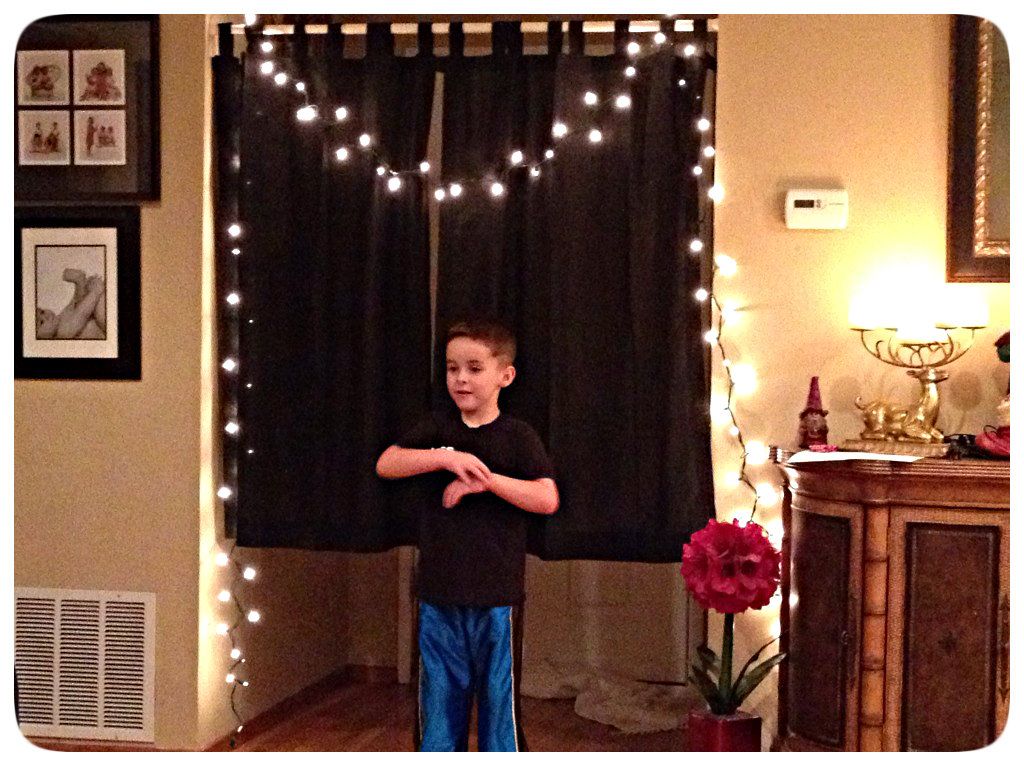
Porter singing and signing a song
I married a king!!!...and I love him!!
On Christmas day we started our morning off my opening a few presents with big E. To our surprise he was really in to it this year!
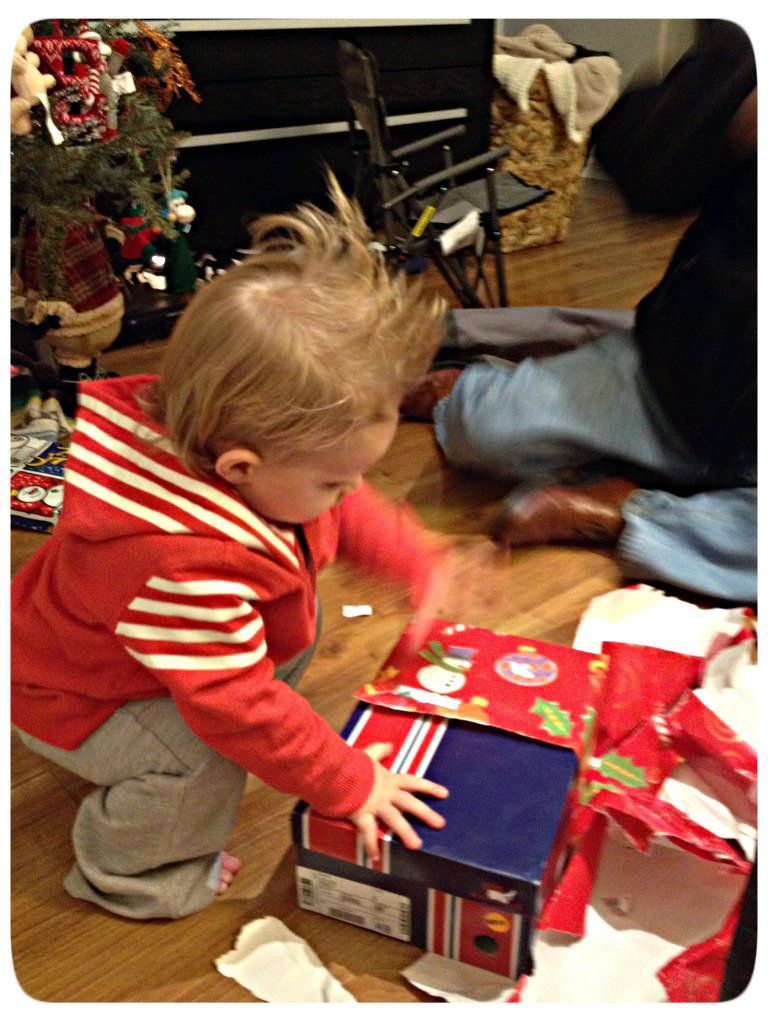
 He was loving the new mini chair his grandpa got him
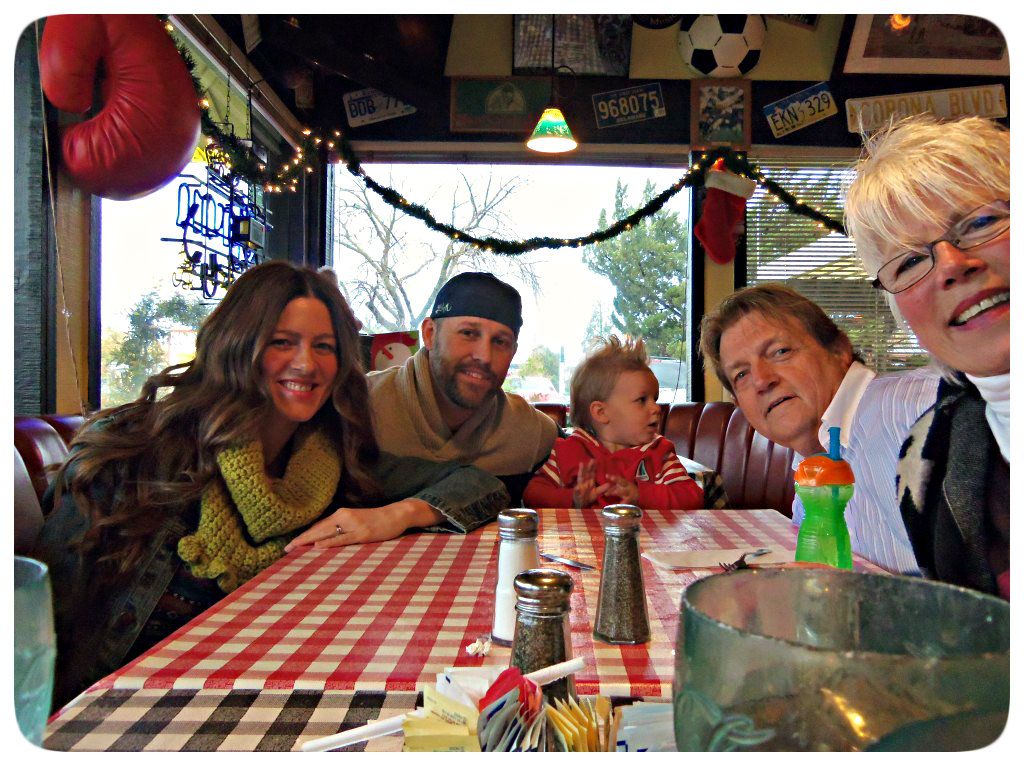
After presents we set out with my folks to enjoy our annual Christmas tacos at a little shop in Lodi. Two years ago I was pregnant and craving a dirty little authentic taco. It was Christmas day and even though Ben, my parents and I knew there was no way any restaurant would be open, we set out on the open road anyway. To our utter and glorious surprise a small family owned authentic Mexican taco shop was open and I feasted on more tacos than I would like to admit. Ever since that day we have made it a tradition to eat there on Christmas with my parents. This year was no exception. That is until we drove up and our little taco shop was CLOSED!!!! Bah Humbug!!! So we drove up and down and around Lodi looking for a replacement only to find that the only three restaurants open were iHop, McDonald's and Scrambles. None of us had ever been to Scrambles so we tried our luck! It wouldn't have mattered where we ate because we always have a great time when we are together.
We hope that you all had a wonderful and relaxing Christmas filled with food, fun and a peaceful remembrance of our Lord and Savior Jesus Christ.

Untitled_zpsf419afba

Wednesday, December 26, 2012

Kale Cesar Salad with Roasted Red Peppers


3 years ago I ate a dinner at my mothers house in which she served me a cesar salad with her out of this world cesar salad dressing; and ever since the day I tasted THAT dressing I have been dying to use it for every salad I ever make. It is THAT good! I am use to making all of my own vinaigrettes but I have never attempted a cesar salad dressing nor ever really thought of making one...that is until I tasted moms. So this recipe is in homage to my mother and her stellar cooking skills!


I decided to go a little unconventional for my lettuce choice and paired this ever so divine dressing with fresh chopped kale, homemade roasted red and green peppers and homemade croutons.

Kale Cesar Salad Dressing with Roasted Red Peppers and Homemade Croutons
Ingredients:
Salad-
2 bunches of Kale
3-4 bell peppers
Stale or fresh loaf of bread
Parmesan for garnish

Dressing-
2 anchovies
2 cloves garlic
1/2 lemon juiced
1/4 cup parmesan cheese 
2 egg yolks
2 Tablespoons water
1 cup olive oil
salt and pepper

Directions:
Preheat oven to 350 degrees. Place whole bell peppers onto a baking sheet and bake for 17 minutes, turn bell peppers onto opposite side and bake for an additional 17 minutes or until charring occurs on skins. Remove peppers from the oven and place in a bowl and cover tightly with tin foil or saran wrap and let sweat for 20 minutes. 

Once cooled remove bell peppers, peel off the skin, remove the stem and seeds. After having had their steam bath in the bowl the skin of the peppers should slide off with little or no effort on your part. Don't worry if you don't get it all off. Slice peppers into thin strips and reserve for salad.

While you are waiting for your peppers to sweat you can prepare and bake your croutons. Keep your oven set at 350 degrees. I slice my stale or fresh bread, depending on what I have on hand, into 1-1 1/2 inch slices then cut each slice into large cubes. I like to play around with different flavored breads like garlic or rosemary, to add some extra flavor to the dish that I am using them for. I place the cubed bread on a baking sheet and drizzle with olive oil and toss to combine. I salt the bread fairly well at this point. Place your bread in the oven and bake for 15 minutes then remove the pan and turn every bread cube over onto another side to brown for an additional 15 minutes. Set croutons aside to cool.

Dressing-
Place anchovies, garlic, lemon juice, egg yolks, parmesan cheese and water into a food processor or blender and blend until everything is incorporated. While your blender in running drizzle in your olive oil and blend until smooth, creamy and thickened, about 2-3 minutes. Taste for salt and pepper.

Wash your kale leaves and pat dry. Remove leafy parts from the ribs and chop into manageable pieces. Place in salad bowl and add your roasted bell peppers and croutons. Drizzle salad dressing over salad and toss to combine. Shave off slivers of Parmesan cheese to garnish and enjoy!
Untitled_zpsf419afba

Saturday, December 22, 2012

Santa?

It was time...dun dun dun...for Easton to meet Santa. Ya it may have been nice to have him sit quietly on Santa's lap and smile for a picture but secretly I really wanted that great picture that we have all see of a child screaming to get off of this crazy guys lap who has long white hair growing from his face and is wearing an over-sized robe and a big red hat. I know, that sounds kinda mean and wrong to have that wish and I musta been good this year cause Santa granted it for me! 
A little blurry...but I'll take it!
At first he was very receptive and walked right up to Santa and gave him a big grin and a wave.
Come to find out that is the closest that he wanted to get...
Get me outa here!
Maybe next year!
Merry Christmas from the Lichty's to you and your family!
Untitled_zpsf419afba

Thursday, December 20, 2012

Crochet Christmas Tree Ornament

Christmas is just around the corner!!!!! and I am so excited!!!! Can you tell by the use of all of my exclamation marks!!!!!!! Ben and I have decided that since we now are a family of 3 that we should probably try a little harder to decorate for Christmas. That includes bulking up our Christmas ornament collection which is on the verge of extinction. So in an effort to save money and use up some extra yarn, I decided to give our ornament collection a little boost with a cute and easy crochet Christmas tree.
I started by:
  • chaining one then do (2) single crochets in that chain
  • chain one and turn
  • do (2) single crochets in each of the two previous single crochets, chain one and turn
  • repeat this step doing (2) single crochets in each chain until you have reached your desired width for your tree.
  • To make trunk simply single crochet in the middle of your tree until you have reached desired length. Sew in all of your tails.
Then I added a little yellow pom pom and a hook to serve as a bright and shinning start for my tree.

Untitled_zpsf419afba

Tuesday, December 18, 2012

Lemon Loaf Cupcakes with Vanilla Buttercream


Last summer we planted an itty bitty lemon tree, and this year our itty bitty lemon tree has some not so itty bitty lemons on it. In fact it has so many that our tree is straining to remain upright. A heavy laden lemon tree is fine with me since I love lemons and especially love lemony desserts. One of my favorites is Ina Garten's Lemon Yogurt Cake and this is a variation of her loaf I love so much. This time I turned her loaf into lemon cupcakes and topped them with a vanilla buttercream and a few shavings of lemon zest. The lemony the better for me!!

Lemon Loaf Cupcakes with Vanilla Buttercream

Ingredients:
Cupcakes-
1 1/2 cups flour
2 teaspoons baking powder
1/2 teaspoon salt
1 cup greek yogurt
1 1/3 cups sugar, divided
3 large eggs
2 teaspoons grated lemon zest, about 2 lemons
1/2 teaspoon vanilla extract
1/2 cup vegatable oil
1/3 cup squeezed lemon juice

Vanilla Buttercream-
1 cup butter
3 1/2 cups powdered sugar
1 teaspoon milk
1 teaspoon vanilla extract
1/8 teaspoon salt


Directions:
Cupcakes-
Preheat oven to 350 degrees. Line your muffin tin with cupcake liners.
Combine flour, baking powder and salt in a bowl. In a separate bowl with a whisk beat together greek yogurt, 1 cup sugar, eggs, lemon zest and vanilla. Slowly whisk in dry ingredients. Fold in vegetable oil into the batter making sure to fully incorporate it. Pour batter into each cupcake liner filling 3/4 of the way. Bake for between 35-40 minutes or until a toothpick inserted placed in the center of the cupcake comes out clean.

Meanwhile, cook the 1/3 cup lemon juice and remaining 1/3 cup sugar in a small pan until the sugar dissolves and the mixture is clear. Set aside.

When the cupcakes are done, allow them to cool in the pan for 10 minutes. While the cupcakes are still warm, pour the lemon-sugar mixture over the top of the cupcakes and allow to soak in. Allow cupcakes to now cool completely before frosting.

Vanilla Buttercream-
Combine butter, sugar and salt. Add the milk ad vanilla and beat for an additional 3-5 minutes or until smooth and creamy. Place your frosting in a piping bag and let set in the refrigerator for about 5 minutes before piping onto cupcakes. 

Untitled_zpsf419afba

Sunday, December 16, 2012

Roasted Spaghetti Squash and Garlic Chips


This year was the first time that Ben and I planted a real garden. Not a pot with some herbs in it but a real deal raised garden bed with 17 different types of fruit and veggies and over 40 plants. It became a serious ritual of mine to walk out each morning and gawk over our growing plants. When first deciding what to plant for our summer garden I knew I had to have spaghetti squash! 

There are endless ways to cook and use spaghetti squash. For starters you can use it any way you would spaghetti! I love mine with a home made pesto sauce...yuuum! But one of my favorite and easiest ways to eat it is roasted. This is no ordinary roast. This roast is kicked up 10 notches! Can you say garlic! Roast your spaghetti squash with homemade garlic oil accompanied by fried garlic chips and you'll be eating spaghetti squash by the bushels! 

Roasted Spaghetti Squash with Garlic Chips

Ingredients:
1 large spaghetti squash
4-6 cloves garlic
1/4 cup olive oil
salt and pepper

Directions:
Preheat oven to 400 degrees. While oven is heating place olive oil in pan on medium high heat. Remove skins from garlic cloves and slice very thin lengthwise. 
Once oil is hot place garlic into pan and fry until just golden brown. Remain very close to your pan as the garlic can go from golden brown to burnt in a matter of seconds. 
Place garlic on paper towel to drain and reserve oil to use on squash.  Cut your spaghetti squash in half length wise and take out all of the seeds and pith. Once cleaned, drizzle with your reserved garlic olive oil and season with salt and pepper. Place spaghetti squash on oven pan and roast in for 50 minutes. Once roasted, pull out of oven and let rest for a few minutes. Take a fork and scrape the inside flesh of the squash. Transfer pulp to a bowl and toss with extra garlic olive oil if needed. Taste for salt and pepper. Sprinkle with garlic chips and serve!

Thursday, December 13, 2012

Peppermint Snickerdoodles Rolled in Turbinado Sugar


Doesn't it seem like during the holidays you are baking and eating 5 times more than you normally do?!   I know I am...and maybe that's why by the time January comes around I feel like a stuffed sausage in my clothes! 

But let me tell you this recipe is so worth feeling like a sausage...so worth it! And peppermint always reminds me of the holidays so its a perfect recipe to make for a gathering, party or to keep all for yourself

I scored the peppermint crunch baking chips at Walmart and will be going back very soon to clean their shelves of them because that's how good they are! If you cant find these Andes chips you can also try using crushed candy canes or even the regular green and brown Andes mints.

Peppermint Snickerdoodles Rolled in Turbinado Sugar

Ingredients:
1 1/2 cups sugar
1/2 cup butter, softened
1/2 cup shortening
2 eggs
2 3/4 flour
2 teaspoons cream of tartar
1 teaspoon baking soda
1/4 teaspoon salt
2 cups Andes Peppermint Crunch Baking Chips
1 cup turbinado sugar

Directions:
Preheat oven to 350 degrees. Mix together sugar, butter, shortening and eggs. Stir in flour, cream of tartar, baking soda and salt. Once well combined fold in your peppermint chips. Place cookie dough in the refrigerator for 30 minutes before baking. Shape dough into large balls and roll in turbinado sugar. Bake 10-11 minutes until cookies are just set and let cool on pan for 5 minutes before removing to a wire rack to finish cooling.

Untitled_zpsf419afba

Tuesday, December 11, 2012

Brown Butter and Sage Mashed Potatoes


Yes, yes, yes, a new staple for our holiday meals! If you don't already have a potato dish picked out for your Christmas feast you are going to want to use this one! The browned butter and sage are a PERFECT accent for the potatoes. 

In fact brown butter almost sends me into a food coma...seriously! The smell of butter browning on the stove is crazy intoxicating and makes me want to  stick a straw in the pan and start slurping it up Paula Dean style!

Brown Butte and Sage Mashed Potatoes

Ingredients:
3 pounds red new potatoes
2 sticks butter
1 1/2 Tablespoons chopped fresh sage
1 cup cream
salt and pepper to taste

Directions:
Cut your potatoes into fourths and place into a large pot of well salted boiling water. Let boil until potatoes are very tender, around 20-25 minutes. Once potatoes are tender drain the water out of the pot leaving the potatoes. While your potatoes are boiling place your butter in a pan over medium heat. Once your butter starts to get bubbly and frothy do not take your eyes off of it. Your butter will start to turn caramel brown in color and once you start to smell that rich, sweet and nutty flavor immediately remove your pan from the heat and pour the butter over your potatoes. The way I always know when my butter is ready is when it just about stops bubbling, then I take it off the burner. Add your cream and sage and mash your potatoes. Depending on how you like the texture of your potatoes you may wish to add more cream at this point. Add salt and pepper to taste and your ready to eat!!

Untitled_zpsf419afba
Blogging tips