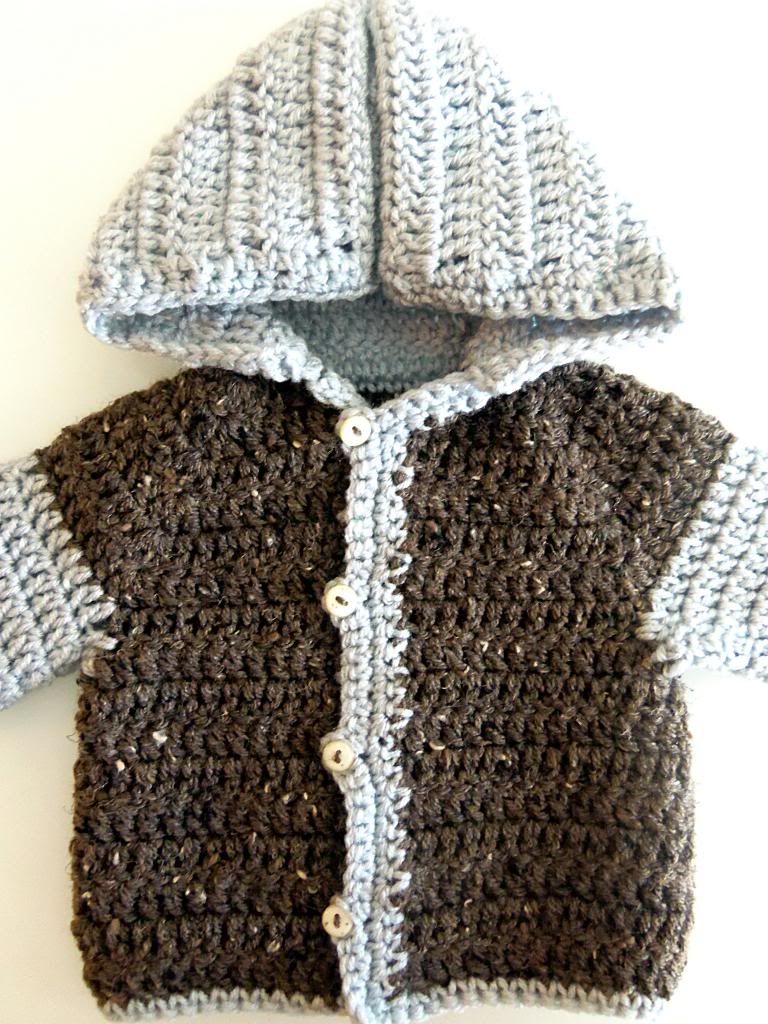
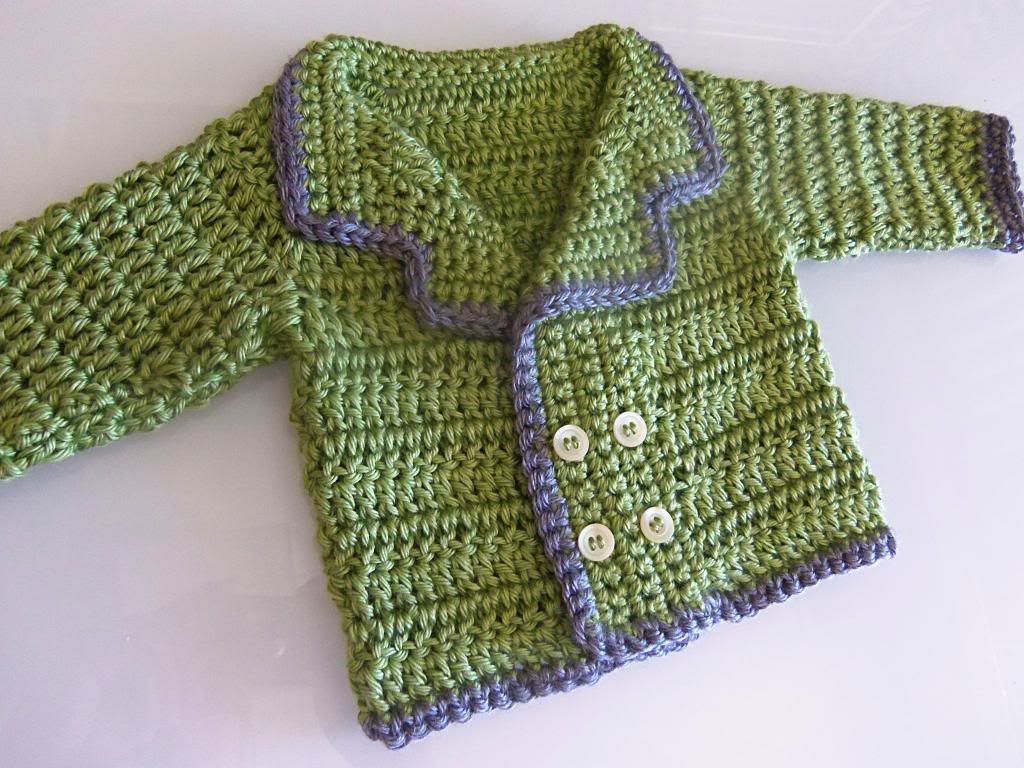
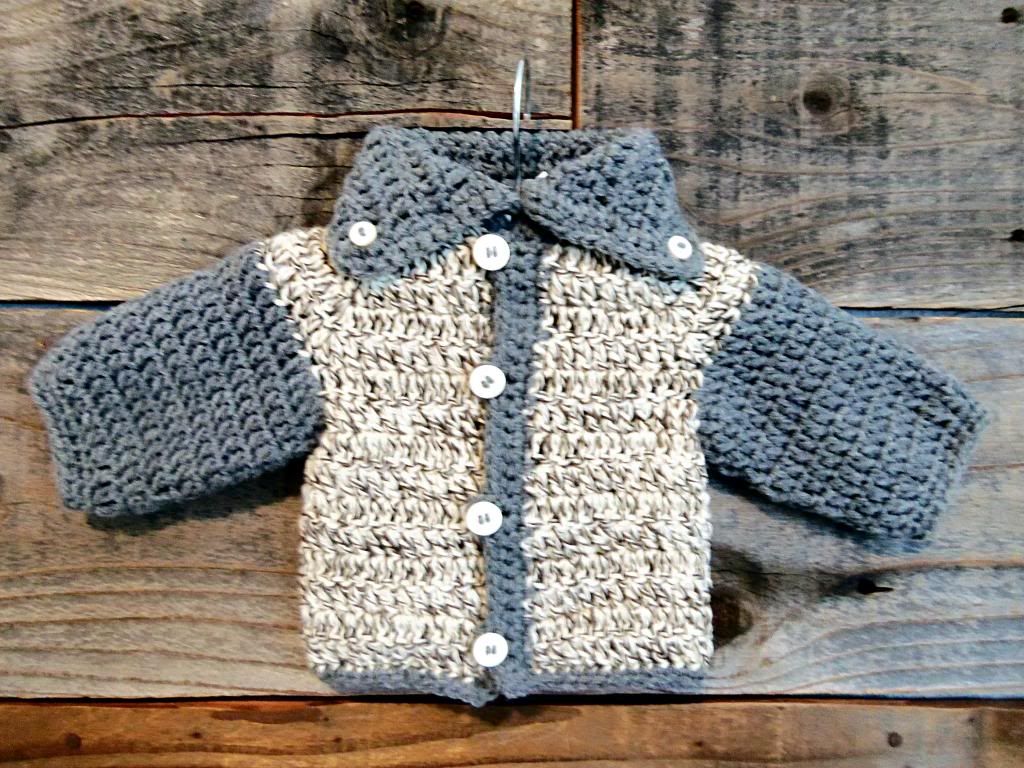
If you know me you know that I have a bit of a crochet obsession. I own way to much yarn for my own good! I find that it is a very relaxing hobby for me and I have loved creating all kinds of crocheted items. With a new baby on board now I of course had to outfit him with some crocheted sweaters for the cold winter months. This time I am sharing this easy tutorial with you so that you can make your little one a sweater as well!
In fact I went a little crazy and now my baby boy has an entire winters worth of sweaters to wear! And if crocheting isn't your thing, you can always purchase any one of these beauties in my
Etsy shop!
Here are the measurements for sizes newborn to 9 months old:
0-3 months: 16 in / 40.5 cm
3-6 months: 17 in/ 43cm
6-9 months: 18 in/ 45.5 cm
You will want to use a different size hook for each of the sizes. I would use an H hook for the newborn-3 month size and then just use a size larger hook for each of the larger sizes.
Key:
ch= chain
dc= double crochet
sc= single crochet
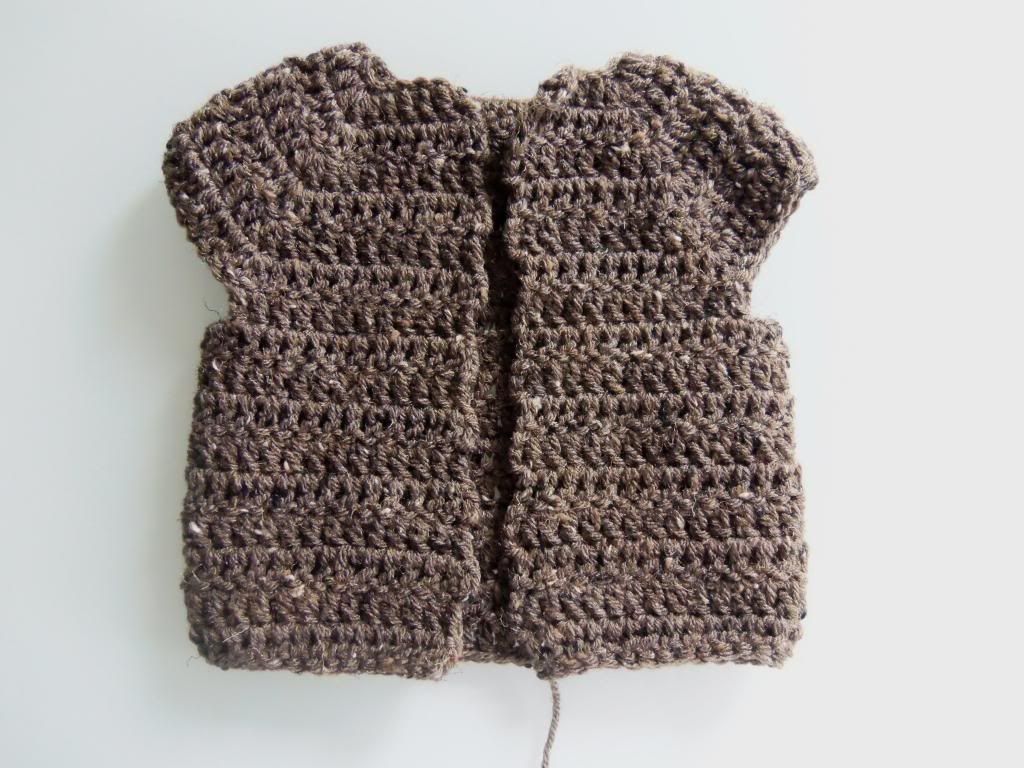
Start by chaining 36
Row 1: 1 dc in fourth chain from hook, and in next 3 chs, 3 dc in next ch, 1 dc in next 5 chs, 3 dc in next ch, 1 dc in next 10 chs, 3 dc in next ch, 1 dc in next 5 ch, 3 dc in next ch, 1 dc in last 5 ch, ch 3 and turn work over.
Row 2-5: .Dc in the very first chain and continue until you reach the middle dc of the 3 dc grouping where you will do 3 dc. Repeat, remembering to put your 3 dc into the middle dc of each of the previous 3 dc groupings.
Row 6: Shaping the arm holes. Ch 3, 1 dc in the very first chain and in each chain until you get to the middle dc of the 3 dc grouping, Ch 4, skip to the next middle of the dc of the 3 dc grouping and 1 dc in the middle of the 3 dc grouping. Dc in each chain until you get to the middle dc of the next 3 dc grouping, ch 4, skip to the next middle of the dc of the 3 dc grouping and 1 dc in the middle of the 3 dc grouping. Dc in each of the next chains until you get to the end of that row.
Row 7-15: Ch 3, 1 dc in each chain across row, starting with the very first chain, until you reach row 15, remembering to chain 3 at the end of each row before turning to work on your next row.
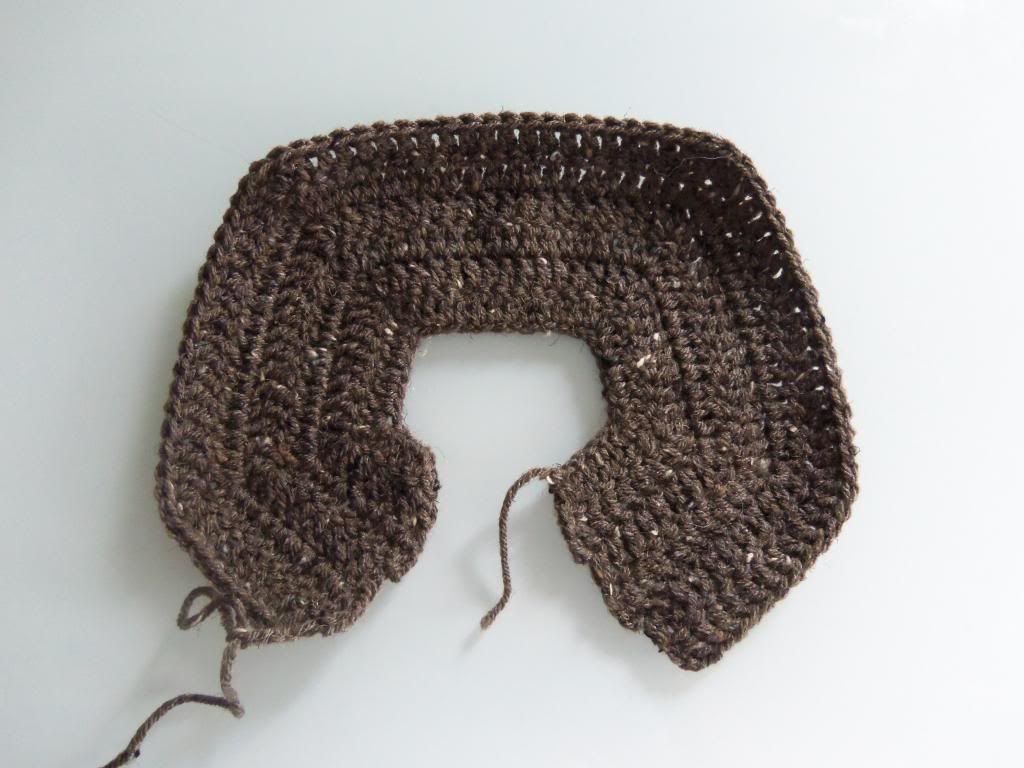
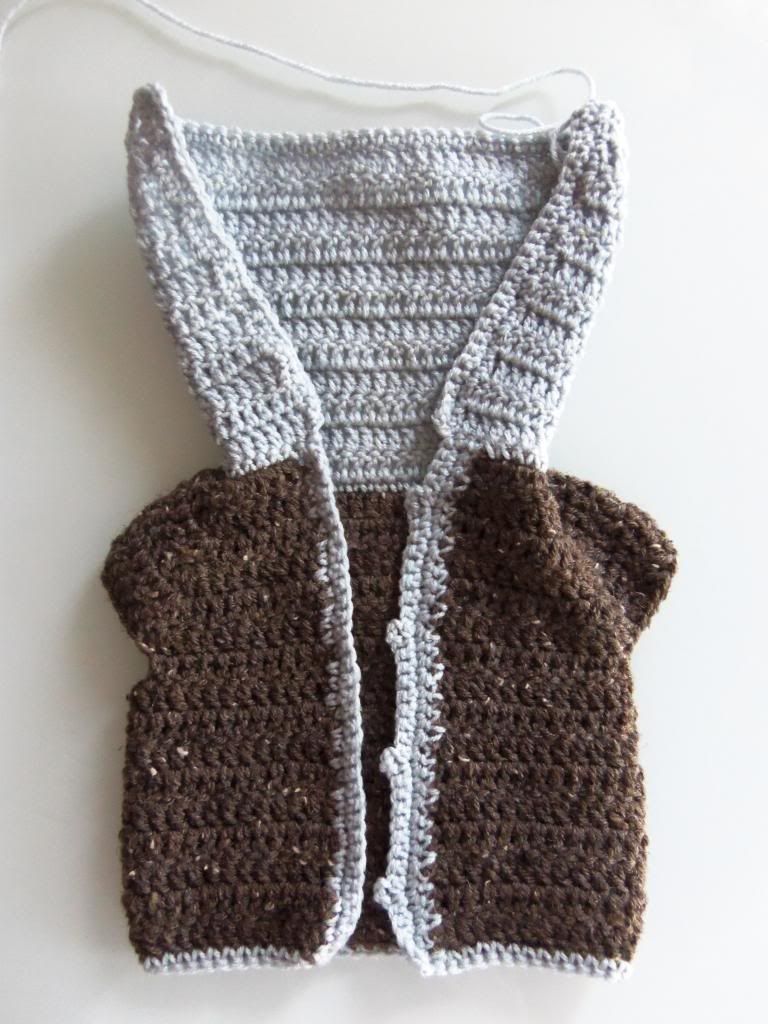
Trim: to do a trim around the vertical opening of the sweater edge, ch 1, 1 sc in the ridge, 1 sc in the post, repeat this for the entire row. When you reach the corner ch 1, turn and repeat steps until you reach the bottom corner. 3 sc in corner, ch 1 and 1 sc in each ch around bottom of sweater until you reach opposite corner, 3 sc in corner, ch 1, 1 sc in the next ridge, 1 sc in the next post all the way until you reach the corner of that row, ch 1, turn and 1 sc in each chain until you reach the first sc of the 3 sc grouping in the bottom corner.
Button Holes: Ch 1, turn, sc in each of the next chs until you reach your determined button hole spot and ch 3 and sc in the same chain, 1 sc in the next chs until you reach your next button hole spot and ch 3, sc in the same ch and continue until you have added all of your button holes and have reached the top corner of your sweater. 3 sc in corner ch, ch 1 and 1 sc in each chain around the neck.
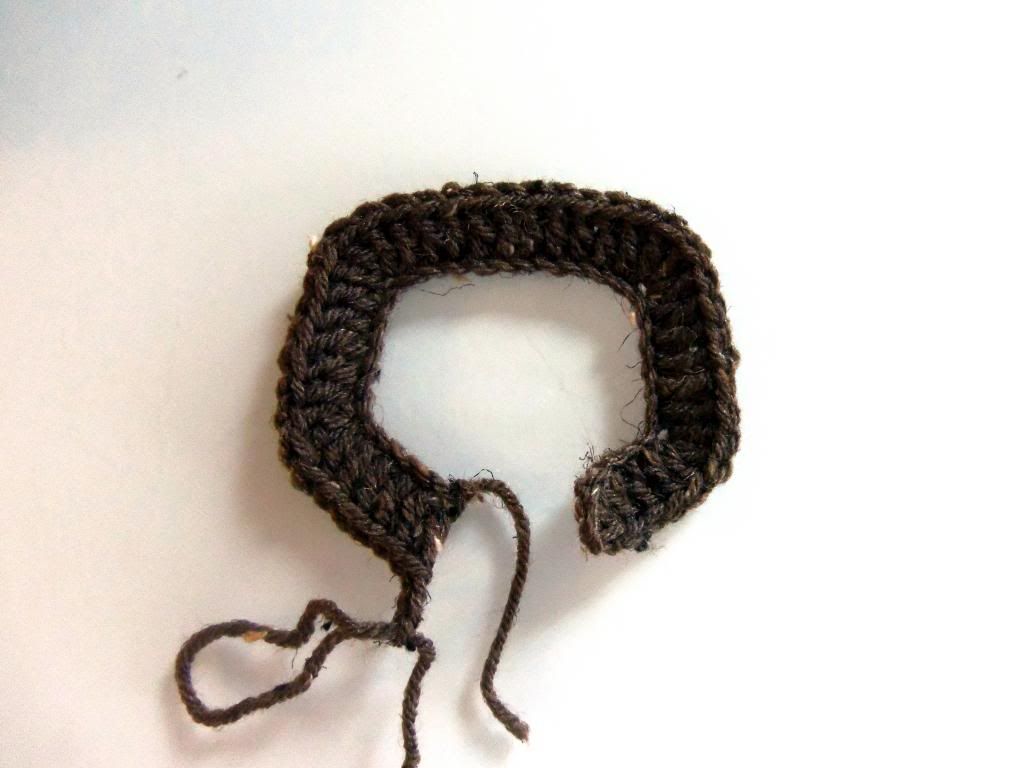
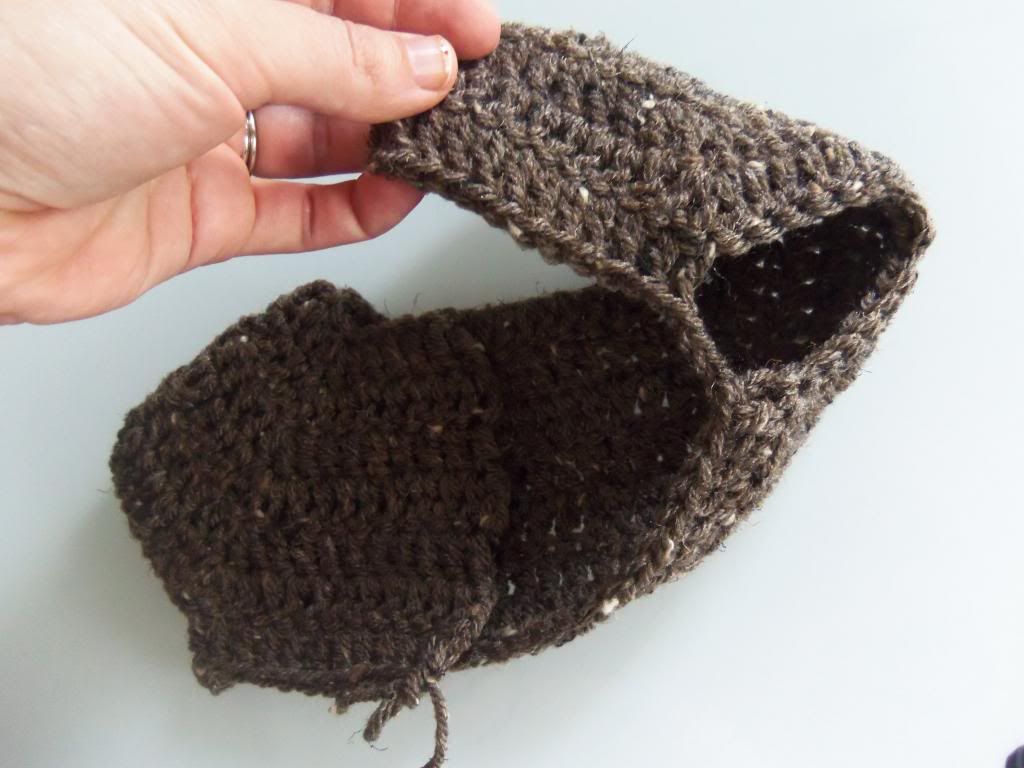
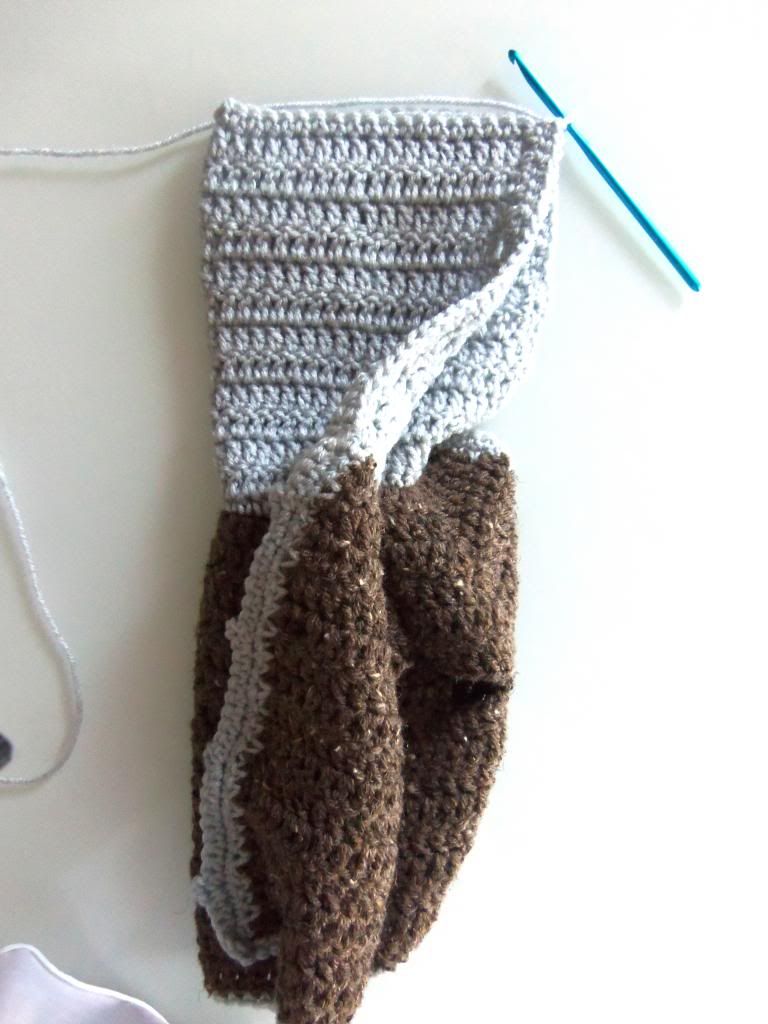
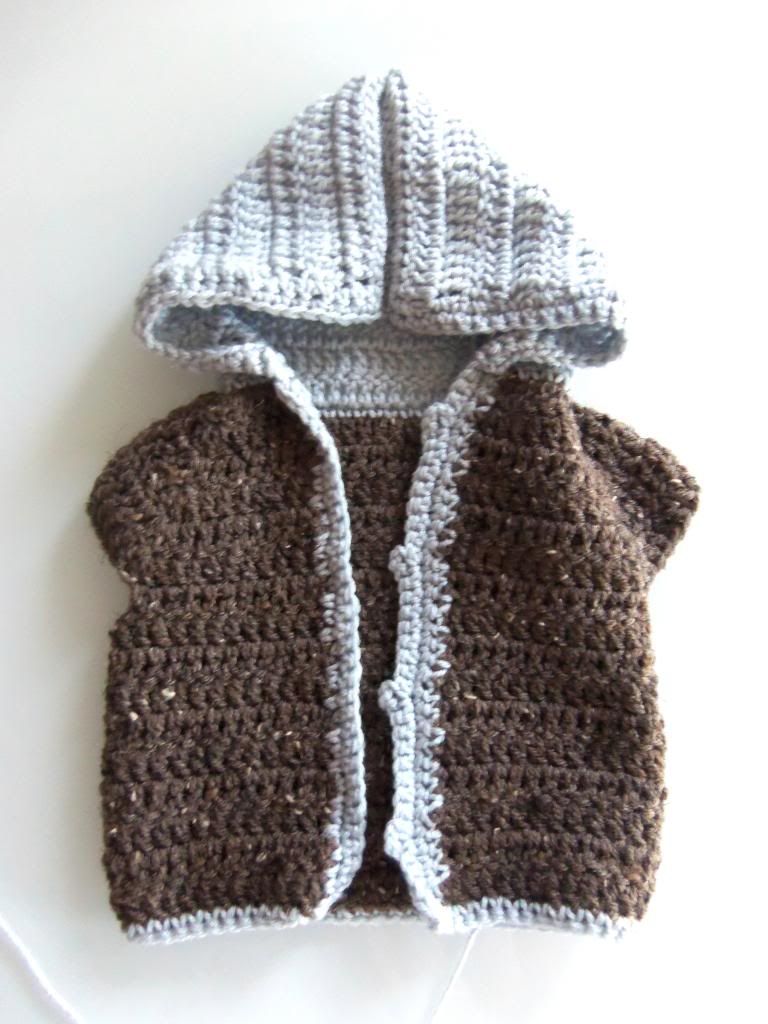
Hood: Attach yarn at corner of neck with slip stitch, ch 3, 1 dc in each ch across, ch 3, turn, 1 dc in each chain for 12 more rows. If you would prefer to do a collar instead of a hood you will stop at row 4 and just fold down the collar
Turn sweater inside out and fold sweater over and line up your hood rectangle. Slip stitch each matching chain until you reach the end, ch 1, tie off and sew in your tail.
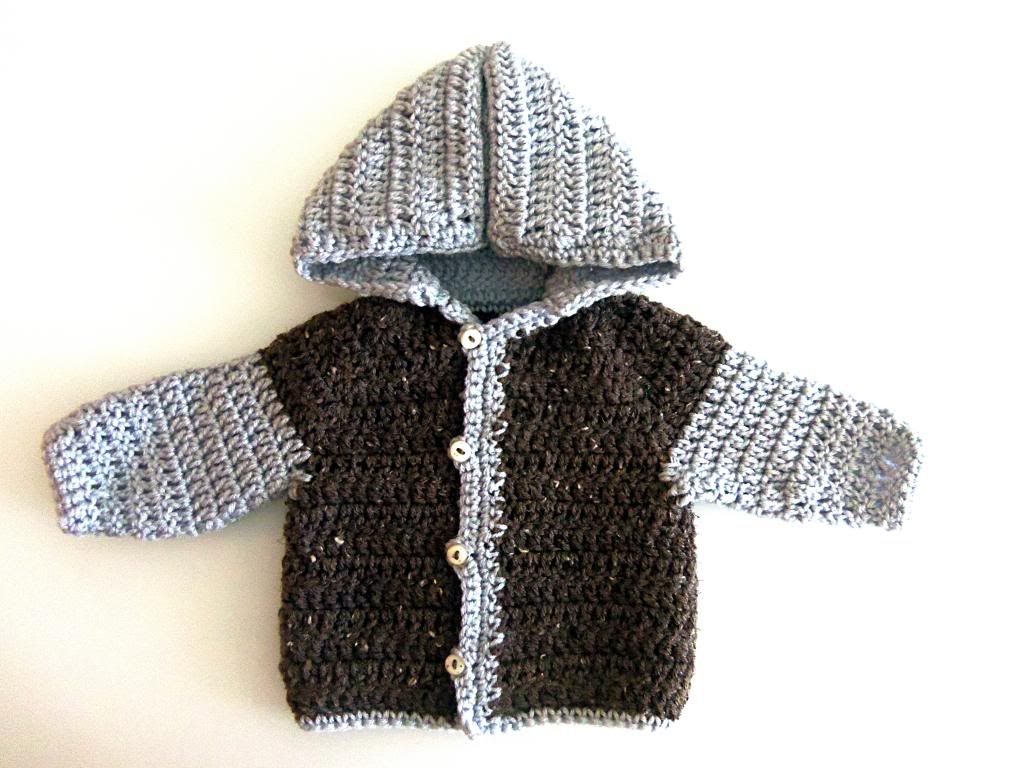
Arms:
Row 1-9: Start in the middle bottom of the arm opening. Attach your yarn to one of the chains and ch 3, 1 dc in each ch (In the corners where the posts are you will 1 dc into ridge, 1 dc in post, 1 dc in ridge). Continue with one dc into each chain. Write down the number of dc's you made in the first round of your first sleeve so that when you move to the next sleeve you will be sure to have the same amount so that one sleeve is not larger or smaller than the other. When you have a dc in every chain in the first row, slip stitch into the 3rd ch that you started with, ch 3 to go up to your next round and continue to do 1 dc in each chain around and slip stitching into the first ch 3 and repeat for 8 more rounds followed by 2 rows of sc.