


blankhomeaboutthe fammy faithwhats cookinget crafty
Showing posts with label crochet. Show all posts

Wednesday, March 12, 2014

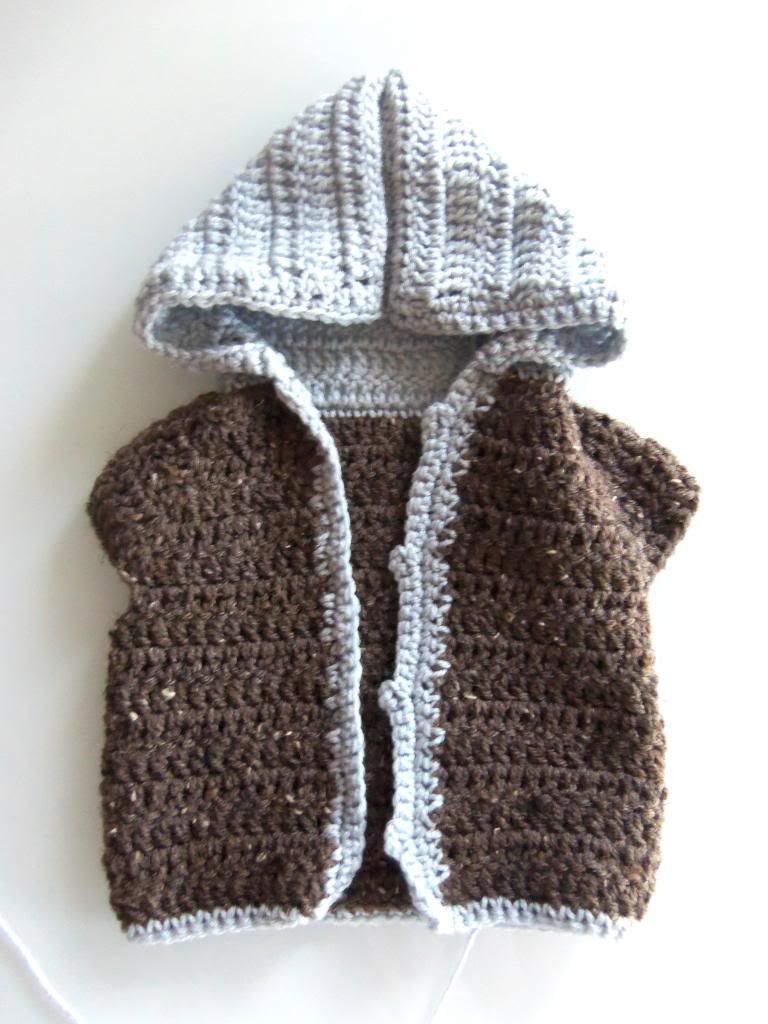
Easy Crochet Baby Sweater

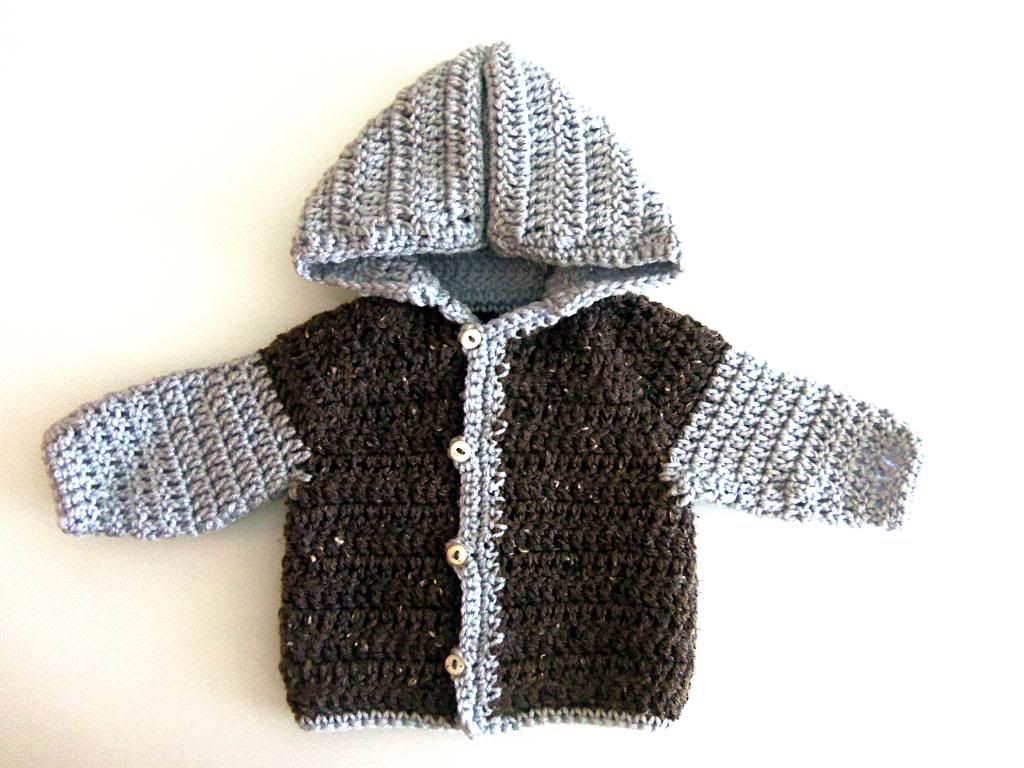
If you know me you know that I have a bit of a crochet obsession. I own way to much yarn for my own good! I find that it is a very relaxing hobby for me and I have loved creating all kinds of crocheted items. With a new baby on board now I of course had to outfit him with some crocheted sweaters for the cold winter months. This time I am sharing this easy tutorial with you so that you can make your little one a sweater as well!
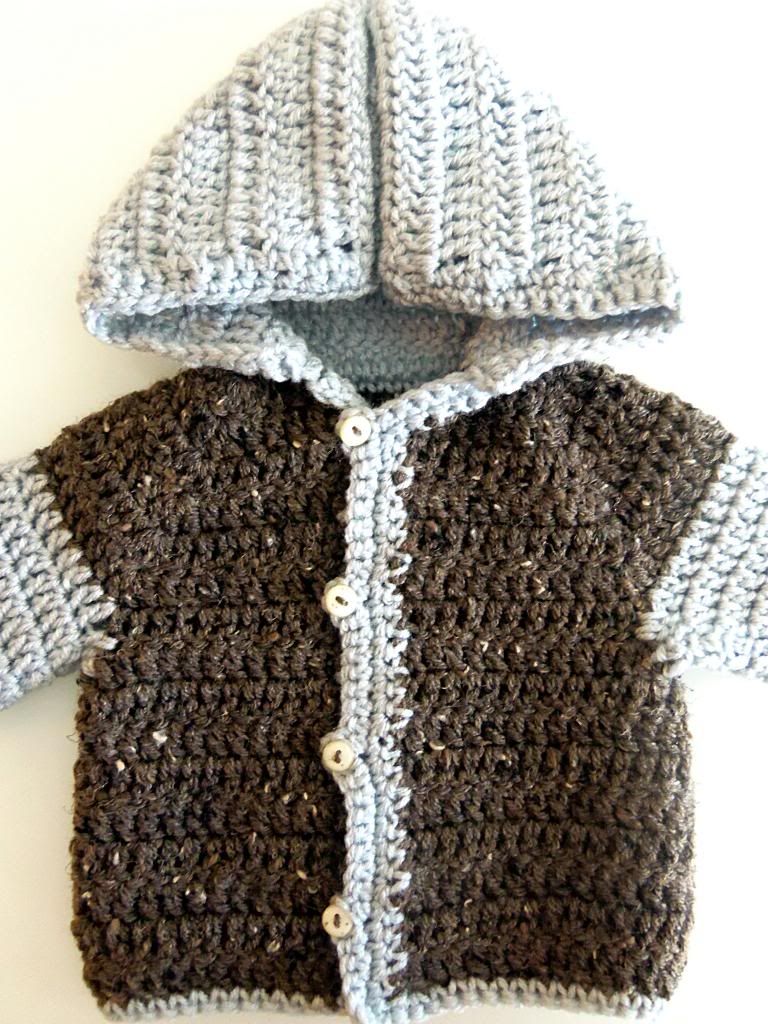
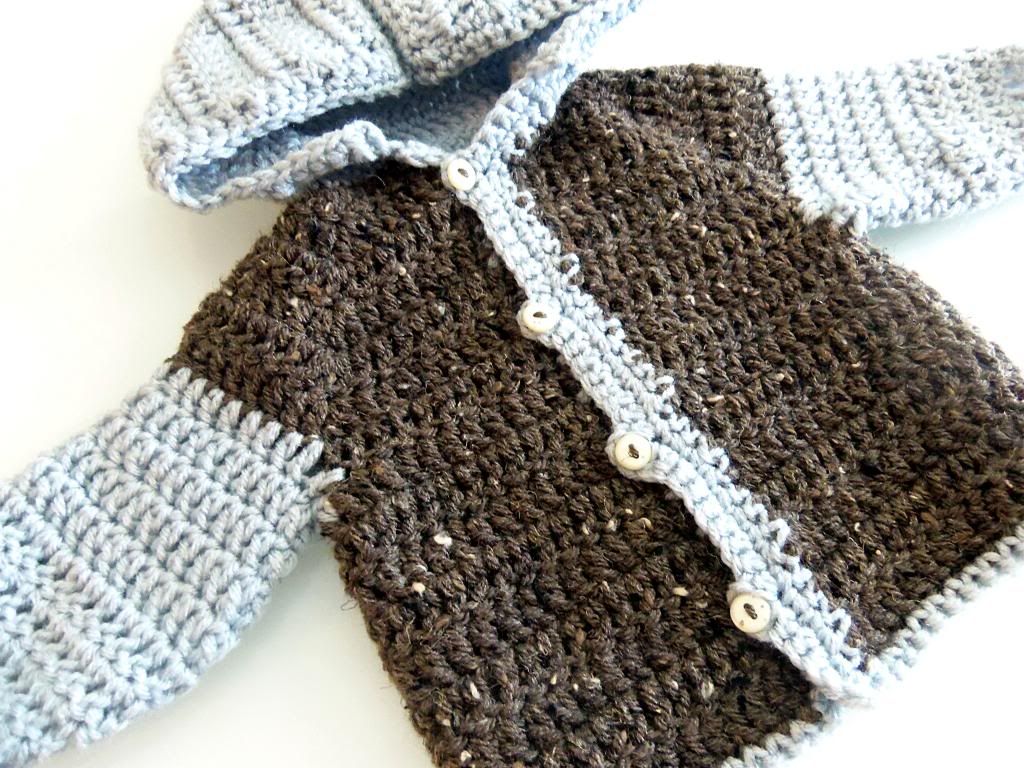
In fact I went a little crazy and now my baby boy has an entire winters worth of sweaters to wear! And if crocheting isn't your thing, you can always purchase any one of these beauties in my Etsy shop!
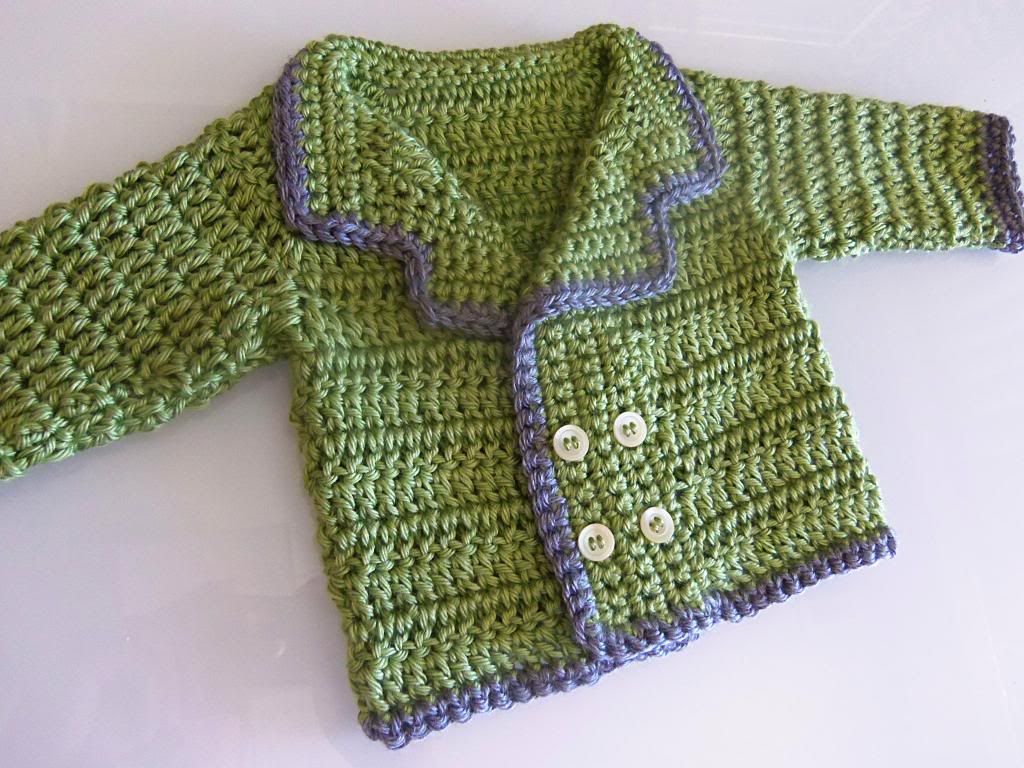
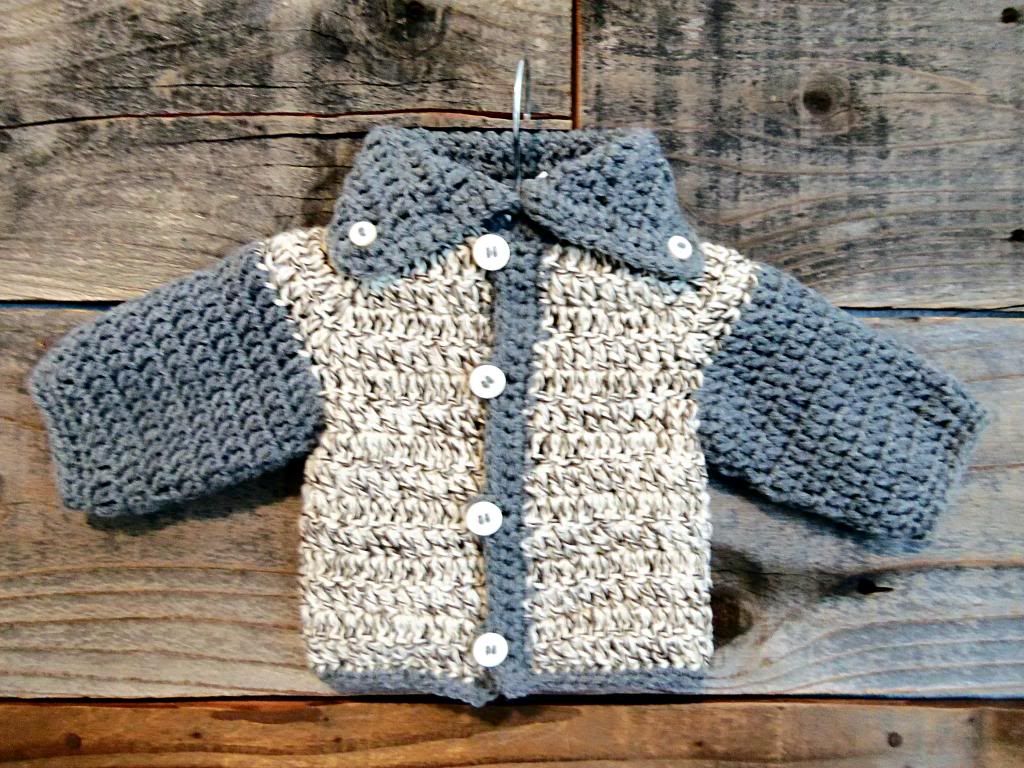
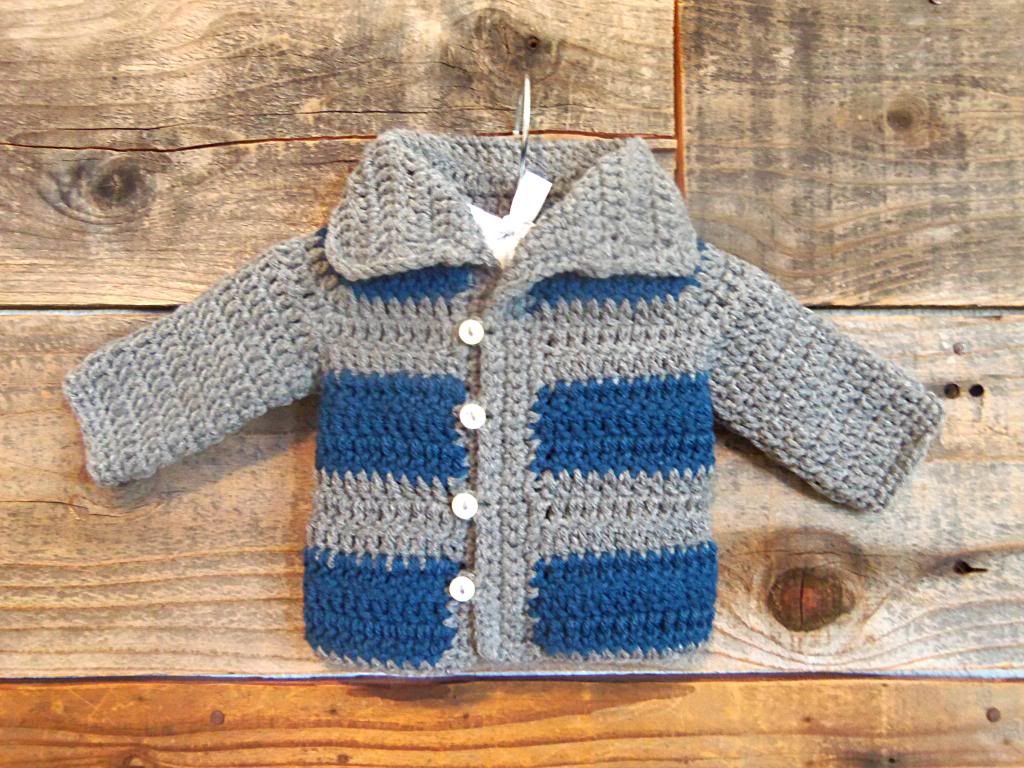


Here are the measurements for sizes newborn to 9 months old:
0-3 months: 16 in / 40.5 cm
3-6 months: 17 in/  43cm
6-9 months: 18 in/ 45.5 cm

You will want to use a different size hook for each of the sizes. I would use an H hook for the newborn-3 month size and then just use a size larger hook for each of the larger sizes.


Key:
ch= chain
dc= double crochet
sc= single crochet

Start by chaining 36
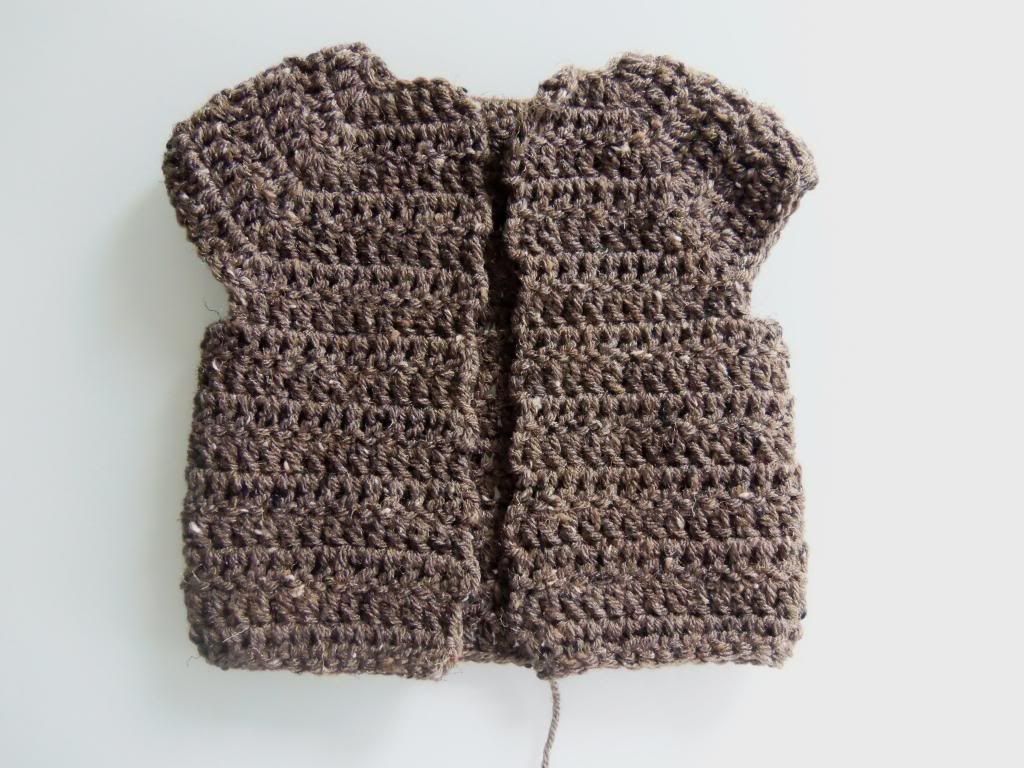
Row 1: 1 dc in fourth chain from hook, and in next 3 chs, 3 dc in next ch, 1 dc in next 5 chs, 3 dc in next ch, 1 dc in next 10 chs, 3 dc in next ch, 1 dc in next 5 ch, 3 dc in next ch, 1 dc in last 5 ch, ch 3 and turn work over.
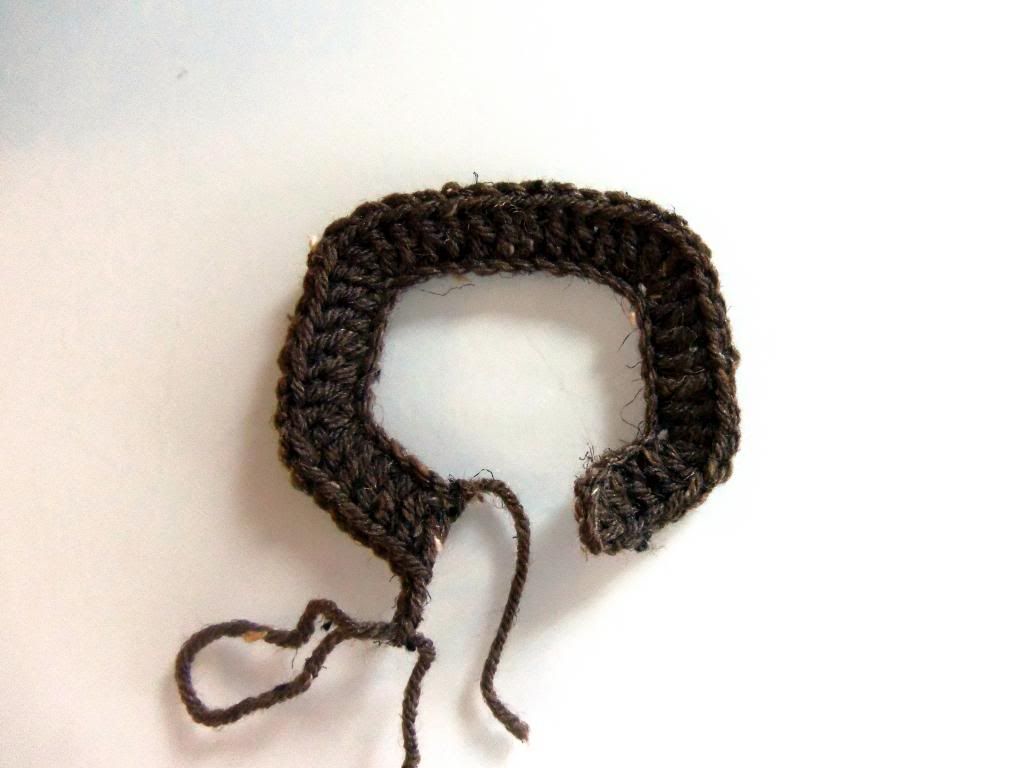
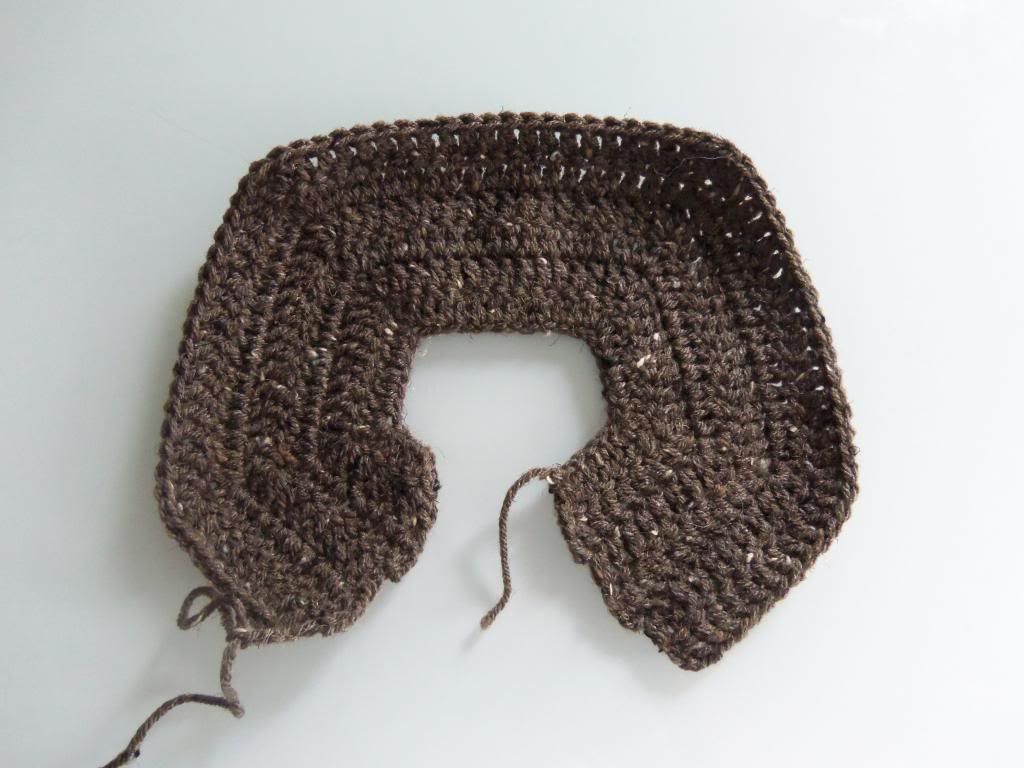
Row 2-5: .Dc in the very first chain and continue until you reach the middle dc of the 3 dc grouping where you will do 3 dc. Repeat, remembering to put your 3 dc into the middle dc of each of the previous 3 dc groupings.
Row 6: Shaping the arm holes. Ch 3, 1 dc in the very first chain and in each chain until you get to the middle dc of the 3 dc grouping, Ch 4, skip to the next middle of the dc of the 3 dc grouping and 1 dc in the middle of the 3 dc grouping. Dc in each chain until you get to the middle dc of the next 3 dc grouping, ch 4, skip to the next middle of the dc of the 3 dc grouping and 1 dc in the middle of the 3 dc grouping. Dc in each of the next chains until you get to the end of that row.

Row 7-15: Ch 3, 1 dc in each chain across row, starting with the very first chain, until you reach row 15, remembering to chain 3 at the end of each row before turning to work on your next row.
Trim: to do a trim around the vertical opening of the sweater edge, ch 1, 1 sc in the ridge, 1 sc in the post, repeat this for the entire row. When you reach the corner ch 1, turn and repeat steps until you reach the bottom corner. 3 sc in corner, ch 1 and 1 sc in each ch around bottom of sweater until you reach opposite corner, 3 sc in corner, ch 1,  1 sc in the next ridge, 1 sc in the next post all the way until you reach the corner of that row, ch 1, turn and 1 sc in each chain until you reach the first sc of the 3 sc grouping in the bottom corner.
Button Holes: Ch 1, turn, sc in each of the next chs until you reach your determined button hole spot and ch 3 and sc in the same chain, 1 sc in the next chs until you reach your next button hole spot and ch 3, sc in the same ch and continue until you have added all of your button holes and have reached the top corner of your sweater. 3 sc in corner ch, ch 1 and 1 sc in each chain around the neck.

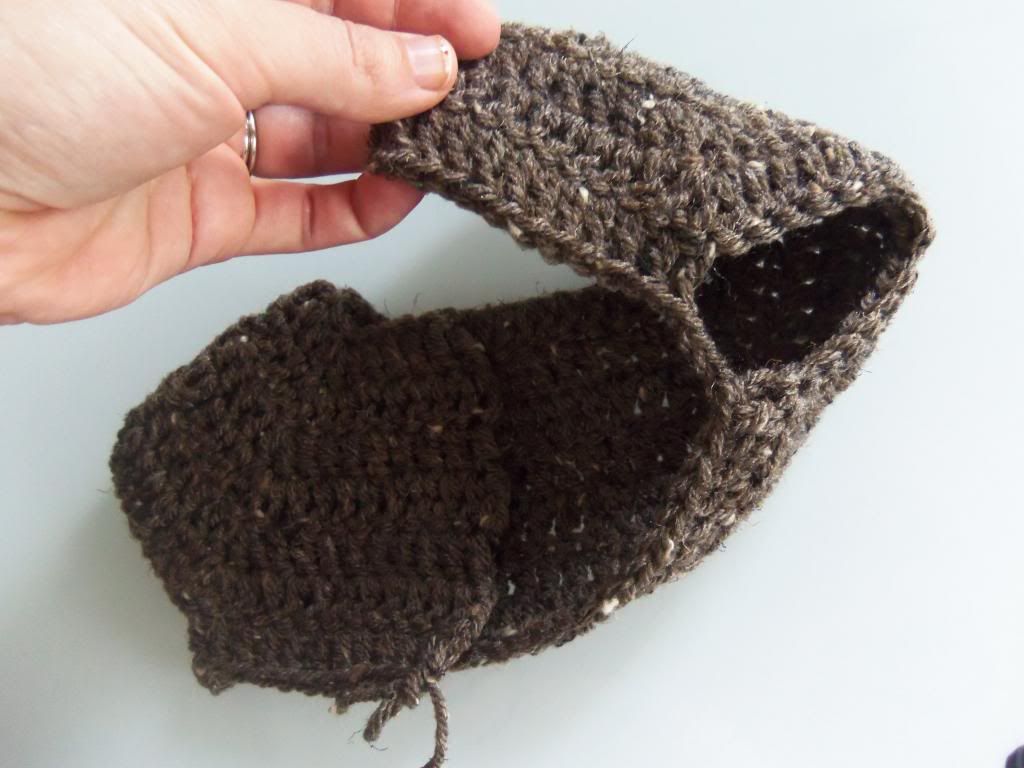
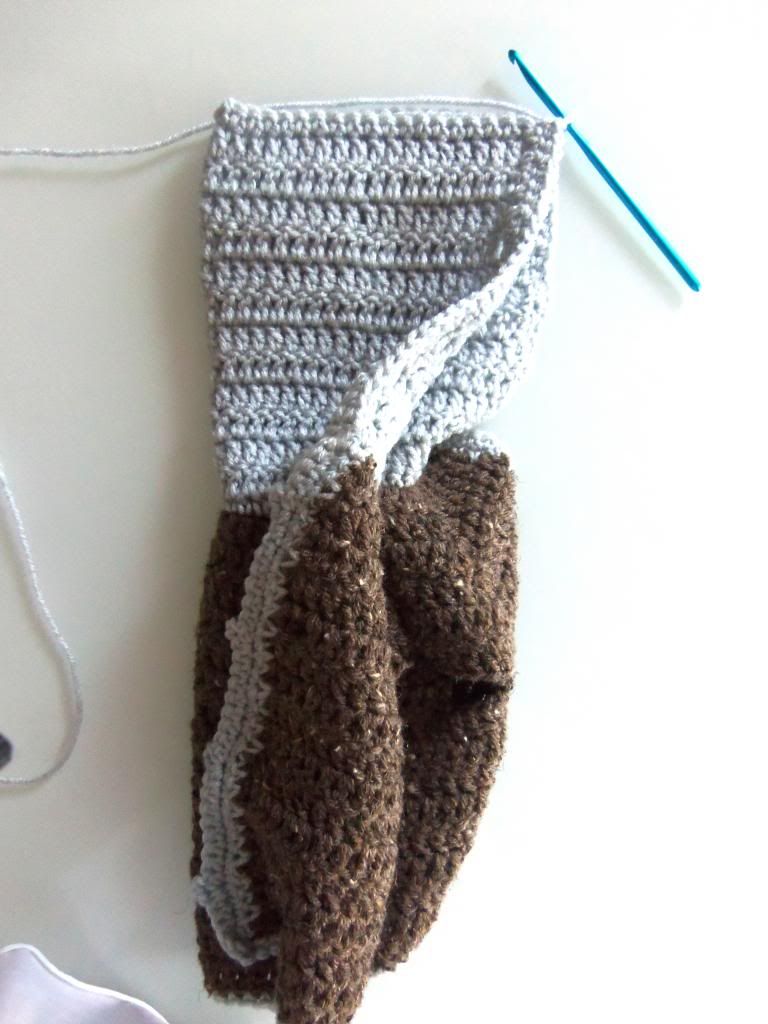
Hood: Attach yarn at corner of neck with slip stitch, ch 3, 1 dc in each ch across, ch 3, turn, 1 dc in each chain for 12 more rows. If you would prefer to do a collar instead of a hood you will stop at row 4 and just fold down the collar
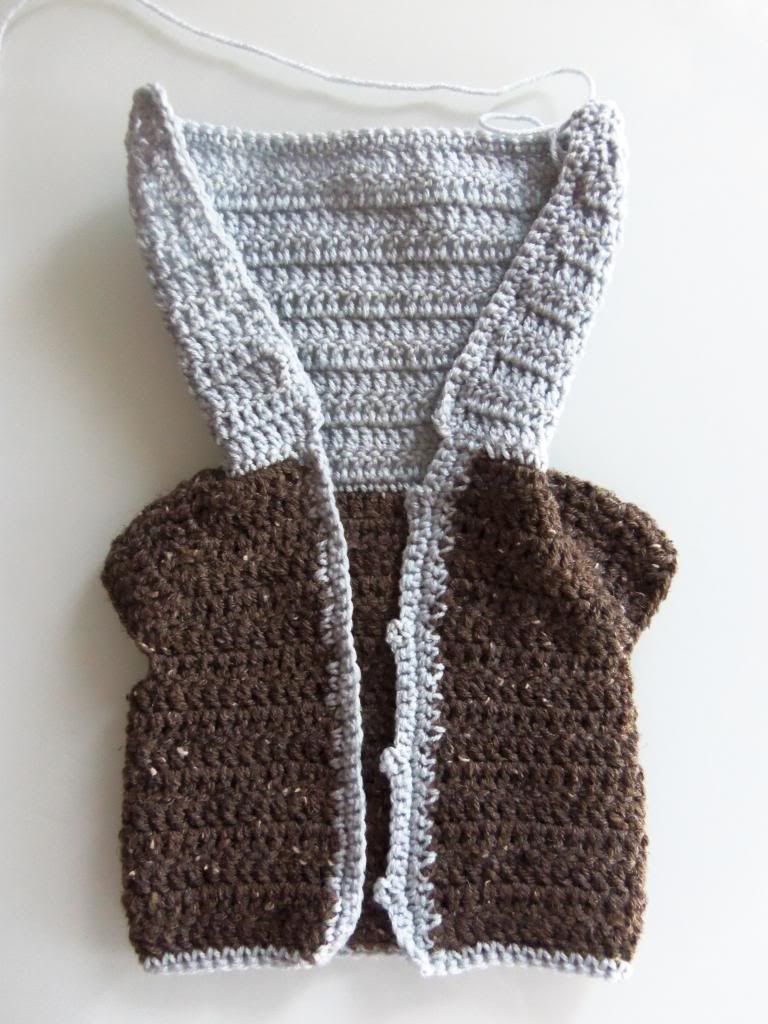
Turn sweater inside out and fold sweater over and line up your hood rectangle. Slip stitch each matching chain until you reach the end, ch 1, tie off and sew in your tail.

Arms:
Row 1-9: Start in the middle bottom of the arm opening. Attach your yarn to one of the chains and ch 3, 1 dc in each ch (In the corners where the posts are you will 1 dc into ridge, 1 dc in post, 1 dc in ridge). Continue with one dc into each chain. Write down the number of dc's you made in the first round of your first sleeve so that when you move to the next sleeve you will be sure to have the same amount so that one sleeve is not larger or smaller than the other. When you have a dc in every chain in the first row, slip stitch into the 3rd ch that you started with, ch 3 to go up to your next round and continue to do 1 dc in each chain around and slip stitching into the first ch 3 and repeat for 8 more rounds followed by 2 rows of sc.

Wednesday, February 20, 2013

Elastic Bookmarks

If you would have told me 8 years ago that I would be reading for enjoyment I would have called you crazy. Let me explain. Over 8 years ago I had changed my college major three times and was at my wits end with school. College was beginning to feel like a career at this point. I needed to figure out what I wanted to do, what classes to take and get the heck out of dodge and do it with a degree! At that point I decided to change my major to what came easiest to me so that I could expedite the process. I knew I could read and I knew I could write...a major in English it would be. At the same time I also decided I would minor in history. Little did I know that between the two majors I would be inundated with sooooooooooooo many books to read that it would turn what was a pleasure of mine into a serious burden. After graduating I all but swore off reading for the rest of my life. And its true, I don't think I picked up a book to read for probably 3 or 4 years. Sad but true. But I am happy to say that I got over my hump and I have regained my love for reading. A few of my favorite reads the last few years have been:

The Power of One (one of my all time favorite reads!!!) *Warning* do not see the movie, it is horrible and does not follow the book at all. If you have seen the movie and not read the book then you need to forget that you saw the movie and go read the book :)

Modoc. Be prepared to cry.
So sweet

The Education of Little Tree
Humerous, sad and moving

The Guernsey Literary and Potato Peel Pie Society. Crazy name but a great book

The Zookeepers Wife
Moving Historical Book

The current book I am reading is 
A Fine Balance
I haven't finished it yet but I am enjoying what I have read so far.

Now that I am back in the swing of reading I can't tell you how many times I have set a bookmark into a book to hold my place only to have it fall or slip out somehow. And how frustrating is it to have to thumb through the pages trying to figure out where you left off! Tell me I am not the only one!! Well I have created the solution to my long felt problem...elastic bookmarks made with, you got it, elastic! Perfection in a bookmark folks! Best part is that you can use them for tall, short, fat or thin books, they don't discriminate! I even made three elastic bookmarks for my nieces last Christmas. It was a total hit! All I did was cut some felt into a shape I wanted, add some trimming or embroider a design, attach elastic to the back and cover it with another piece of felt the same shape and tada, elastic bookmark!
Check out a few of these beauties now in the rotation:

Wednesday, January 23, 2013

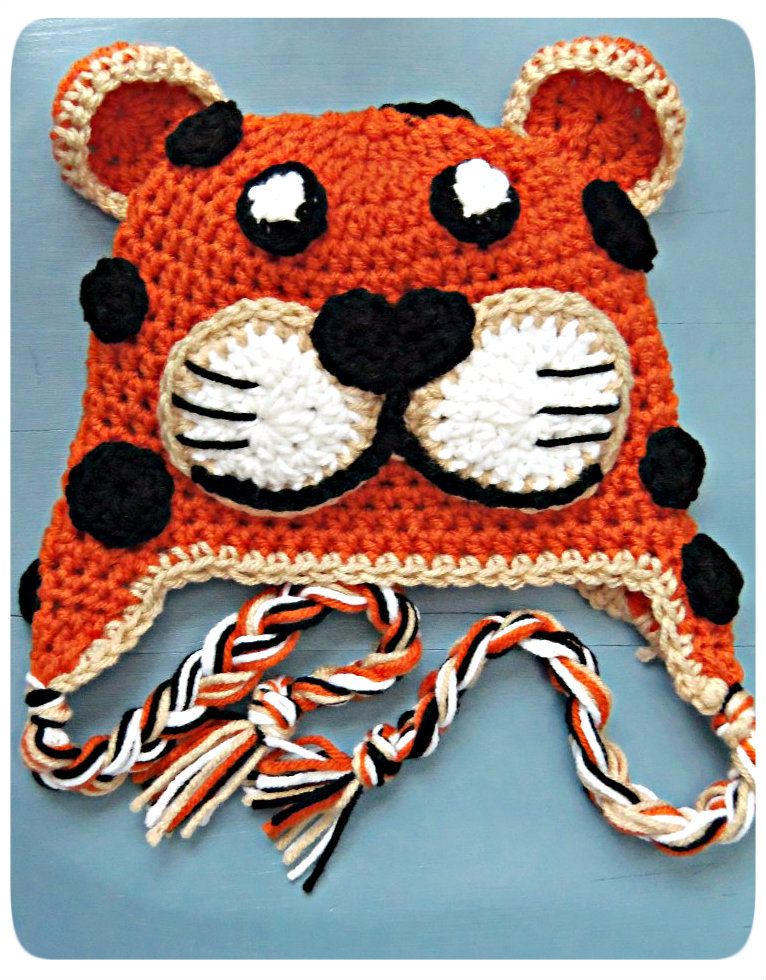
Cheetah Beanie

Introducing the newest creation in my Etsy shop, the Cheetah!
This little cutie was created for a friend of mine who's sons favorite animal was a cheetah. I wasn't planning on adding it to my shop since it is one of my most labor intensive...but!...he is just so cute that I could not resist. Available in sizes newborn-Adult! Come and get him!
Untitled_zpsf419afba

Thursday, December 20, 2012

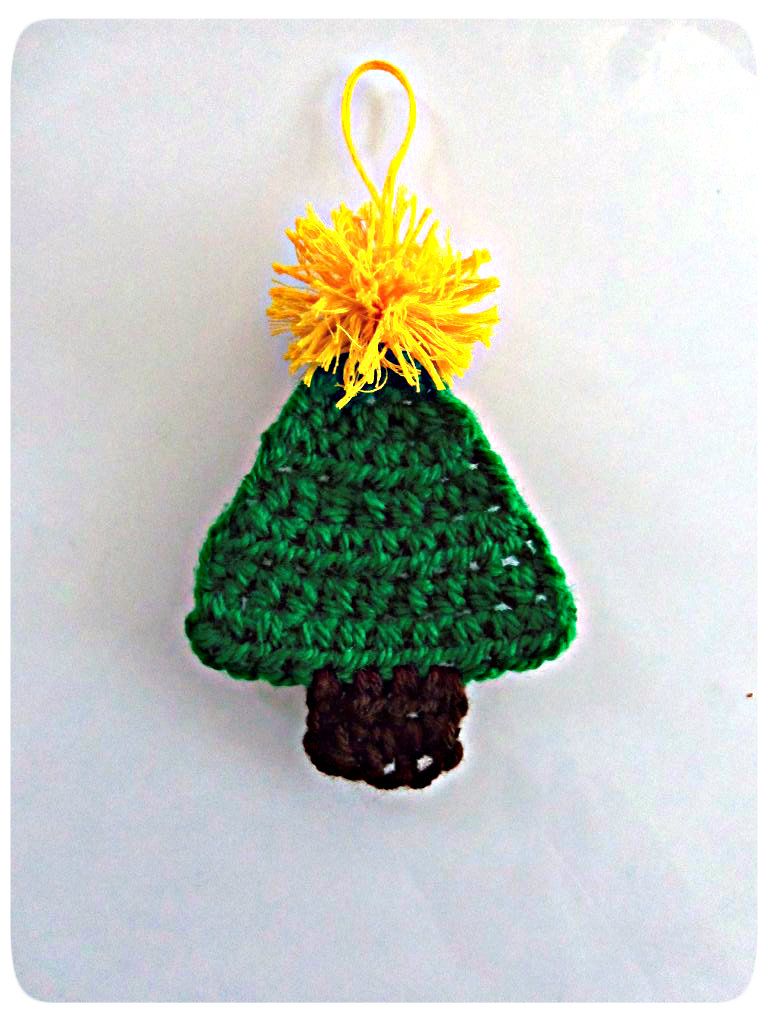
Crochet Christmas Tree Ornament

Christmas is just around the corner!!!!! and I am so excited!!!! Can you tell by the use of all of my exclamation marks!!!!!!! Ben and I have decided that since we now are a family of 3 that we should probably try a little harder to decorate for Christmas. That includes bulking up our Christmas ornament collection which is on the verge of extinction. So in an effort to save money and use up some extra yarn, I decided to give our ornament collection a little boost with a cute and easy crochet Christmas tree.
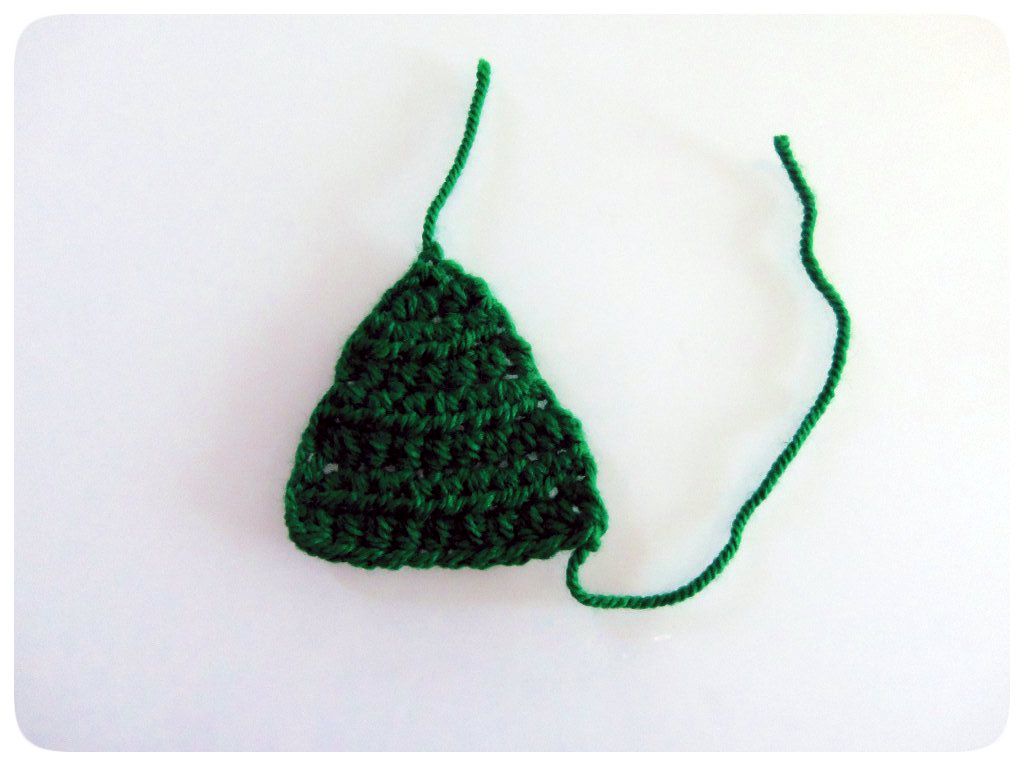
I started by:
  • chaining one then do (2) single crochets in that chain
  • chain one and turn
  • do (2) single crochets in each of the two previous single crochets, chain one and turn
  • repeat this step doing (2) single crochets in each chain until you have reached your desired width for your tree.
  • To make trunk simply single crochet in the middle of your tree until you have reached desired length. Sew in all of your tails.
Then I added a little yellow pom pom and a hook to serve as a bright and shinning start for my tree.

Untitled_zpsf419afba

Tuesday, December 11, 2012

Smurfette!

"Don't call it a comeback, I've been here for years"
Ya, you read right, I just quoted LL Cool J....and Smurfette has been around for years and shes making her first debut in my Etsy shop. She's up for sale, come and get her!!
Untitled_zpsf419afba

Monday, November 26, 2012

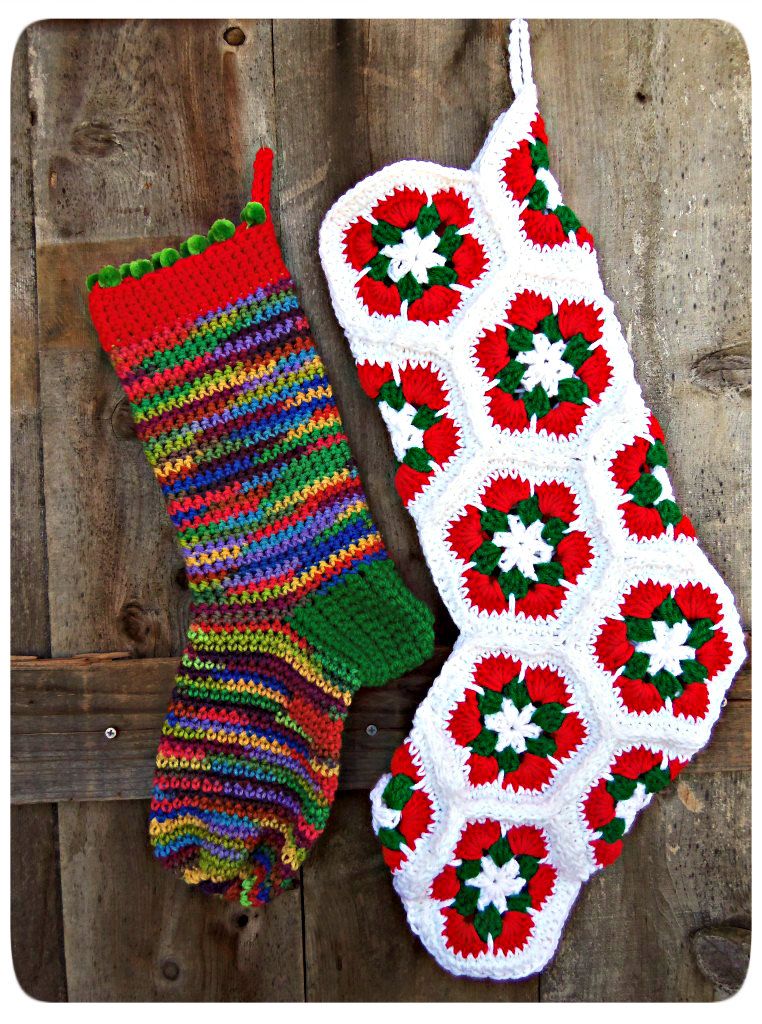
Crochet Christmas Stockings

My husband and I have been married almost 8 years and though we both love Christmas we have never really taken the time to decorate the house for the season.  Last year my son was just 6 months old when Christmas rolled around and pretty much slept the month of December away so I didn't really feel guilty not spreading the Christmas joy by decking the halls with berries or stringing popcorn garland around the house. 
This year however I have realized that my son being 1 year and a half would probably get a real kick out of all of the Christmas decorations and tree and we are trying to make a better effort. That being said, I waiting a wee bit too long to start my 5 page list of Christmas decoration projects I had in mind! However I have made time to finish our three stockings to hang on the mantle! 
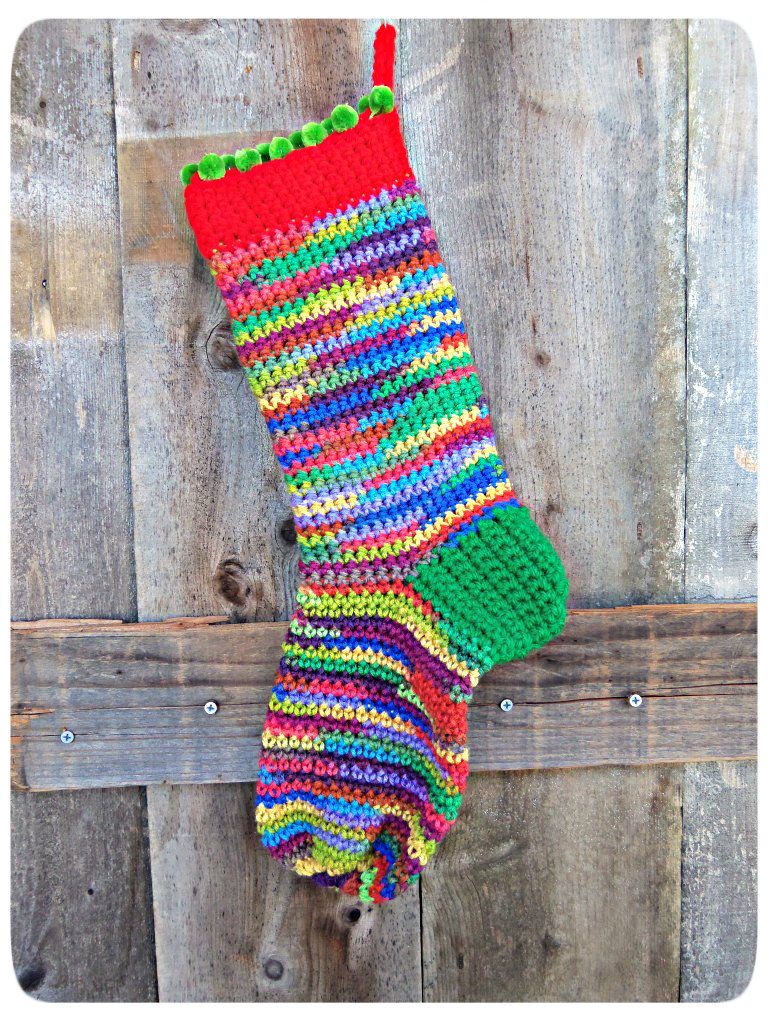
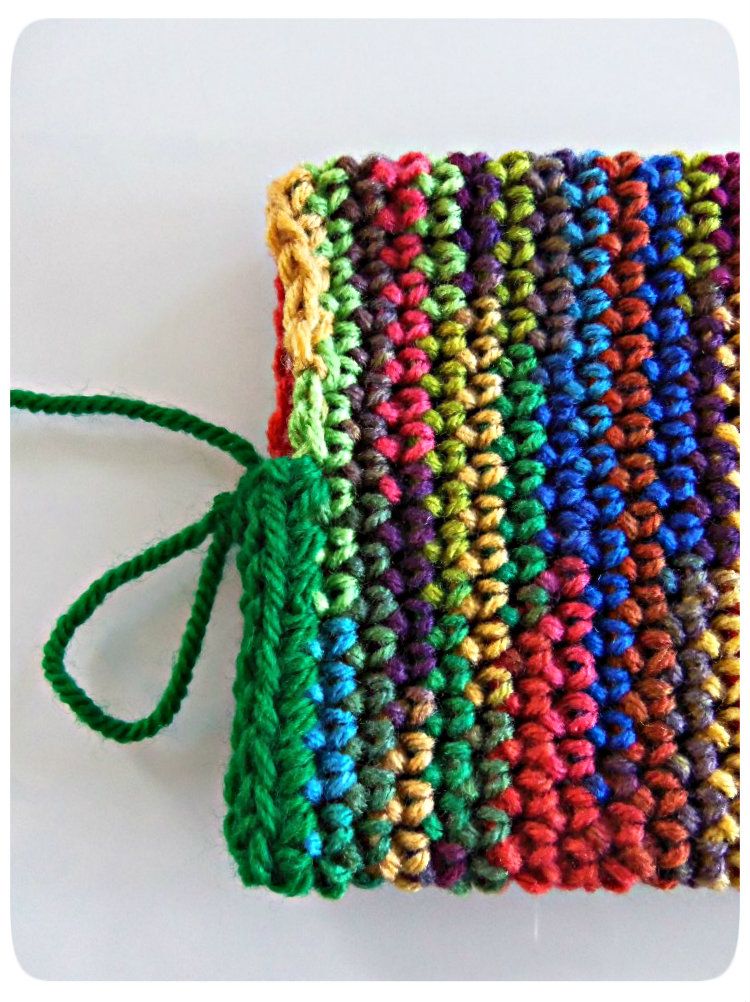
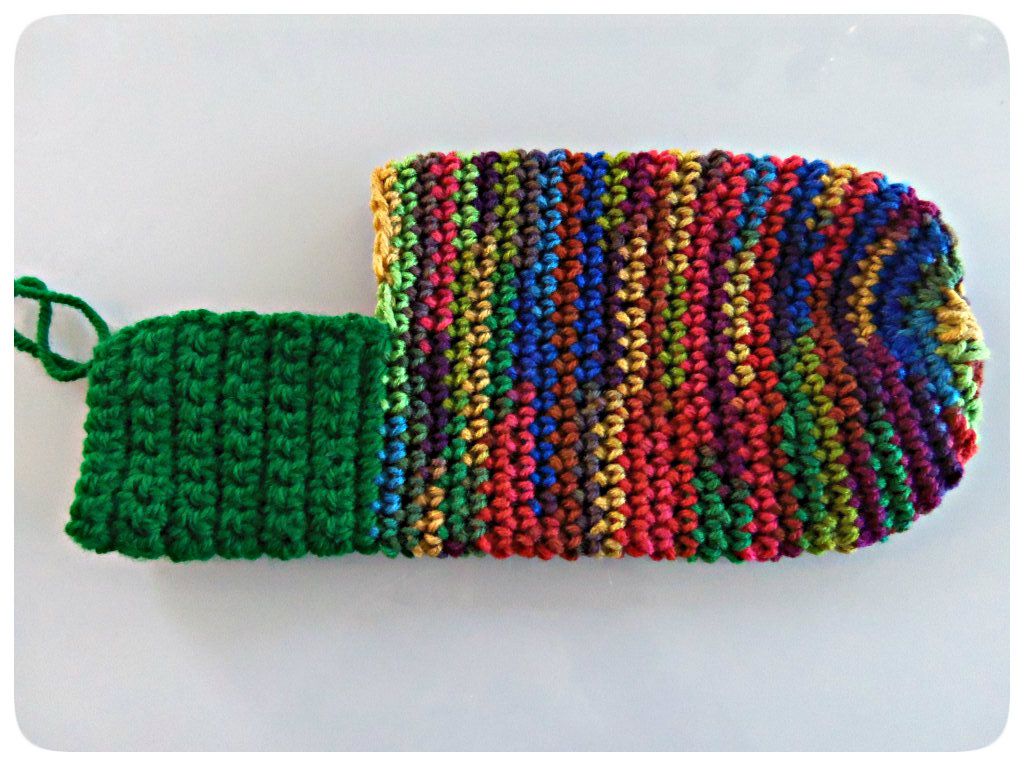
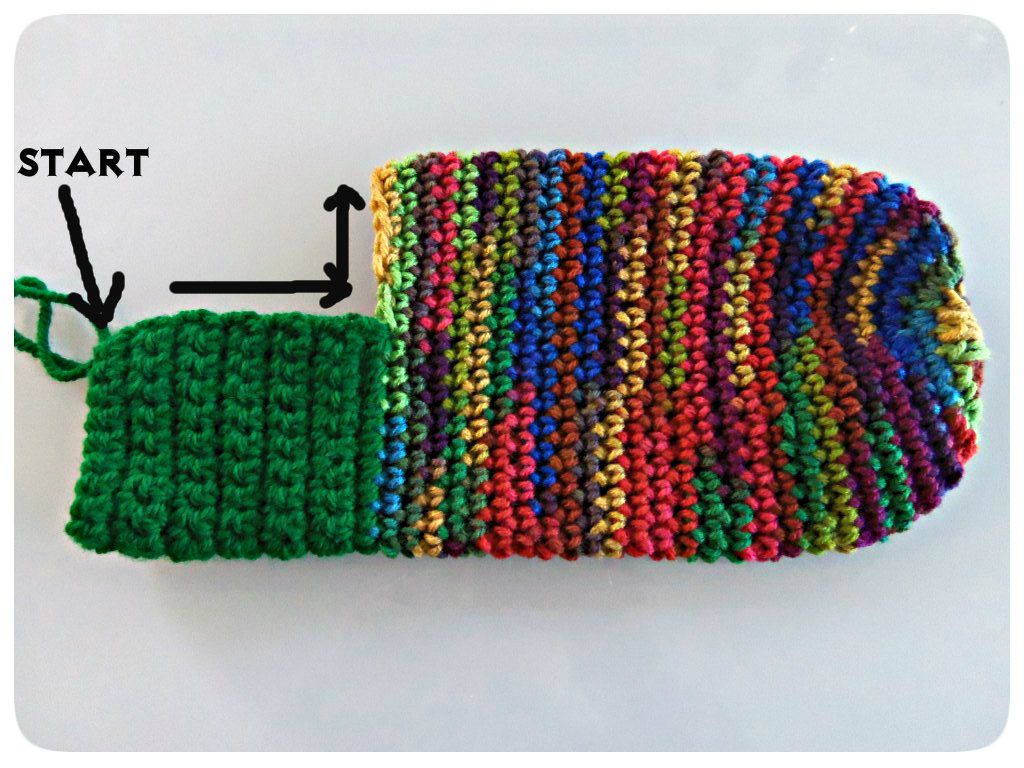
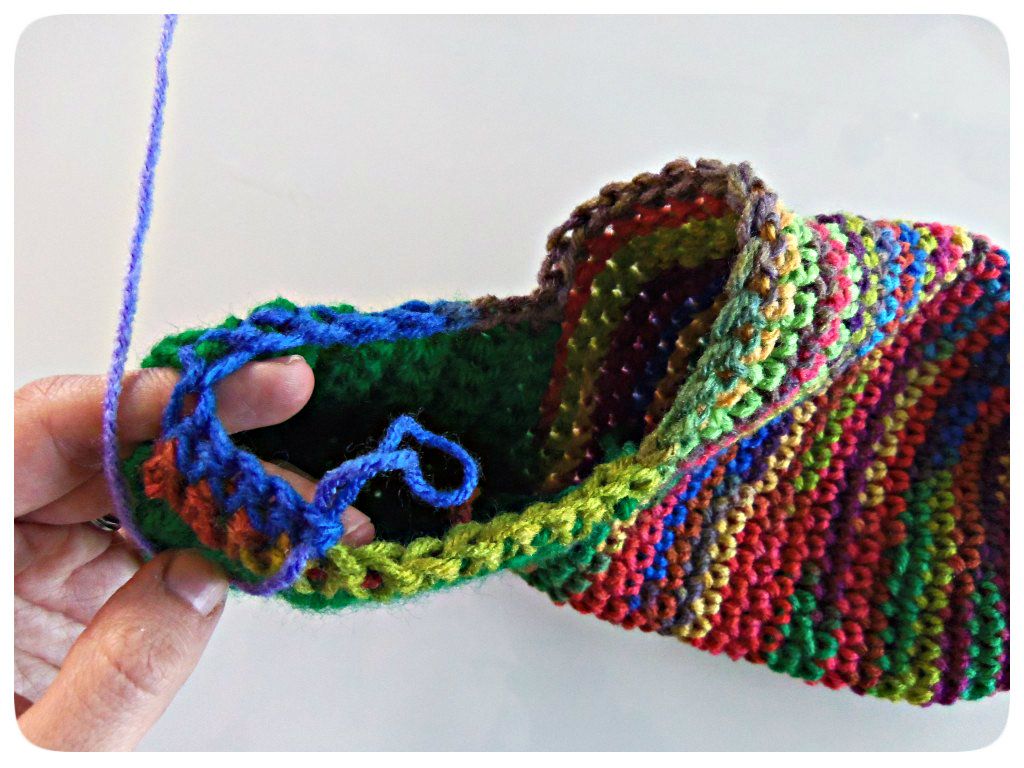
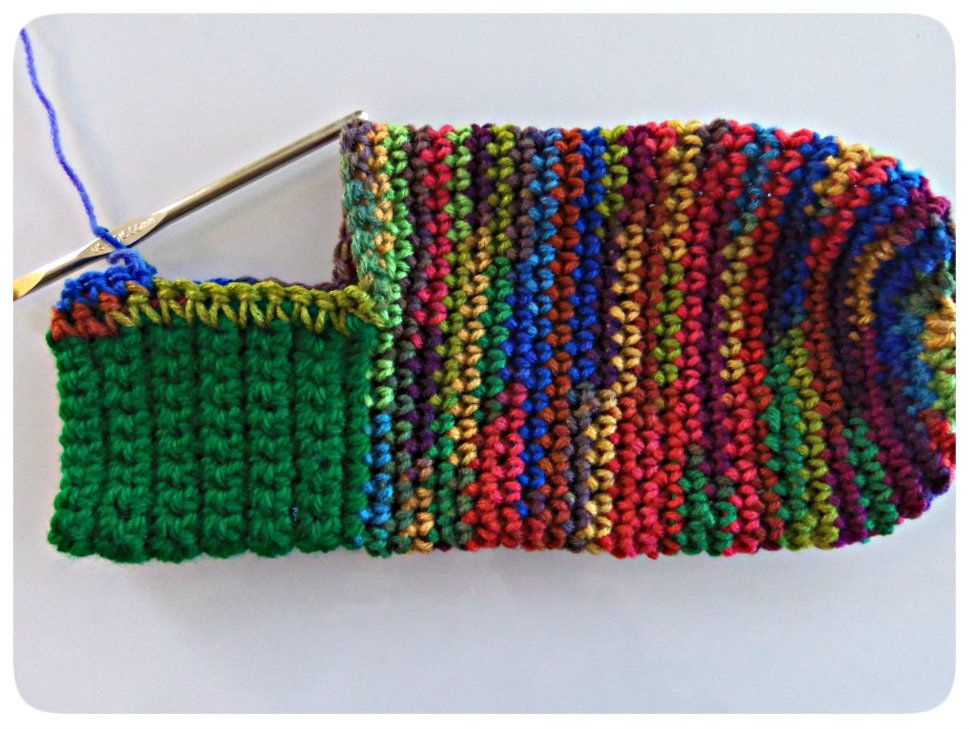
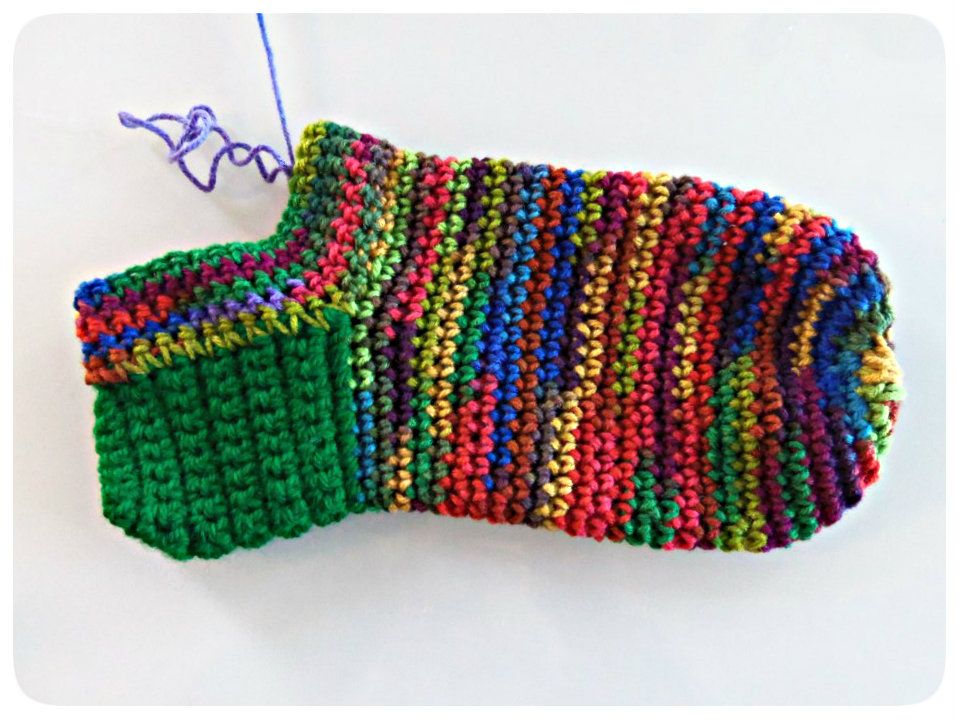
The first stocking is crazy simple. I used a single crochet throughout the entire project. (you can make a larger or smaller stocking by simply adding or subtracting single crochets in step two then adding or subtracting accordingly in each following step) 
I started by:
  • Chain 3 and slip stitch with the first chain to form small circle. 
  • (13) Single crochet into circle.
  • (2) single crochet in each chain=28 single crochet
  • (1) single crochet in next stitch, then (2) single crochet is next stitch, continuing in that pattern, 8 more times.
  • single crochet in each stitch until you have desired length of sock before starting the heel


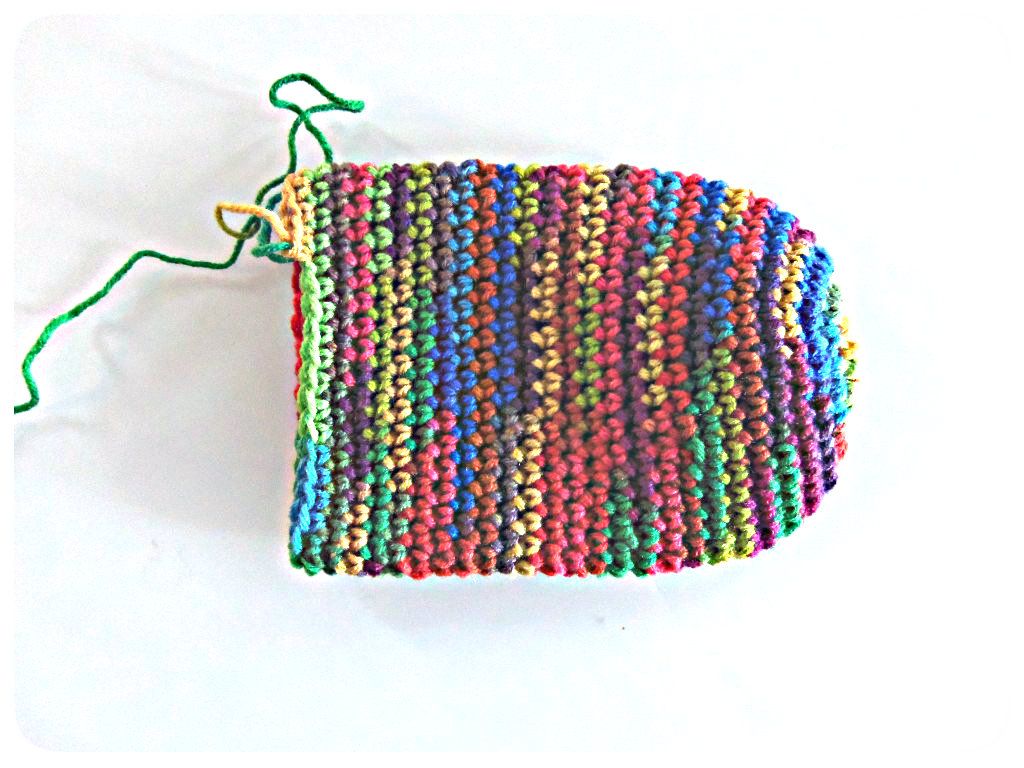
  • Chain in middle stitch of sock and single crochet around to opposite center of sock
  • chain one, turn
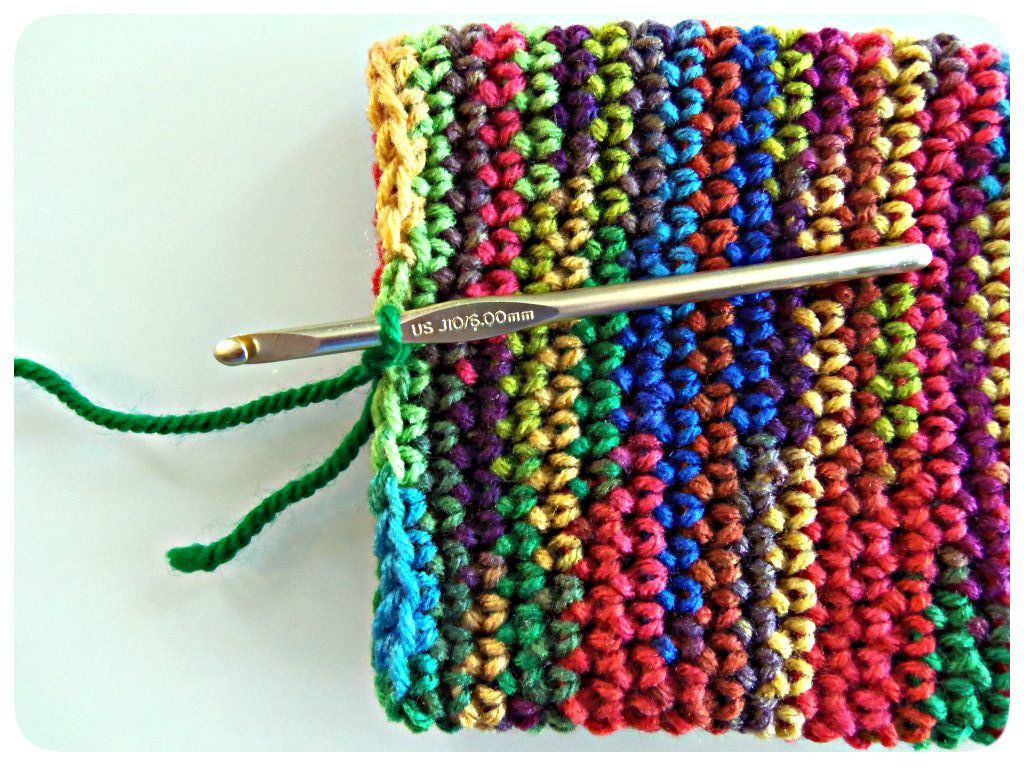
  • single crochet to opposite end, chain one and turn, repeating until desired width of heel is achieved.

  • Starting at the corner of the heel, single crochet across heel and up around foot down the other side, across other side of heel and continue to single crochet by attaching into the first single crochet at corner of heel.

  • Single crochet until you have reached desired height of your sock.
  • Finally simply sew together your open heel to fully enclose your stocking.
  • I added some pom pom ribbon to the top of my sock for a little extra something interesting.


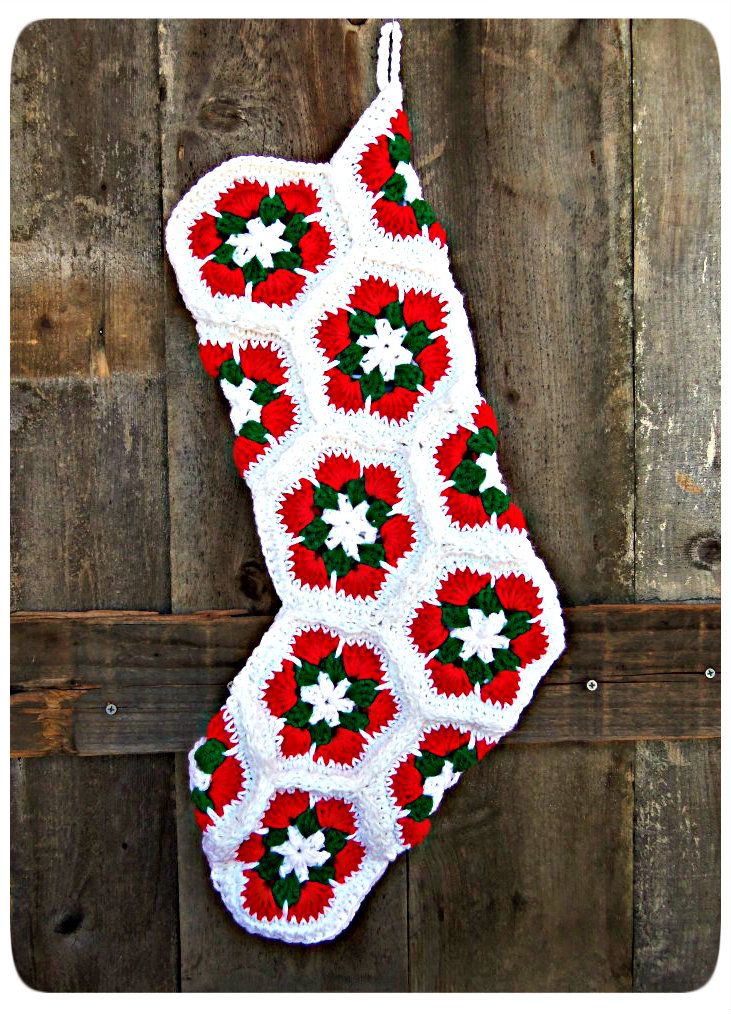
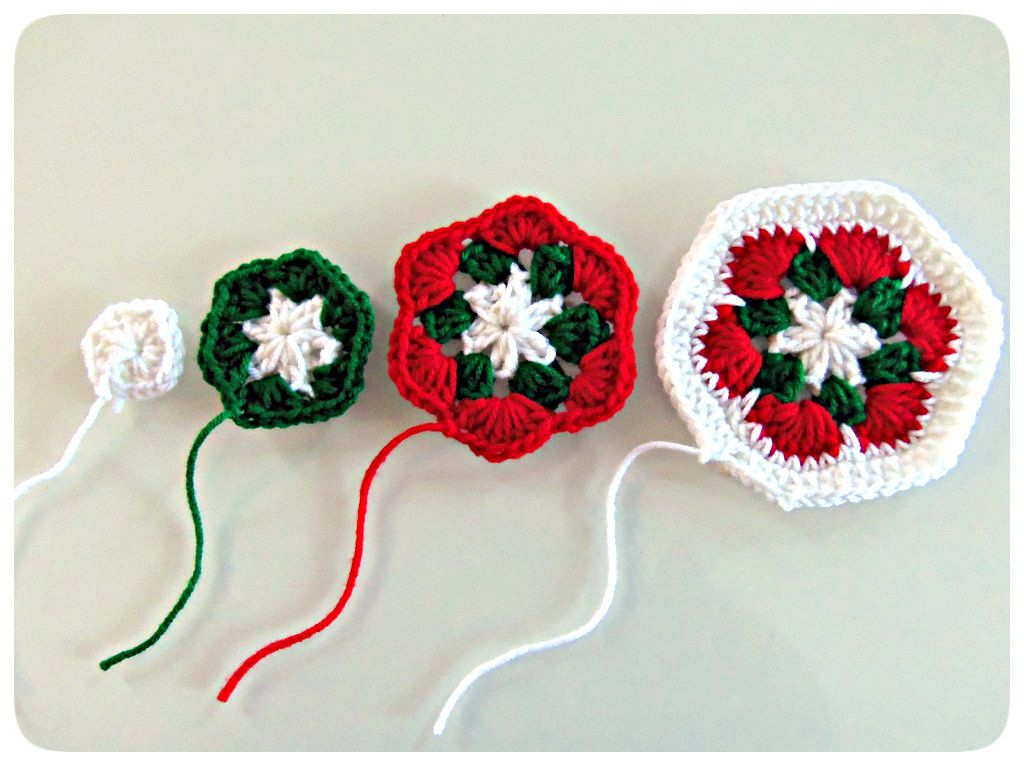
For the second stocking I followed the pattern found here. It is four easy steps for each hexagon and then simply sewing each hexagon together to make your stocking. I just loved how it turned out. I'm thinking I love it so much that next year I will make each of us one with this pattern but using different colors for the flower. 
Untitled_zpsf419afba
Blogging tips