


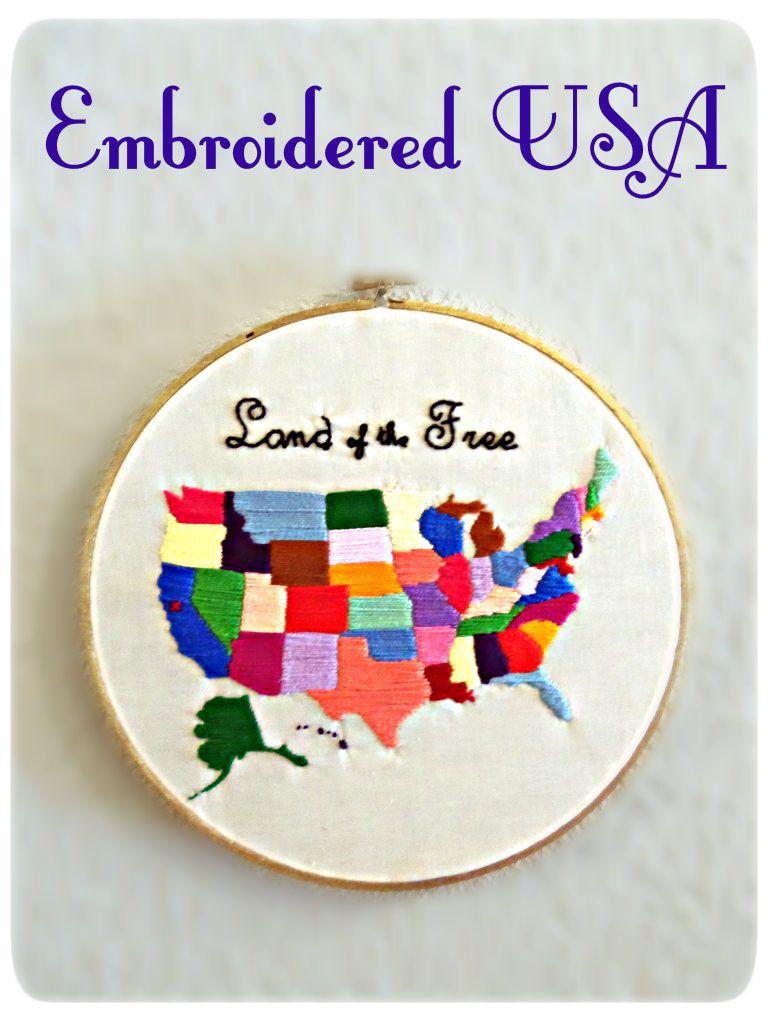
I recently ran across a picture of an embroidered USA and thought to myself..."That is soooo cool, I HAVE to have that!" I looked at the price and quickly changed my statement to "That is soooo cool, I HAVE to make that!" So that's exactly what I did. I have no prior skills in embroidery nor do you need any to make this basic stitch. I couldn't be happier with the outcome; in fact I am sure that I am happier and more satisfied having made it than I would have been buying it. Its my new favorite piece of decor in our house and I'm going to shamelessly brag about it.
A quick disclaimer- if you decide to make this for yourself or for a friend, don't expect to make it one night and have it hanging on your wall the next, that is unless you either have no responsibilities in life whatsoever or you decide to stay up an entire night working on it :). This may not be a hard project but it is certainly a time consuming one.
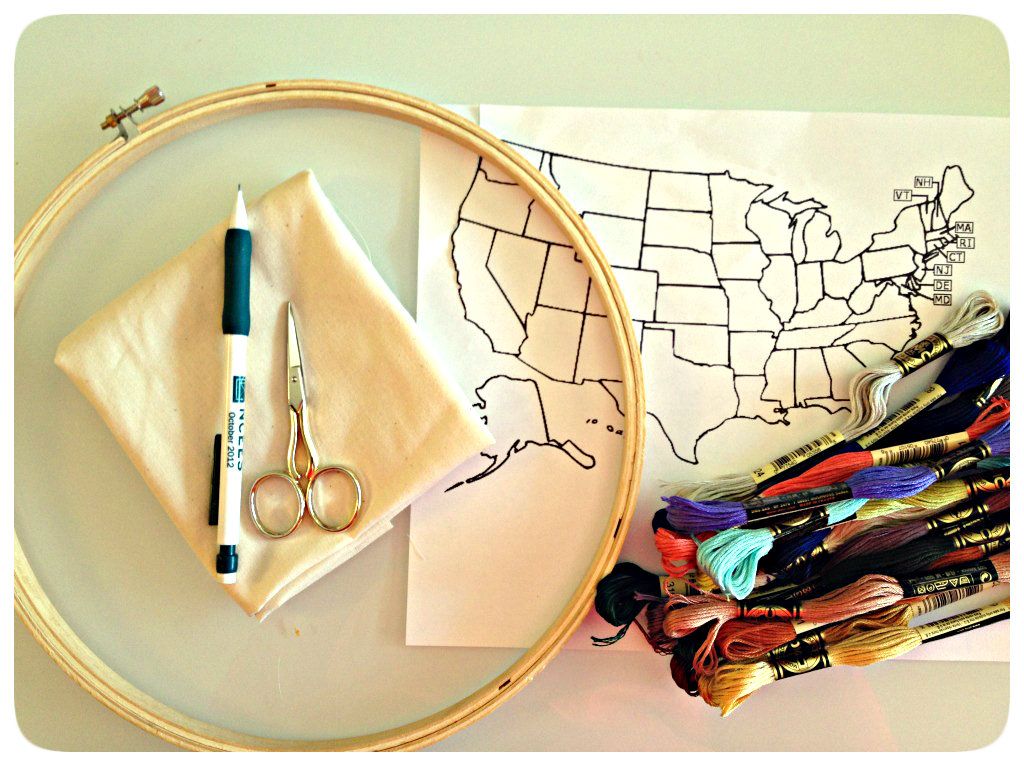
Materials you will need:
printed USA map
embroidery thread
embroidery hoop
small needle
fabric (I used a creamy muslin)
pencil
scissors
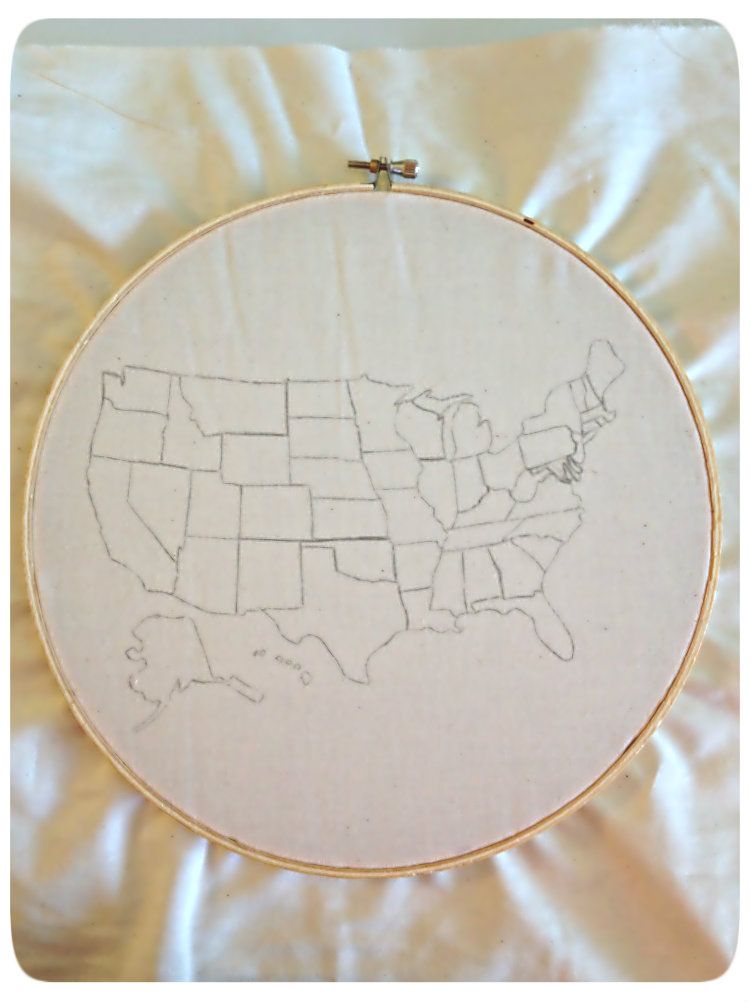
Start by lying your printed copy of the United States map under your fabric and tracing every state.
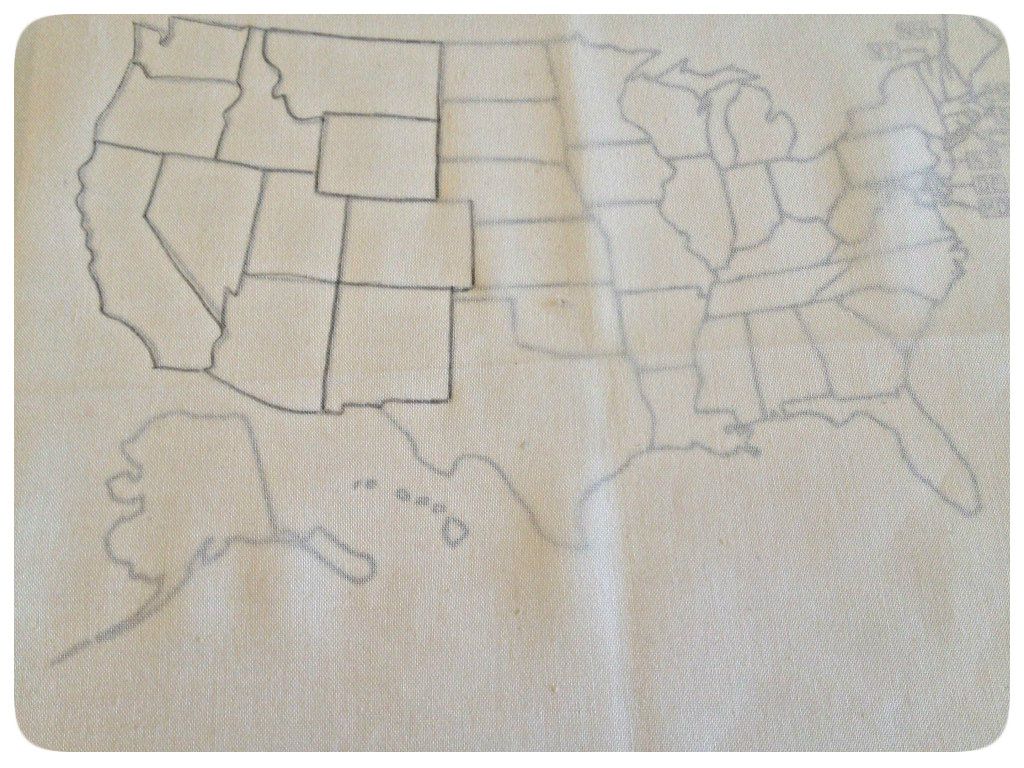
Once you have your states traced place your fabric in your embroidery hoop to make it easier to embroider.
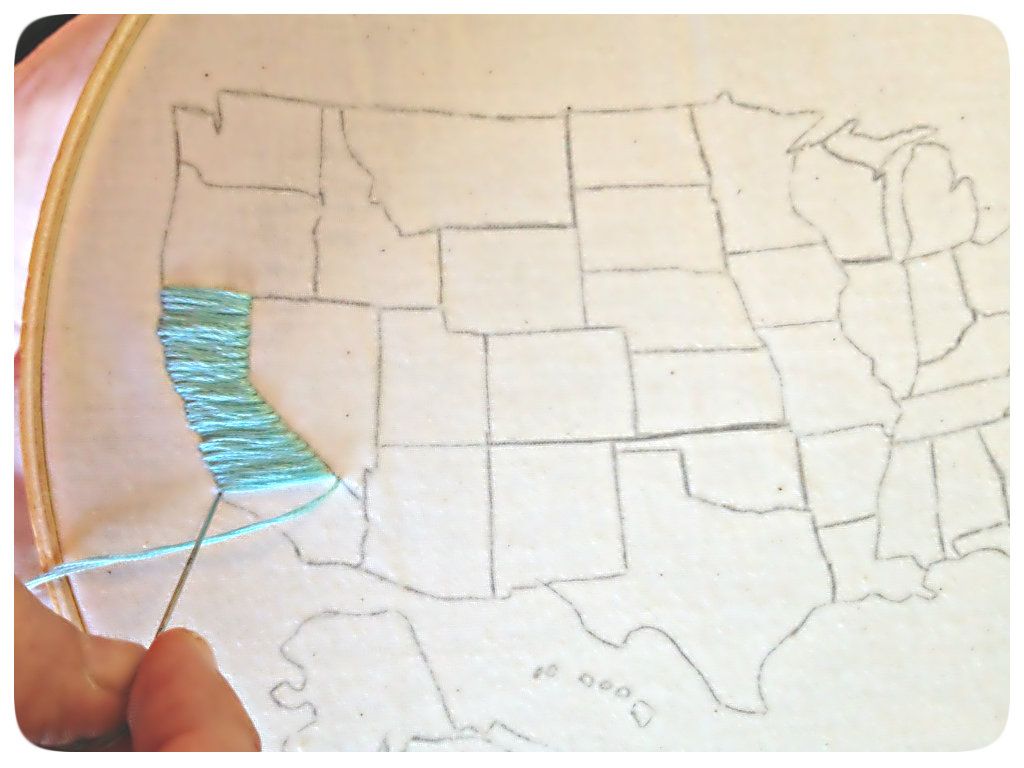
Pick a color embroidery thread and thread a needle. Make a small knot at one end. Bring your needle from underneath your fabric up to the front and pull until your knot catches the fabric on the back side. Now you are ready to stitch back and forth across your state.
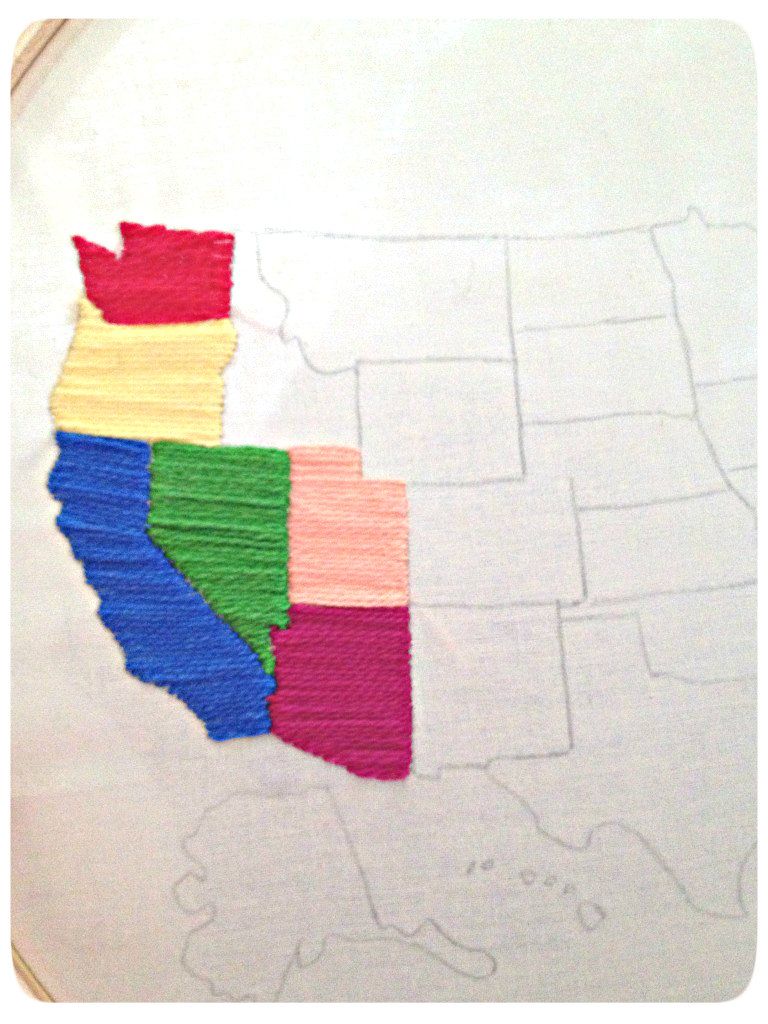
Once you reach the end of the state, make sure your needle is on the back side of the fabric and tie your thread off. Continue this process with every state until you are finished.
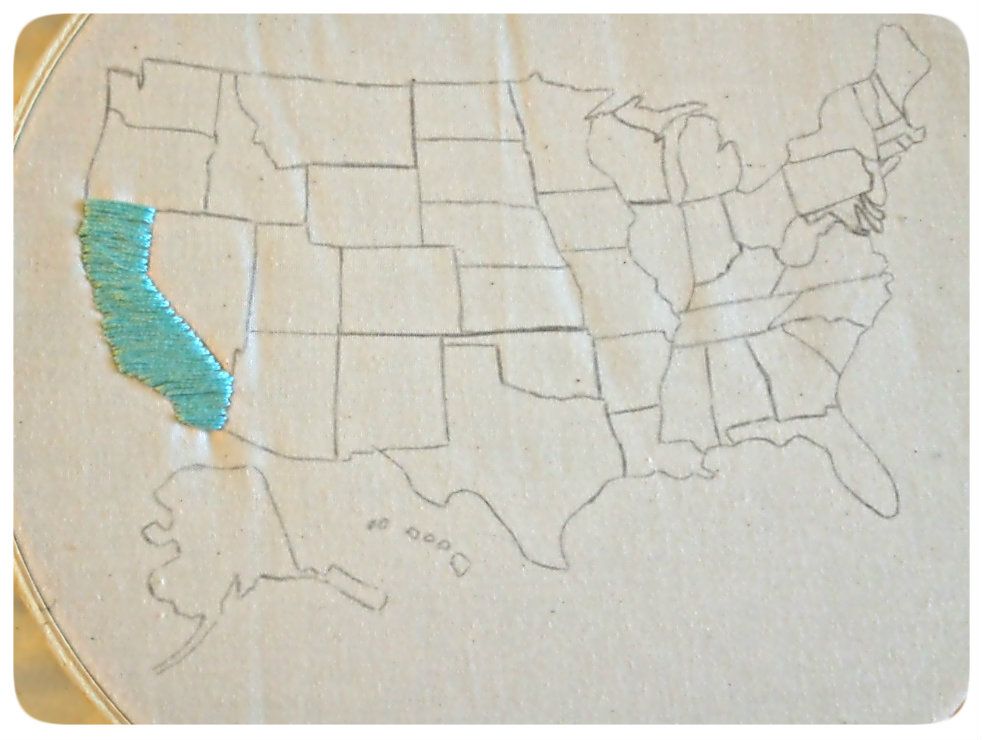 |
| Yes, my two Califonia's are different colors...I ended up changing out the light blue for the brighter blue. |
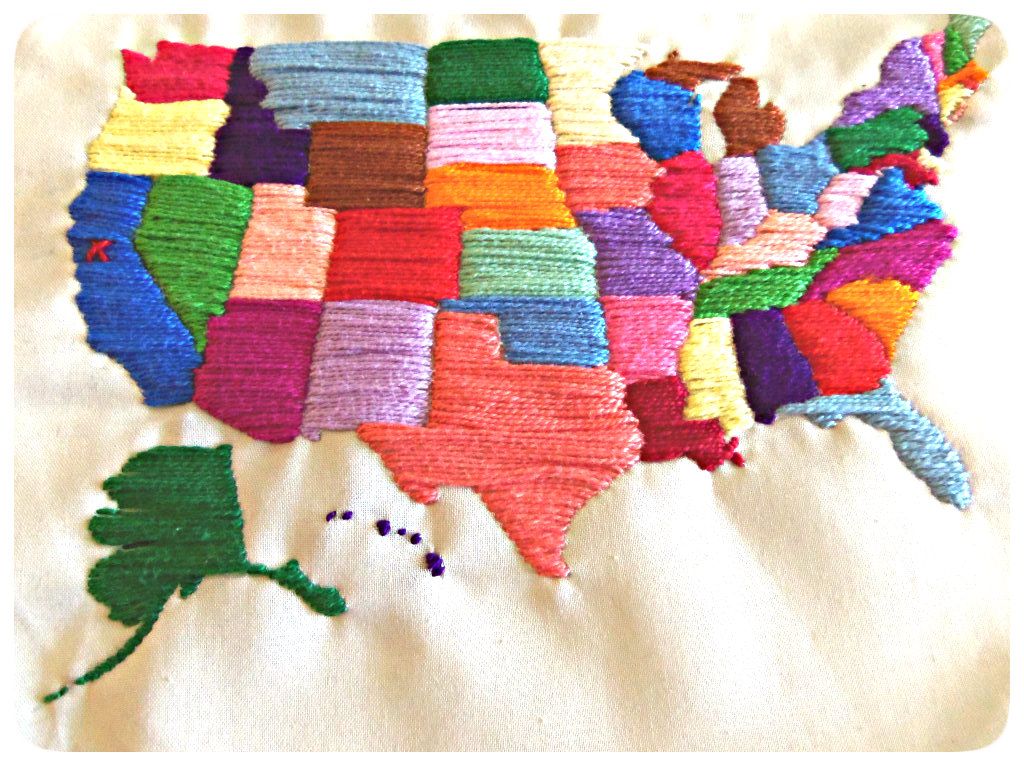 |
| I added a little "X" marks the spot where we live |
My fabric was quite wrinkled by the time I finished, so to iron it without damaging any of the embroidery, I laid it face side down on the ironing board and placed a towel over the top. Worked like a charm.
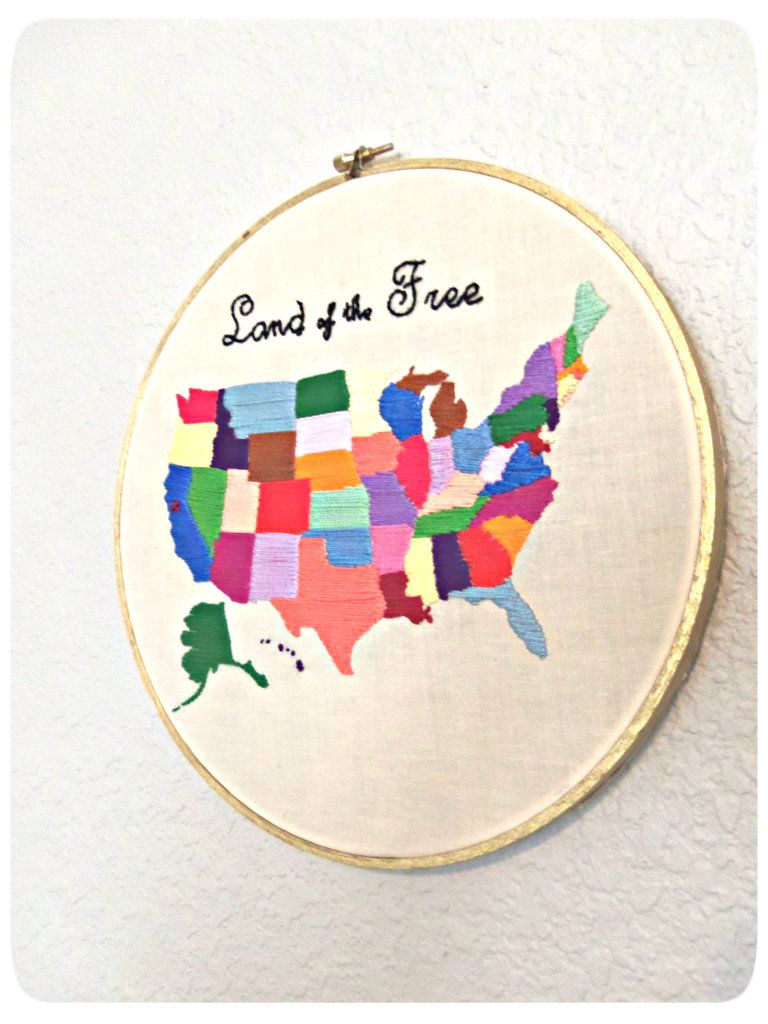
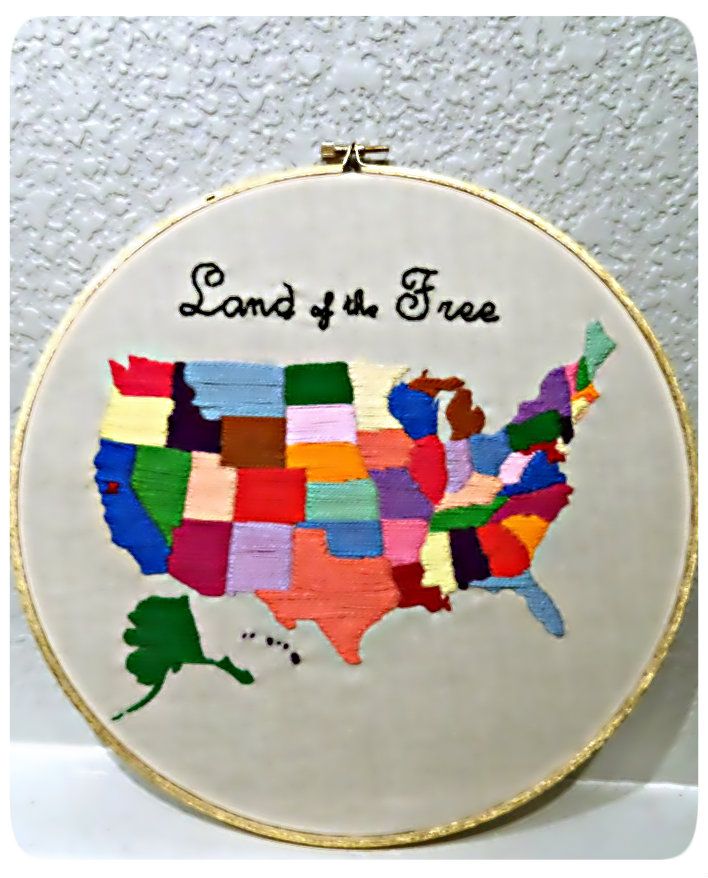
For a little extra pizzazz I added the line " Land of the Free " to the top of my states and spray painted my embroidery hoop gold. There you have it, masterpiece complete!

TAJIMA DG15 by Pulse Maestro V15 .1.466273 Download
ReplyDeleteTAJIMA DG15 by Pulse Maestro 15 .1.466273 Embroidery Software
https://www.youtube.com/watch?v=BeBHt3J1Cr4
WILCOM E4 EmbroideryStudio Professional Software
ReplyDeletehttps://globalsoftwaresolutionsteam.blogspot.com/2018/12/wilcom-e4-embroiderystudio-professional.html
https://youtu.be/DhulHQUeTBw
Nice post...Gud work.
ReplyDeleteembroidery digitizing in usa
embroidery digitizing companies in usa
Nice post...Gud work.
ReplyDeletevintage pillowcase crafts
outdoor pillow case
cheap throw pillow covers
I admire this article for the well-researched content and excellent wording. I got so involved in this material that I couldn’t stop reading. I am impressed with your work and skill. Thank you so much. velcro name patches
ReplyDelete